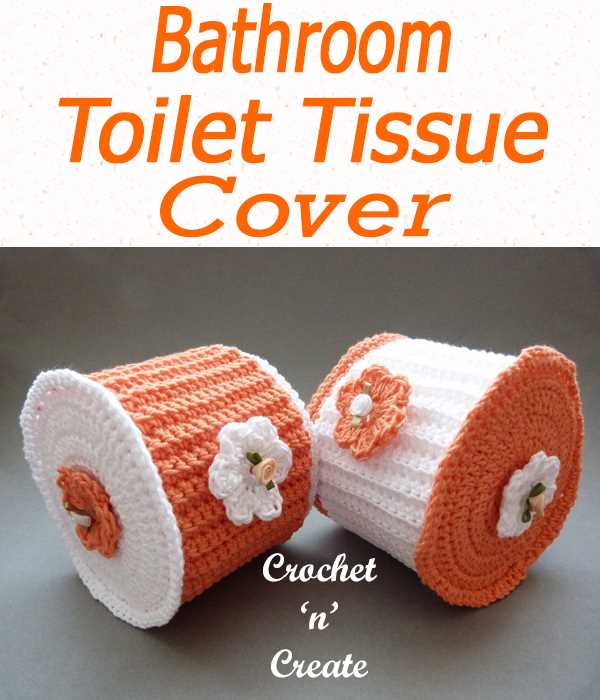
Knitting a Cozy Cover for Your Toilet Paper

Knitting enthusiasts and crafters everywhere are always on the lookout for new projects to showcase their skills and creativity. One such project that combines both functionality and artistry is the knitted toilet paper cover. Not only do these covers add a touch of charm and personality to your bathroom, but they also serve the practical purpose of protecting your rolls of toilet paper from dust and dirt.
This article will provide you with a step-by-step guide on how to create your very own knitted toilet paper cover. Whether you’re a beginner or an experienced knitter, this pattern is suitable for all skill levels. With just a few supplies and some basic knitting techniques, you’ll be able to add a unique and handmade touch to your bathroom decor.
What’s great about this pattern is that it allows you to get creative and experiment with different stitches and designs. You can choose to keep it simple with a classic ribbed pattern, or you can opt for more intricate lace or cable designs. The possibilities are endless, and you can customize your cover to match your personal style and preferences.
Knitted Toilet Paper Cover Pattern
If you are looking for a fun and unique way to add a touch of charm to your bathroom decor, why not try knitting your own toilet paper cover? Not only will it serve a practical purpose by keeping your toilet paper clean and protected, but it will also add a cozy and whimsical element to your bathroom.
To get started, you will need a few basic knitting supplies including yarn, knitting needles, and a tapestry needle. Choose a soft and durable yarn in a color that matches your bathroom decor. You can also experiment with different textures and patterns to create a unique look.
Here is a simple pattern to get you started:
- Cast on 60 stitches using your preferred knitting method.
- Knit 2 rows in a basic garter stitch pattern.
- Begin the main pattern by knitting 2 stitches, purling 2 stitches, repeating this pattern across the row.
- Continue this pattern for the desired length, making sure to end with 2 rows of garter stitch.
- Bind off all stitches and weave in any loose ends.
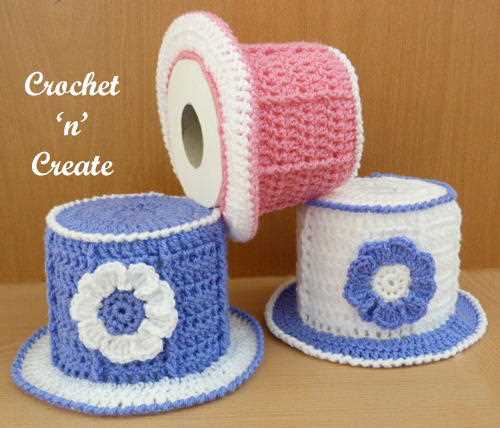
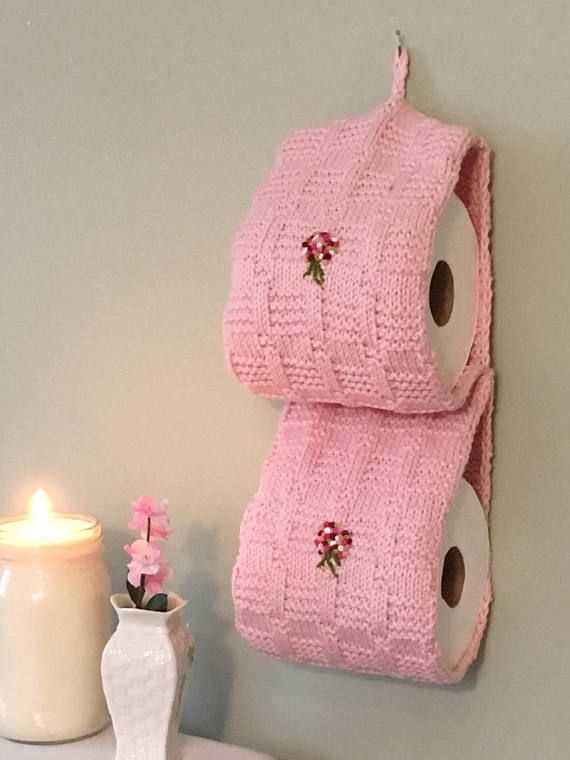
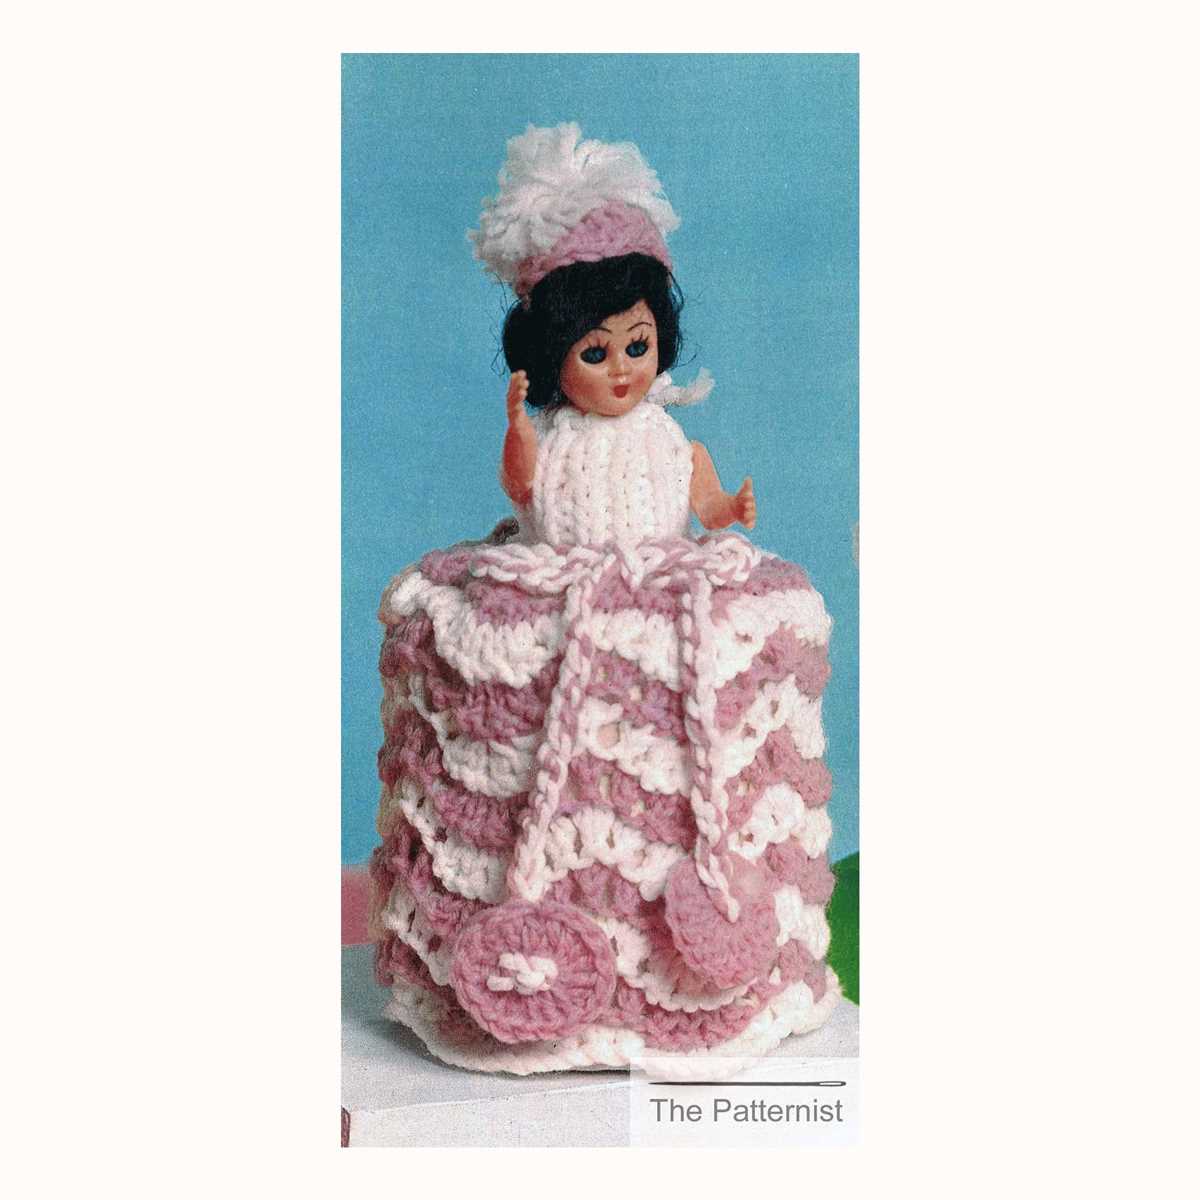
You can customize your toilet paper cover by adding additional embellishments such as buttons, bows, or even knitted flowers. Get creative and have fun with it!
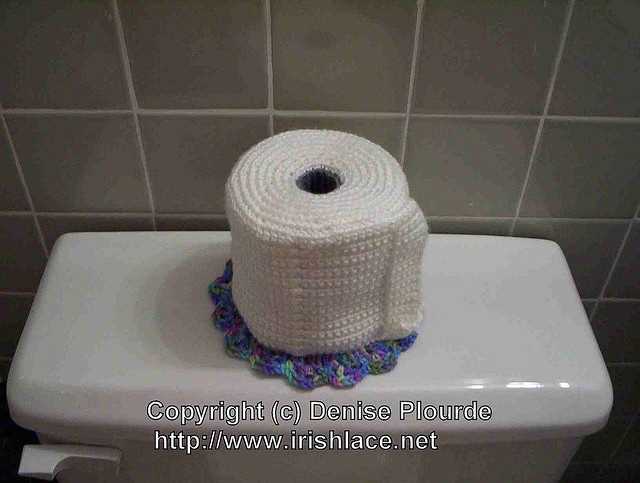
Once your cover is complete, simply slide it over a roll of toilet paper and you’re ready to add a touch of handmade charm to your bathroom. It also makes a great gift for friends and family.
Note: Remember to remove the cover before using the toilet paper and wash it regularly to keep it clean and fresh.
Why Use a Toilet Paper Cover
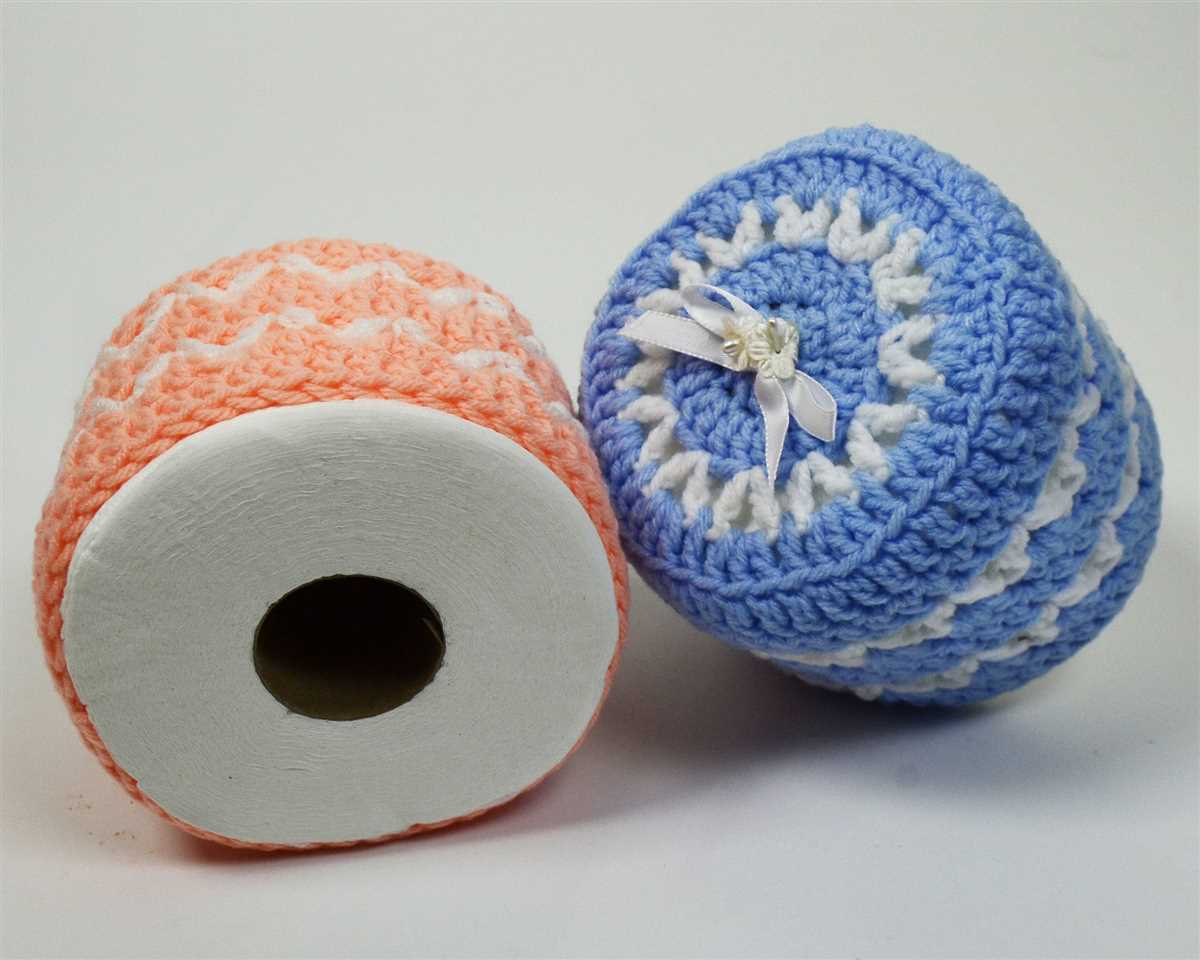
While it may seem unusual to use a toilet paper cover, there are actually several practical reasons why people choose to use them. First and foremost, a toilet paper cover can help to keep the paper clean and protected from dust and dirt. This is especially important in public restrooms where the toilet paper may come into contact with germs and bacteria.
Moreover, a toilet paper cover can also be a stylish and decorative addition to the bathroom. It can add a touch of personality and charm to an otherwise plain and ordinary toilet paper roll. There are many different designs and patterns available, allowing individuals to choose one that matches their bathroom decor or personal taste.
Additionally, a toilet paper cover can also help to prevent the toilet paper from unraveling or tearing. By encasing the roll in a cover, it provides an extra layer of protection and can help to extend the lifespan of the toilet paper. This can be particularly useful in households with young children or pets who may be prone to playing with or pulling on the toilet paper.
In conclusion, while it may be seen as an unconventional choice, using a toilet paper cover can have practical benefits. It helps to keep the paper clean, adds a decorative touch to the bathroom, and provides extra protection to prevent unraveling. Whether for functional or aesthetic reasons, a toilet paper cover can be a useful and stylish addition to any bathroom.
Materials Needed
In order to make a knitted toilet paper cover, you will need a few materials to get started. Here is a list of the essential supplies:
- Knitting Needles: You will need a pair of knitting needles in the appropriate size for your chosen pattern. Choose needles that are comfortable for you to work with.
- Yarn: Select a soft and durable yarn in the color of your choice. Make sure to choose a yarn that is suitable for a toilet paper cover project.
- Tape Measure: A tape measure will be necessary to ensure that your knitted cover is the correct size and fits snugly around the toilet paper roll.
- Scissors: You will need a pair of scissors to cut the yarn when you finish knitting and to trim any excess yarn.
- Tapestry Needle: A tapestry needle or a large-eyed needle will be used to weave in any loose ends and sew any seams in your knitted cover.
- Stitch Markers: Stitch markers can be helpful for keeping track of your stitches and pattern repeats.
These materials are all essential for creating a knitted toilet paper cover. Make sure to have them on hand before starting your project.
Getting Started with the Pattern

Before you begin knitting your own toilet paper cover, it’s important to gather all the necessary materials. You will need a set of knitting needles in the size specified in the pattern, as well as a ball of yarn in the color of your choice. Make sure to choose a yarn that is suitable for the toilet paper cover, as some types may be too scratchy or not durable enough.
Once you have your materials ready, it’s time to familiarize yourself with the pattern. Take a moment to carefully read through the instructions and make sure you understand each step. Look out for any abbreviations or special techniques that may be used in the pattern, as these will be important to know when knitting.
To help you keep track of your progress, it may be useful to use stitch markers or a row counter. This will allow you to easily keep count of the number of rows or stitches you have completed. Additionally, having a measuring tape or ruler handy will help ensure that your finished cover matches the dimensions specified in the pattern.
Before you start knitting, it’s also a good idea to swatch. Swatching involves knitting a small sample piece using the same needles and yarn that you plan to use for your project. This will help you determine if your tension is correct and allow you to make any necessary adjustments before starting on the actual cover.
Remember to take your time and enjoy the process of knitting your own toilet paper cover. It can be a fun and relaxing project that also adds a touch of personalization to your bathroom decor. Once you’ve mastered the pattern, you might even want to experiment with different stitch patterns or color variations to create unique designs.
Knitting Techniques Used in the Pattern
In order to create a knitted toilet paper cover, several knitting techniques are used to achieve the desired shape and texture. These techniques include:
1. Casting on: The pattern starts with casting on stitches onto the knitting needles. This creates the foundation row for the project.
2. Knit stitch: The knit stitch is the most basic stitch in knitting. It is used to create the smooth, V-shaped stitches that make up the majority of the pattern.
3. Purl stitch: The purl stitch is another fundamental stitch in knitting. It is used to create a bumpy texture on the fabric, which adds visual interest to the finished toilet paper cover.
4. Increasing: In order to shape the toilet paper cover, increases are made at specific points in the pattern. This is achieved by either knitting into the front and back of a stitch or by making yarn overs.
5. Decreasing: Decreases are used to shape the top of the toilet paper cover. They create a tapered effect by reducing the number of stitches on each row. Common decrease techniques include knitting two stitches together or slipping a stitch knitwise.
6. Ribbing: Ribbing is a technique where alternating knit and purl stitches are used to create a stretchy and textured fabric. It is often used for the brim or edging of a knitting project, and can also be incorporated into the body of the toilet paper cover for added texture.
Step-by-Step Instructions
In order to create your very own knitted toilet paper cover, simply follow these step-by-step instructions:
Materials Needed:
- Knitting needles (size 8)
- Medium weight yarn (color of your choice)
- Scissors
- Tapestry needle
Instructions:
- Start by casting on 30 stitches onto your knitting needles.
- Knit in stockinette stitch (knit one row, purl one row) for the first 10 rows.
- After completing the stockinette stitch, switch to the rib stitch (knit one, purl one) for the next 10 rows.
- Continue switching between stockinette stitch and rib stitch for a total of 30 rows.
- Once you have completed the final row, bind off all of the stitches.
- Using your tapestry needle, sew the side seams of the knitted piece together to form a tube shape.
- Cut a small opening at the top of the knitted tube for the toilet paper to come through.
- Weave in any loose ends of yarn with the tapestry needle.
- Your knitted toilet paper cover is now complete and ready to be used!
Tips and Tricks
Knitting a toilet paper cover can be a fun and creative project. Here are some tips and tricks to help you along the way:
1. Choose the right yarn:
When knitting a toilet paper cover, it’s important to choose a yarn that is soft and durable. Opt for a machine-washable yarn that will hold up well to frequent use. You can also choose a yarn in a color or texture that matches your bathroom decor.
2. Use the right needle size:
Using the right needle size is crucial to achieving the desired gauge and tension in your knitting. For a toilet paper cover, it’s best to use a smaller needle size to create a tight and sturdy fabric. Experiment with different needle sizes to find the one that works best for you.
3. Follow the pattern carefully:
When knitting a toilet paper cover, it’s important to follow the pattern instructions carefully. Pay close attention to the stitch counts, shaping instructions, and any special techniques used. Taking the time to read through the pattern and understand the steps involved will help ensure that your project turns out as desired.
4. Add embellishments for extra flair:
To make your toilet paper cover truly unique, consider adding some embellishments. You can use buttons, ribbons, or embroidery to add decorative touches to your finished piece. Just make sure to securely attach any embellishments so they don’t come loose during use.
5. Practice proper tension control:
Proper tension control is key to achieving even and consistent knitting. Keep an eye on your tension as you work and make any necessary adjustments. Avoid pulling your yarn too tightly or too loosely, as this can affect the overall appearance and fit of your toilet paper cover.
6. Don’t be afraid to customize:
Feel free to customize your toilet paper cover to suit your personal style and preferences. You can change the color, stitch pattern, or size to make it uniquely yours. Experiment with different options and have fun with the process!
With these tips and tricks in mind, you’ll be well on your way to knitting a beautiful and functional toilet paper cover. Happy knitting!
Customization Options
When it comes to knitting a toilet paper cover, there are several customization options available to make your creation unique and personalized. From the color and texture of the yarn to the embellishments and decorations, you have the freedom to create a design that suits your taste and style.
Yarn Options: The first choice you’ll make when customizing your toilet paper cover is the type of yarn to use. Depending on the desired look and feel, you can opt for a soft and fluffy yarn for a cozy and comfortable cover, or a durable and sturdy yarn for a more practical and long-lasting design. You can also experiment with different color options, ranging from solid shades to variegated yarns for a more vibrant and eye-catching effect.
Embellishments:
Adding embellishments to your knitted toilet paper cover is a fun way to customize the design and make it stand out. You can incorporate buttons, beads, ribbons, or bows to give it a touch of elegance or whimsy. These embellishments can be added during the knitting process, or sewn on afterwards. The possibilities are endless, and you can let your creativity run wild!
Pattern Variations:

While there are traditional patterns available for knitted toilet paper covers, you can also create your own unique pattern or modify existing ones to suit your preferences. You can experiment with different stitch patterns, such as cables or lace, to add texture and visual interest. You can also play with the size and shape of the cover, creating variations like shorter or taller covers, or ones with decorative edges.
Personalized Details:
To add a personalized touch to your knitted toilet paper cover, consider adding initials, monograms, or other small details that hold significance to you or the intended recipient. This can be done through embroidery, crochet, or by attaching small appliques. These personal touches will make the cover feel even more special and unique.
- Experiment with different yarn textures and colors
- Add embellishments such as buttons, beads, ribbons, or bows
- Create your own pattern variations
- Add personalized details like initials or monograms
Adding Embellishments
If you want to take your knitted toilet paper cover to the next level, you can add embellishments to make it even more unique and decorative. There are various options to choose from, depending on your preferences and skills.
1. Embroidery: Consider adding some embroidery stitches to your cover. You can use colorful threads to create beautiful designs and patterns, such as flowers, leaves, or geometric shapes. Embroidery can bring a touch of elegance and sophistication to your knitted cover.
2. Appliqués: Another option is to attach appliqués to your cover. These are small fabric or crocheted pieces that can be sewn onto the knitted surface. You can find ready-made appliqués in craft stores or make your own using fabric scraps or crochet techniques. Appliqués can add a playful or themed element to your cover.
3. Buttons: Adding buttons can also be a creative way to embellish your cover. You can sew buttons in various shapes, sizes, and colors onto the surface, creating a visually appealing and tactile element. Buttons can also serve as functional closures for your cover.
4. Ribbons and bows: If you prefer a more feminine look, you can incorporate ribbons and bows into your design. You can tie ribbons around the cover or attach bows made from fabric or ribbon onto the surface. This can add a delicate and charming touch to your knitted cover.
5. Beads and sequins: For a glamorous and eye-catching effect, consider using beads and sequins. You can sew them onto the cover, creating sparkling accents and adding a touch of luxury. Beads and sequins can be arranged in patterns or scattered randomly for a more dynamic look.
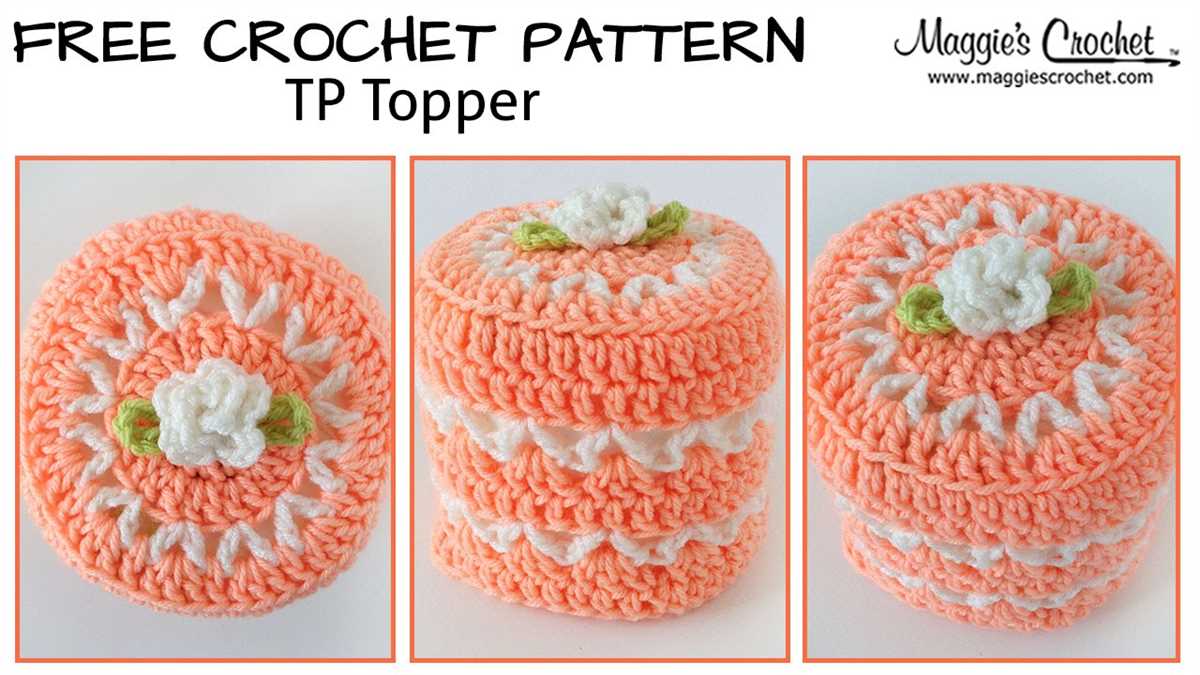
6. Crochet edging: If you have crochet skills, you can add a crochet edging to your knitted cover. This can be done by working a row of crochet stitches along the edges. Crochet edging can provide a decorative finish and create a contrasting texture to the knitted surface.
Remember to experiment and have fun with your embellishments. These additions will make your knitted toilet paper cover truly one-of-a-kind and showcase your creativity and personal style.
Frequently Asked Questions
Here are some frequently asked questions about knitted toilet paper cover patterns:
1. What is a knitted toilet paper cover pattern?
A knitted toilet paper cover pattern is a set of instructions and guidelines for creating a decorative cover for a roll of toilet paper using knitting techniques. It typically includes information on the required materials, recommended yarn and needle sizes, and step-by-step instructions for knitting the cover.
2. Why would I want to knit a toilet paper cover?

Knitting a toilet paper cover can be a fun and creative project that adds a unique touch to your bathroom decor. It allows you to customize the look of your bathroom and express your personal style. Additionally, a knitted cover can help protect the toilet paper from dust and damage.
3. How difficult is it to knit a toilet paper cover?
The difficulty level of knitting a toilet paper cover can vary depending on the pattern you choose and your knitting skills. Some patterns may be more intricate and require advanced knitting techniques, while others may be simpler and suitable for beginners. It’s always a good idea to choose a pattern that matches your skill level and practice with simpler projects before attempting more complex ones.
4. Can I use any yarn for knitting a toilet paper cover?
You can use a variety of yarns for knitting a toilet paper cover, but it’s important to consider the durability and washability of the yarn. Since a toilet paper cover may be exposed to moisture and frequent handling, it’s recommended to choose a yarn that is easy to care for and can withstand regular use. Cotton or acrylic yarns are often good choices for this type of project.
Additional Resources
Now that you have learned how to make your own knitted toilet paper cover, you may be interested in exploring more patterns and resources. The following is a list of websites and books that provide additional knitting patterns and inspiration:
- Ravelry: Ravelry is a popular online community for knitters, crocheters, and other fiber artists. It has a vast collection of patterns, including many for toilet paper covers. You can search for patterns by specific criteria, such as difficulty level or yarn type.
- Knitting Pattern Central: Knitting Pattern Central is a website that compiles links to free knitting patterns from all over the internet. They have a section dedicated to toilet paper covers, where you can find a variety of designs.
- Knitting Books: There are many knitting books available that include patterns for toilet paper covers. Some popular titles include “100 Fun & Fabulous Knitted Toilet Paper Covers” by Brenda K. B. Anderson and “Toilet Roll Covers” by Emma King.
Whether you are looking for a simple pattern or a more challenging design, these resources will help you find the perfect pattern for your knitted toilet paper cover. Happy knitting!