Free Knitted Doll Blanket Pattern for Cozy Playtime

Have you ever wanted to knit a cozy blanket for a doll? Look no further! In this article, we will share a free knitting pattern for a doll blanket that is perfect for beginners. Whether you are knitting for a child’s favorite doll or want to create a special gift, this pattern is sure to impress.
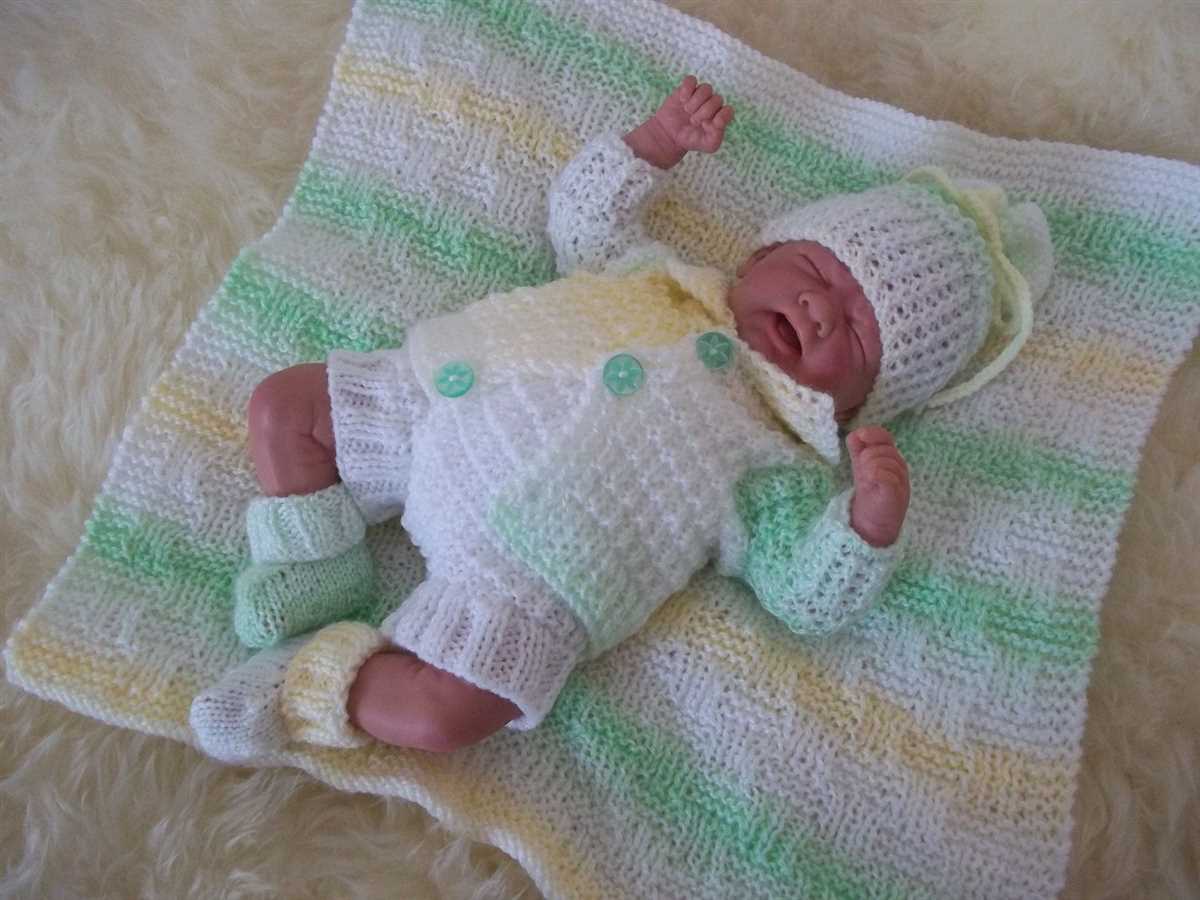
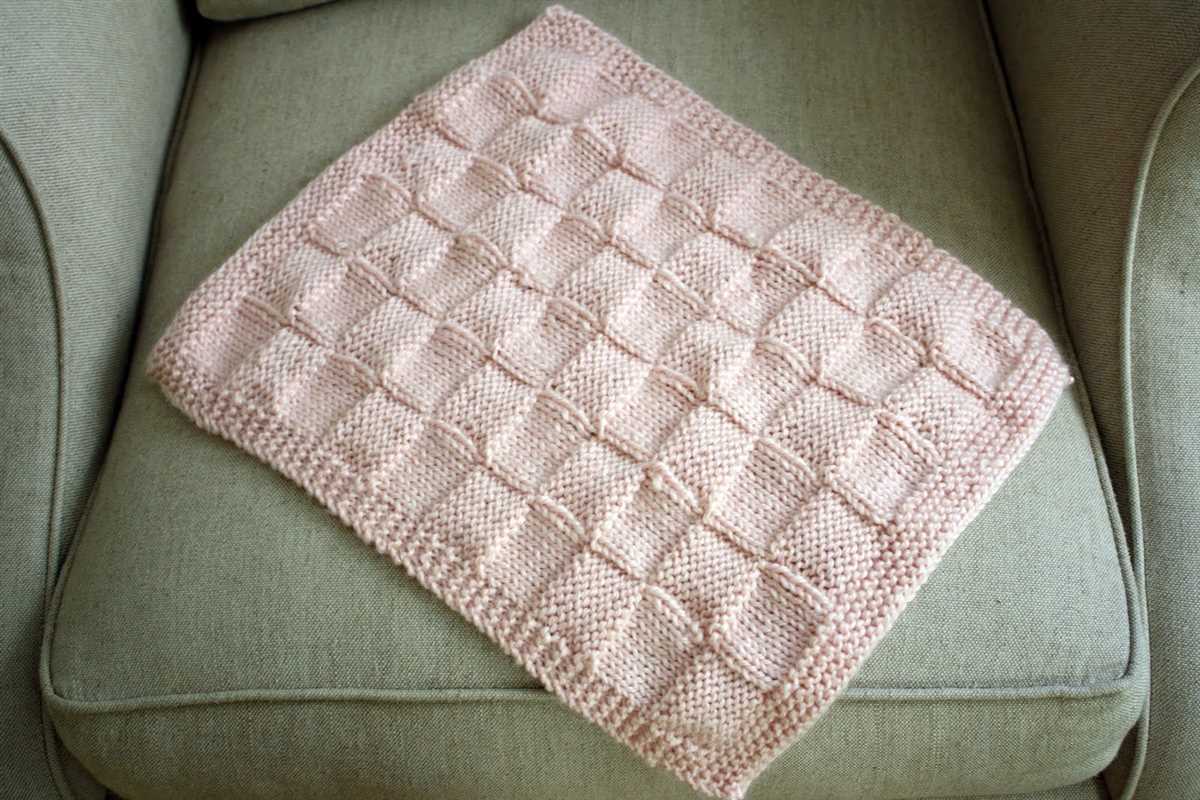
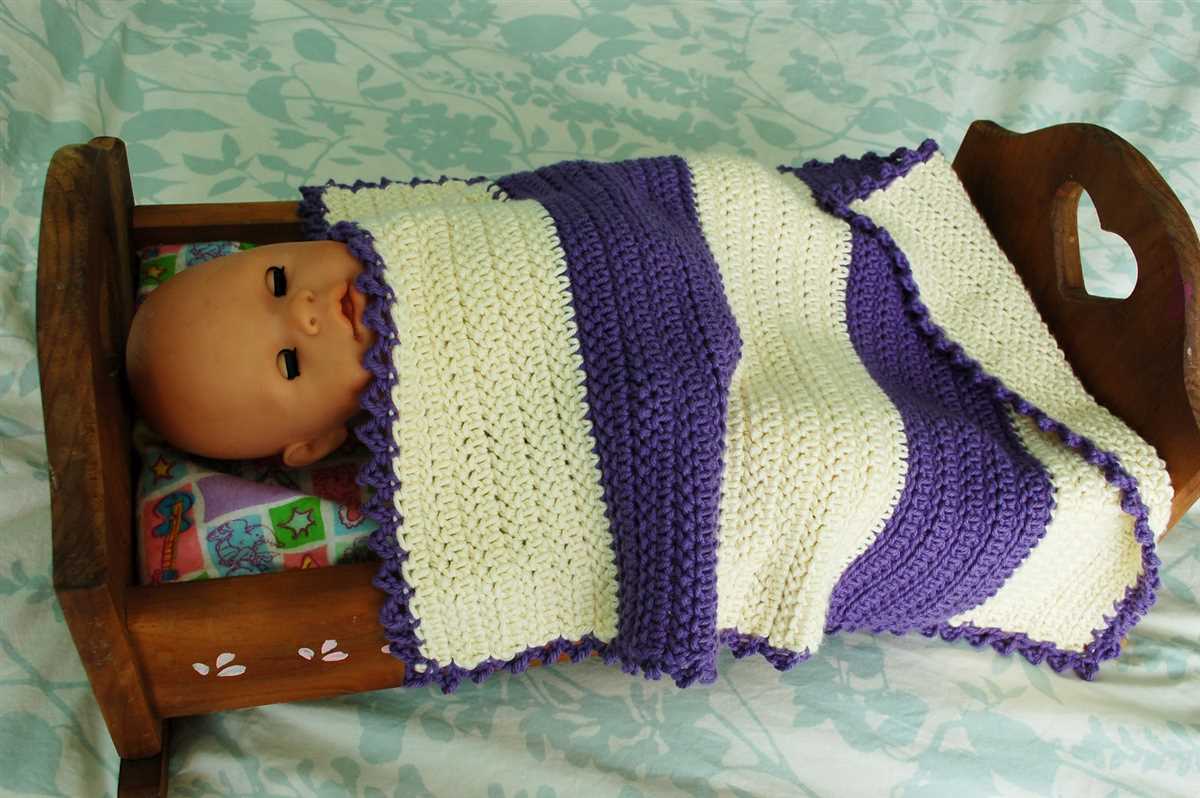
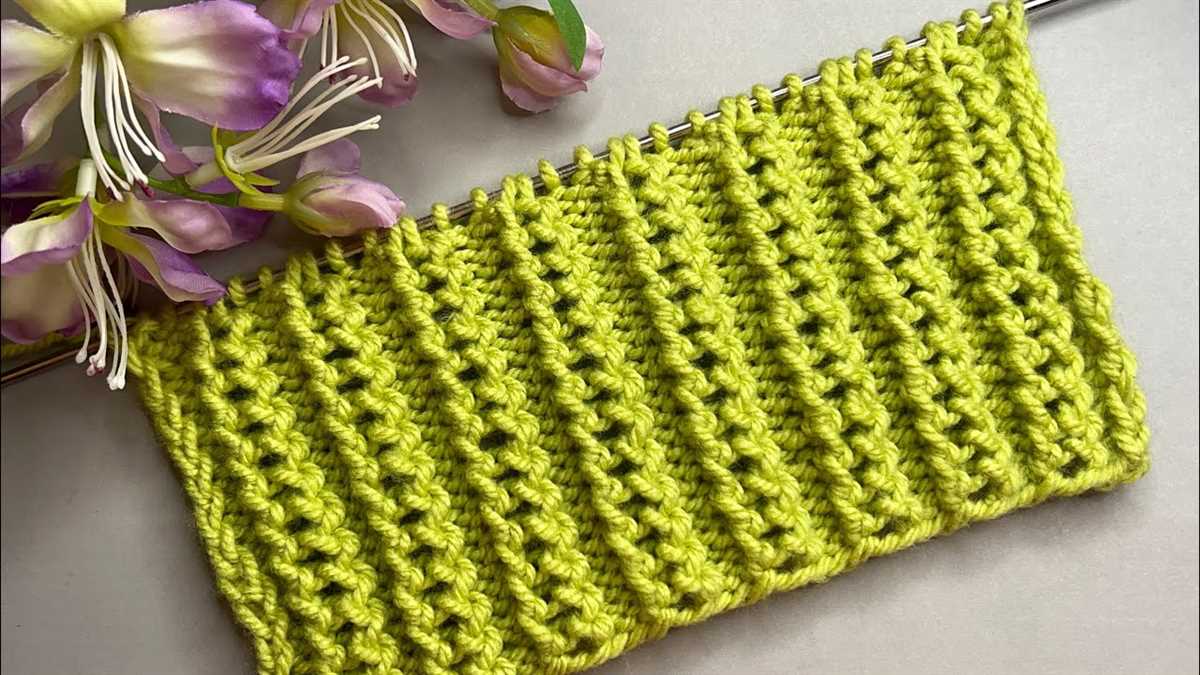
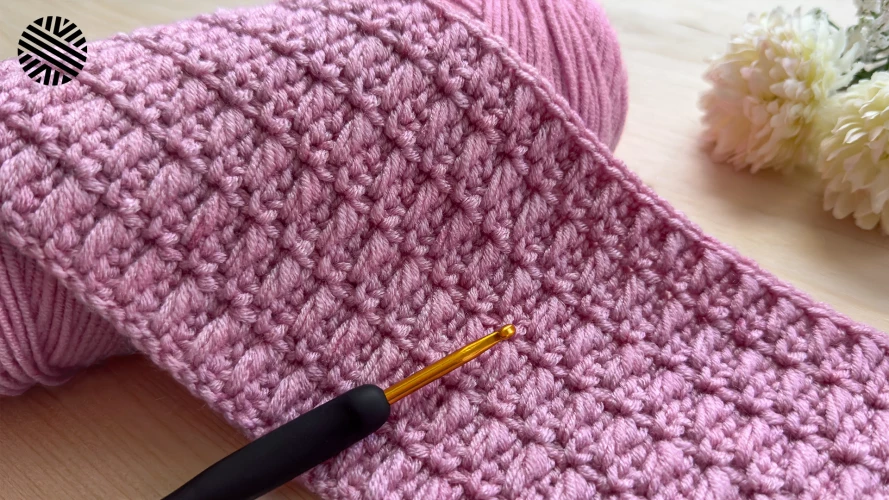
This knitted doll blanket pattern is designed to be simple yet stylish. The blanket features a timeless basket weave stitch pattern that adds texture and charm to any doll’s bedding. With just a few basic knitting techniques, you can create a tiny blanket that will keep any doll warm and cozy.
Not only is this pattern easy to follow, but it is also completely free! We believe that everyone should have access to beautiful knitting patterns, regardless of their budget. With this free pattern, you can create a stunning doll blanket without spending a dime.
Knitted Doll Blanket Pattern Free
Are you looking for a free knitting pattern to make a blanket for your little one’s doll? Look no further! We have a wonderful knitted doll blanket pattern that you can use to create a cozy and adorable blanket for your child’s favorite toy.
This pattern is suitable for beginner knitters and requires basic knitting skills. The blanket is worked in a simple garter stitch, which means you only need to know how to knit. It’s a quick and easy project that you can complete in no time!
Materials:
- Worsted weight yarn in your desired colors
- Size 8 (5mm) knitting needles
- Tapestry needle
Instructions:

- Cast on 30 stitches
- Knit every row until the blanket measures your desired length
- Bind off all stitches
- Weave in any loose ends with a tapestry needle
That’s it! Your knitted doll blanket is complete. Feel free to customize your blanket by adding stripes, using different colors, or even adding a fringe if you’d like. This pattern is versatile and allows you to get creative with your design.
Your child will love seeing their doll snuggled up in a cozy blanket that you made with love. It’s a great way to encourage imaginative play and show your child how much you care. So grab your knitting needles and start creating a special blanket for your little one’s doll today!
Why Knitted Doll Blankets Are Perfect for Beginners
When it comes to learning how to knit, starting with small and simple projects is the key to success. Knitted doll blankets are perfect for beginners because they are small in size and require only basic knitting techniques. This makes them an ideal project for those who are just starting out on their knitting journey.
One of the advantages of knitting a doll blanket is that it allows beginners to practice their stitches without feeling overwhelmed. The small size of the blanket means that it can be completed relatively quickly, providing a sense of accomplishment and boosting confidence. Additionally, the repetitive nature of the pattern allows beginners to become familiar with common knitting techniques, such as casting on, knitting, purling, and binding off.
Materials Needed:
- Yarn: Choose a soft and durable yarn in a color of your choice.
- Knitting Needles: Use a pair of appropriately sized knitting needles to match the yarn weight.
- Tapestry Needle: This needle will be used for weaving in ends and sewing seams.
Instructions:
- Cast on the desired number of stitches using the long tail cast on method.
- Knit every row until the blanket reaches the desired length.
- Bind off all stitches and weave in any loose ends using a tapestry needle.
With these simple instructions and minimal materials, beginners can create a beautiful and functional doll blanket. The size and simplicity of the project make it an excellent way to practice and refine knitting skills. As beginners gain confidence and experience, they can take on more complex projects, using the knowledge and skills they have acquired while knitting doll blankets.
Choosing the Right Yarn for Your Knitted Doll Blanket
When it comes to knitting a doll blanket, choosing the right yarn is essential in creating a cozy and durable accessory for your little one’s favorite toy. The type of yarn you select will determine the overall look, feel, and durability of the blanket, so it’s important to consider a few key factors before making your decision.
1. Fiber Content: The first thing to consider is the fiber content of the yarn. Different fibers have different properties, such as softness, weight, and warmth. For a doll blanket, you’ll want to choose a yarn that is soft, lightweight, and easy to care for. Acrylic or cotton yarns are good options, as they are often machine washable and hypoallergenic.
2. Thickness: The thickness, or weight, of the yarn is another important factor to consider. Thicker yarns will result in a chunkier and more substantial blanket, while thinner yarns will create a more delicate and lightweight accessory. Consider the size of your doll and the intended use of the blanket when selecting the thickness of the yarn. Worsted weight or DK weight yarns are commonly used for doll blankets.
3. Color and Pattern: The color and pattern of the yarn will play a significant role in the overall aesthetic of the doll blanket. You can choose a solid color for a classic and timeless look, or opt for a variegated or self-striping yarn for a more vibrant and playful design. Additionally, consider whether you want to incorporate any stitch patterns or motifs into your blanket, as certain yarns may be more suitable for these techniques.
4. Budget and Availability: Finally, consider your budget and the availability of the yarn. Some specialty yarns may be more expensive or harder to find, while others may be more budget-friendly and readily available. It’s important to find a balance between quality, affordability, and accessibility when selecting the yarn for your doll blanket.
By taking these factors into consideration and choosing the right yarn for your knitted doll blanket, you can ensure that your little one’s favorite toy has a cozy and beautiful accessory that will withstand hours of play and snuggles.
Essential Knitting Tools for Your Doll Blanket Project
When embarking on a doll blanket knitting project, it’s essential to have the right tools to ensure a smooth and enjoyable experience. Here are some must-have knitting tools that will help you create beautiful and cozy doll blankets:
1. Knitting Needles
Invest in a set of high-quality knitting needles in various sizes. For doll blankets, smaller-sized needles like US size 1-3 (2.25-3.25 mm) are commonly used to create a tight gauge. Choosing needles made from bamboo or wood can provide a better grip and smoother knitting experience.
2. Yarn
Choose a soft and durable yarn suitable for doll blankets. Depending on your preference, you can opt for natural fibers like cotton or wool, or synthetic fibers like acrylic. Consider choosing yarns with vibrant colors or interesting textures to add character to your doll blankets.
3. Stitch Markers
Stitch markers are handy tools that help you keep track of your stitches and prevent any mistakes. They come in different forms, such as locking stitch markers or simple circular markers. Using stitch markers can be especially helpful when working on intricate patterns or when you need to mark specific sections of your doll blanket.
4. Tapestry Needles
Tapestry needles are essential for weaving in loose ends and seaming different parts of your doll blanket together. Look for blunt-tip tapestry needles with large eyes that can accommodate the thickness of your yarn. They make weaving in ends a breeze and ensure a neat finished result.
5. Scissors
A good pair of sharp scissors is a must-have tool for any knitting project. Use them to cut yarn, trim loose ends, and shape your doll blanket. Opt for small, portable scissors that fit comfortably in your knitting bag or project pouch.
These essential knitting tools will not only make your doll blanket project easier but also enhance your overall knitting experience. With the right tools at hand, you’ll be able to create beautiful, cozy, and well-finished doll blankets that will bring joy to both you and the recipients of your handcrafted creations.
Step-by-Step Instructions for Knitting Your Doll Blanket
Knitting a doll blanket can be a fun and rewarding project for knitters of all skill levels. Whether you’re a beginner or an experienced knitter, this step-by-step guide will walk you through the process of creating a beautiful blanket for your doll.
Gather Your Materials: Before you begin, make sure you have all the necessary materials. You will need knitting needles, yarn, a tapestry needle, and scissors. Choose a yarn that is appropriate for your doll’s size and the desired thickness of the blanket.
1. Cast On:
Start by casting on the desired number of stitches on your knitting needles. The number of stitches will depend on the size of your doll and the desired width of the blanket. Make sure the stitches are not too tight or too loose.
2. Knit the Rows:
Once you have cast on, begin knitting each row in the desired stitch pattern. You can choose to knit the entire blanket in a basic garter stitch (knit every row) or experiment with different stitch patterns such as stockinette stitch or seed stitch. Make sure to maintain an even tension as you knit.
3. Continue Knitting:
Continue knitting row after row until the blanket reaches the desired length. You can periodically check the length by placing the blanket next to your doll to ensure it will cover the entire body. Keep in mind that the blanket may appear shorter when it is off the needles due to the natural stretch of the knitted fabric.
4. Bind Off:
Once the blanket has reached the desired length, it’s time to bind off. Knit the first two stitches as usual, then insert the left needle into the first stitch on the right needle and lift it over the second stitch and off the needle. Continue this process until you have one stitch remaining, then cut the yarn, leaving a tail. Thread the tail through the final stitch and pull tight to secure.
Finishing Touches: To give your doll blanket a polished look, weave in any loose ends using a tapestry needle. You can also add decorative touches such as a border or fringe, if desired. Once all the finishing touches are complete, your doll blanket is ready to be enjoyed!
Following these step-by-step instructions, you can create a beautiful knitted blanket for your doll. Remember to have fun and be patient with yourself as you develop your knitting skills. Happy knitting!
Tips and Tricks for Achieving the Perfect Gauge
When knitting a pattern, achieving the correct gauge is essential in order to ensure that the finished project will turn out the correct size. Here are some tips and tricks to help you achieve the perfect gauge:
1. Use the recommended yarn and needle size:
Always use the yarn and needle size recommended in the pattern. Different yarns and needle sizes can produce different gauges, so following the recommendations will help you achieve the desired result.
2. Make a gauge swatch:
Before starting your project, make a gauge swatch to check if your knitting matches the pattern’s gauge. Follow the instructions in the pattern to knit a small square using the recommended yarn and needle size. Measure the number of stitches and rows per inch to determine if your gauge matches.
3. Adjust your needle size:
If your gauge is too tight (more stitches per inch than the pattern), try using larger needles. If your gauge is too loose (fewer stitches per inch), try using smaller needles. Keep making swatches with different needle sizes until you achieve the correct gauge.
4. Block your swatch:

Blocking your swatch can help relax the stitches and even out the tension, giving you a more accurate gauge measurement. Wet your swatch and lay it flat to dry, gently shaping it to the correct dimensions. Measure the gauge again after blocking to see if any adjustments are needed.
5. Check your tension as you knit:
While working on your project, periodically measure your gauge to ensure that it remains consistent. If you notice any changes, adjust your tension or needle size accordingly to maintain the correct gauge.
By following these tips and tricks, you’ll be able to achieve the perfect gauge for your knitting projects, ensuring that your finished items turn out just the way you want them to.
Adding Personalization and Embellishments to Your Knitted Doll Blanket
Once you have completed knitting a doll blanket using a free pattern, you can add personalization and embellishments to make it unique and special. There are several ways to do this, allowing you to showcase your creativity and add extra charm to your doll blanket.
1. Embroidery: One popular way to personalize a knitted doll blanket is to add embroidery. Using a needle and embroidery floss in various colors, you can create beautiful designs, names, or initials on the blanket. You can choose to embroider small motifs such as flowers, hearts, or stars, or you can opt for larger patterns like animals or geometric shapes.
2. Appliques: Another way to add personalization to your doll blanket is by attaching appliques. You can purchase or create your own appliques using fabric scraps or felt. From flowers and animals to letters and numbers, there are a variety of appliques available in different shapes and sizes. Simply sew or glue them onto your doll blanket to give it a playful and customized touch.
3. Pom-poms and Tassels: Adding pom-poms or tassels to the corners of your doll blanket can enhance its visual appeal. You can create pom-poms using yarn in matching or contrasting colors, and attach them securely to each corner. Tassels can be made using embroidery floss or yarn, and can be added individually or in groups at the corners or along the edges of the blanket.
4. Edging: Choosing a unique edging for your doll blanket can also make it stand out. You can opt for a simple garter or seed stitch border, or you can try a more intricate lace or cable pattern that complements the main body of the blanket. Adding a contrasting color to the edging can further enhance its appearance.
5. Ribbons and Bows: For a touch of elegance, you can attach ribbons or bows to your doll blanket. Satin or grosgrain ribbons in coordinating colors can be tied or sewn in the corners or along the edges of the blanket. Bows made from ribbon can be attached at the corners or as accents on appliques or embroidery.
By adding personalization and embellishments to your knitted doll blanket, you can create a cherished keepsake that reflects your style and craftsmanship. Whether you choose to embroider, add appliques, attach pom-poms or tassels, select a unique edging, or incorporate ribbons and bows, your doll blanket will become a one-of-a-kind creation that any doll or child will treasure.
Finishing Techniques for a Professional-Looking Doll Blanket
When knitting a doll blanket, it’s important to pay attention to the finishing techniques to achieve a professional-looking result. These techniques can make a big difference in the overall appearance of the blanket and ensure that it is both functional and aesthetically pleasing. Here are some tips to help you achieve a polished finish for your doll blanket:
1. Blocking
Blocking is a crucial step in finishing any knitted project, including a doll blanket. This technique involves gently stretching the blanket to shape it and then allowing it to dry in that shape. This helps even out any inconsistencies in tension and creates a flat and neat finish. To block your doll blanket, you can use blocking mats or a towel and some rustproof pins. Simply pin the edges of the blanket to the desired shape and let it dry completely.
2. Edging
Add a professional touch to your doll blanket by adding a decorative or functional edging. This can be done by picking up stitches along the edges and working a nice border. You can choose from a variety of edging options, such as garter stitch, ribbing, or lace patterns. The edging not only adds visual interest but also helps prevent the edges of the blanket from curling. Make sure to bind off the edge stitches neatly for a clean finish.
3. Weaving in Ends

Another important finishing step is weaving in the loose ends of yarn. When changing colors or joining yarn, make sure to leave a long enough tail to weave in later. Using a tapestry needle, thread the tail through the stitches on the wrong side of the blanket, going back and forth to secure it in place. Trim any excess yarn, being careful not to cut the stitches. This will give your doll blanket a polished look and prevent any loose ends from unraveling.
4. Care Instructions
Finally, consider adding care instructions to your doll blanket to give it a professional touch. This can be done by creating a small tag, either knitted or paper, and attaching it to one corner of the blanket. Include information on how to wash, dry, and store the blanket to ensure its longevity and maintain its appearance. This attention to detail will show your craftsmanship and make your doll blanket look even more professional.
By following these finishing techniques, you can elevate your doll blanket from homemade to professional-looking. Taking the time to block, add a decorative edging, weave in the ends, and include care instructions will give your doll blanket a polished finish that will impress both children and adults alike.
How to Care for Your Knitted Doll Blanket
Knitted doll blankets can be delicate and require special care to ensure they stay in good condition for a long time. Follow these tips to properly care for your knitted doll blanket:
Hand Wash Only
It is important to hand wash your knitted doll blanket to avoid damaging the delicate fibers. Fill a basin or sink with lukewarm water and add a small amount of mild detergent. Gently swirl the blanket in the soapy water, being careful not to agitate or stretch it too much. Rinse the blanket thoroughly with cool water until all the soap is removed.
Dry Flat
After washing, gently squeeze out excess water from the blanket. Do not wring or twist the blanket as it may lose its shape. Lay the blanket flat on a clean towel and roll it up to absorb even more moisture. Then, carefully unroll the blanket and lay it flat on a drying rack or clean, dry towel. Avoid hanging the blanket to dry as this can cause it to stretch and lose its shape.
Store Properly
When the knitted doll blanket is completely dry, it is important to store it properly to prevent any damage. Fold the blanket neatly and place it in a cotton or muslin bag, away from any direct sunlight. Avoid storing the blanket in plastic bags or containers as this can trap moisture and lead to mildew or odors. Additionally, keep the blanket away from any sharp objects or rough surfaces to prevent any snags or tears.
By following these care instructions, you can ensure that your knitted doll blanket remains soft, cozy, and beautiful for many years to come.
Inspiration and Ideas for Customizing Your Doll Blanket
Knitting a doll blanket is a fun and rewarding project that allows you to personalize and customize the blanket to your liking. Whether you are making a gift for a special child in your life or creating a treasured heirloom, there are endless possibilities for adding unique touches to your knitted doll blanket.
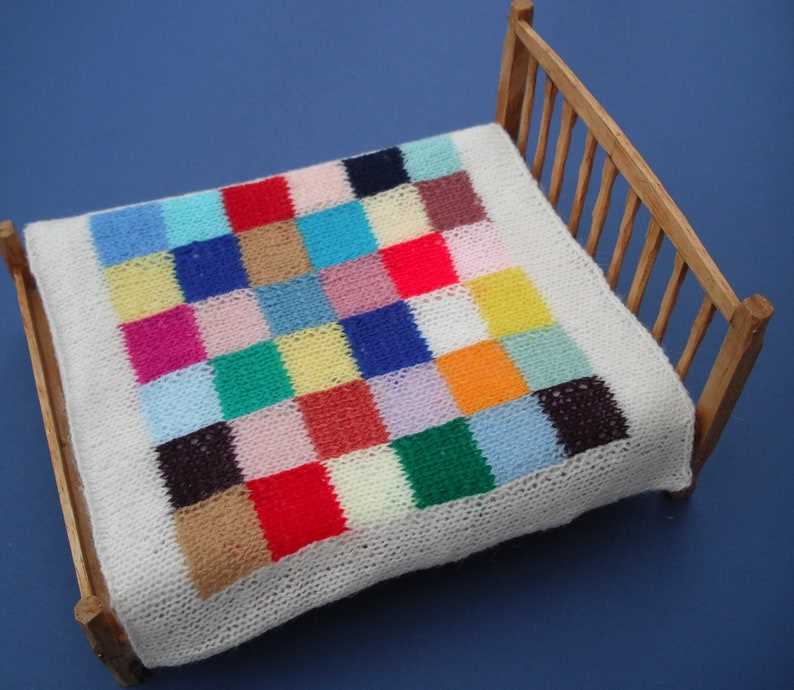
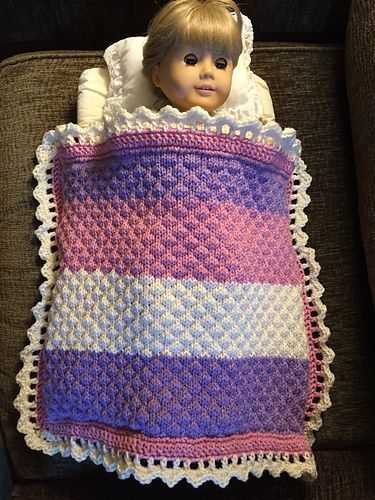
Color Inspiration: One way to personalize your doll blanket is by choosing the perfect colors. Consider the recipient’s favorite colors or coordinate with their doll’s outfit. You can also create a multicolored blanket using a striped or color-block pattern. Experiment with different color combinations to create a vibrant and eye-catching design.
Embroidery and Appliqué:
Adding embroidery or appliqué to your doll blanket is another way to customize it. You can stitch on the recipient’s name or initials, along with fun shapes or designs. Use contrasting yarn colors to make the embroidery stand out, or choose matching colors for a more subtle look. Appliqué can also be used to add small fabric designs or patches to the blanket, giving it an extra special touch.
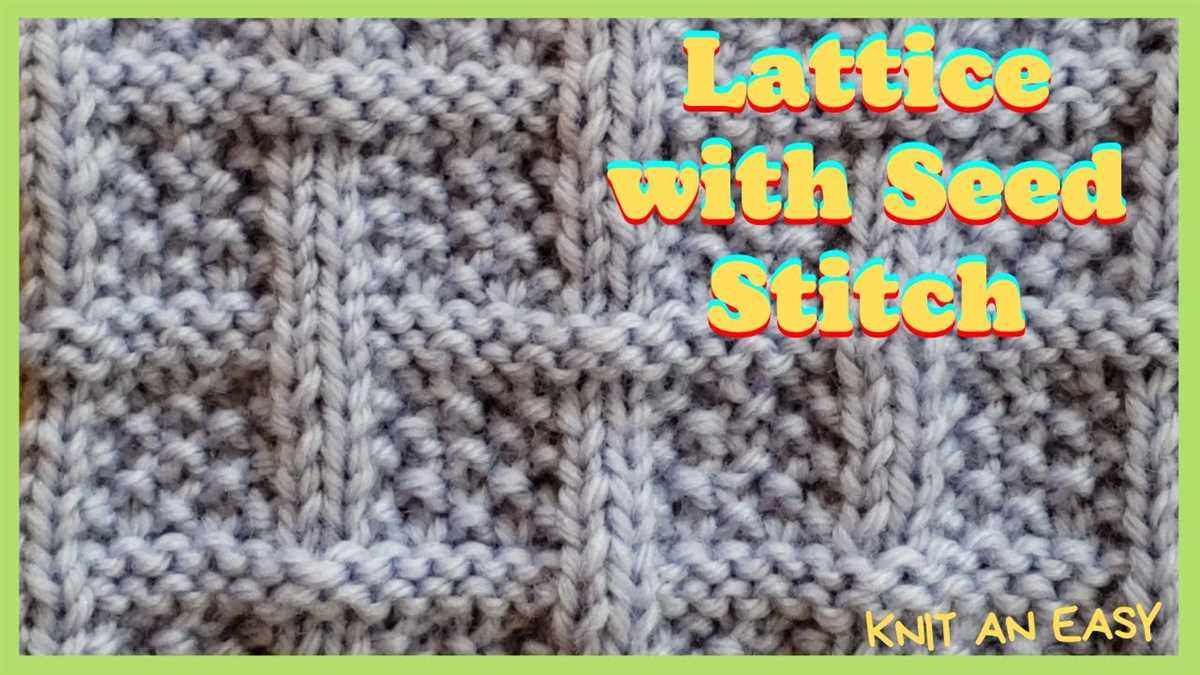
Texture and Pattern:
Consider incorporating different textures and patterns into your doll blanket to make it visually interesting. Options include using different knitting stitches like ribbing, cables, or lace. You can also experiment with different yarn weights and textures, such as fluffy mohair or soft cotton, to give your blanket a unique feel. Don’t be afraid to get creative and mix and match different patterns and textures throughout the blanket.
Size and Shape:

While doll blankets are generally smaller in size, you can still customize the dimensions to fit your needs. You may want to make a larger blanket to be used as a lap blanket or keep it smaller for a doll’s bed. Additionally, consider the shape of the blanket. You can make a traditional rectangular shape, or try knitting a circular or hexagonal blanket for a more unconventional look.
Finishing Touches: Lastly, don’t forget to add some finishing touches to your doll blanket. This could include adding a scalloped or picot edging, attaching a fringe, or adding buttons or ribbons as embellishments. These small details can make a big difference in the overall appearance and personalized feel of the blanket.
Remember, the most important thing when customizing your doll blanket is to have fun and let your creativity shine through. With these ideas and inspiration, you can create a one-of-a-kind blanket that will be treasured for years to come.
Where to Find More Free Knitted Doll Blanket Patterns
If you’re looking for more free knitted doll blanket patterns, there are plenty of resources available online. Here are a few places you can explore:
- Knitting websites and blogs: Many knitting websites and blogs offer free patterns for a variety of projects, including doll blankets. Spend some time browsing through these sites to find patterns that suit your preferences. Some popular knitting websites and blogs include Ravelry, LoveKnitting, and AllFreeKnitting.
- Online forums and communities: Joining online forums and communities dedicated to knitting can be a great way to connect with other knitters and access a wealth of free patterns. These communities often have dedicated sections for sharing and finding patterns, so make sure to explore them for doll blanket ideas.
- Social media: Platforms like Instagram, Pinterest, and Facebook are filled with knitting enthusiasts who love to share their patterns. Use hashtags like #knittingcommunity, #knittingpatterns, or #dollblanket to discover new patterns and connect with fellow knitters.
- Publications and magazines: Knitting magazines and books sometimes feature free patterns, including doll blanket designs. Keep an eye out for these publications in bookstores or libraries, or search for digital versions online.
- Local knitting groups: Joining a local knitting group or attending knitting meetups can be a great way to connect with experienced knitters who may be willing to share their patterns. These groups often organize pattern swaps or have resources for finding free patterns.
Remember to always read and follow the pattern carefully, and feel free to customize it to match your desired size, colors, and stitch patterns. Happy knitting!