Creating a Lunar Knitting Pattern

The moon is a symbol of mystery and beauty that has fascinated humans for centuries. From ancient myths and legends to modern science, the moon holds a special place in our imaginations. It’s no wonder that it has become a popular motif in various forms of art and crafts, including knitting.
Knitting is a wonderful hobby that allows you to create unique and beautiful items with just a few simple tools and some yarn. One of the most popular knitting patterns that incorporate the moon motif is the knitted moon pattern. This pattern allows knitters to create stunning pieces of clothing and home decor items that feature a moon design.
The knitted moon pattern can be used to create a variety of items, such as scarves, hats, blankets, and even stuffed toys. The design typically features a round shape with textured stitches to mimic the craters and shadows on the surface of the moon. This gives the finished piece a three-dimensional and realistic look.
If you’re a beginner knitter, don’t worry! The knitted moon pattern is suitable for knitters of all skill levels. There are plenty of easy-to-follow instructions and tutorials available online that can guide you step by step through the process of creating your own knitted moon masterpiece. And once you get the hang of it, you can experiment with different colors and yarn weights to personalize your designs.
How to Knit a Moon Pattern: Step-by-Step Guide

Knitting a moon pattern can be a fun and rewarding project for knitters of all skill levels. Whether you are a beginner or an experienced knitter, this step-by-step guide will help you create your own beautiful moon design.
Gather the Materials:
Before you begin knitting your moon pattern, gather all the necessary materials. You will need a set of knitting needles, preferably in a size appropriate for your chosen yarn. Additionally, choose a yarn color that resembles the moon, such as a light gray or silver. It’s also helpful to have a tapestry needle for finishing touches.
Cast On and Start Knitting:
Begin by casting on the desired number of stitches for your moon pattern. This will depend on the size of the moon you want to create. Once you have cast on, start knitting in the round or back and forth, depending on your preferred knitting method. Follow the pattern instructions carefully, making sure to maintain an even tension throughout.
Create the Moon Shape:
To create the moon shape, you will need to increase and decrease stitches at specific points in the pattern. This will give the moon its characteristic crescent shape. Pay attention to the pattern instructions and adjust your stitch count accordingly. You may need to use stitch markers to keep track of your increases and decreases.
Add Details and Finish:
Once you have completed the main body of the moon pattern, you can add any desired details, such as craters or texture, using different knitting techniques. Experiment with different stitch patterns to achieve the desired effect. Once you are satisfied with the final result, bind off your stitches and weave in any loose ends using a tapestry needle. Block the finished moon pattern if necessary to enhance its shape and appearance.
Knitting a moon pattern can be a creative and enjoyable project. With this step-by-step guide, you can confidently create your own unique moon design. Whether you use it as a decorative element or incorporate it into other knitting projects, your moon pattern is sure to impress!
Choosing the Right Yarn and Needles

When knitting a moon pattern, it is important to choose the right yarn and needles to ensure the success of your project. The yarn you choose will determine the texture, drape, and overall look of your knitted moon. Additionally, the needles you use will affect the gauge and size of your final product.
Yarn: For a knitted moon, you will want to select a yarn that is soft and smooth, as this will give your moon a nice polished appearance. Worsted weight yarn is a good choice, as it is versatile and easy to work with. Consider using a yarn in a light gray or silver color to mimic the shine of the moon. It is also important to check the recommended gauge on your yarn label to ensure that it will work well with your chosen needle size.
Needles: The needle size you choose will depend on the desired gauge and density of your knitted moon. Generally, a size 8 or 9 US (5 or 5.5 mm) needle is a good starting point for worsted weight yarn. However, it is always a good idea to do a swatch before starting your project to ensure that you are getting the desired gauge. The type of needle you use is also a matter of personal preference. Circular needles can be helpful for larger projects or if you prefer to knit in the round, while straight needles are commonly used for flat knitting.
Overall, choosing the right yarn and needles for your knitted moon pattern will greatly contribute to the success of your project. Consider the texture, drape, and color of the yarn, as well as the desired gauge and size when selecting your materials. With the right choices, you will be well on your way to creating a beautiful knitted moon.
Casting On Stitches
When starting a knitting project, one of the first steps is to cast on stitches. This is the process of adding the initial loops onto the knitting needles. There are various methods to cast on stitches, each with its own advantages and uses.
One of the most common methods is the long-tail cast on. This involves using a long tail of yarn to create the initial loops. The long tail is wrapped around the thumb and the working yarn is held by the fingers. By alternating between slipping the needle under the loop on the thumb and under the working yarn, the stitches are created. This cast on method creates a firm and flexible edge, making it suitable for a wide range of projects.
Another popular method is the knit cast on. This method is similar to the long-tail cast on, but uses a different technique to create the loops. Instead of using a long tail, the working yarn is wrapped around the needle and a loop is created by pulling the working yarn through it. This cast on produces a slightly looser edge and is often used for projects where stretch is required, such as hats or cuffs.
The cable cast on is another option, which involves using a cable needle to create the initial loops. This method is often used when joining new yarn or adding stitches in the middle of a row. The cable cast on creates a secure and neat edge, making it a good choice for projects that require stability, such as blankets or scarves.
Regardless of the method chosen, casting on stitches is an essential skill for any knitter. It sets the foundation for the project and determines the overall appearance and functionality of the finished piece. Practice and experimentation with different methods will help to develop confidence and expertise in this fundamental knitting technique.
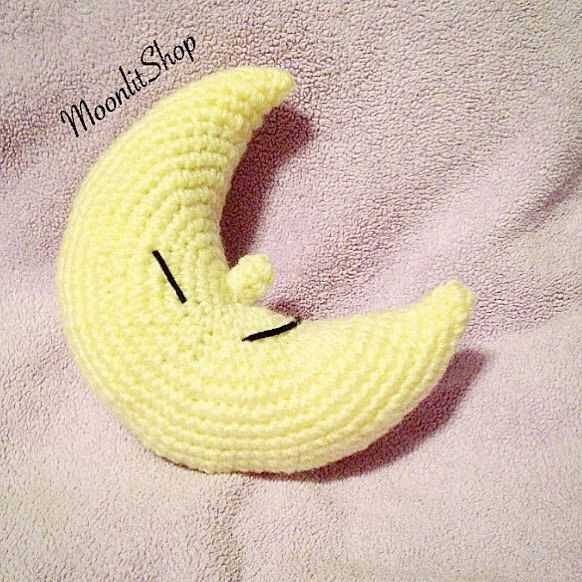
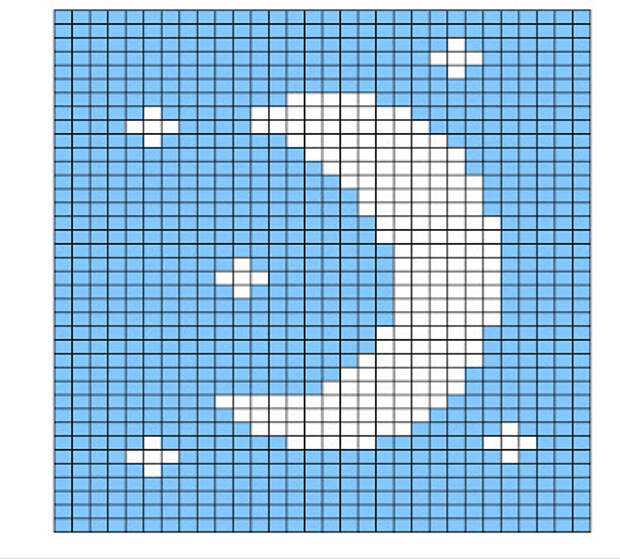
Creating the Moon Shape
The moon shape of the knitted moon pattern can be achieved by following a series of carefully planned steps. Here is a step-by-step guide on how to create the moon shape:
Selecting the right yarn and knitting needles
Before starting the project, it is important to choose the right yarn and knitting needles for creating the moon shape. A medium-weight yarn with a soft texture is recommended for achieving a smooth and even surface. As for the knitting needles, a pair of circular needles in the appropriate size for your yarn is a good choice.
Begin with a small cast-on
To create the moon shape, you will start with a small cast-on. This will serve as the center point of your moon. Using the long-tail cast-on method, cast on a small number of stitches. The exact number will depend on the size of the moon you want to create.
Increase stitches gradually
Once you have the center point established, the next step is to increase stitches gradually to create the rounded shape of the moon. This can be achieved by working a series of increase rows. The number of stitches to increase on each row will depend on the size of the moon and the desired shape.
Shape the edges
As you continue to knit, it’s important to shape the edges of the moon to give it a realistic appearance. This can be done by working decreases on the edges of the moon. By decreasing stitches gradually, you will create a curved edge that resembles the shape of the moon.
Finishing touches
Once you have achieved the desired rounded shape and the edges are shaped, you can finish off your knitted moon pattern by binding off the stitches and weaving in any loose ends. You can also choose to add additional details, such as embroidery or beading, to enhance the appearance of the moon.
Adding Texture and Detail
When knitting a moon pattern, adding texture and detail can enhance the overall appearance and make the design more visually appealing. There are several techniques that can be used to achieve this, such as cables, bobbles, and lace stitches.
Cables: Cables are a popular choice for adding texture to knitted projects. They involve crossing stitches over each other to create a raised pattern that stands out. For a moon pattern, you can incorporate cable stitches to represent craters or the uneven surface of the moon.
Bobbles: Bobbles are small, rounded raised stitches that can be added to the knitting to create a three-dimensional effect. They can be used to represent stars or other celestial objects in the moon pattern. Bobbles are created by working several stitches into the same stitch and then knitting them together on the next row.
Lace Stitches: Lace stitches can be used to create an airy and delicate texture in the moon pattern. They often feature openwork patterns of yarnovers and decreases, which form decorative holes and shapes. Lace stitches can be used to represent the glow of the moon or to create a celestial motif within the design.
Combining Techniques: To create a more intricate and detailed moon pattern, you can combine different techniques. For example, you can incorporate cables for the craters, bobbles for the stars, and lace stitches for the glow of the moon. Experimenting with different combinations can result in a unique and visually stunning knitted moon pattern.
Working in Different Knitting Techniques
Knitting is a versatile craft that allows for a wide variety of techniques to be used. From basic knit and purl stitches to more advanced lace and cable patterns, there is always something new to learn and try. Each knitting technique creates a unique texture and appearance, allowing knitters to explore different styles and create truly one-of-a-kind projects.
Lace knitting is a delicate and intricate technique that involves creating open, lacy patterns by increasing and decreasing stitches. This technique is often used to create delicate shawls, scarves, and doilies. The beauty of lace knitting lies in the intricate patterns that are formed, showcasing the skill and artistry of the knitter.
Cable knitting is another popular technique that creates interwoven patterns that resemble braids or cables. By crossing stitches in a specific order, intricate cable designs can be formed. Cable knitting is often used to create cozy sweaters, hats, and blankets, adding depth and texture to these knit items.
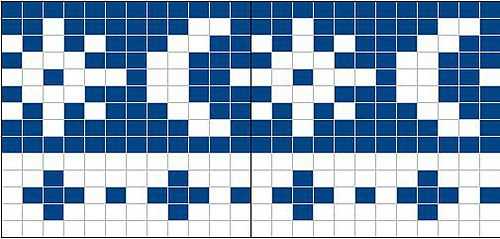
Colorwork is a technique that involves using multiple colors of yarn to create patterns or designs. Fair Isle and intarsia are two common methods of colorwork. Fair Isle creates intricate patterns by alternating between two or more colors within a row, while intarsia allows for larger blocks of color to be incorporated into the design. Colorwork adds visual interest and complexity to knitted garments, making them stand out.
Knitting in the round is a technique used to create seamless tubes, without the need for seams or sewing. This technique is often used to create hats, socks, and sleeves of garments. Circular knitting needles or double-pointed needles are used to work in the round, allowing for continuous stitching without interruption.
By experimenting with different knitting techniques, knitters can expand their skills and create a diverse range of projects. Whether it’s adding intricate lace patterns to a shawl or incorporating colorful Fair Isle designs into a sweater, each technique offers its own unique challenges and rewards.
Switching Colors for a More Realistic Look
When knitting a moon pattern, you might want to consider switching colors to achieve a more realistic look. By using different shades of gray or white, you can create depth and texture that mimics the surface of the moon. This technique can make your knitted moon appear more three-dimensional and visually interesting.
To start, you will need to choose the shades of gray or white that you want to use for your moon pattern. Consider using a lighter shade for the main body of the moon and darker shades for the craters and shadows. This will help create contrast and make the details of the moon stand out.
Here are some tips for switching colors in your knitted moon pattern:
- Introduce the new color: To switch colors, simply drop the old yarn and start knitting with the new color. Leave a tail of both colors on the back of your work and weave them in later to secure them.
- Use a stitch marker: If you are switching colors in the middle of a row, it can be helpful to place a stitch marker to remind you where to make the switch. This will ensure that your color changes are neat and even.
- Knit with multiple strands: To create a more variegated effect, you can knit with multiple strands of different shades at once. This will give your moon pattern a more realistic look and add depth to the design.
By following these tips and experimenting with different shades, you can create a knitted moon pattern that has a realistic and visually appealing look. Remember to have fun and be creative with your color choices to make your moon pattern truly unique.
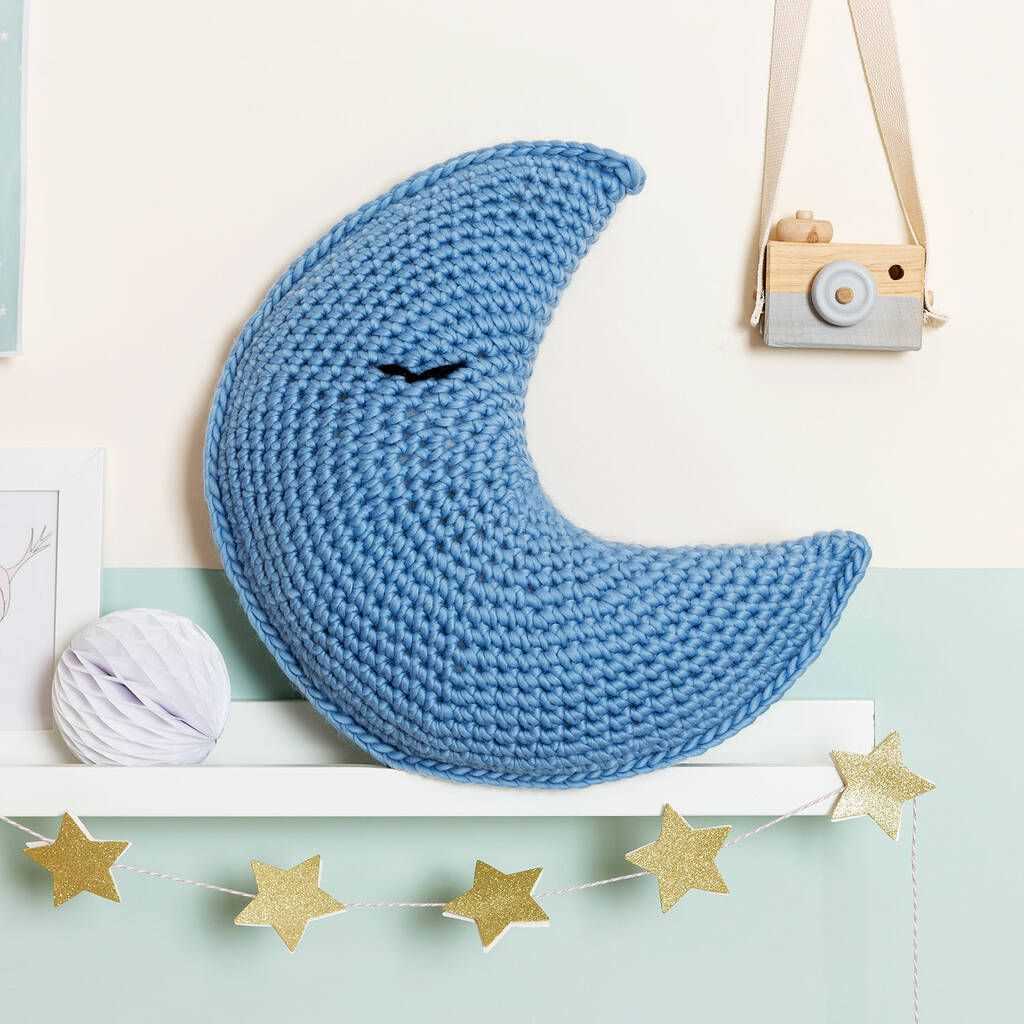
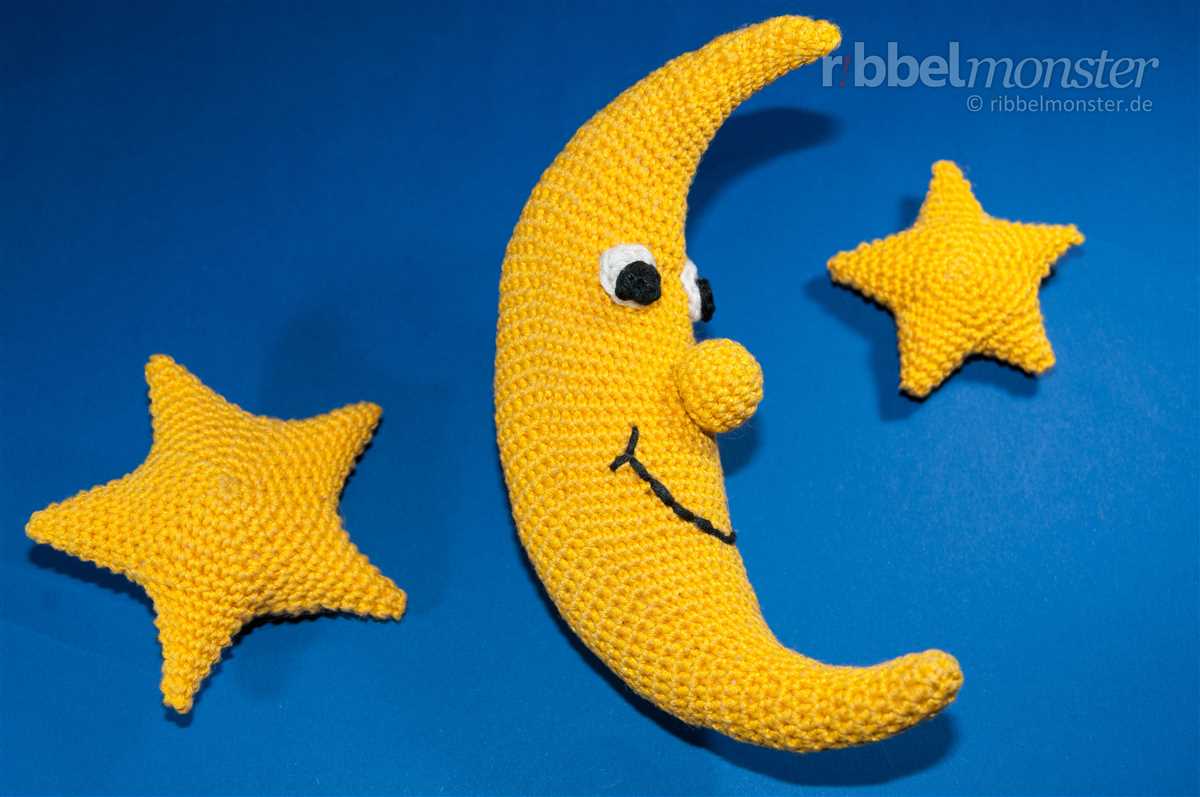
Adding a Face to the Moon
Knitting a moon pattern can be a fun and creative project for those who enjoy knitting. One way to add a personal touch and make your moon pattern unique is by adding a face to it. This can give your moon character and bring it to life.
Materials Needed:
- Yarn in desired colors
- Knitting needles
- Embroidery floss or yarn in contrasting color
- Scissors
- Tapestry needle
Step 1: Create the Moon
Begin by knitting the base of the moon pattern. This can be done by casting on the desired number of stitches and knitting in the round or flat, depending on your preference. Use a basic stitch pattern, such as stockinette stitch, to create the shape of the moon.
Step 2: Add the Face
Once the base of the moon is complete, it’s time to add the face. Decide on the expression you want your moon to have and choose your colors accordingly. You can use embroidery floss or yarn in a contrasting color to embroider the face onto the moon. Start by outlining the eyes, nose, and mouth using small stitches. Then, fill in the details, such as the eye pupils and the shape of the mouth, to give your moon its unique expression.
Finishing and Binding Off Stitches
After completing the knitting project, it is important to properly finish and bind off the stitches to secure the work and give it a clean edge. Finishing techniques may vary depending on the specific pattern and desired outcome. Here are some common methods to consider:
1. Basic Bind Off:
The basic bind off method is the most commonly used to finish knitting. To perform this technique, knit the first two stitches, then pass the first stitch over the second stitch and off the needle. Continue knitting one more stitch and passing the previous stitch over it until only one stitch remains. Cut the yarn and pull it through the final loop to secure.
2. Stretchy Bind Off:
For projects that require more stretch, such as hats or cuffs, a stretchy bind off is recommended. The stretchy bind off method involves working yarnovers and knit stitches. To perform this bind off, knit the first two stitches, then yarn over and pass the first stitch over the yarn over and off the needle. Continue knitting one more stitch, then yarn over, pass the previous stitch over the yarn over and off the needle. Repeat this process until only one stitch remains and secure the yarn.
3. Picot Bind Off:
The picot bind off creates a decorative edge with small loops along the edge of the work. To execute this binding off method, knit the first two stitches, then bind them off by passing the first stitch over the second stitch and off the needle. Cast on two stitches using the backward loop method, then knit the next two stitches and bind them off as before. Repeat this sequence until all stitches are bound off and cut the yarn, leaving a tail for weaving in.
To achieve a professional finish, it is important to weave in any loose ends and block the finished project according to the pattern instructions. Blocking helps to even out stitches, add drape and shape to the knitted piece. Overall, finishing and binding off stitches properly is essential for a polished final result in knitting projects.
Blocking and Shaping the Knitted Moon
Once you have finished knitting the moon pattern, the next step is to block and shape it. Blocking is the process of setting the shape of your knitted piece by wetting it and then drying it in the desired shape. This is important to ensure that the moon retains its round shape and looks neat and polished.
To block the knitted moon, follow these steps:
- Fill a sink or basin with lukewarm water and add a mild detergent.
- Submerge the knitted moon in the water and gently squeeze it to let the water soak in.
- Leave the moon to soak for about 10-15 minutes, allowing the fibers to relax.
- After soaking, gently squeeze out the excess water from the moon, being careful not to wring or twist it.
- Lay a clean towel on a flat surface and place the moon on top of it.
- Gently shape the moon into a round shape, using your hands to smooth out any wrinkles or unevenness.
- Pin the edges of the moon to the towel using rustproof pins, making sure it stays in the desired shape.
- Allow the moon to air dry completely, which may take 24-48 hours depending on the climate.
- Once dry, carefully remove the pins and give the moon a final inspection to ensure it is shaped perfectly.
By blocking and shaping the knitted moon, you will achieve a professional finish and enhance the overall look of your project. Enjoy displaying your beautifully crafted knitted moon and admire your skill and creativity!
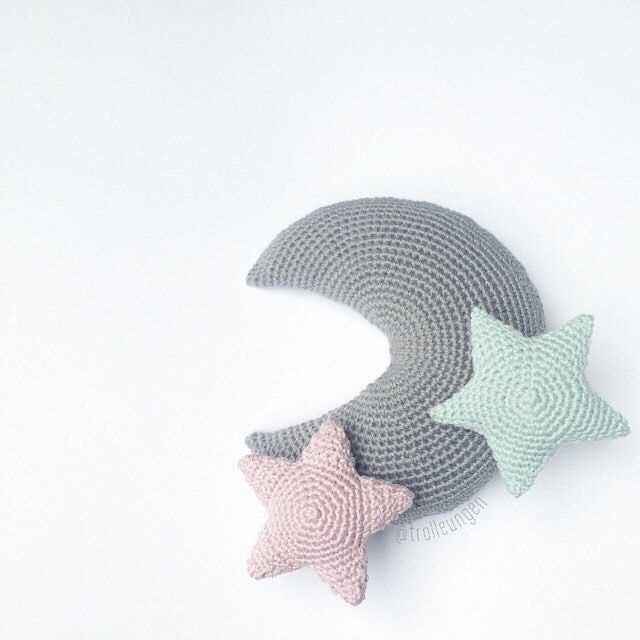
Using the Knitted Moon in Different Projects
Now that you have learned how to create a knitted moon pattern, there are endless possibilities for incorporating it into various projects. The knitted moon can add a whimsical touch to clothing, accessories, home decor, and even toys. Here are some ideas on how you can use the knitted moon in different projects:
Clothing
Add the knitted moon to sweaters, cardigans, hats, scarves, and mittens for a unique and eye-catching detail. You can create a pattern of multiple moons or simply add one as an accent piece. The choice of colors can be customized to match any outfit or personal style.
Accessories
The knitted moon can be used to embellish bags, backpacks, keychains, and even jewelry. Attach a small moon motif to a hair accessory or create a brooch with a larger moon design. The possibilities are endless for adding a touch of moon magic to your accessories.
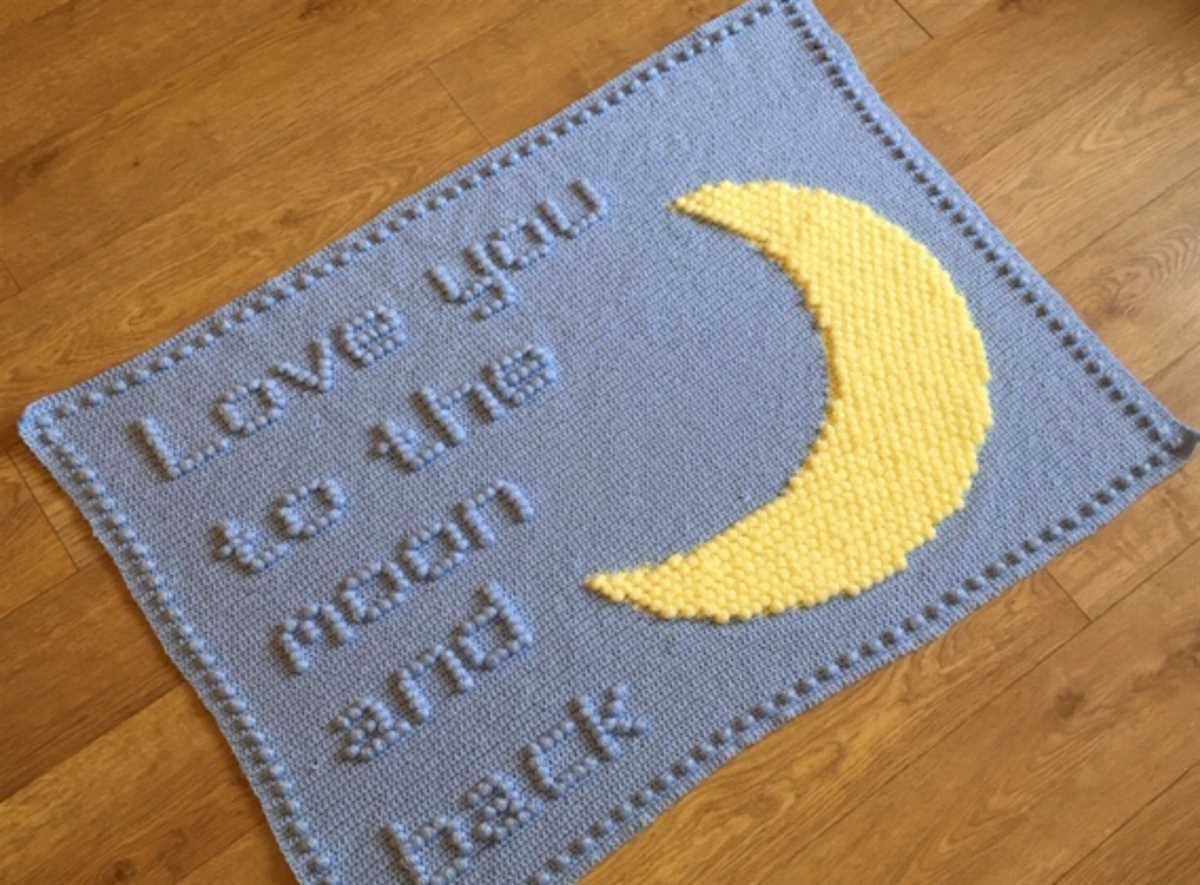
Home Decor
Bring the beauty of the knitted moon into your home by incorporating it into your decor. You can create moon-shaped throw pillows, wall hangings, and even lampshades. The knitted moon can also be used as an applique on blankets, curtains, and table runners to add a touch of coziness and charm to your living space.
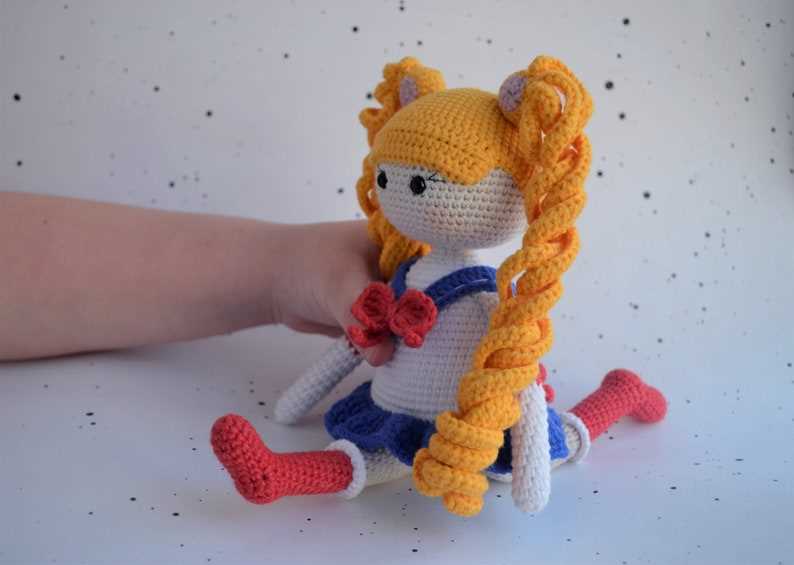
Toys
The knitted moon can be a wonderful addition to handmade toys. You can create stuffed animals with a moon-shaped belly or incorporate the moon into the design of a doll or teddy bear. Children will love cuddling with their moon-inspired plush toys.
In conclusion, the knitted moon pattern can be used in various projects to add a touch of whimsy and charm. Whether it’s clothing, accessories, home decor, or toys, the knitted moon is sure to bring a sense of magic and beauty to your creations.