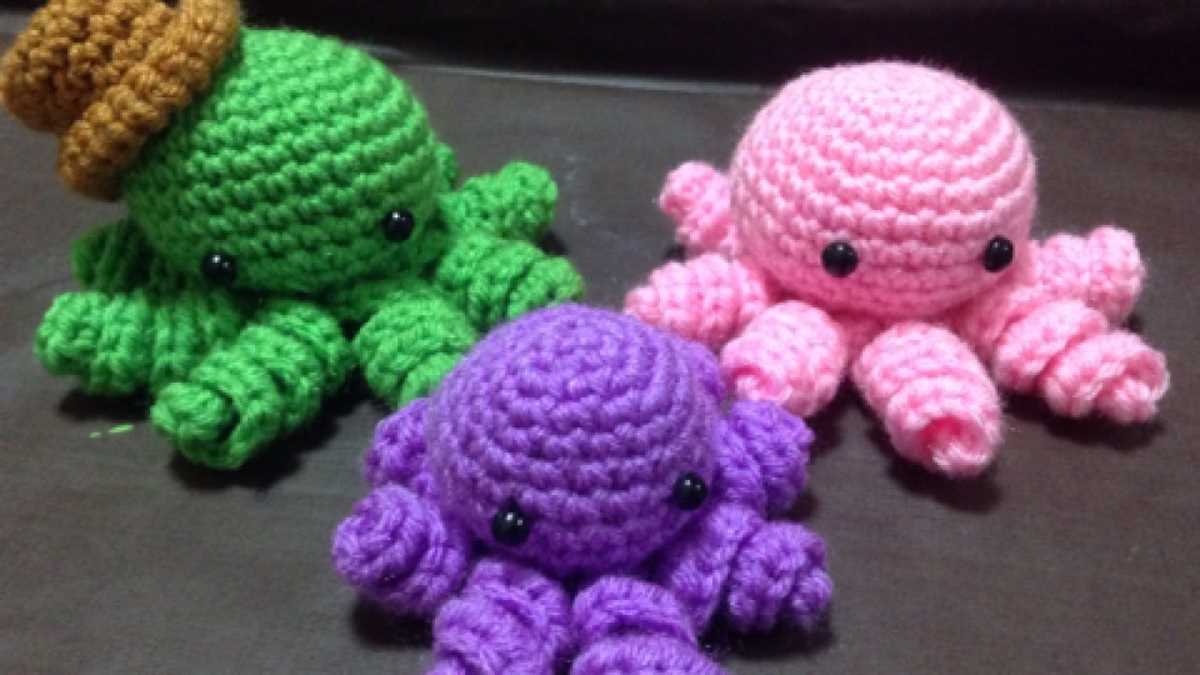
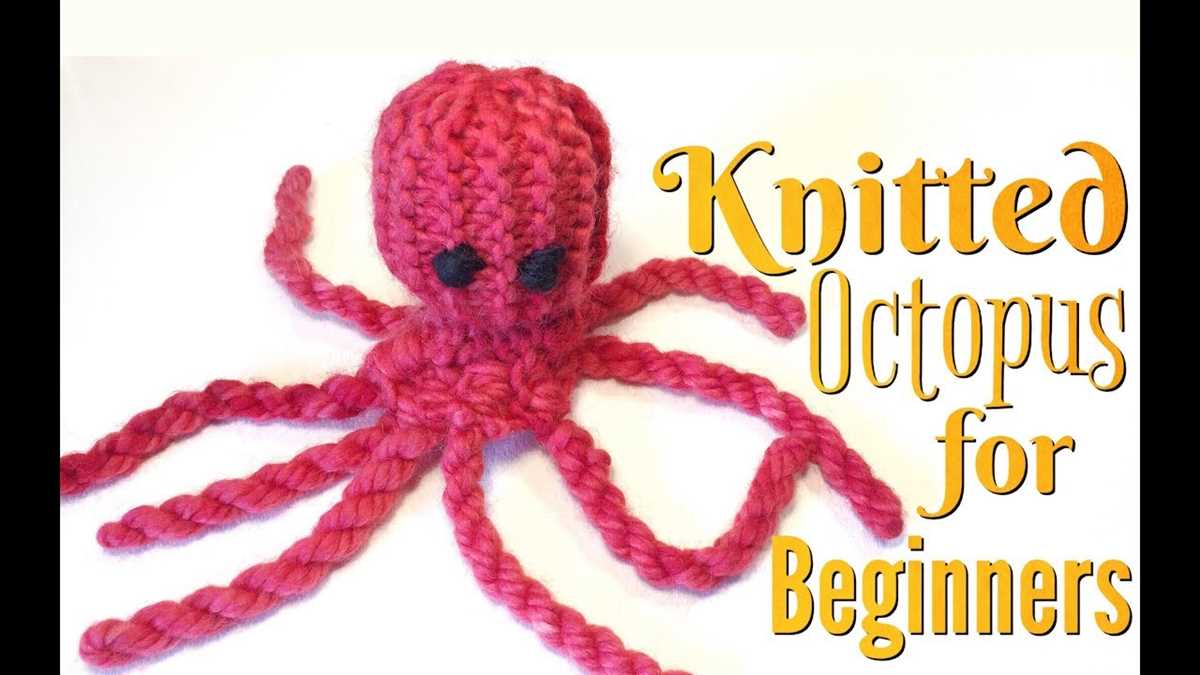
Delightful Octopus Knitting Pattern for Beginners

Knitting is a popular hobby that allows you to create beautiful and unique pieces of clothing and accessories. One such adorable knitting project is a small octopus! These tiny creatures make for a charming decoration or a lovely toy for children.
With this small octopus knitting pattern, you can create your own little octopus in no time. Whether you want to challenge your skills or are just starting out with knitting, this pattern is suitable for all levels of experience.
Knitted octopuses are also special because they can be given to premature babies as cuddly companions. The tentacles of the octopus mimic the umbilical cord, which brings comfort and a sense of security to the babies. By knitting and donating these tiny octopuses to hospitals, you can make a difference in the lives of these little ones.
In this article, we will provide step-by-step instructions on how to knit a small octopus. From choosing the right yarn and needles to shaping the head and adding the finishing touches, you will have all the information you need to create your own adorable octopus. So grab your knitting supplies and get ready to bring this cute creature to life!
How to Knit a Small Octopus: A Step-by-Step Guide
Knitting a small octopus can be a fun and rewarding project for both beginners and experienced knitters alike. With just a few simple steps, you can create a cute and cuddly toy that will delight children and adults alike. Follow this step-by-step guide to learn how to knit your own small octopus.
Gather Materials
Before you begin, gather all the materials you’ll need for this project. You’ll need a set of knitting needles, yarn in your desired color, polyester fiberfill for stuffing, and a yarn needle for sewing the pieces together. Make sure to choose a soft, durable yarn that will be comfortable for little hands to play with.
Cast On and Knit the Body

Start by casting on the desired number of stitches for the body of the octopus. Use a basic knitting stitch, such as the knit stitch, to create rows of fabric. Knit until the body measures the desired length, then bind off the stitches to finish the body.
Create the Tentacles

To create the tentacles, cast on a smaller number of stitches and knit rows until each tentacle is the desired length. You can make the tentacles as long or short as you like, but a length of around 4-6 inches usually works well. Once all the tentacles are knitted, bind off the stitches to finish them.
Assemble the Octopus

To assemble the octopus, fold the body in half lengthwise and sew the edges together, leaving an opening for stuffing. Fill the body with polyester fiberfill until it is plump and round. Then, gather the edges of the opening and sew them closed to secure the stuffing. Attach the tentacles to the bottom of the body, evenly spacing them around. Sew them securely in place, making sure they are straight and secure.
Once you’ve finished assembling your small octopus, give it a good fluff and shape it with your hands. You can embroider eyes on the head or add other small details, if desired. Now your small octopus is ready for playtime or to be given as a gift!
Materials Needed to Knit a Small Octopus
To knit a small octopus, you will need a few essential materials. Here is a list of what you will need:
- Yarn: Choose a soft and washable yarn in your desired octopus color. Acrylic or cotton yarn is a popular choice for this project.
- Knitting Needles: Size US 5 or 6 knitting needles will work well for this small octopus pattern.
- Stuffing: You will need filling material to stuff the octopus. Polyester fiberfill or cotton stuffing is commonly used.
- Stitch Marker: A stitch marker will help you keep track of your stitches as you work on your octopus.
- Tapestry Needle: A tapestry needle is used for sewing up the seams and weaving in loose ends.
- Scissors: A pair of scissors will be necessary for cutting the yarn and trimming any excess.
With these materials on hand, you will be well-prepared to start knitting your small octopus. Make sure to check the size and gauge recommended in the pattern, as it may require specific yarn weight or needle size. Once you have the materials ready, you can begin your knitting project and create a cute and cuddly octopus!
Choosing the Right Yarn for Your Small Octopus
When it comes to knitting a small octopus, choosing the right yarn is crucial for achieving the desired result. The yarn you select will not only determine the appearance of your octopus but also its durability and comfort. Here are some factors to consider when choosing the yarn for your project:
Fiber Content

The fiber content of the yarn will directly affect the feel and performance of your small octopus. For a cuddly and soft result, consider using a yarn made from natural fibers such as cotton or bamboo. These fibers have a gentle touch, making the octopus perfect for hugging. If you prefer a more resilient and sturdy octopus, opt for a yarn that contains synthetic fibers like acrylic or nylon. These synthetic blends offer great durability and are easy to care for.
Weight

The weight of the yarn determines the size and thickness of the stitches in your small octopus. For a smaller and finer octopus, choose a lightweight yarn like fingering or sport weight. These yarns will create delicate stitches and make your octopus look more intricate. On the other hand, if you want a larger and chunkier octopus, go for a bulkier weight yarn like worsted or bulky. These yarns will create more pronounced stitches, adding texture and volume to your octopus.
Color
The color of the yarn is an important consideration as it will greatly influence the overall look of your small octopus. You can opt for a solid color yarn for a classic and timeless octopus, or choose variegated yarns for a more playful and whimsical appearance. Additionally, consider the color in relation to the intended recipient. For a baby or child, soft pastel colors or bright and cheerful shades may be more appropriate, while a neutral or sophisticated color palette can be chosen for an adult.
By carefully considering the fiber content, weight, and color of your yarn, you can ensure that your small octopus turns out just the way you envision it. The right yarn selection will not only enhance the appearance of your octopus but also make it a cherished and long-lasting companion.
Knitting Techniques for Your Small Octopus
Knitting a small octopus can be a fun and rewarding project for knitters of all skill levels. Whether you’re a beginner or an experienced crafter, there are a few key techniques that can help you create a cute and cuddly octopus toy.
1. Basic knitting stitches: Before diving into your octopus project, it’s important to have a solid understanding of basic knitting stitches. These include knit stitches, purl stitches, and basic increases and decreases. Mastering these stitches will give you the foundation you need to create the body and tentacles of your octopus.
2. Toy stuffing: To give your octopus a soft and huggable feel, you’ll need to stuff it properly. Opt for a high-quality toy stuffing that is lightweight and durable. Stuff the body firmly, but make sure to leave the base of the tentacles unstuffed for a floppy effect. You can use a crochet hook to help with the stuffing process, ensuring the stuffing is evenly distributed.
3. Embroidery skills: Adding eyes and other details to your small octopus can be done through embroidery. Use a contrasting color yarn and a tapestry needle to create the desired facial features. Choose between various embroidery techniques like satin stitch or French knots to bring your octopus to life.
4. Seam finishing: To give your small octopus a polished look, it’s important to pay attention to the finishing touches. Use the mattress stitch technique to join the various parts of the octopus, ensuring that the seams are invisible. This will create a seamless appearance and prevent any loose threads from unraveling.
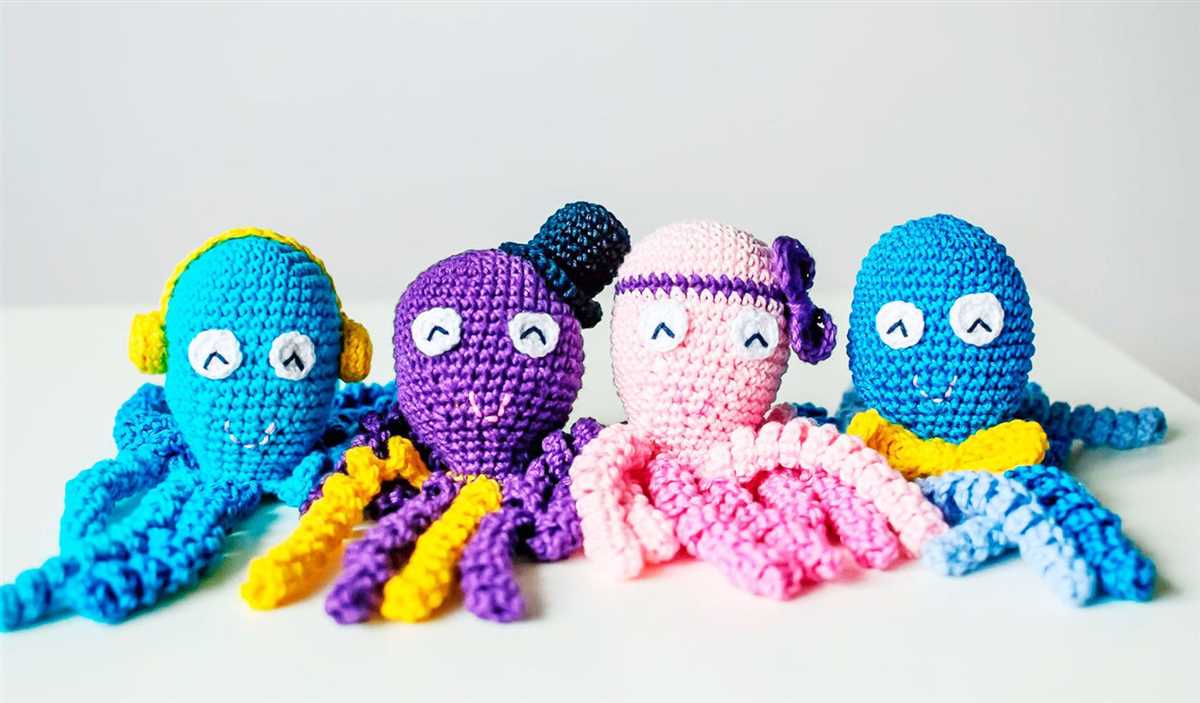
5. Adding embellishments: Once you’ve completed the basic octopus shape, you can get creative and add embellishments to make your toy unique. Consider using small buttons or ribbons as eyes, or adding small accessories such as bows or hats. These little details will help to personalize your small octopus and make it even more special.
By mastering these knitting techniques, you’ll be able to create a beautifully crafted small octopus toy. Remember to follow the pattern instructions carefully and enjoy the process of bringing your octopus to life!
Casting On
When starting a knitting project, the first step is to cast on, which is the process of creating the first row of stitches on your needle. There are several methods of casting on, but the most commonly used method for the small octopus knitting pattern is the long-tail cast on.
Long-tail Cast On
To begin the long-tail cast on, you will need to estimate the amount of yarn you will need for the desired number of stitches. A general rule of thumb is to use approximately one inch of yarn per stitch. Measure out this length of yarn and make a slipknot.
Next, hold the slipknot in your right hand, with the tail end of the yarn coming from behind your thumb and the working end of the yarn coming from behind your index finger. Insert the needle under the strand of working yarn, then over the strand of yarn that is coming from the slipknot. With your thumb and index finger, grab the working yarn and pull it through the loop on the needle.
Knitting the Body
When knitting the body of the small octopus, start by casting on the desired number of stitches using the recommended yarn and needle size. It is important to choose a yarn that is soft and stretchy, as this will allow the octopus to be flexible and easy to manipulate. Depending on the size of the octopus, you may need to cast on more or fewer stitches to achieve the desired circumference.
Once the stitches are cast on, begin knitting in the round using a circular needle or double-pointed needles. This will create a seamless body with no visible seams or joins. The body can be knitted using a simple stockinette stitch pattern, where you knit all stitches in the round for a smooth and even texture. Alternatively, you can add some texture and interest to the body by using a combination of knit and purl stitches, such as a ribbing or seed stitch pattern.
As you continue knitting, make sure to periodically check the gauge to ensure that the body is being knit to the correct size. Adjusting the tension of your knitting may be necessary to achieve the desired size and shape. It is also a good idea to stuff the body as you go along to help maintain its shape and prevent any sagging or drooping.
Once the desired length of the body is reached, it is time to bind off the stitches. The bind off method should be chosen based on the desired finish of the body. A simple knit bind off can be used for a clean and neat edge, or a stretchy bind off can be used for added flexibility and stretch. After the stitches are bound off, weave in any loose ends to tidy up the work and secure the stitches.
To add extra details and character to the small octopus, you can embroider or sew on small features such as eyes or a mouth. These can be made using yarn in a contrasting color or with small buttons or beads. This will help bring the octopus to life and make it even more adorable.
Creating the Tentacles
To create the tentacles of the small octopus, start by casting on the required number of stitches onto your knitting needles. This will determine the length and thickness of each individual tentacle. You can use a size and type of knitting needle that you find comfortable to work with.
Row 1: Knit all the stitches across the row. This will create the first row of the tentacle and provide a solid base for the rest of the knitting.
Row 2: Purl all the stitches across the row. This will create the second row of the tentacle and add texture to the overall design.
Repeat Rows 1 and 2: Continue knitting rows 1 and 2 in a repeating pattern until you have reached the desired length for the tentacle. This can be adjusted based on personal preference and the size of the octopus you are knitting.
Bind off: Once you have reached the desired length, bind off all stitches to secure the tentacle and prevent it from unraveling. Cut the yarn, leaving a long tail for sewing and attaching the tentacle to the body of the octopus.
Repeat for remaining tentacles: Repeat the above steps to create the remaining tentacles of the small octopus. Depending on the pattern, you may need to knit a specific number of tentacles. Make sure to knit them all with the same number of stitches and length to maintain consistency in the final design.
Arrange and sew: After completing all the tentacles, arrange them evenly around the body of the octopus and sew them securely in place. Use the long tails left from binding off to sew the tentacles, ensuring they are firmly attached and won’t come undone with use or play.
Following these steps will allow you to create the necessary tentacles for your small knitted octopus. The textured design and secure attachment will enhance the overall appearance and durability of the finished toy.
Additional Tips for Knitting a Small Octopus
Knitting a small octopus can be a fun and rewarding project. To help you along the way, here are some additional tips to keep in mind:
- Select the right yarn: When knitting a small octopus, it’s important to choose a yarn that is soft and durable. Opt for a yarn that is suitable for small toys, such as a lightweight acrylic or cotton yarn. This will ensure that your octopus is cuddly and can withstand play.
- Use small knitting needles: To achieve a tight and neat stitch, it’s recommended to use small knitting needles, such as size US 2 or 3. This will help prevent any stuffing from showing through and give your octopus a professional finish.
- Consider safety precautions: If you are knitting the octopus for a child, it’s important to keep safety in mind. Avoid using small embellishments or buttons that can pose a choking hazard. Instead, you can embroider the eyes and mouth onto the octopus or use safety eyes that are securely attached.
- Make sure to gauge: Before starting your project, it’s a good idea to knit a gauge swatch to ensure that your stitches are the correct size. This will help you achieve the desired dimensions for your small octopus and ensure that it turns out just right.
- Have fun with colors: When knitting a small octopus, don’t be afraid to get creative with colors. Experiment with different hues for the body and tentacles, or even add stripes or patterns. This will make your octopus unique and personalized.
By keeping these tips in mind, you’ll be well-equipped to knit a small octopus that is adorable, safe, and fun to play with. Happy knitting!
Finishing Touches: Embellishments for Your Small Octopus
Once you have completed knitting your small octopus, it’s time to add some finishing touches and embellishments to give it that extra flair. These small details can really bring your creation to life and make it truly unique. Here are a few ideas to inspire you:
1. Embroidered Eyes
Add personality to your small octopus by embroidering its eyes. Use small black stitches or colorful thread to create expressive eyes. You can make them big and round for an innocent look, or give your octopus a mischievous sparkle by adding a hint of white thread for highlights.
2. Felt Accents
Enhance your small octopus with small felt accents. Cut out cute little shapes like stars, hearts, or even tiny fish and glue them on the body of your octopus. This will give your creature a playful and whimsical touch.
3. Beaded Tentacles
Add a touch of elegance to your small octopus by adding beaded tentacles. String small beads onto thin wire or thread and attach them to the bottom of each tentacle. This will create a beautiful shimmering effect and make your octopus stand out.
4. Ribbon Bow

Add a touch of femininity to your small octopus by attaching a small ribbon bow to its head. Use a pretty satin or grosgrain ribbon and tie a bow around one of the tentacles. This will give your octopus a cute and girly look.
With these embellishments, your small octopus will become a one-of-a-kind creation that is sure to bring joy to anyone who sees it. Get creative and have fun adding these finishing touches to make your octopus truly special!
Common Mistakes to Avoid When Knitting a Small Octopus
Knitting a small octopus can be a fun and rewarding project, but like any knitting project, it’s important to avoid common mistakes that can lead to frustration and disappointment. Here are some mistakes to watch out for:
- Inconsistent gauge: One of the most common mistakes knitters make is not paying attention to their gauge. It’s crucial to check your gauge before starting the project to ensure that your octopus is the proper size. Using the wrong needles or yarn weight can result in an octopus that is too big or too small.
- Not following the pattern: It’s tempting to get creative and make changes to the pattern, but this can lead to unexpected results. It’s important to follow the pattern instructions carefully to ensure that your octopus turns out the way it’s supposed to.
- Skipping stitch markers: Stitch markers are essential for keeping track of your progress and making sure your stitches are in the right place. Skipping them can lead to mistakes and uneven stitches. Make sure to use stitch markers as indicated in the pattern.
- Twisted stitches: Twisted stitches can create an uneven and lumpy appearance in your octopus. To avoid this, make sure to insert your needle into the correct part of the stitch and always knit or purl through the front loop unless otherwise stated in the pattern.
- Not weaving in ends: It’s easy to forget to weave in your ends as you go, but leaving them loose can result in a messy finished project. Take the time to weave in your ends as you work or at the end of each round to keep your octopus looking neat and tidy.
Avoiding these common mistakes will help ensure that your small octopus knitting project is a success. Happy knitting!
Next Steps: Using Your Small Octopus Knitting Pattern

Now that you have your small octopus knitting pattern, it’s time to put it to use and start creating adorable octopus toys. Here are the next steps you can follow to bring your pattern to life:
1. Gather Materials
Before you start knitting, make sure you have all the necessary materials on hand:
- Yarn in the colors of your choice
- Knitting needles of the appropriate size
- Stitch markers
- Yarn needle
- Scissors
- Fiberfill or stuffing material
2. Read the Pattern Carefully

Take the time to thoroughly read through the small octopus knitting pattern. Pay attention to any special instructions, stitch counts, and abbreviations that may be used. Familiarize yourself with the different sections of the pattern, such as the body, tentacles, and facial features.
3. Start Knitting
Now it’s time to pick up your knitting needles and get started. Follow the instructions in the pattern to cast on and begin knitting the body of the octopus. Take your time and work through each section, making sure to follow the specified stitch patterns and shaping instructions.
4. Add the Tentacles and Facial Features
Once you have completed the body of the octopus, it’s time to move on to the tentacles and facial features. Follow the pattern instructions to create the desired number of tentacles and attach them securely to the body. Then, use yarn and a yarn needle to embroider or sew on the eyes, mouth, and any other desired facial details.
5. Finish and Stuff the Octopus
Once all the parts are knitted and attached, it’s time to finish off your small octopus toy. Weave in any loose ends and secure them to prevent unraveling. Then, use a yarn needle to carefully stuff the body and tentacles with fiberfill or stuffing material. Add more or less stuffing depending on how firm or squishy you want the toy to be.
6. Enjoy Your Small Octopus

Now that your small octopus is complete, it’s time to enjoy your finished creation. Whether you keep it for yourself or gift it to a loved one, your small octopus is sure to bring joy and cuddles. Don’t forget to share photos of your finished octopus on social media or with fellow knitting enthusiasts!