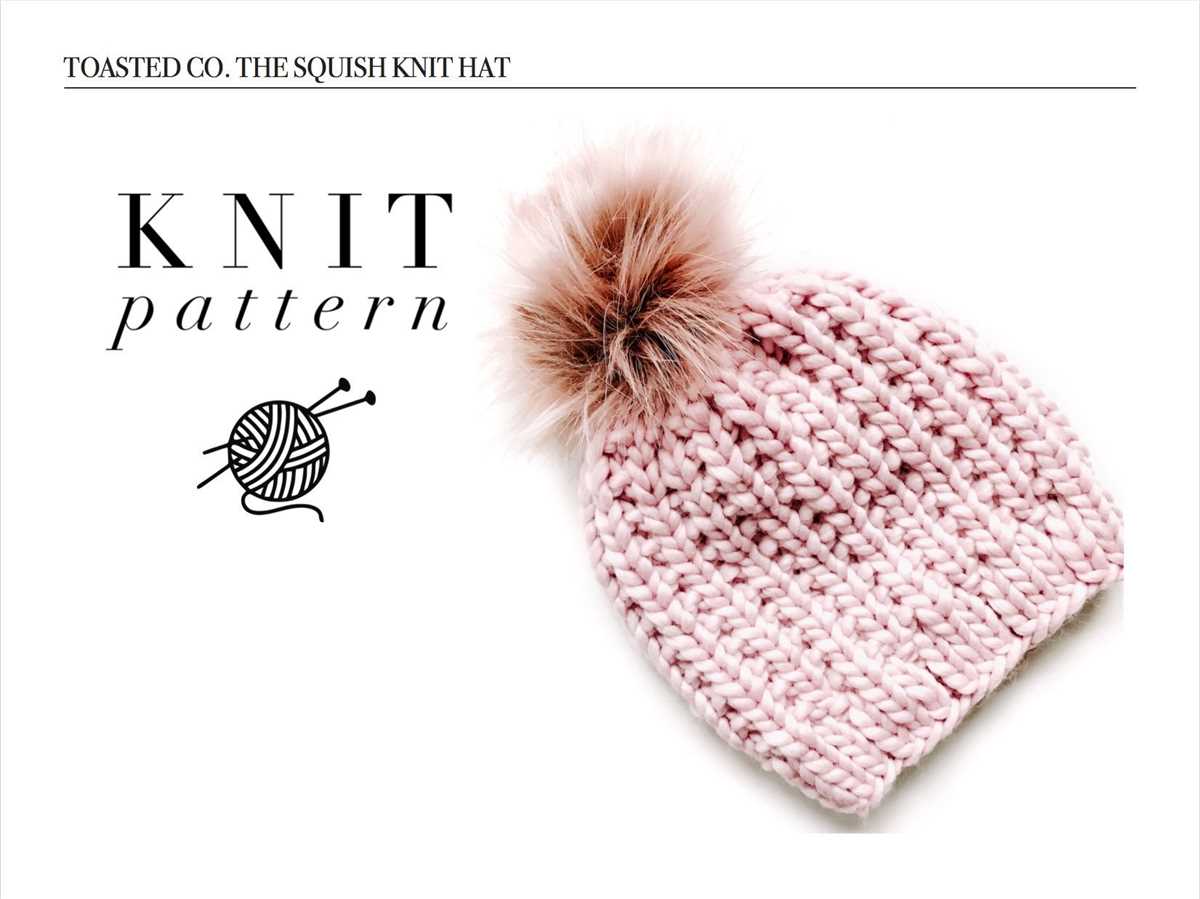
Easy Knit Hat Pattern for Size 11 Needles

If you’re a knitting enthusiast or looking for your next project, a knit hat pattern could be just what you need. And if you prefer using size 11 needles, you’re in luck! In this article, we’ll explore a knit hat pattern specifically designed for size 11 needles. Whether you’re a beginner or a seasoned pro, this pattern is perfect for creating a cozy and stylish hat to keep you warm during the chilly months.
Size 11 needles, also known as 8mm needles, are popular among knitters for their versatility and ability to create soft and chunky knits. They are often used for projects like scarves, blankets, and of course, hats. This pattern will allow you to make a hat that has a beautiful texture and works up quickly.
With this knit hat pattern, you’ll have the opportunity to practice various stitches, including knit, purl, and ribbing. The ribbing gives the hat a comfortable and stretchy fit, ensuring it stays snug on your head. You can also customize the pattern by adding your own flair, such as a pom-pom or a decorative button.
How to Knit a Hat with Size 11 Needles

If you are looking to knit a hat using size 11 needles, you have come to the right place. Knitting a hat can be a fun and rewarding project, and with the right needle size, you can create a cozy accessory in no time. Whether you are a beginner or an experienced knitter, this guide will walk you through the steps of knitting a hat using size 11 needles.
Gathering Supplies
Before you start knitting, you will need to gather all the necessary supplies. For this project, you will need size 11 knitting needles, a ball of yarn in the color and weight of your choice, a pair of scissors, and a tapestry needle. Make sure to choose a yarn that is suitable for the size 11 needles, as using a yarn that is too thin or too thick may affect the final result of your hat.
If you prefer, you can also use a circular needle in size 11, especially if you are planning to knit a hat in the round. Circular needles can make the knitting process easier, especially for those who are new to knitting.
Starting the Hat

Once you have your supplies ready, it’s time to start knitting the hat. Begin by casting on the desired number of stitches, which will depend on the size of the hat and the stitch pattern you choose. If you are unsure about how many stitches to cast on, you can find knitting patterns online or in knitting books that provide instructions for different hat sizes.
Once you have cast on the stitches, you can start knitting the hat using your size 11 needles. Depending on your preference, you can knit the hat in the round or knit it flat and seam it together at the end. Follow the pattern instructions and continue knitting until the hat reaches the desired length.
Finishing the Hat
After you have finished knitting the hat, it’s time to finish it off. If you knit the hat in the round, you can simply bind off the stitches and weave in the ends using a tapestry needle. If you knit the hat flat, you will need to seam it together using a mattress stitch or any other preferred method. Once the hat is completed, make sure to secure any loose ends and give it a good blocking to help it retain its shape.
Now that you know how to knit a hat using size 11 needles, you can start exploring different stitch patterns and creating your own unique designs. Remember to practice and have fun with your knitting, and soon enough, you’ll have a collection of beautiful hats to keep you warm and stylish.
Gather Your Materials
Before you start knitting a hat with size 11 needles, make sure you have all the necessary materials at hand. This will help you stay organized and ensure a smooth knitting process. Here are the items you will need:
- Size 11 Knitting Needles: These are the main tools you will be using to create your hat. Make sure you have a pair of size 11 knitting needles.
- Yarn: Choose a soft and warm yarn that is suitable for hats. Look for yarn specifically labeled for use with size 11 needles.
- Tapestry Needle: This needle will be used to weave in the loose ends of yarn and finish off your hat.
- Scissors: You will need a pair of sharp scissors to cut the yarn as needed.
- Measuring Tape: This will help you measure the size of the finished hat and ensure it fits as desired.
- Stitch Markers: Stitch markers can be used to mark specific points in your knitting, such as the beginning of a round or any pattern repeats.
- Pattern: Find a suitable knit hat pattern that is designed for size 11 needles. You can either use an existing pattern or create your own.
Once you have gathered all these materials, you will be ready to start knitting your hat. Having everything easily accessible will make the knitting process more enjoyable and efficient.
Choose Your Yarn
When it comes to knitting hats with size 11 needles, one of the most important decisions you’ll make is choosing the right yarn. The yarn you choose will not only determine the look and feel of your hat, but also how warm and durable it will be. There are many factors to consider when selecting your yarn, including the fiber content, weight, and color.
Fiber Content: The fiber content of your yarn will have a big impact on the final product. If you’re looking for a warm and cozy hat, wool is a great option. It’s natural, breathable, and will keep you warm even in the coldest temperatures. If you prefer something softer and more lightweight, you might consider a yarn blended with alpaca or cashmere. Cotton and acrylic blends are great for hats that will be worn in warmer weather or for those with wool allergies.
Weight:
The weight of your yarn will determine how thick or thin your hat will be. For size 11 needles, you’ll want to choose a bulky or super bulky weight yarn. These thicker yarns will work up quickly and create a chunky, cozy hat. If you prefer a lighter, more delicate hat, you could try using a worsted or aran weight yarn, but keep in mind that you’ll need to adjust your needle size and stitch count accordingly.
Color:
The color of your yarn is a personal preference, but there are a few things to consider. If you’re knitting a hat as a gift or for someone who has a particular color preference, choose a yarn in their favorite color. If you’re knitting for yourself, think about what colors look best on you and what will match your wardrobe. Bright, bold colors can make a statement, while neutral or earthy tones can be more versatile. Consider the texture of the yarn as well – variegated or self-striping yarns can add interest to your hat without the need for complicated stitch patterns.
Check Your Gauge
Before starting your knit hat project, it’s important to check your gauge to ensure the finished product will fit properly. Gauge refers to the number of stitches and rows per inch in a knitted fabric. The size of your needles can affect your gauge, so it’s essential to knit a gauge swatch before diving into the project.
To begin, gather your size 11 needles and the yarn you plan to use for your hat. Cast on a few stitches, perhaps around 20 or so, and knit a few rows. Take note of how many stitches and rows make up an inch of your fabric. This will give you an indication of your gauge.
Tip: Make sure to measure your gauge when your fabric is relaxed and not stretched out. This will provide a more accurate measurement.
If your gauge doesn’t match the pattern’s specified gauge, you may need to adjust your needle size. If your fabric is too loose and your stitches are too big, try using smaller needles. Conversely, if your fabric is too tight and your stitches are too small, switch to larger needles.
Knitting a gauge swatch may seem like an extra step, but it’s well worth the effort. It can prevent you from making a hat that ends up too big or too small. By taking the time to check your gauge, you’ll ensure that your finished knit hat will fit just right.
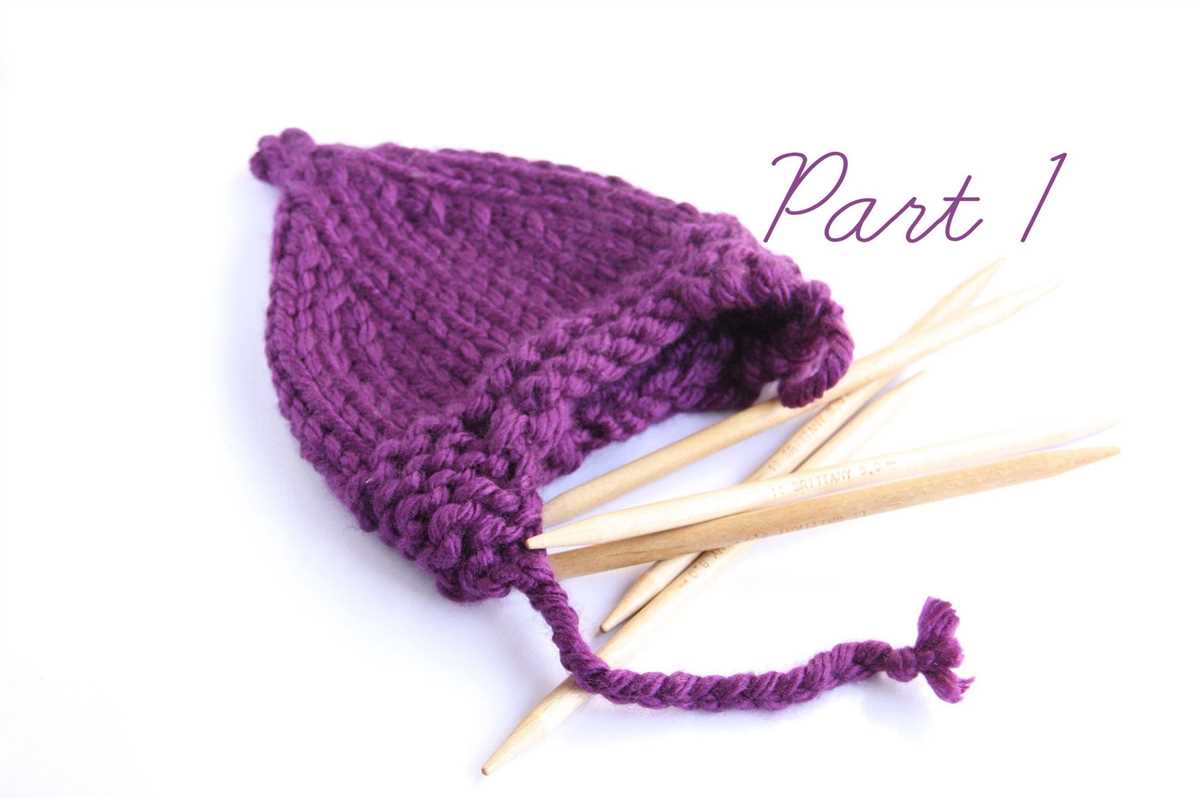
Cast On Stitches
When starting a knitting project, one of the first steps is to cast on stitches. This creates a foundation row from which the rest of the project will be built. The number of stitches cast on will depend on the desired width of the finished piece.
To cast on stitches, begin by making a slipknot. This is done by creating a loop with the yarn, inserting the working end of the yarn through the loop, and pulling it tight. The slipknot will serve as the first stitch on the needle.
Next, insert the needle into the slipknot and hold it in your right hand. Using your left hand, bring the working end of the yarn over the needle from back to front, creating a new loop of yarn. Insert the needle into this loop, and pull the yarn tight to secure the new stitch onto the needle. Repeat this process until the desired number of stitches has been cast on.
It is important to cast on stitches evenly and not too tightly, as this can affect the overall appearance and fit of the finished project. Different methods of casting on can be used depending on the desired effect and project requirements. Some common methods include the long-tail cast on, the cable cast on, and the backward loop cast on.
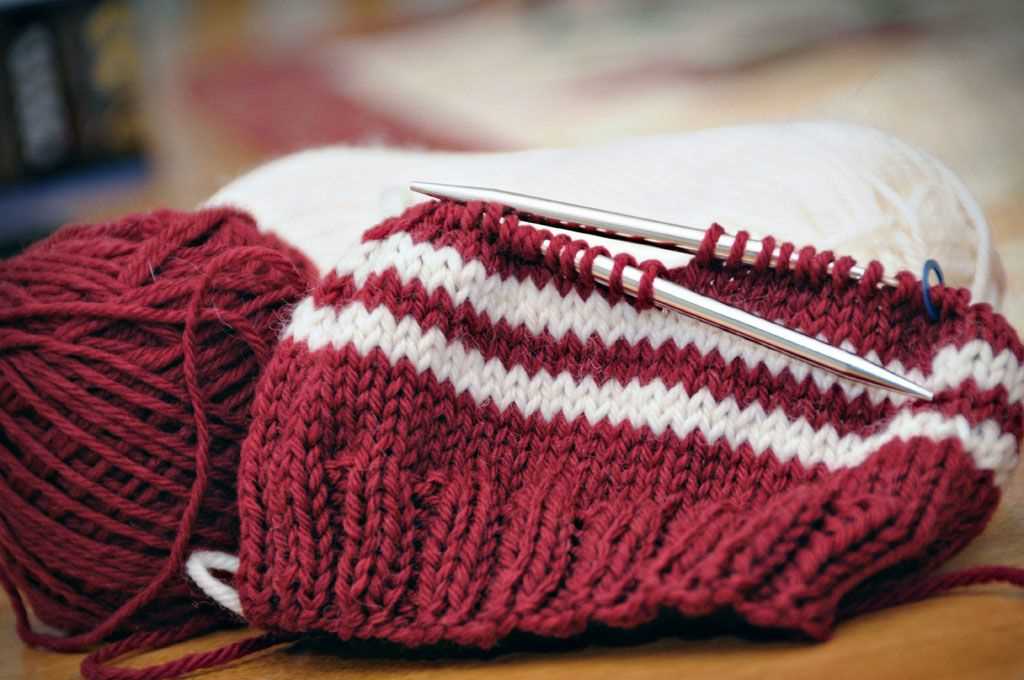
Knit the Brim
The brim of a knit hat is an important component that not only adds style but also helps to keep the hat in place on the wearer’s head. When knitting a hat with size 11 needles, it’s crucial to create a brim that is both comfortable and snug. Here, we will discuss how to knit the brim of a hat using size 11 needles.
First, it’s important to choose the right yarn for the brim. A yarn in a slightly heavier weight, such as a worsted weight or bulky weight, will provide the necessary structure and durability for the brim. This will ensure that the hat stays securely on the wearer’s head without slipping or sliding. Additionally, choosing a yarn in a contrasting color can add a stylish touch to the hat.
Casting On
To start knitting the brim, you will need to cast on the desired number of stitches using the long-tail cast-on method. It’s recommended to cast on a multiple of 4 stitches to ensure an even and symmetrical brim. For example, you can cast on 80 stitches or 84 stitches, depending on the desired width of the brim.
Once the stitches are cast on, you can begin knitting the brim using a simple ribbing pattern. A 2×2 ribbing pattern works well for the brim, which consists of knitting 2 stitches, then purling 2 stitches, and repeating this pattern across the entire row. This ribbing pattern creates a stretchy and flexible brim that will comfortably fit a variety of head sizes.
Begin the Body of the Hat
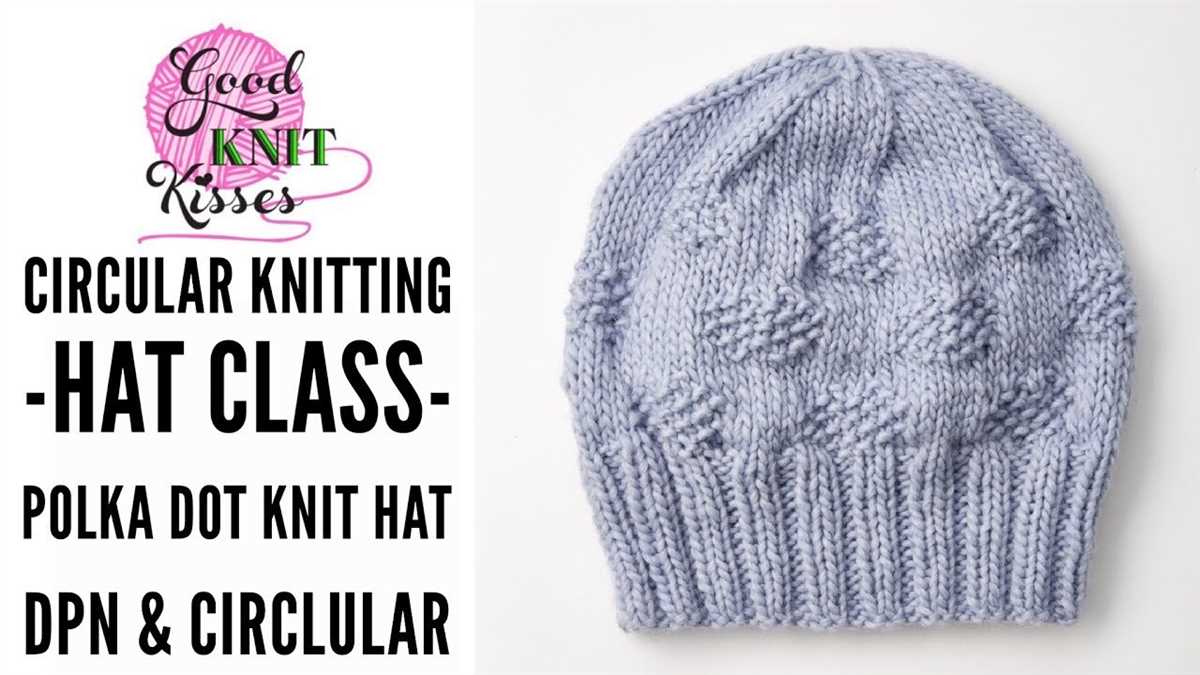
Once you have completed the ribbed brim of the hat, it’s time to start knitting the body. Using size 11 needles, continue with your chosen yarn and begin knitting in the round. If you haven’t already, transfer your stitches to double-pointed needles or use the magic loop technique if you prefer.
Row 1: Knit all stitches around.
With the ribbing complete, the body of the hat starts with a simple knit stitch. This round sets the foundation for the rest of the hat pattern. As you knit each stitch, make sure to keep the tension consistent to ensure an even finish.
Row 2: Purl all stitches around.
After the first round of knitting, transition into the purl stitch for the second round. This adds texture and variation to the hat’s design. As with the knit stitches, maintain an even tension throughout the round to achieve a smooth and polished purl pattern.
Repeat Rows 1 and 2: Continue alternating between knitting and purling all stitches around until the hat reaches the desired length. The number of repeats will depend on your specific pattern and size requirements.
By repeating these two rows, you will create a basic pattern of knit and purl stitches that forms the body of the hat. This simple yet versatile design can be customized with additional stitch patterns or color changes to create a unique and personalized knit hat.
Shape the Crown
Once you have completed the main body of the knit hat, it is time to shape the crown. This is where you will decrease the number of stitches in order to create a rounded shape.
Row 1: Knit 2 stitches together across the row. This will decrease the total number of stitches by half.
Rows 2-4: Knit all stitches. These rows will serve as plain knitting rows before the next decrease.
Repeat these 4 rows until you have a small number of stitches remaining on your needle. You may need to switch to double-pointed or circular needles once there are too few stitches to fit comfortably on straight needles.
Continue decreasing until you have only a few stitches left. Cut the yarn, leaving a long tail for sewing. Thread the tail through a yarn needle and slip the stitches off the knitting needle onto the needle thread. Pull the tail tightly to close the top of the hat, then secure the yarn by weaving it through the remaining stitches. Finally, sew the side seam of the hat using the mattress stitch or your preferred sewing method.
Finish the Hat
If you have just finished knitting a hat using size 11 needles, congratulations! You are now one step closer to having a beautiful and cozy accessory to keep you warm during the colder months. But before you can fully enjoy your new hat, there are a few finishing steps that you need to take.
Weaving in ends: The first step is to weave in all the loose ends of yarn that may be sticking out from your hat. To do this, thread the loose end onto a yarn needle and carefully weave it through the stitches on the inside of the hat. Make sure to do this securely so that the end doesn’t come loose.
Blocking: After weaving in all the ends, it’s time to block your hat. Blocking helps to give the hat its final shape and can make a big difference in the overall appearance. To block your hat, you can either use a hat block or simply shape it using your hands. Wet the hat slightly and then gently stretch and shape it to the desired size. Leave it to dry completely before wearing.
Adding embellishments: Once your hat is dry, you can take it a step further by adding embellishments to make it even more unique and personalized. You can sew on buttons, attach a pom-pom, or even embroider a design onto the hat. Get creative and make your hat truly one-of-a-kind.
Caring for your hat: Finally, don’t forget to take care of your hat so that it lasts for many winters to come. Hand wash it gently using mild detergent and lukewarm water, and then lay it flat to dry. Avoid twisting or wringing the hat as this can distort its shape. Store it in a cool, dry place to keep it in its best condition.
With these finishing steps, your hat is now ready to be worn with pride. Show off your knitting skills and stay warm in style!
Add Embellishments (optional)

Once you have completed knitting the hat, you can add embellishments to give it a personalized touch. Here are a few options you can consider:
1. Pom-pom: Attach a pom-pom to the top of the hat for a playful and festive look. You can use yarn in a contrasting color to create the pom-pom or use a fluffy store-bought one.
2. Buttons: Sew on decorative buttons along the brim or at the sides of the hat. This can add a touch of elegance or novelty to your design, depending on the style of buttons you choose.
- Use large, colorful buttons for a statement look.
- Opt for small and delicate buttons for a more subtle detail.
3. Embroidery: Add embroidered designs or initials to the hat using different colored yarns. This can be a great way to personalize the hat and make it truly unique.
4. Appliques: Attach appliques like flowers, stars, or animals to the hat using fabric glue or sewing them on. This can give the hat a whimsical and playful touch.
Remember to consider the overall style and purpose of the hat when choosing embellishments. Whether you want a classic, elegant look or a fun and quirky design, adding embellishments can help you achieve the desired effect.
Block and Wear Your Hat
Once you have finished knitting your hat using size 11 needles, it is important to block it before wearing it. Blocking is a process that helps to shape and smooth out your knitted garment. It can make a big difference in the final appearance and fit of your hat.
To begin the blocking process, fill a basin or sink with lukewarm water. Add a small amount of mild detergent and gently swish it around to create a soapy solution. Place your knitted hat in the water and let it soak for about 15-20 minutes. This will help to relax the fibers and remove any oils or dirt that may be present.
After soaking, carefully remove the hat from the water and gently squeeze out the excess moisture. Avoid wringing or twisting the hat, as this can cause damage to the fibers. Lay the hat flat on a clean, dry towel and roll it up tightly to remove even more moisture.
Once the hat is no longer dripping wet, it is time to shape and dry it. Start by laying the hat on a blocking mat or on a clean, dry towel. Gently stretch and shape the hat to the desired size and shape. If you prefer a slouchy look, you can leave the hat slightly stretched out. If you prefer a tighter fit, you can shape the hat to be more compact.
Use T-pins or blocking wires to secure the hat in place. Place the pins or wires around the edges of the hat, making sure to space them out evenly. This will help the hat maintain its shape as it dries. Allow the hat to dry completely before removing the pins or wires.
Once your hat is dry and the blocking process is complete, it is ready to be worn! Put on your cozy, hand-knit hat and enjoy the warmth and style it adds to your winter wardrobe. Whether you choose to wear it slouchy or snug, you can be proud of the finished result of your knitting project.
Troubleshooting Tips
If you encounter any issues while knitting your hat using size 11 needles, here are a few troubleshooting tips to help you out:
- Tension problems: If your stitches are too tight or too loose, try adjusting your tension by either loosening or tightening your grip on the yarn while knitting.
- Uneven stitch count: If you notice that your stitch count is inconsistent, make sure you are counting your stitches correctly and not accidentally adding or skipping any.
- Difficulty working with the needles: If you are finding it difficult to work with size 11 needles, you can try switching to a different type of needle material, such as bamboo or metal, to see if it makes a difference.
- Inconsistent gauge: If your gauge is not matching the pattern, try adjusting your needle size. If your stitches are too loose, switch to a smaller needle size, and if they are too tight, switch to a larger needle size.
- Mistakes in the pattern: If you believe there are mistakes in the pattern, double-check the instructions and consult online resources or knitting communities for clarification.
Remember, knitting takes practice, and it’s normal to encounter challenges along the way. Don’t be discouraged if you make mistakes – they can often be fixed or even turned into design elements. With patience and perseverance, you will be able to successfully create a beautiful knit hat using size 11 needles!