Simple steps for knitting booties

Knitting is a craft that has been passed down through generations, and one of the most classic and versatile items to knit is a pair of booties. Whether you’re a beginner knitter or an expert looking for a quick and easy project, this basic bootie knitting pattern is perfect for you. With just a few simple stitches and techniques, you’ll be able to create a cozy and adorable pair of booties that will keep your little one’s feet warm and stylish.
This pattern is designed to be customizable, allowing you to choose the type of yarn, needle size, and color combination that suits your preference. The construction of these booties is straightforward and intuitive, making it a great pattern for beginners who are just starting to explore the world of knitting. The finished product is a soft and comfortable pair of booties that will make the perfect gift for a new baby or a thoughtful handmade accessory for your own little one.
To get started with this basic bootie knitting pattern, you’ll need some basic knitting supplies, including yarn, knitting needles, and a tapestry needle. This pattern uses simple knit and purl stitches, as well as basic shaping techniques such as increasing and decreasing stitches. If you’re new to these techniques, don’t worry – the pattern includes detailed instructions and helpful tips to guide you through each step. Soon enough, you’ll be able to confidently knit up a pair of booties that are as cute as they are practical.
Basic Bootie Knitting Pattern
If you’re looking for a simple and versatile knitting project, a basic bootie pattern is a great option. Booties are not only adorable, but they also make for a practical and cozy accessory for babies. Whether you’re knitting for your own little one or as a gift, this pattern is perfect for beginners or experienced knitters.
One of the great things about a basic bootie pattern is that it can be customized in numerous ways to create different styles and looks. You can choose different colors of yarn and experiment with various stitch patterns or embellishments to make each pair of booties unique. The pattern typically includes instructions for different sizes, so you can easily knit booties to fit different ages and foot sizes.
To start knitting the basic bootie, you will need some basic supplies such as knitting needles, yarn, and a tapestry needle. The pattern usually involves a combination of knitting and purling stitches, as well as increases and decreases to shape the bootie. The instructions will guide you through each step, from casting on to the finishing touches. Even if you’re new to knitting, this pattern is straightforward and easy to follow, allowing you to create beautiful booties in no time.
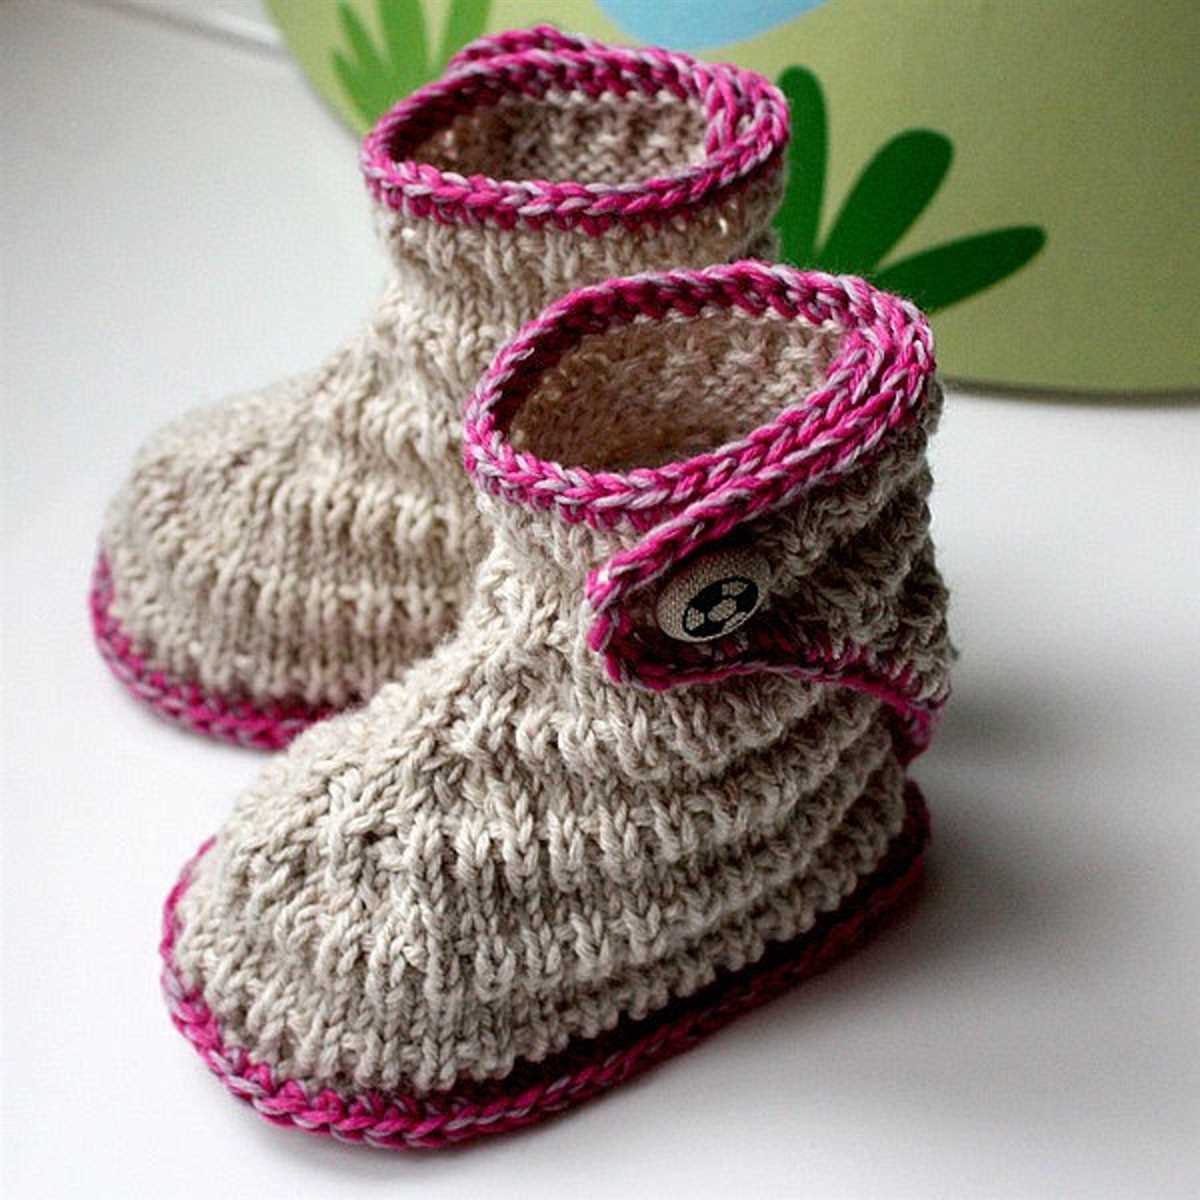
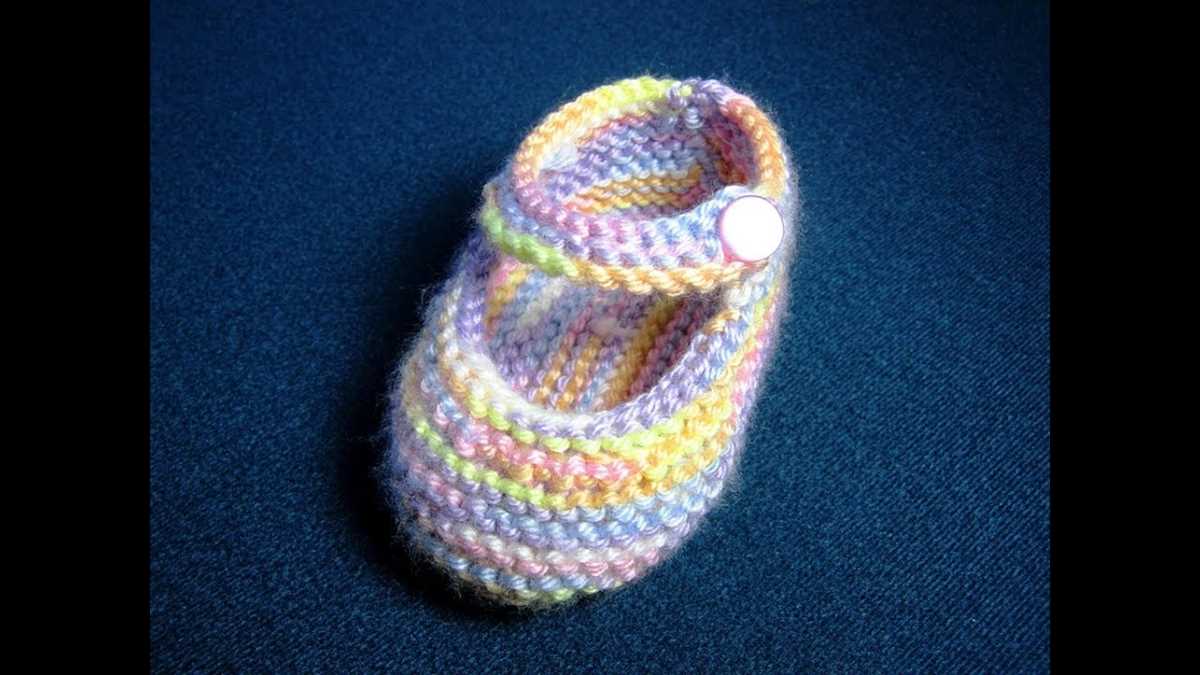
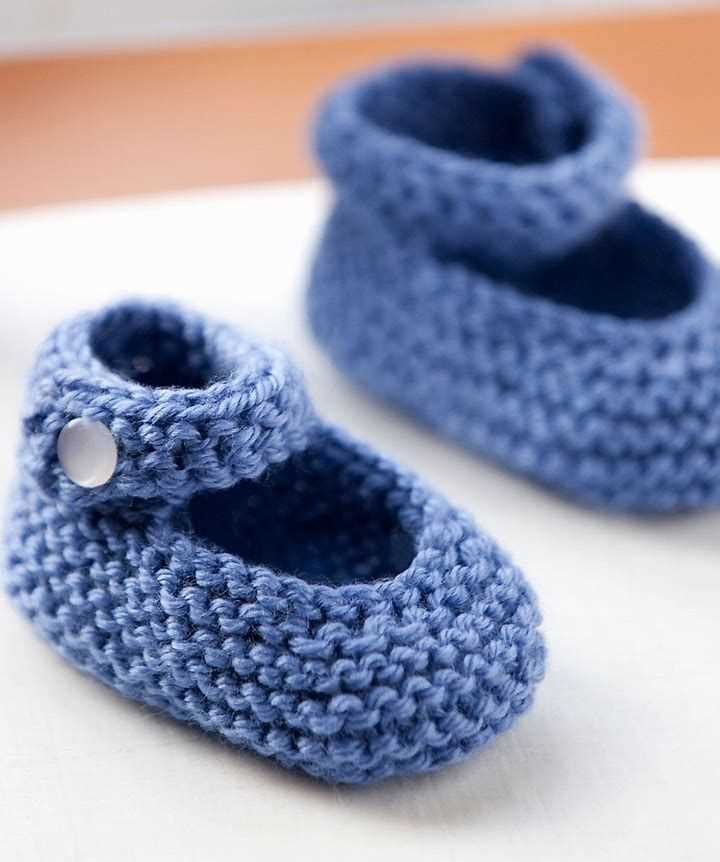
Once you’ve mastered the basic bootie pattern, you can try out different variations and add your own personal touch. For example, you can add a cute button closure, a pompom, or even a small ribbon to make the booties extra special. You can also experiment with different yarn weights and textures to create booties for different seasons or occasions.
Whether you’re a beginner or an experienced knitter, a basic bootie pattern is a wonderful project to work on. It allows you to practice essential knitting techniques while creating a practical and adorable item. So grab your knitting needles and yarn, and start knitting some cozy booties for the little ones in your life!
Materials
In order to knit a basic bootie, you will need the following materials:
- Yarn: Choose a soft and cozy yarn in your preferred color. It is recommended to use a medium weight yarn for this project.
- Knitting Needles: Use a pair of knitting needles in a size appropriate for your chosen yarn. The size of the needles will depend on the gauge of the yarn and your personal knitting tension.
- Tapestry Needle: This needle will be used for sewing in loose ends and stitching the bootie together.
- Scissors: A pair of scissors will be handy for cutting yarn and trimming loose ends.
- Stitch Markers: Some knitters find it helpful to use stitch markers to keep track of their stitches and pattern repeats.
- Row Counter: A row counter can be useful for keeping track of the number of rows or pattern repeats.
Once you have gathered all the necessary materials, you will be ready to start knitting your basic booties!
Gauge
Gauge is an important factor to consider when knitting a bootie or any other project. It refers to the number of stitches and rows in a given measurement of fabric. To achieve the correct size and fit of your bootie, it is crucial to match the gauge specified in the pattern.
The gauge is determined by the tension at which you knit and the yarn and needles you use. Different knitters may have slightly different tension, so it is recommended to knit a gauge swatch before starting the booties. The gauge swatch will help you determine if you need to adjust your needle size to achieve the desired gauge.
How to measure gauge:
- Using the recommended yarn and needles, cast on a certain number of stitches specified in the pattern.
- Knit a few rows in the specified stitch pattern.
- Measure the width of the swatch in inches or centimeters, and count the number of stitches in that width.
- Measure the height of the swatch in inches or centimeters, and count the number of rows in that height.
If the number of stitches and rows matches the gauge specified in the pattern, then you’re good to go. If not, you can adjust your needle size to get the desired gauge. If you have more stitches and rows than the pattern specifies, try using larger needles. If you have fewer stitches and rows, try using smaller needles.
It is important to note that achieving the correct gauge is crucial for the final fit and size of the bootie. Ignoring gauge can result in a bootie that is too small or too big. Taking the time to measure and adjust your gauge will ensure that your booties turn out just right.
Size
When it comes to knitting booties, size is an important factor to consider. Depending on who the booties are for, you may need to make them in different sizes. Below are some guidelines to help you determine the appropriate size for your booties.
Standard Sizes:
- Newborn: This size is typically intended for babies up to one month old. Their feet are usually around 3-3.5 inches long.
- 0-3 Months: The next size up is suitable for babies between one and three months old. Their feet measure around 3.5-4 inches.
- 3-6 Months: For babies aged three to six months, a bootie size of around 4-4.5 inches should work.
Custom Sizes:
If you’re looking to make booties for older children or adults, you may need to create custom sizes. To do this, you can measure the recipient’s foot and adjust the pattern accordingly. Keep in mind that knitting patterns often have different stitch counts or increase rates for each size, so make sure to refer to the specific pattern you’re using for guidance.
Tips:
When knitting booties, it’s always a good idea to make a gauge swatch before starting the project. This will help you determine the appropriate needle size and ensure that your booties will fit correctly. Additionally, consider using stretchy or adjustable materials, such as ribbed cuffs or ties, to accommodate different foot sizes.
Abbreviations
When working on a basic bootie knitting pattern, it is important to familiarize yourself with the various abbreviations used in the pattern. These abbreviations are commonly used in knitting patterns to save space and make the instructions easier to read and understand. Here are some of the most common knitting abbreviations:
- K: knit
- P: purl
- K2tog: knit two stitches together
- P2tog: purl two stitches together
- YO: yarn over
- RS: right side
- WS: wrong side
- BO: bind off
- St(s): stitch(es)
It is important to remember the meaning of these abbreviations as you work through the pattern. They will be used in the instructions to indicate the specific stitches or techniques that need to be used. It can be helpful to keep a knitting abbreviation chart or cheat sheet handy as you work on the project.
Instructions
In order to create a basic bootie using this knitting pattern, follow the instructions below:
Gather Materials
Before you begin, make sure you have all the necessary materials on hand. You will need:
- Size 6 knitting needles
- Worsted weight yarn
- Tapestry needle
- Scissors
Getting Started
1. Cast on 30 stitches using the long-tail cast-on method.
2. Divide your stitches evenly onto three double-pointed needles, with 10 stitches on each needle.
3. Join in the round, being careful not to twist your stitches.
Knit the Bootie
1. Start the pattern by knitting one round in a knit 2, purl 2 ribbing pattern for the cuff of the bootie.
2. Continue knitting in the round until the bootie measures approximately 2 inches from the cast-on edge.
Shape the Toe
1. Decrease for the toe as follows:
- Knit 4, knit 2 together. Repeat this pattern two more times (24 stitches).
- Knit 3, knit 2 together. Repeat this pattern two more times (18 stitches).
- Knit 2, knit 2 together. Repeat this pattern two more times (12 stitches).
- Knit 1, knit 2 together. Repeat this pattern two more times (6 stitches).
- Knit 2 together across the round (3 stitches).
2. Cut your yarn, leaving a tail, and thread it through the remaining stitches. Pull tight to close the toe.
Finishing Touches
1. Weave in all loose ends using a tapestry needle.
2. Repeat the entire process to make a second bootie.
3. Once both booties are complete, seam up the back using a mattress stitch and the tapestry needle.
4. Trim any excess yarn and snip any remaining loose ends.
Your basic booties are now ready to be worn or gifted!
Cast On

When starting a basic bootie knitting pattern, one of the first steps is to cast on. Casting on is the process of creating the first row of stitches on your knitting needles. This step is crucial as it sets the foundation for your project.
There are different methods of casting on, but the most common and beginner-friendly method is the long-tail cast on. To do this, you will need to measure a tail of yarn that is approximately three times the width of your finished bootie. Then, create a slip knot and place it on your right-hand needle. Hold the needle with the slip knot in your right hand and the other needle in your left hand.
To cast on stitches, hold the slip knot with your right thumb and index finger. Insert the left-hand needle between the two strands of the slip knot from left to right and bring the right-hand needle under the left-hand needle and through the loop. This creates a new stitch.
Repeat this process until you have cast on the desired number of stitches for your bootie pattern. Make sure to keep the tension of your stitches consistent to ensure an even and neat cast on edge. Once all the stitches are cast on, you can proceed to the next step of your bootie knitting pattern.
Knitting the Sole
When it comes to knitting the sole of a basic bootie, there are a few important steps to keep in mind. The sole is the foundation of the bootie and needs to be sturdy and comfortable. One key element is selecting the right yarn and needle size. A thicker yarn and larger needle will create a denser fabric, while a thinner yarn and smaller needle will create a looser fabric.
Before starting the sole, it’s important to cast on the correct number of stitches. This will depend on the size of the bootie and the desired fit. Using a tape measure, you can determine the length of the sole by measuring the baby’s foot and adding a couple of inches for ease. Once you have the desired length, refer to the pattern for the recommended number of stitches to cast on.
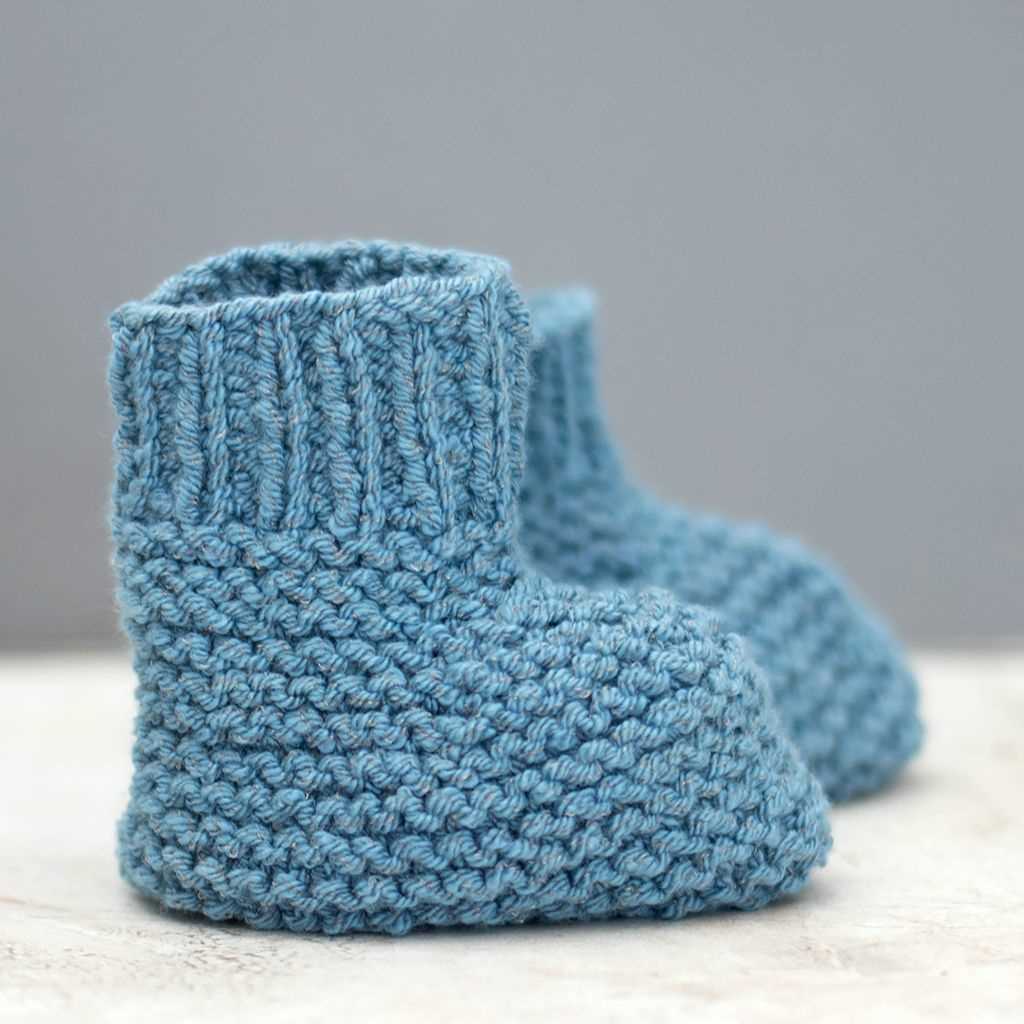
When knitting the sole, it’s important to use a stitch pattern that provides both flexibility and durability. One commonly used stitch pattern is the garter stitch, which is created by knitting every row. This creates a textured fabric that is both stretchy and sturdy. Another option is the stockinette stitch, which is created by knitting one row and purling the next. This stitch pattern creates a smooth fabric that is great for comfort.
To add extra cushioning and support to the sole, you can also incorporate a layer of padding. This can be done by knitting a double sole or by adding a layer of felted wool or foam between the sole and the bootie. This will provide added comfort and insulation for little feet.
Overall, knitting the sole of a basic bootie requires attention to detail and the right choice of materials. By following a pattern and using the appropriate stitches and techniques, you can create a sole that is both functional and fashionable.
Shaping the Toe
A basic bootie pattern usually includes instructions for shaping the toe, which is an important step in creating a comfortable and well-fitting bootie. Shaping the toe involves decreasing the number of stitches in a systematic manner to form a rounded or pointed toe shape.
There are different methods for shaping the toe, and the chosen method depends on the desired shape and style of the bootie. One common method is to work decreases at regular intervals on both sides of the toe. This can be achieved by knitting two stitches together, or by using slip, slip, knit (ssk) or knit two together (k2tog) decreases.
In some patterns, the shaping of the toe may involve short rows, which create a rounded toe shape. Short rows are worked by knitting or purling a certain number of stitches and then turning the work before completing the row. This creates extra rows in specific areas of the bootie, allowing for shaping without increasing or decreasing the stitch count.
The exact instructions for shaping the toe will vary depending on the specific bootie pattern being used. It is important to carefully read and follow the pattern instructions, as they will provide the necessary guidance for achieving the desired shape and fit. With practice and experience, knitters can become proficient in shaping the toe and adapt the techniques to suit their own preferences and designs.
Knitting the Upper
Once you have completed knitting the sole of the bootie, it’s time to move on to the upper part. The upper is the part that covers the foot and extends upwards towards the ankle. To begin, pick up stitches along the edges of the sole. Use a knitting needle to insert it into the edge of the sole, then wrap the yarn around the needle and pull it through to create a new stitch. Continue picking up stitches until you have reached the desired number.
Once you have picked up the stitches, you can begin knitting the upper. This can be done in a variety of stitch patterns, depending on the design you are following. For a basic bootie, you can use a simple stockinette stitch, which alternates between knit and purl rows. Alternatively, you can experiment with different stitch patterns, such as ribbing or cables, to add texture and interest to your bootie.
Remember to measure the length of the foot and adjust the number of stitches accordingly. You want the upper to be snug, but not too tight. If you have too many stitches, the bootie will be too loose and may fall off. If you have too few stitches, the bootie will be too tight and uncomfortable to wear.
As you knit the upper, you may need to shape it to fit the foot. This can be done by increasing or decreasing stitches at certain points. For example, you can create a tapered effect by gradually decreasing stitches as you approach the ankle. Alternatively, you can create a wider opening by increasing stitches towards the top of the bootie. Remember to follow the pattern instructions for any shaping details.
Knitting the Cuff
Once you have completed knitting the upper part of the bootie, it’s time to knit the cuff. The cuff is the part that goes around the ankle and helps to keep the bootie in place. To knit the cuff, you can continue knitting in the same stitch pattern as the rest of the upper, or you can switch to a different stitch pattern for added contrast.
For a basic cuff, you can use a ribbing stitch, such as a k2, p2 rib. This creates a stretchy and snug cuff that will keep the bootie securely on the foot. To knit a k2, p2 ribbing, simply alternate between knitting 2 stitches and purling 2 stitches on each row. Repeat this pattern until the desired length of the cuff is reached.
- Complete the last row of the cuff
- Bind off the stitches
- Weave in any loose ends
- Repeat the same process for the second bootie
Finishing
In order to finish your basic bootie knitting project, there are a few final steps you need to take. These steps include seaming the bottom and back of the bootie, adding any desired embellishments, and weaving in any loose yarn ends for a polished look.
- Seaming: To seam the bottom of the bootie, you can use a tapestry needle and yarn to stitch the edges together. This will create a closed toe for the bootie, ensuring that the baby’s feet stay warm and cozy. Additionally, you will need to seam the back of the bootie to create a tube shape. This can be done using a mattress stitch or any other preferred seaming method.
- Embellishments: If desired, you can add embellishments to your bootie to personalize it or make it more visually appealing. This can include buttons, bows, or even small crochet flowers. Just make sure to securely attach any embellishments to prevent them from coming loose and becoming a choking hazard for the baby.
- Weaving in ends: After seaming and attaching any embellishments, it is important to weave in any loose yarn ends for a clean and finished look. This can be done using a tapestry needle, threading the yarn through the stitches to hide the loose ends. Be sure to weave in the ends on the inside of the bootie to prevent them from poking through and potentially irritating the baby’s skin.
Once you have completed these finishing steps, your basic bootie knitting project will be complete! You can then proudly present your handmade booties as a gift or keep them for your own little one to enjoy. Remember to take your time and pay attention to the details to ensure a professional-looking finished product.
Variations

There are many ways to vary the basic bootie knitting pattern to create different styles and looks. Here are a few ideas:
1. Color variations:
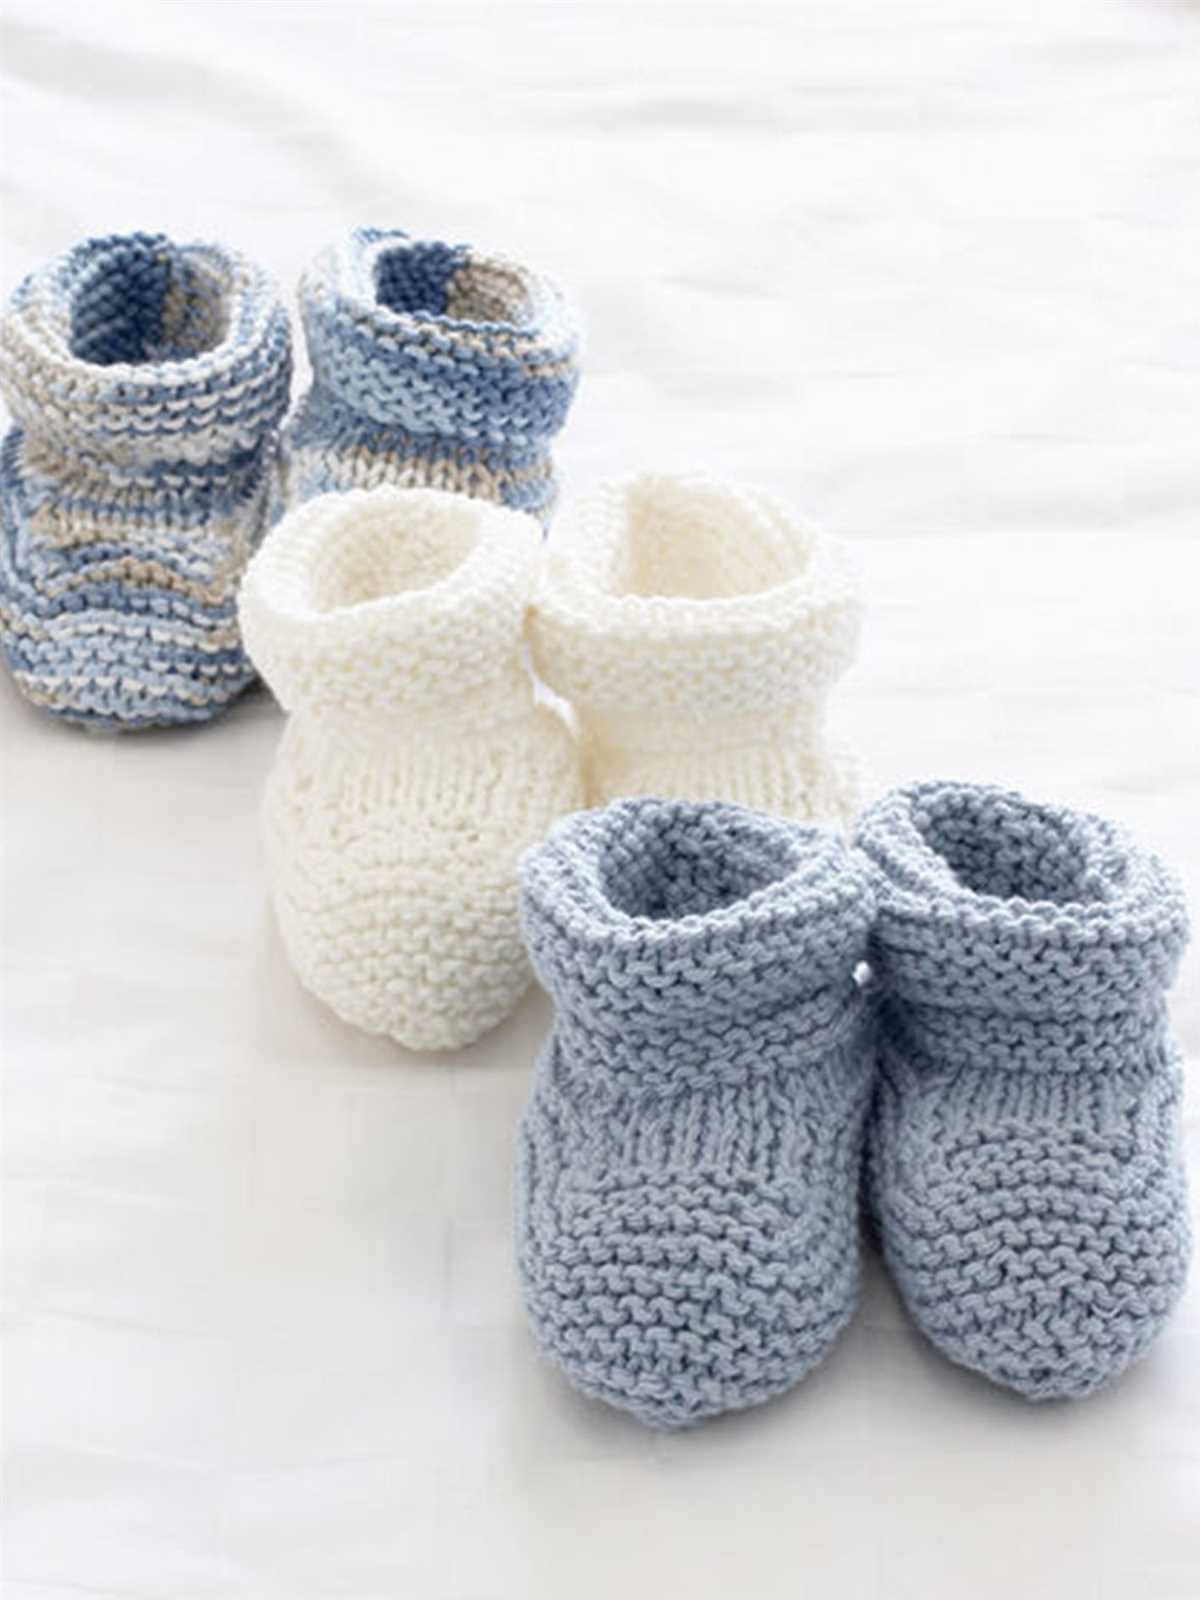
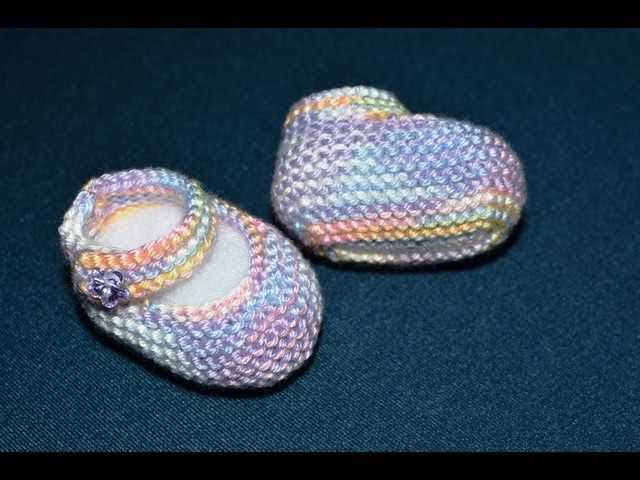
You can experiment with different colors of yarn to create unique and personalized booties. You can use one color for the entire bootie, or mix and match multiple colors to create stripes or other patterns.
2. Stitch pattern variations:

Instead of using the basic knit and purl stitches, you can try different stitch patterns to add texture and interest to the booties. Some popular stitch patterns for booties include seed stitch, cable stitch, and rib stitch.
3. Embellishment variations:
To add a touch of decoration to the booties, you can embellish them with buttons, bows, or small pom-poms. You can sew these embellishments onto the cuffs or toes of the booties to make them stand out.
4. Size variations:
If you want to make booties for different sizes, you can simply adjust the number of stitches and rows in the pattern. You can find sizing guides online to help you determine the right measurements for each size.
By experimenting with these variations, you can create a wide variety of booties to suit your own style and preferences. Whether you prefer vibrant colors, intricate stitch patterns, or playful embellishments, there are endless possibilities to explore with the basic bootie knitting pattern.
Tips and Tricks

Here are some useful tips and tricks for knitting basic booties:
1. Use stitch markers: Stitch markers can be very helpful when knitting the basic bootie pattern. Place a stitch marker at the beginning of each round to help you keep track of your progress and ensure that you are not missing any stitches.
2. Pay attention to gauge: It is important to pay attention to your gauge when knitting booties. Different yarns and needle sizes can result in different gauge measurements, which can affect the fit of the booties. Make sure to swatch and adjust your needle size if necessary.
3. Use lifelines: Lifelines are threads or yarns that you place through your stitches every few rows. They act as an insurance policy, allowing you to easily rip back to a specific row if you make a mistake. This can be especially useful when knitting more complex patterns or when using multiple colors.
4. Experiment with color: Although the basic bootie pattern is typically knit in a single color, don’t be afraid to experiment with different colors. You can try using different colors for the ribbing, cuffs, or even adding stripes. This can add a unique touch to your booties and make them even more adorable.
5. Finishing touches: When finishing your booties, make sure to weave in all loose ends and secure them firmly. This will ensure that your booties look neat and tidy. You can also add buttons, bows, or other embellishments if desired.
6. Practice and have fun: Knitting booties is a great way to practice your knitting skills and create a beautiful and functional item. Take your time, enjoy the process, and don’t be discouraged if your first pair doesn’t turn out perfect. Like any skill, knitting takes practice, so keep knitting and have fun!
With these tips and tricks, you’ll be able to confidently knit basic booties and create adorable and cozy footwear for your little ones. Happy knitting!
Q&A:
What are some basic bootie knitting patterns?
Some basic bootie knitting patterns include the garter stitch booties, ribbed booties, and seed stitch booties.
Can you recommend a beginner-friendly bootie knitting pattern?
Yes, the simple garter stitch bootie pattern is great for beginners as it only requires the basic knit stitch.
Are bootie knitting patterns suitable for intermediate knitters?
Absolutely! Intermediate knitters can try more intricate bootie patterns such as those with cables or lace patterns.
What materials do I need for knitting booties?
You will need knitting needles (size depends on the pattern), yarn (baby-friendly and soft), a tapestry needle for sewing, and optional embellishments like buttons or ribbons.
Where can I find bootie knitting patterns?
There are many sources for bootie knitting patterns such as knitting books, online knitting websites, and craft stores that sell knitting patterns. You can also find free bootie patterns on knitting blogs or websites.