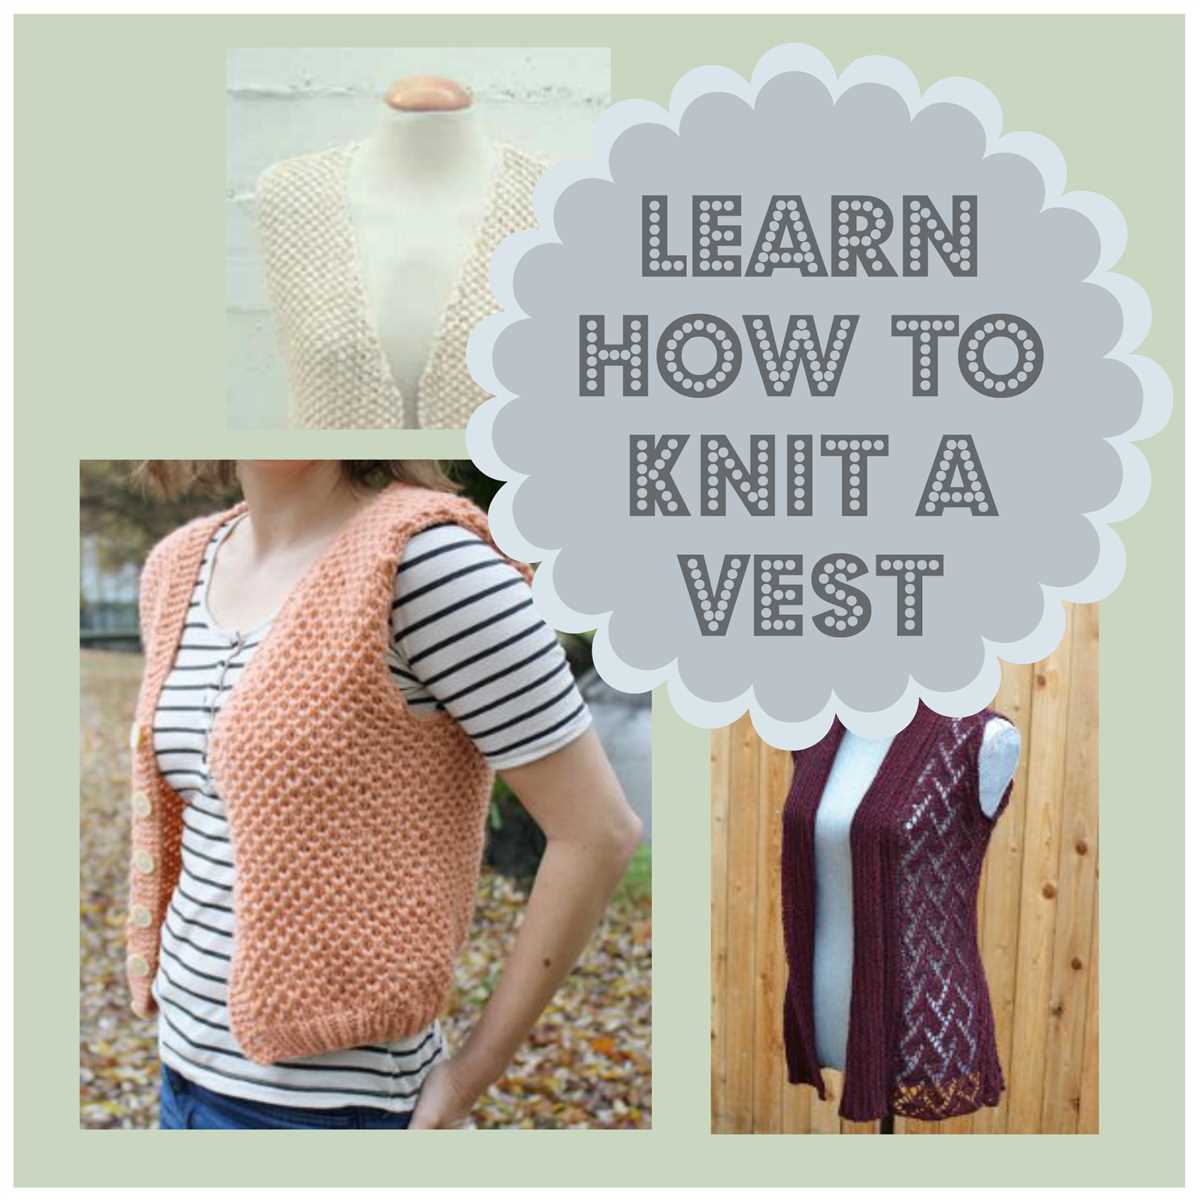
Stylish and Comfy: Knit Vest Pattern for Women

Knitting is not only a relaxing and creative hobby, but it also allows you to create your own unique pieces of clothing. If you’re looking to add a stylish and versatile item to your wardrobe, a knit vest is a perfect choice.
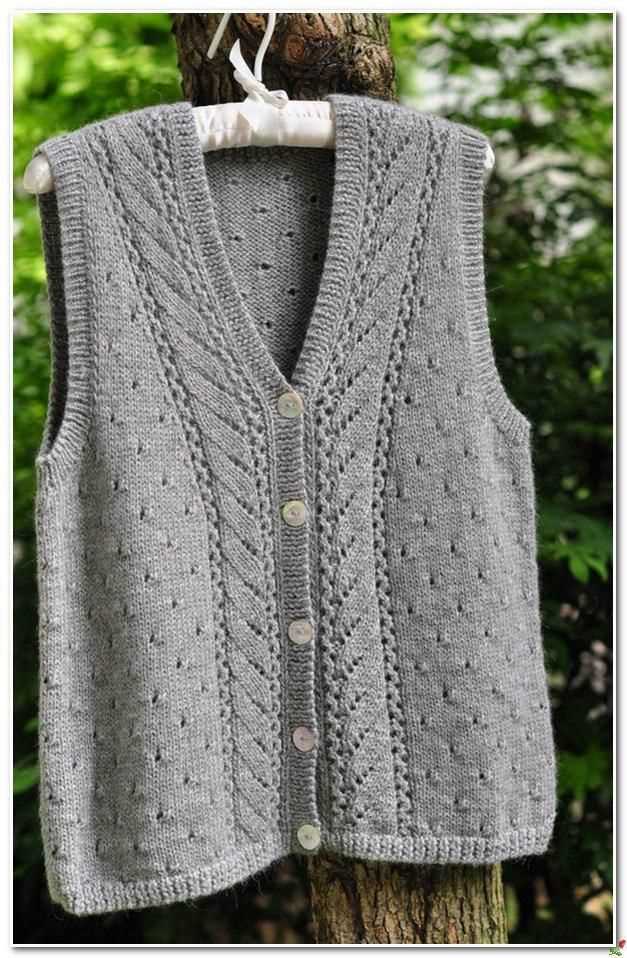
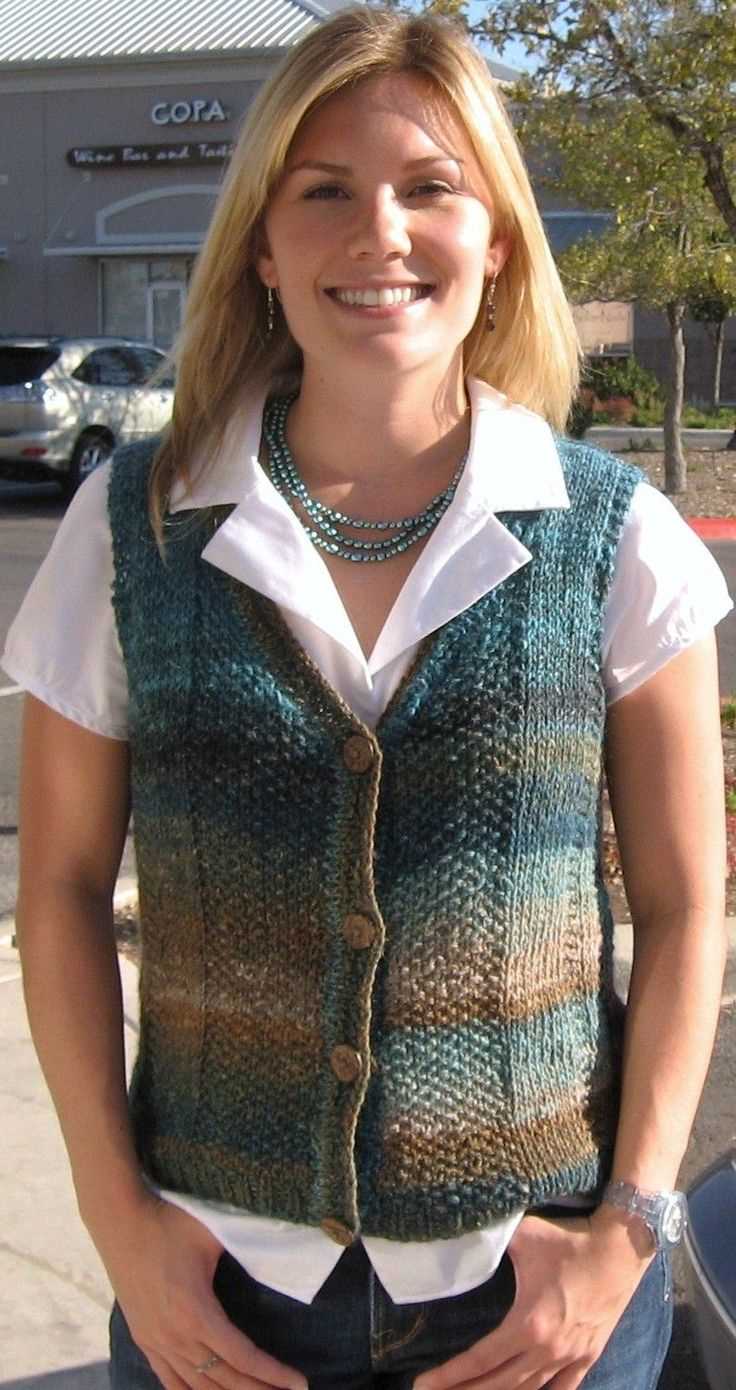
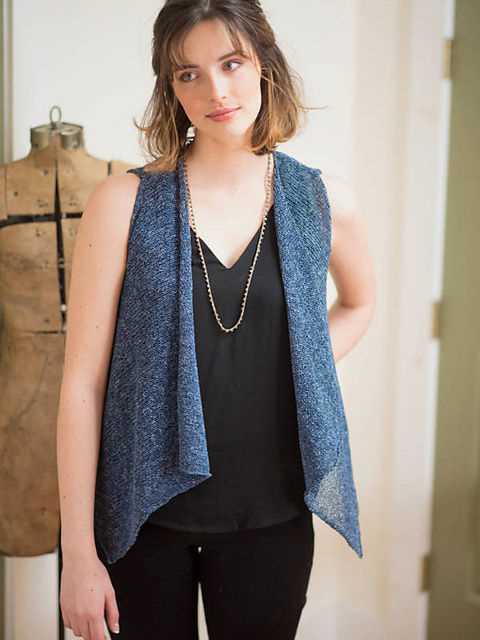
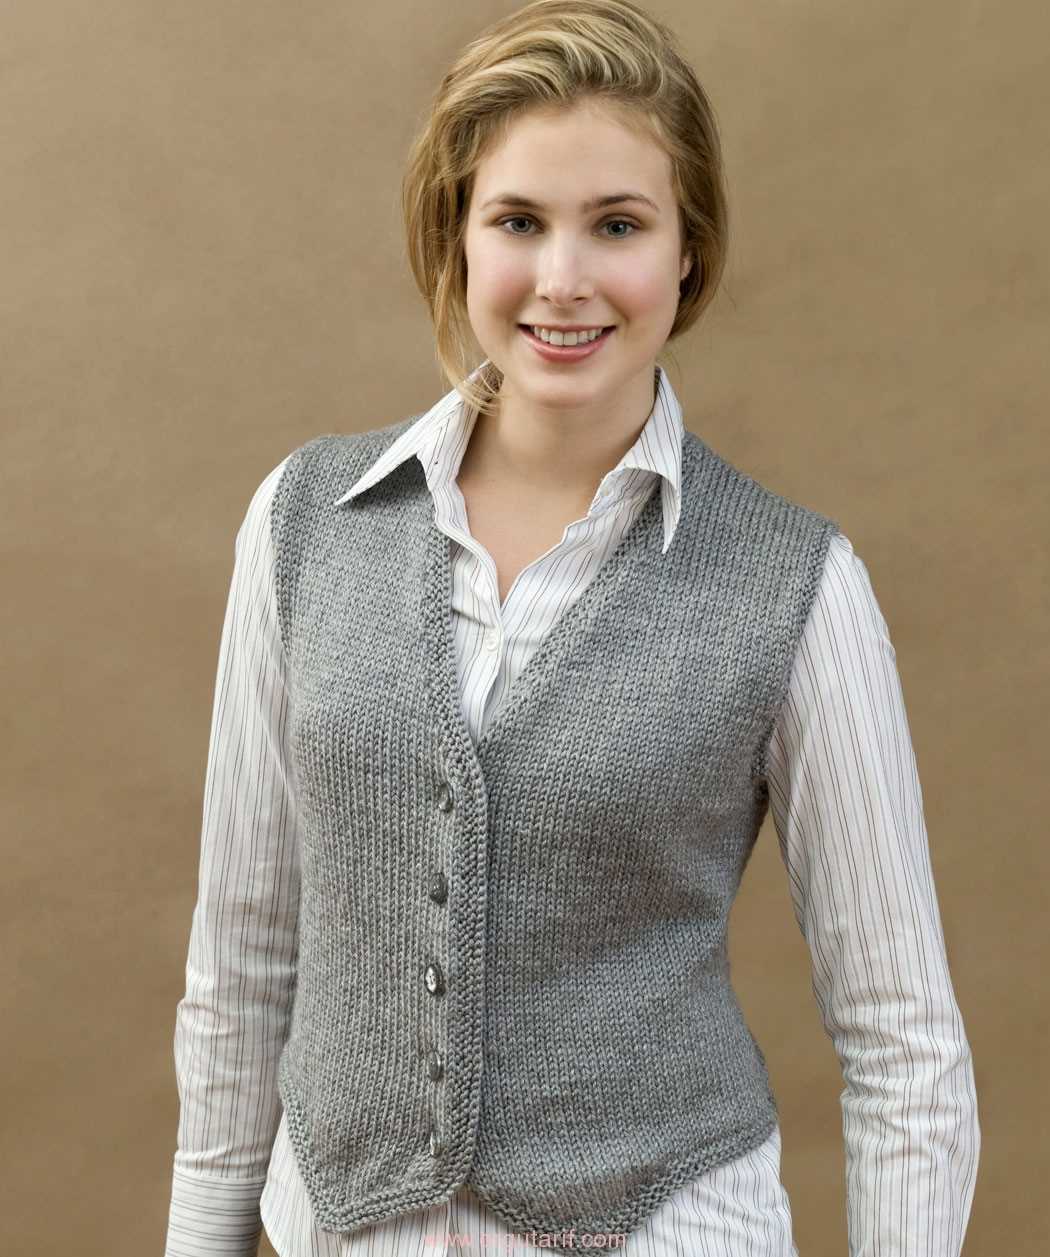
A knit vest is a lightweight and sleeveless garment that can be worn all year round. It can be layered over a blouse or a t-shirt for a casual look, or dressed up with a button-down shirt for a more sophisticated outfit. The best part is that you can easily customize the vest to your liking by using different stitch patterns, colors, and yarn weights.
If you’re a beginner knitter or looking for a new project, we’ve got you covered. In this article, we’ll share a free knit vest pattern for women that is suitable for knitters of all skill levels. Whether you’re a seasoned pro or just starting out, you’ll find this pattern easy to follow and enjoyable to knit.
So grab your knitting needles, select your favorite yarn, and get ready to create a stylish and cozy vest that you’ll love wearing for years to come!
Free Knit Vest Pattern Women’s
If you’re looking for a stylish and cozy addition to your wardrobe, why not try knitting your own vest? With a free knit vest pattern for women, you can create a unique and personalized garment that is perfect for layering or wearing on its own.
When it comes to choosing a free knit vest pattern for women, there are plenty of options available. You can opt for a classic design with a simple stitch pattern and clean lines, or you can go for something more intricate with cables or lace details. The choice is yours!
Before you start knitting, make sure to gather all the necessary materials: yarn in your chosen color, knitting needles in the appropriate size, stitch markers, and a tapestry needle for weaving in the ends. Once you have everything ready, you’re all set to begin.
Here is a simple step-by-step guide to help you get started:
- Cast on the required number of stitches, following the pattern instructions. This will usually be the size that corresponds to your measurements.
- Work the specified stitch pattern according to the pattern instructions. This may include knitting, purling, and various increases or decreases.
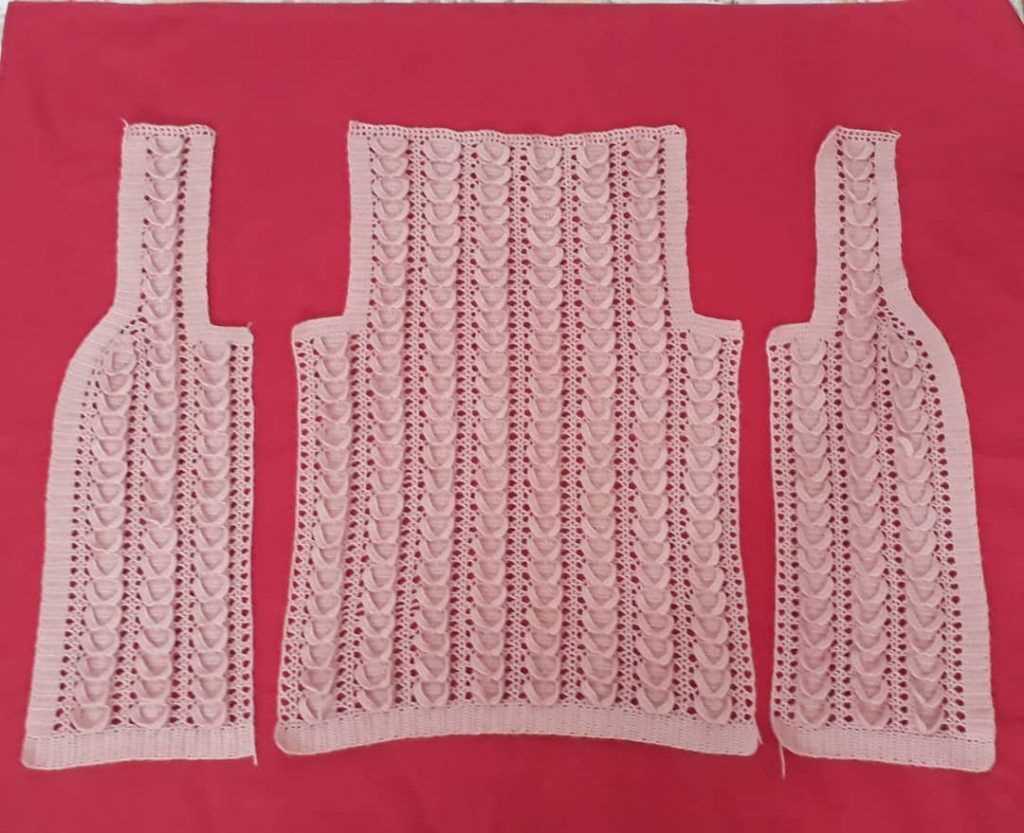
- Continue knitting the front and back pieces separately until they reach the desired length.
- Join the front and back pieces at the shoulders using the specified method, such as the three-needle bind off or a simple seam.
- Attach the yarn at the bottom edge of the vest and knit the specified number of stitches for the collar or neckline.
- Continue knitting the collar or neckline according to the pattern instructions.
- Once the collar is complete, bind off all stitches and weave in any remaining ends.
With your free knit vest pattern for women, you can create a beautiful and versatile garment that you’ll be proud to wear. Whether you’re a beginner or an experienced knitter, knitting a vest is a fun and rewarding project that allows you to express your creativity and style.
Choosing the Right Yarn
When it comes to knitting a vest, one of the most important aspects to consider is the type of yarn you choose. The right yarn can make all the difference in the final product, ensuring that your vest is not only comfortable to wear, but also looks beautiful and lasts for a long time.
Fiber Content: The first thing to consider when choosing yarn for a vest is the fiber content. Different fibers have different qualities, so it’s important to think about what you want from your vest. For example, if you’re looking for a warm and cozy vest, wool or alpaca yarn might be a good choice. On the other hand, if you prefer a lightweight and breathable vest, cotton or linen yarn would be more suitable.
Weight:
The weight of the yarn is another important factor to consider. The weight refers to the thickness of the yarn, and it can have a big impact on the look and feel of your vest. If you want a chunky and warm vest, opt for a bulky or super bulky yarn. For a more delicate and lightweight vest, choose a fingering or sport weight yarn. It’s important to note that different patterns may require different yarn weights, so be sure to check the pattern requirements before making your selection.
Color and Texture:
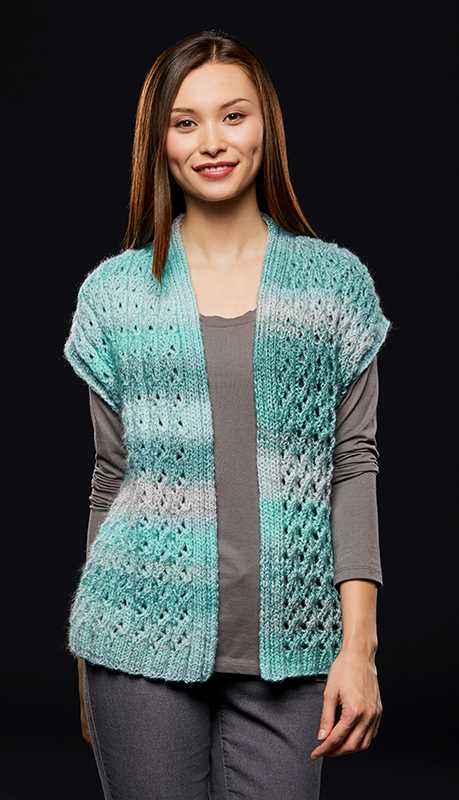
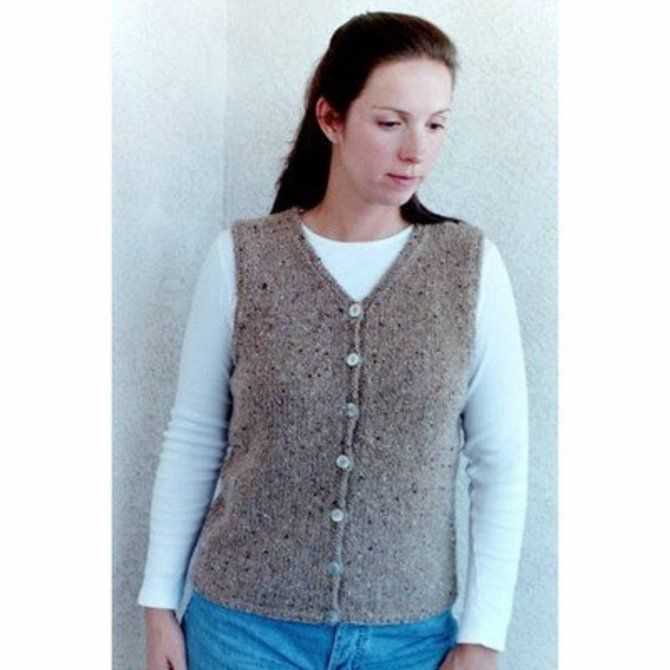
The color and texture of the yarn can also greatly influence the appearance of your vest. If you want a classic and versatile vest, neutral colors like black, gray, or beige would be a good choice. On the other hand, if you want your vest to make a statement, consider using yarn in bold and vibrant colors. Additionally, the texture of the yarn can add depth and interest to your vest. You can choose from smooth and silky yarns for a polished look, or go for more textured yarns like tweed or boucle for a unique and cozy vibe.
In conclusion, choosing the right yarn is crucial when knitting a vest. Consider the fiber content, weight, color, and texture to ensure that your vest meets your desired look and functionality. With the right yarn, you’ll be able to knit a vest that you’ll love to wear and show off!
Selecting the Appropriate Needles
When knitting a vest, whether it’s for yourself or as a gift for someone else, it’s important to choose the right needles for the project. The needles you choose can have a significant impact on the final outcome of the garment, including the drape, fit, and overall appearance.
Size: The first consideration when selecting needles for a knit vest is their size. The size of the needles will directly affect the gauge of your knitting, which in turn affects the size and fit of the finished vest. It’s essential to check the gauge specified in the pattern and choose needles that will help you achieve that gauge. If your stitching is too tight, you might need to switch to larger needles, while if your stitching is too loose, smaller needles might be necessary.
Type: There are different types of knitting needles available–straight needles, circular needles, and double-pointed needles. The type of needles you choose will depend on your personal preference and the construction of the vest. Straight needles are the traditional choice for back-and-forth knitting, but circular needles can be more convenient, especially for larger projects or when knitting in the round. Double-pointed needles are typically used for smaller sections, such as armholes or collar ribbing.
Material: Knitting needles can be made from various materials, including metal, wood, and plastic. Each material has unique properties that can affect your knitting experience. Metal needles are durable and slick, making them ideal for speed knitting and smoother yarns. Wood needles provide a bit more grip, making them suitable for slippery or delicate yarns. Plastic needles are lightweight and affordable, but they may not be as durable as other materials.
Length: The length of the needles is also a factor to consider. Longer needles, such as circular needles, are often more versatile, allowing you to work on larger projects with ease. Shorter needles, such as double-pointed needles, are better suited for smaller, more confined areas. Consider the size and construction of your vest to determine the best needle length for your project.
By carefully selecting the appropriate needles for your free knit vest pattern, you can ensure that your knitting experience is enjoyable, and the final garment is as stunning as you imagined.
Understanding the Gauge
Gauge is an important concept to understand when knitting, as it determines the size and fit of your finished project. Gauge refers to the number of stitches and rows per inch in a knitted fabric.
Before starting a knitting project, it is crucial to check the gauge specified in the pattern. This information can usually be found on the yarn label or in the pattern instructions. The gauge is typically given in a certain stitch pattern, such as stockinette stitch. To obtain an accurate gauge measurement, it is recommended to use the recommended yarn and needle size stated in the pattern.
What if your gauge doesn’t match the pattern?
If your gauge does not match the specified gauge in the pattern, it is likely that your finished project will turn out too big or too small. To adjust your gauge, you may need to change your needle size or adjust your tension while knitting. Increasing your needle size will result in a looser fabric with fewer stitches per inch, while decreasing the needle size will produce a tighter fabric with more stitches per inch.
Why is gauge important?
Gauge is important because it ensures that your knitted item will fit as intended. If your gauge is significantly different from the pattern, your finished project may not be the correct size and the fit may be off. It is essential to take the time to check your gauge before starting a project to ensure a successful outcome and avoid any disappointment.
Tips for measuring gauge
When measuring your gauge, it is best to work a swatch that is at least 4 inches square in the specified stitch pattern. This allows for a more accurate measurement. Use a ruler or gauge tool to count the number of stitches and rows in one inch. Repeat this measurement in a few different areas of your swatch to ensure consistency.
Conclusion
Understanding and achieving the correct gauge is vital for knitting projects. It ensures that your finished project will fit as intended and helps to avoid any sizing issues. Take the time to check your gauge before starting a project and make any necessary adjustments to achieve the correct stitch and row count per inch. Happy knitting!
Taking Accurate Measurements
Having accurate measurements is crucial when knitting a vest to ensure a proper fit. Before beginning your project, take the time to measure yourself or the intended recipient. Use a flexible measuring tape for the most accurate results.
When measuring for a vest, there are several key areas to focus on:
- Bust: Measure around the fullest part of the bust and make sure the tape is parallel to the ground.
- Waist: Measure around the natural waistline, which is typically the narrowest part of the torso.
- Hip: Measure around the fullest part of the hips, ensuring the tape is parallel to the ground.
- Back width: Measure across the back from one armpit to the other, just below the shoulder blades.
- Shoulder width: Measure from the outer edge of one shoulder to the outer edge of the other.
- Arm length: Measure from the shoulder to where you want the sleeves to end.
It is also important to note any specific instructions or modifications provided in the knit vest pattern. These may include measurements for neck circumference, armhole depth, or overall length. By taking accurate measurements and following the pattern instructions, you can ensure your knit vest will fit perfectly and be a stylish addition to your wardrobe.
Casting on Stitches
When starting your knitting project, the first step is to cast on stitches. This is the process of creating the foundation row of stitches on your knitting needle. There are several different methods you can use to cast on stitches, each with its own benefits and uses.
One of the most common methods of casting on stitches is the long tail cast on. To do this, you will need to estimate the amount of yarn needed for the cast on and leave a long tail before making your slip knot. This method creates a neat and elastic edge, making it great for various types of projects. Another popular method is the knit or cable cast on, which is a little more advanced but provides a sturdy edge that is perfect for garments.
Other Casting On Methods
- The single cast on method is quick and easy, where you simply make a slipknot and then insert your needle into the loop, pulling the yarn tight.
- The twisted German cast on creates a stretchy and decorative edge, ideal for ribbing.
- If you’re working on lace projects, the provisional cast on is a great option, as it allows you to easily pick up the live stitches later for a seamless finish.
Once you have cast on your stitches, you are ready to begin knitting. Remember to follow the instructions in your pattern for the specific cast on method required. With practice, you will become more comfortable with different casting on techniques and be able to select the one that best suits your project.
Knitting the Body
The body is the main part of the knitting project, and it is where you will be spending most of your time. It is important to follow the instructions carefully and keep track of your rows and stitches to ensure that the vest turns out the way you want it to.
Materials
- Size 9 (5.5 mm) knitting needles
- Worsted weight yarn
- Tapestry needle
Before starting the body, it is recommended to make a gauge swatch to ensure that your knitting matches the given measurements. To make a gauge swatch, cast on a few stitches and knit a small square using the recommended needle size and yarn. Measure the number of stitches and rows per inch to determine if your gauge matches the pattern. Adjust your needle size as necessary to achieve the correct gauge.
Once you have determined the correct gauge, you can begin knitting the body of the vest. Start by casting on the required number of stitches onto your knitting needles. Follow the pattern instructions for the stitch pattern and shaping. Keep track of your rows using a row counter or a piece of paper and pencil.
Shaping the Armholes
When knitting a vest, shaping the armholes is an important step to ensure a proper fit. By decreasing the number of stitches at the sides, you create a curved edge that follows the natural shape of the body.
1. Marking the Armhole
To begin shaping the armholes, place stitch markers on both sides of the work to indicate where the armhole will be. This will help you keep track of the stitches you need to decrease.
2. Decreasing Stitches
To shape the armholes, you will need to decrease a certain number of stitches at the beginning and end of each row. There are different methods for decreasing stitches, such as knit two stitches together (k2tog) or slip, slip, knit (ssk). Follow the pattern instructions to determine the type of decrease and the number of stitches to decrease at each row.
3. Maintaining Pattern
When decreasing stitches to shape the armholes, it is important to maintain the pattern of the vest. This may require adjusting the pattern instructions to accommodate the decreases. Pay attention to the stitch markers and make sure to continue the pattern correctly after each decrease row.
4. Checking Fit
As you shape the armholes, it is a good idea to periodically try on the vest to check the fit. This will help you make any necessary adjustments and ensure that the armholes are the right size and shape for your body.
- Remember to follow the pattern instructions carefully and keep track of your stitches.
- Take your time and double-check your work to ensure a professional-looking result.
- It may be helpful to refer to online tutorials or videos for additional guidance on shaping armholes.
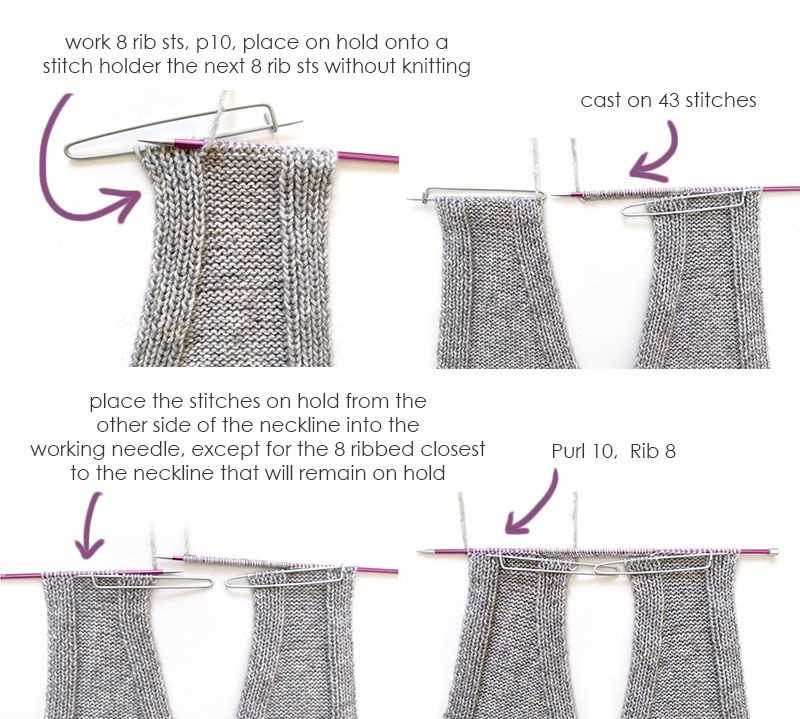
Creating the Neckline
When knitting a vest, one of the key elements to consider is the neckline. The neckline design can greatly impact the overall look and style of the finished garment. There are several different options for creating the neckline, each offering a unique and attractive outcome.
One common method for creating the neckline is to use a ribbed pattern. This involves alternating knit and purl stitches in a specific pattern to create a stretchy and textured fabric. The ribbing can be continued up the sides of the neckline or stopped at a certain point to create a more open and decorative look. This is a versatile option that works well with many different vest styles and designs.
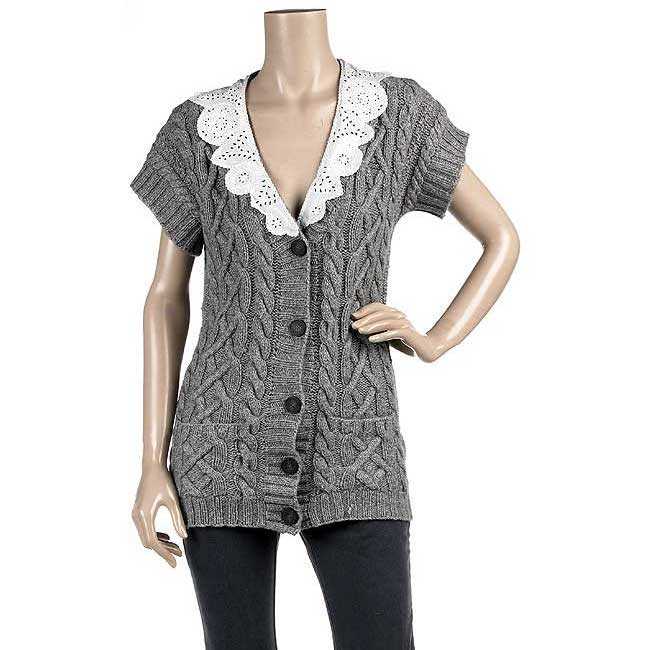
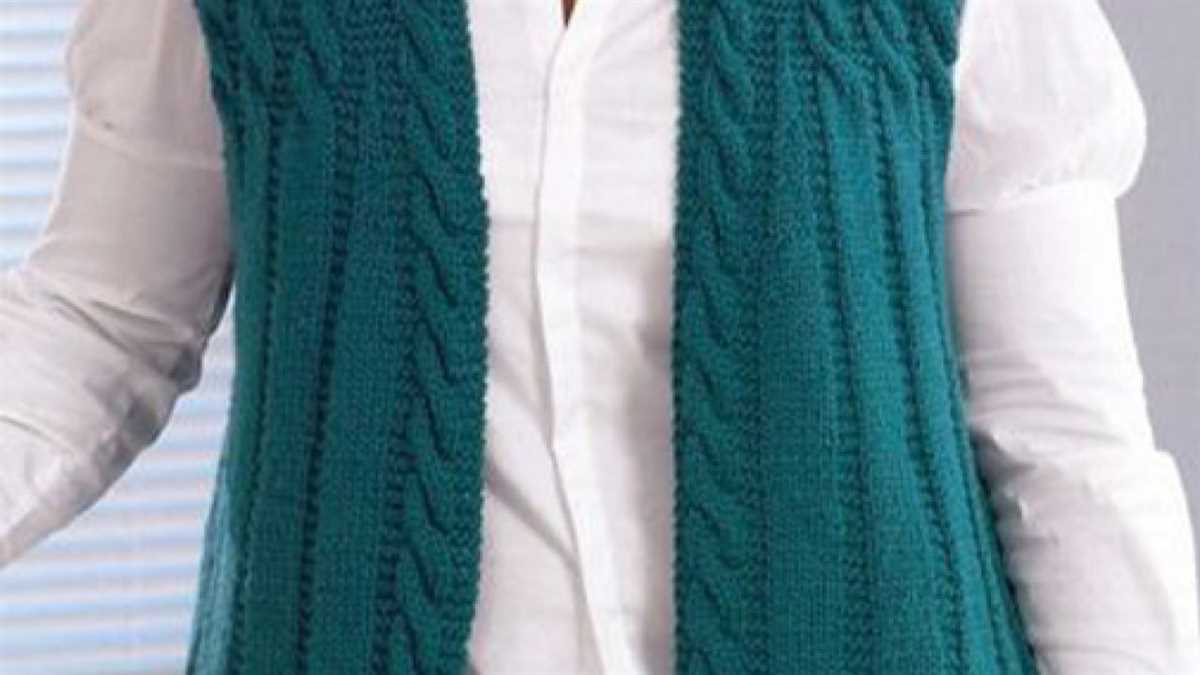
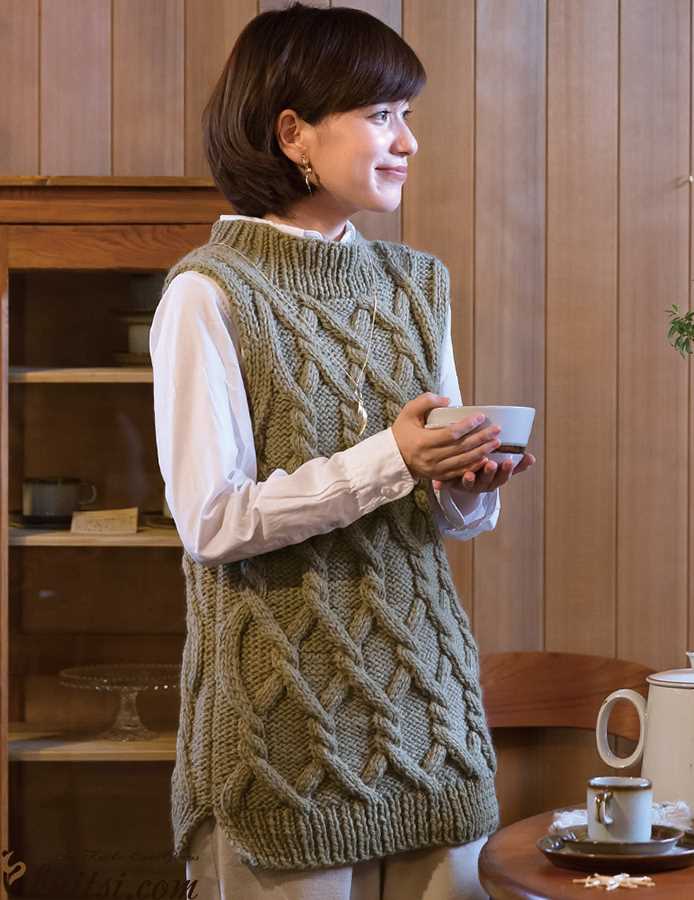
Another option for the neckline is to incorporate a cable pattern. Cables are created by crossing stitches over each other to create a twisted effect. This can add a touch of elegance and sophistication to the vest, making it stand out. Cables can be arranged in various ways, such as in a vertical or horizontal pattern, depending on the desired look. This technique requires more advanced knitting skills but can be well worth the effort for the unique and intricate design it creates.
For a simpler and more casual neckline, a basic stockinette stitch can be used. This involves alternating rows of knit and purl stitches, creating a smooth and uniform fabric. The stockinette stitch allows the vest to sit flat and comfortably on the neck, making it a popular choice for everyday wear. It is important to note that the edges of the stockinette stitch tend to curl, so it may be necessary to add a border or edge to prevent this from happening.
- Use a ribbed pattern for a stretchy and textured neckline.
- Incorporate a cable pattern for an elegant and sophisticated neckline.
- Opt for a basic stockinette stitch for a simple and casual neckline.
Adding Finishing Touches
Now that you have completed knitting your vest using the free pattern, it’s time to add some finishing touches to make it truly special. Here are a few suggestions to enhance the overall look and feel of your vest:
Add Buttons
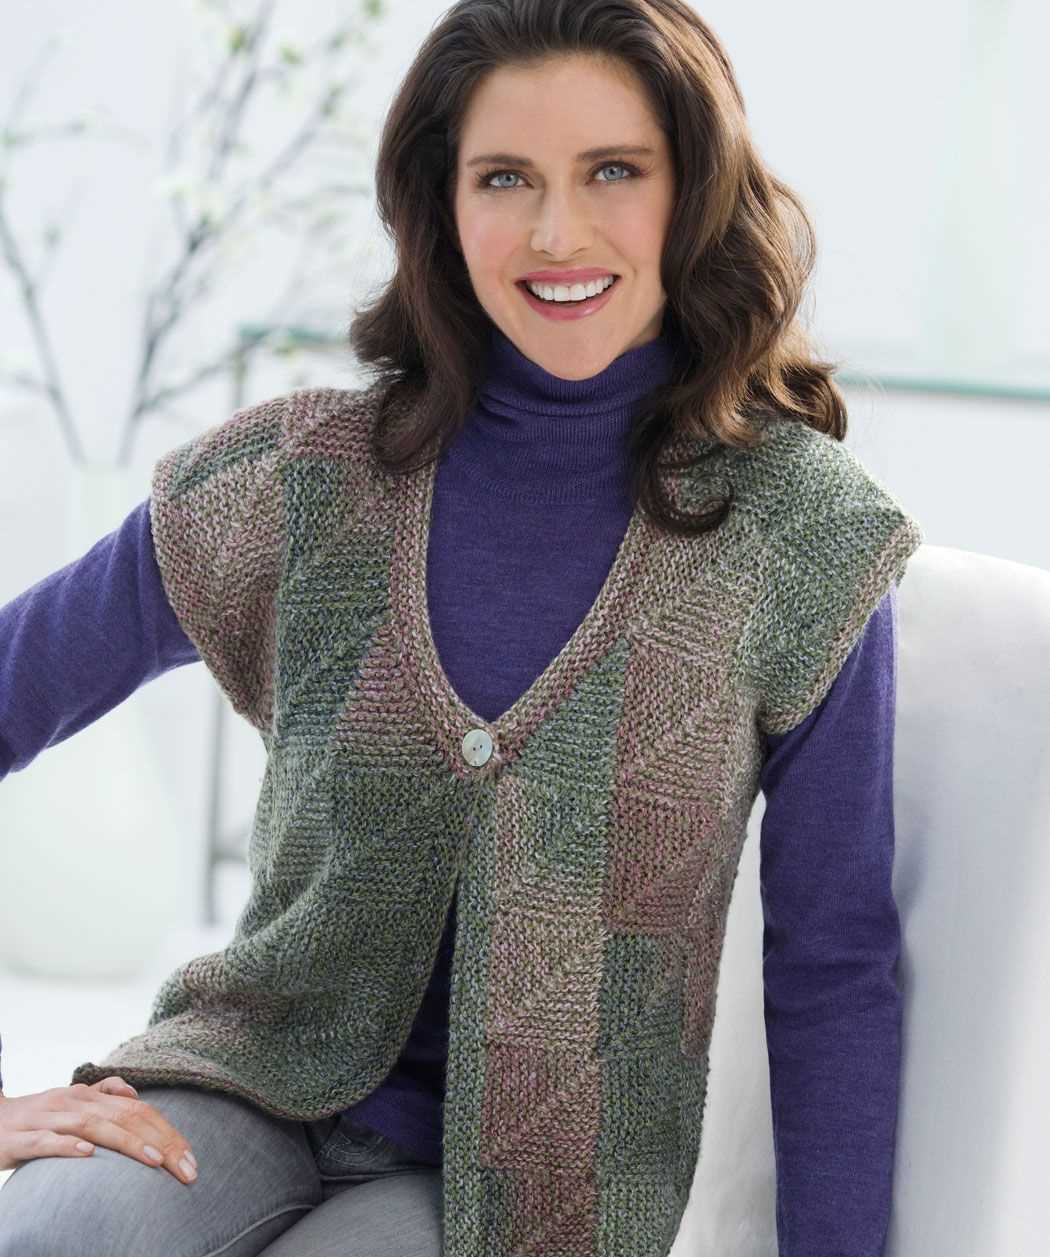
Adding buttons is an easy and effective way to bring your vest to life. Choose buttons that complement the color and style of your vest. You can opt for simple and classic buttons or go for more decorative ones to add a touch of elegance. Sew the buttons onto the front of your vest, ensuring they are evenly spaced.
Trim
Adding a trim to your vest can give it a polished and professional look. Consider using contrasting yarn or ribbon to create a border along the edges of your vest. This can help define the shape and add a pop of color. You can also experiment with different textures or patterns for a unique touch.
Embellishments
If you’re feeling creative, you can add some embellishments to make your vest stand out. This could include embroidery, appliques, or even sequins. Be sure to choose embellishments that complement the style of your vest and sew them on carefully to ensure they are secure.
Blocking
Before wearing or gifting your newly knitted vest, it’s important to block it to give it a professional finish. Blocking involves wetting the vest and shaping it to the desired dimensions. This process helps to even out the stitches and ensures the vest retains its shape. Follow the blocking instructions provided in the pattern to achieve the best results.
By adding these finishing touches to your knitted vest, you can elevate its appearance and make it truly unique. Get creative and don’t be afraid to experiment with different embellishments and trims to make your vest reflect your personal style.
Ways to Style Your Knit Vest
Now that you have your beautiful knit vest, you might be wondering how to style it. Here are some ideas to help you put together stylish and versatile outfits using your knit vest:
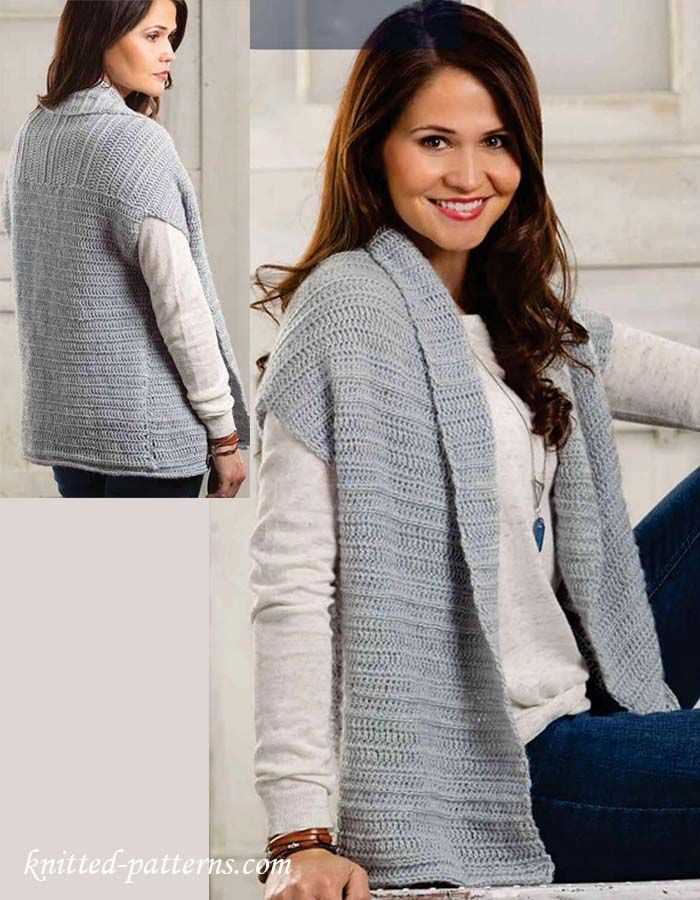
1. Layering
One of the simplest ways to style your knit vest is by layering it over a basic top or blouse. This adds a touch of warmth and coziness to your outfit while still allowing you to show off the vest. Pair it with jeans or trousers for a casual look, or dress it up with a skirt or tailored pants for a more polished ensemble.
2. Belt it
If you want to create a more defined silhouette, try belting your knit vest at the waist. This not only adds shape to your outfit but also helps to accentuate your curves. Choose a wide belt for a statement look or a thin belt for a more subtle effect. Experiment with different colors and textures to create interesting contrasts.
3. Over a Dress
Add a unique twist to your dresses by layering your knit vest over them. This adds a cozy and trendy element to your outfit while allowing you to wear your favorite dresses even in cooler weather. Whether it’s a flowy maxi dress or a structured shift dress, a knit vest can instantly transform your look.
4. Mix Patterns
Don’t be afraid to mix and match patterns when styling your knit vest. Pair it with a striped top, a floral dress, or even a plaid skirt for a fun and eclectic look. Mixing patterns can add visual interest to your outfit and showcase your unique sense of style.
5. Casual or Dressy
Depending on the occasion, you can style your knit vest to create a casual or dressy look. For a casual day out, pair it with jeans, a t-shirt, and sneakers. For a dressier vibe, layer it over a blouse or a blouse-like dress and add heels or ankle boots. The versatility of a knit vest ensures that you can wear it for various occasions.
With these styling tips, you can confidently wear your knit vest in different ways and create outfits that express your personal style. Whether you prefer a casual or dressy look, your knit vest will no doubt become a wardrobe staple.
Q&A:
Where can I find free knit vest patterns for women?
You can find free knit vest patterns for women on various websites such as Ravelry, AllFreeKnitting, and LoveCrafts. These websites offer a wide range of patterns for all skill levels.
What materials do I need to knit a vest?
The materials you need to knit a vest may vary depending on the pattern you choose. However, common materials include knitting needles, yarn (preferably in the weight recommended by the pattern), stitch markers, and a tapestry needle for weaving in ends.
Are there any beginner-friendly knit vest patterns available?
Yes, there are beginner-friendly knit vest patterns available. Many websites offer patterns specifically designed for beginners with detailed instructions and basic stitches. These patterns are a great way to learn and practice new knitting techniques.
Can I modify a knit vest pattern to fit my size?
Yes, you can modify a knit vest pattern to fit your size. Most patterns provide instructions on how to adjust the sizing by adding or subtracting stitches or rows. It’s important to take accurate body measurements and compare them to the pattern’s measurements to ensure the best fit.