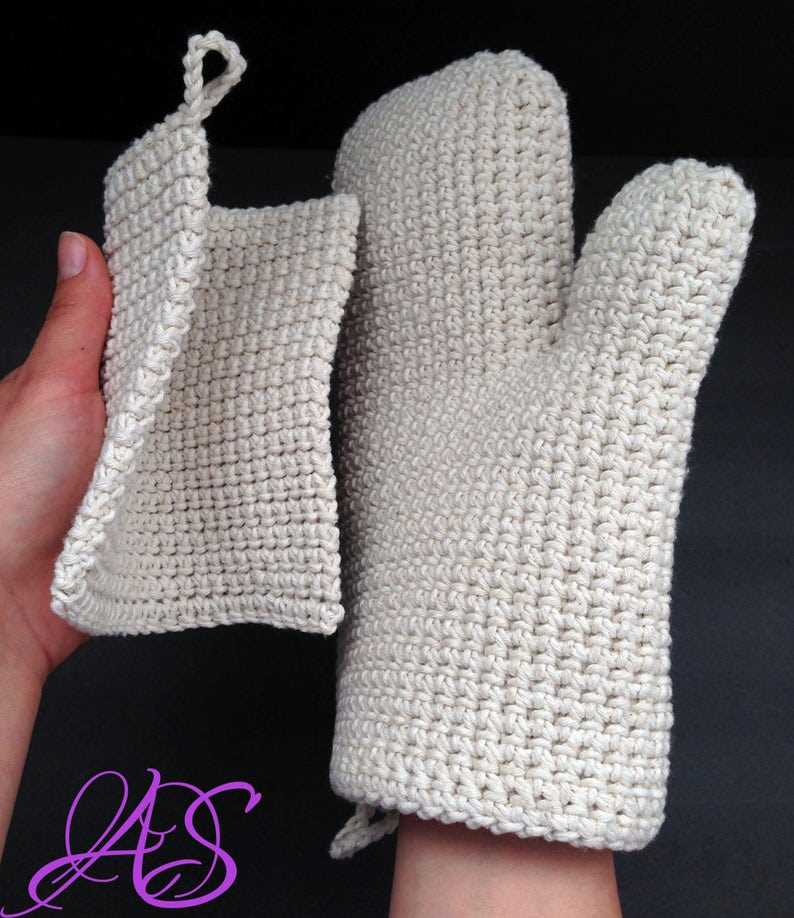
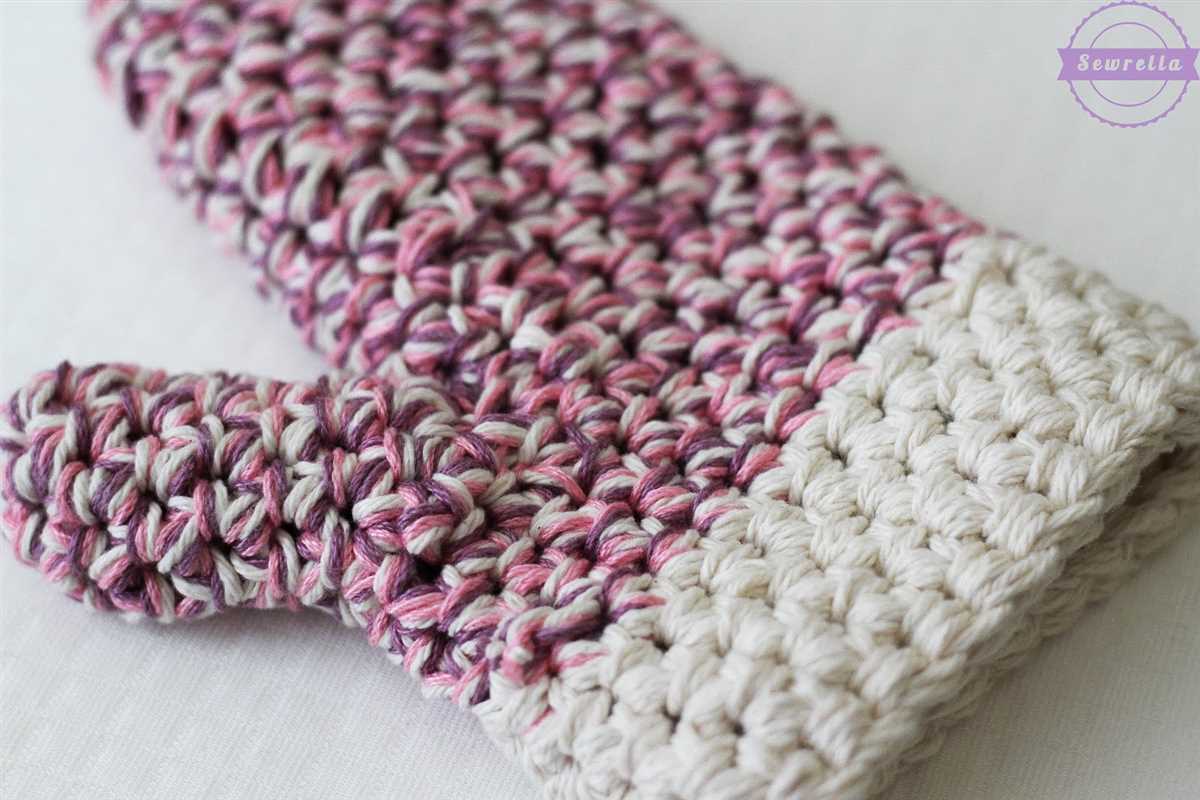
Free pattern for knitted oven mitts

If you love to bake and want to protect your hands from hot trays and pans, a knitted oven mitt is a must-have accessory. Not only will it keep your hands safe, but it also adds a touch of style and personality to your kitchen. And the best part? You can make your own oven mitt with this free knitting pattern.
This knitted oven mitt pattern is perfect for beginners and makes a great project for those looking to improve their knitting skills. All you need is some yarn, knitting needles, and a few hours of free time. The pattern uses basic knitting stitches such as knit and purl, so even if you’re new to knitting, you’ll be able to follow along.
Once you have completed your knitted oven mitt, you can use it in your kitchen or give it as a thoughtful homemade gift. These oven mitts are not only functional but also customizable. You can choose any color yarn and add embellishments such as buttons or embroidery to make it unique. So why wait? Grab your knitting needles and get started on your own knitted oven mitt today!
Knitted Oven Mitt Pattern Free
Looking for a knitted oven mitt pattern that won’t cost you a dime? You’ve come to the right place! We have a selection of free patterns that are perfect for keeping your hands protected while baking or cooking.
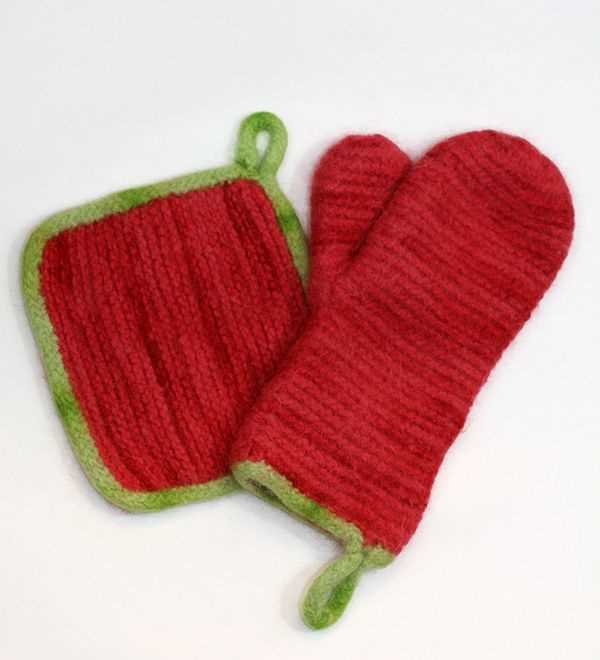
One popular option is the classic garter stitch oven mitt. This pattern uses simple knit and purl stitches and is suitable for beginners. The garter stitch creates a thick, sturdy fabric that will help insulate your hands from heat. You can also add a loop at the top to hang the mitt up when not in use.
Materials:
- Worsted weight yarn
- Size 8 knitting needles
- Tapestry needle
Instructions:
- Cast on 36 stitches.
- Knit every row until the piece measures 8 inches.
- Bind off.
- Fold the piece in half and sew up the side seam, leaving a hole for the thumb.
- Weave in any loose ends.
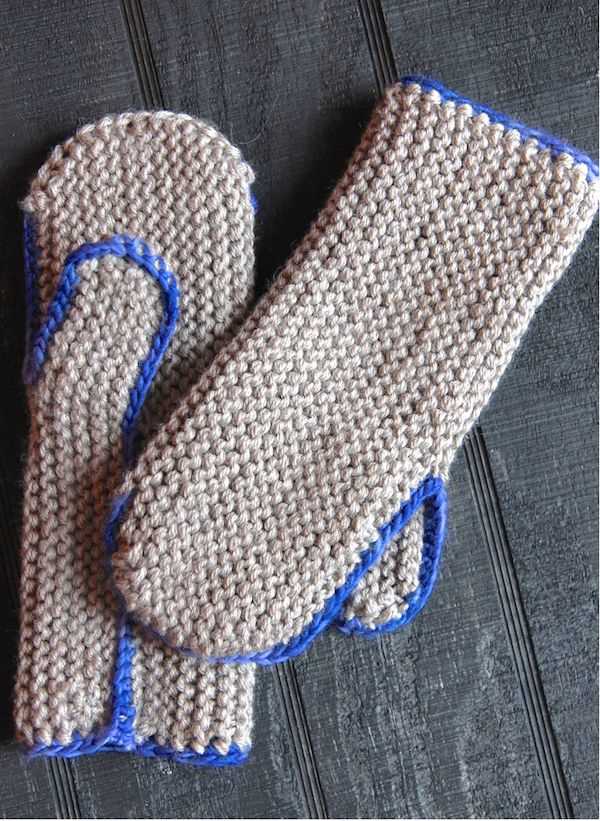
Another option is a ribbed oven mitt. This pattern uses a combination of knit and purl stitches to create a stretchy, textured fabric. The ribbing provides a secure fit and allows the mitt to stretch to accommodate different hand sizes.
Materials:
- Bulky weight yarn
- Size 10 knitting needles
- Tapestry needle
Instructions:
- Cast on 40 stitches.
- *K2, p2* – repeat this pattern until the piece measures 8 inches.
- Bind off in ribbing.
- Fold the piece in half and sew up the side seam, leaving a hole for the thumb.
- Weave in any loose ends.
Whether you choose the garter stitch or ribbed pattern, these free knitted oven mitt patterns are sure to come in handy in your kitchen. Happy knitting!
Materials Needed for Knitted Oven Mitt
Knitting your own oven mitt can be a fun and rewarding project. Before you get started, gather all the materials you will need to complete the pattern. Having everything ready and within reach will help ensure a smooth and enjoyable knitting experience.
Materials:
- Knitting needles: A size 7 (4.5 mm) double-pointed needle set
- Yarn: Worsted weight yarn, approximately 200 yards (183 meters)
- Tapestry needle: This will be used for weaving in ends and seaming
- Stitch markers: These will help you keep track of stitch patterns and shaping
- Scissors: Used for cutting yarn and trimming any excess
- Measuring tape: This will come in handy for checking gauge and measuring the mitt
Once you have gathered all the necessary materials, you are ready to begin knitting your oven mitt. Make sure to double-check the pattern requirements for any specific yarn weight or needle size recommendations. With everything in place, you can now focus on creating a practical and stylish oven mitt that you can use and show off in your kitchen.
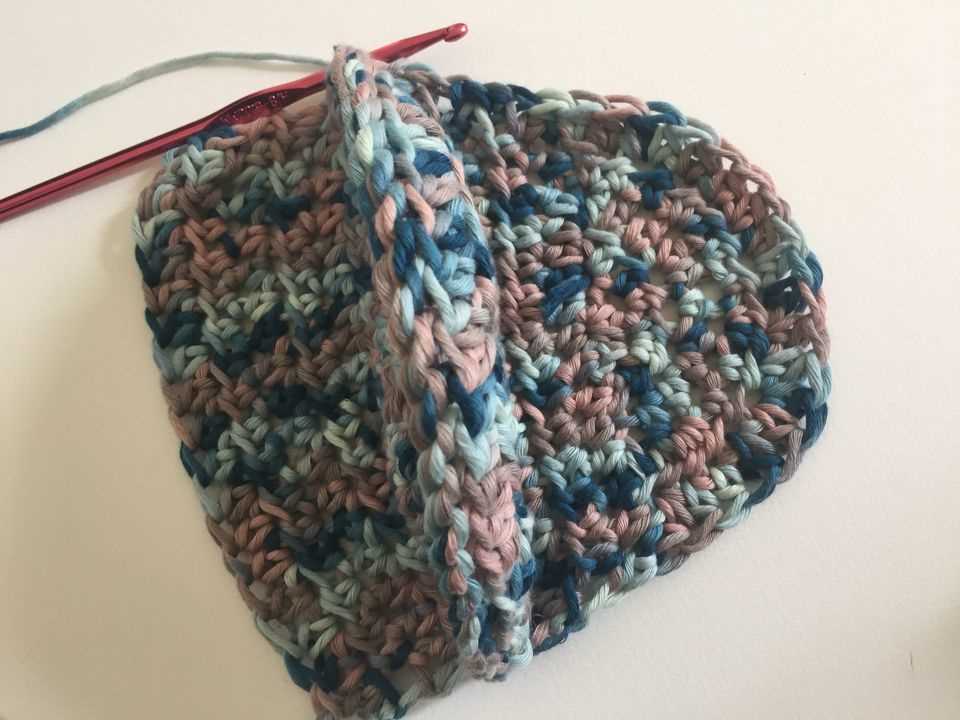
Step-by-Step Instructions for Knitting an Oven Mitt
Knitting your own oven mitt can be a fun and rewarding project that allows you to customize the design and colors to match your kitchen decor. Follow these step-by-step instructions to create a practical and stylish oven mitt.
Materials:
- Worsted weight yarn
- Size 7 knitting needles
- Circular knitting needles (optional)
- Tapestry needle
- Scissors
Instructions:
- Start by casting on 36 stitches using the size 7 knitting needles. This will be the base for your oven mitt.
- Work in a rib stitch pattern (knit 1, purl 1) for the first 4 rows to create a stretchy cuff.
- Switch to stockinette stitch (knit 1 row, purl 1 row) for the body of the oven mitt. Continue knitting in stockinette stitch until the piece measures approximately 9 inches in length.
- Next, create the thumb opening. Knit 8 stitches, then place these stitches onto a holder or piece of waste yarn. Cast on 4 new stitches, then continue knitting the remaining 24 stitches.
- Work in stockinette stitch for another 2 inches, then begin the decrease rounds to shape the top of the oven mitt. Knit 2 together at the beginning and end of every other row until you have 8 stitches remaining.
- Bind off the remaining stitches and cut the yarn, leaving a long tail. Thread the tail through the tapestry needle and weave it through the stitches to secure.
- Using the tapestry needle, sew up the side seam of the oven mitt, leaving the thumb opening open.
- To finish the oven mitt, fold over the cuff and sew it in place using the tapestry needle.
Once you’ve completed these steps, you’ll have a knitted oven mitt ready to use in your kitchen. Enjoy the satisfaction of knowing you created a useful and unique accessory!
Choosing the Right Yarn for Your Oven Mitt
When it comes to knitting oven mitts, choosing the right yarn is crucial. The yarn you select will determine the durability, heat resistance, and overall performance of your mitts. It’s important to consider several factors before making a decision.
Heat Resistance: Given that oven mitts are primarily used to protect our hands from hot surfaces and items, it’s essential to choose a yarn that can withstand high temperatures. Look for yarns that are labeled as heat resistant or can handle temperatures of at least 350 degrees Fahrenheit.
Durability: Oven mitts are subjected to a lot of wear and tear, so durability is key. Opt for yarns that are strong and have a tight twist, as they will hold up better to frequent use and washing. Acrylic and cotton yarns are popular choices for oven mitts due to their durability.
Insulation: Another important factor to consider is insulation. Look for yarns that have good thermal properties to ensure that your mitts provide adequate protection from heat. Wool is an excellent option as it has natural insulating properties and can withstand high temperatures.
Washability: Oven mitts can easily become dirty and stained, so it’s important to choose yarns that are machine washable. Check the yarn label to ensure that it can be safely washed and dried without losing its shape or becoming damaged.
Texture and Grip: Consider the texture of the yarn and how it will affect your grip on hot items. Look for yarns that have a slightly textured or bumpy surface to improve grip and prevent slippage. This will help you safely handle hot pans and dishes.
Color Selection: Lastly, don’t forget to consider the color of the yarn for your oven mitts. While this might seem like a purely aesthetic choice, it can have practical implications as well. Darker colors tend to hide stains better, while lighter colors may show dirt more easily.
By considering these factors and choosing the right yarn for your oven mitts, you can ensure that they will be durable, heat resistant, and provide optimal protection for your hands while cooking or baking.
Tips for Knitting a Perfectly Fitted Oven Mitt
Knitting your own oven mitt can be a fun and rewarding project. Not only will you have a unique item to use in your kitchen, but you’ll also be able to customize the fit to suit your hand perfectly. Here are some tips to help you knit a perfectly fitted oven mitt.
1. Choose the Right Yarn
When knitting an oven mitt, it’s important to choose a yarn that is heat resistant and durable. Look for yarns that are specifically designed for kitchen or oven use. These kinds of yarns are often made from cotton or a blend of cotton and synthetic fibers, which can withstand higher temperatures without melting or charring. They are also easy to clean and maintain.
2. Use a Properly Sized Pattern
To ensure a perfect fit, start with a pattern that matches your hand size. Many free knitting patterns for oven mitts are available online, so take the time to find one that provides measurements for the finished product. Consider the length of your fingers and the circumference of your hand when choosing a pattern. You can also make adjustments to the pattern by adding or subtracting stitches to customize the fit even more.
3. Pay Attention to Gauge
Gauge is crucial when knitting an oven mitt. Be sure to check your gauge before starting the project to ensure that your stitches are the correct size. This will help you achieve the right fit and ensure that your mitt is not too loose or too tight. Adjust your needle size or tension if necessary to match the pattern’s specified gauge.
4. Add Extra Layers for Extra Protection
If you want to enhance the heat resistance of your oven mitt, consider adding extra layers. You can knit an extra lining or use an insulating material such as wool or heat-resistant batting. This will provide an additional barrier between your hand and hot objects. Just make sure to choose a material that can withstand high temperatures without melting or causing harm.
- Choose a heat-resistant and durable yarn specifically designed for oven mitts.
- Use a properly sized pattern and make adjustments if needed to customize the fit.
- Check your gauge before starting to ensure the correct size and adjust as necessary.
- Consider adding extra layers for increased heat resistance.
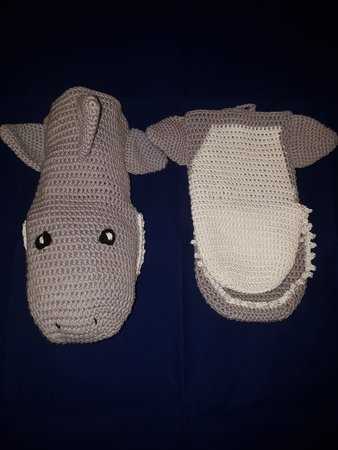
Adding Decorative Embellishments to Your Knitted Oven Mitt
Knitting your own oven mitts can be a fun and rewarding project, and adding decorative embellishments can elevate your mitts to the next level. Whether you want to personalize them or simply add some extra flair, there are several ways you can enhance the look of your knitted oven mitts.
Embroidery: One of the simplest ways to decorate your oven mitts is by adding embroidery. You can choose to stitch a pattern, a name, or even a small design onto the mitts using colorful embroidery thread. Embroidery adds a personal touch and allows you to showcase your creativity.
Buttons: Another option to consider is adding buttons to your mitts. You can sew on decorative buttons in various shapes, sizes, and colors to create a unique design. Not only will buttons make your mitts visually appealing, but they can also serve as functional embellishments if you choose buttons that can be used to secure the mitts around your wrist.
Ribbon: If you prefer a more delicate and feminine touch, adding ribbon can be a great option. You can use ribbon to create bows, loops, or even a trim around the edges of your mitts. Satin or organza ribbon can add elegant and sophisticated touches to your knitted oven mitts.
Textured Stitches: If you want to add visual interest without using additional materials, consider incorporating textured stitches into your knitting pattern. By using different stitch patterns, such as cables or bobbles, you can create a unique and eye-catching design. These textured stitches will add both aesthetic appeal and functionality to your oven mitts.
Colorwork: Lastly, you can use colorwork techniques to add decorative elements to your mitts. Fair Isle, Intarsia, or slip-stitch colorwork can be used to create intricate patterns using multiple yarn colors. This technique allows you to experiment with different color combinations and create stunning designs that will make your mitts stand out.
Remember, regardless of which embellishment method you choose, it’s important to consider the functionality and washability of your knitted oven mitts. Make sure to use materials and techniques that can withstand the heat of the oven and can be easily washed when needed. With a little creativity and some added embellishments, your knitted oven mitts will not only protect your hands but also bring joy and style to your cooking experience.
How to Customize Your Knitted Oven Mitt
If you’re a knitter who loves to personalize their creations, you’ll be delighted to know that you can easily customize your knitted oven mitt. By adding your own personal touches, you can create a truly unique and one-of-a-kind piece that reflects your style and personality.
Here are some tips on how to customize your knitted oven mitt:
1. Choose the Right Yarn
The first step in customizing your knitted oven mitt is to choose the right yarn. Consider the color, texture, and thickness of the yarn to match your desired style. You can go for a classic look with neutral colors, or be bold with vibrant shades. You can also experiment with different types of yarn, such as cotton or wool blends, to achieve the desired effect.
2. Add Embellishments
To make your oven mitt stand out, consider adding embellishments. You can sew on buttons, beads, or appliques that match your theme or personal taste. These small details can make a big difference in the overall appearance of your mitt.
3. Embroidery or Applique

If you enjoy sewing or embroidery, you can personalize your oven mitt by adding a monogram, a design, or your favorite pattern using embroidery thread or by appliqueing fabric onto the mitt. This will give your oven mitt a unique and personalized touch.
4. Experiment with Different Stitch Patterns
Another way to customize your knitted oven mitt is by experimenting with different stitch patterns. You can include cables, lace, or other textured stitches to add visual interest and make your mitt stand out. Consider incorporating a stitch pattern that matches your kitchen decor or reflects your personal style.
5. Size it Perfectly
Lastly, make sure to customize the size of your oven mitt to fit your hand perfectly. Everyone’s hand size is different, so consider measuring your hand and adjusting the pattern accordingly. This will ensure a comfortable and functional fit.
With these tips, you can easily customize your knitted oven mitt and create a unique and personalized piece that you’ll love using in your kitchen.
Knitting Techniques for Beginners
Knitting is a popular craft that involves creating fabric by interlocking loops of yarn with knitting needles. It is a versatile craft that allows you to create a wide variety of items, from cozy scarves and hats to intricate sweaters and blankets. If you are new to knitting, here are some basic techniques to help you get started.
Casting on: This is the first step in starting any knitting project. It involves creating the foundation row of stitches on your needle. There are several methods for casting on, including the long-tail cast-on and the knitted cast-on. Each method has its own advantages, so it is worth trying out different techniques to see which one works best for you.
Knit stitch: The knit stitch is the most basic stitch in knitting. It creates a smooth, flat fabric and is often used for creating stockinette stitch, which is a common stitch pattern in knitting. To do the knit stitch, insert your right-hand needle into the first stitch on your left-hand needle, from left to right. Wrap the yarn around the right-hand needle, then pull it through the loop to create a new stitch. Slip the original stitch off the left-hand needle.
- Purl stitch: The purl stitch is another basic stitch in knitting. It creates a bumpy texture and is often used for creating ribbing, seed stitch, or garter stitch. To do the purl stitch, insert your right-hand needle into the first stitch on your left-hand needle, from right to left. Wrap the yarn around the right-hand needle, then pull it through the loop to create a new stitch. Slip the original stitch off the left-hand needle.
- Increasing and decreasing: Once you’ve mastered the knit and purl stitches, you can start experimenting with different techniques to shape your knitting. Increasing involves adding stitches to your work, while decreasing involves removing stitches. There are many different methods for increasing and decreasing, including yarn overs, knit two together (k2tog), and slip slip knit (ssk).
These are just a few of the basic knitting techniques that beginners should know. As you become more comfortable with the basics, you can start exploring more advanced techniques, such as stranded colorwork, lace knitting, and cable knitting. Remember to start with simple projects and practice regularly to improve your skills. Happy knitting!
Alternative Knitting Methods for Oven Mitts
Knitting oven mitts can be a fun and rewarding project for any knitter. While there are many free patterns available, it can also be exciting to explore alternative knitting methods to create unique and personalized oven mitts. Here are a few ideas to inspire your creativity:
1. Double knitting:
Double knitting is a technique that creates a reversible fabric with colorwork designs on both sides. This method can be used to create oven mitts that are extra thick and insulated, perfect for protecting your hands from heat. By using contrasting colors, you can create stunning patterns that will make your oven mitts stand out.
2. Fair Isle knitting:
Fair Isle knitting is a traditional technique that involves working with multiple colors in a row to create intricate patterns. By incorporating Fair Isle motifs into your oven mitts, you can add a touch of elegance and complexity to your design. Experiment with different color combinations to achieve unique and eye-catching results.
3. Cable knitting:
Adding cable stitches to your oven mitts can create a beautiful and textured look. By twisting and crossing stitches, you can create intricate cable patterns that add both style and functionality to your oven mitts. Knitting cables can be a bit more challenging, but the effort is definitely worth it for the stunning end result.
4. Lace knitting:
For a more delicate and feminine look, consider incorporating lace patterns into your oven mitts. Lace knitting involves creating intricate openwork designs that can add a touch of elegance to your kitchen attire. By using finer yarns and smaller needles, you can create delicate patterns that are both beautiful and functional.
5. Modular knitting:
Modular knitting involves creating individual pieces of fabric that are then joined together to create a larger project. This technique can be used to create oven mitts with different patterns or textures on each side. By knitting multiple modular pieces, you can mix and match designs to create truly unique oven mitts that reflect your personal style.
Unique Patterns for Knitted Oven Mitts
In the world of knitting, oven mitts are a popular project for both beginners and experienced knitters. Not only are they practical for protecting your hands while cooking, but they also make for great gifts. If you’re looking for unique patterns for knitted oven mitts, you’re in the right place.
One unique pattern option is the “Cable Knit Oven Mitt.” This pattern features a beautiful, intricate cable design that adds a touch of elegance to your kitchen. The mitt is knit in the round, and the cables are created using cable needles. The result is a stunning and functional oven mitt that will impress anyone who sees it.
Other unique patterns for knitted oven mitts include:
- The “Fair Isle Oven Mitt” which incorporates Fair Isle knitting techniques to create a colorful and eye-catching design.
- The “Lace Overlay Oven Mitt” which combines lace knitting with a solid color base for a delicate and feminine look.
- The “Novelty Yarn Oven Mitt” which allows you to get creative with different types of novelty yarns, adding texture and visual interest to your mitt.
No matter which pattern you choose, knitted oven mitts are a practical and stylish addition to any kitchen. They offer protection and comfort while cooking, and they also make for a unique and personal gift. Whether you’re a knitting enthusiast or just starting out, try one of these unique patterns for knitted oven mitts and elevate your kitchen with your handmade creations.
Care Instructions for Your Knitted Oven Mitt
If you want your knitted oven mitt to last for a long time and continue to provide you with protection while handling hot items, it’s important to take good care of it. Here are some care instructions to follow:
- Washing: Hand wash your oven mitt in cool water with a mild detergent. Avoid using bleach or harsh chemicals as they can damage the fibers of the mitt.
- Drying: Gently squeeze out excess water after washing. Lay the mitt flat on a clean towel and reshape it to its original shape. Allow it to air dry completely before using or storing.
- Storing: When not in use, store your knitted oven mitt in a clean and dry place. Avoid exposing it to direct sunlight, as this can cause the colors to fade and the fabric to weaken.
- Handling: While the oven mitt is designed to protect your hands from heat, it is still important to use caution. Avoid touching hot surfaces for an extended period of time, as this can cause the mitt to become damaged.
- Repairing: If you notice any small rips or holes in your oven mitt, it’s best to repair them as soon as possible. Use a matching yarn and a darning needle to carefully sew up any areas that need attention.
By following these care instructions, you can ensure that your knitted oven mitt remains in good condition and continues to serve its purpose of protecting your hands while cooking. With proper care, your mitt can last for many years, providing you with a reliable and stylish kitchen accessory.