Simple Knitting Patterns for Novice Crafters

Are you new to the world of knitting and looking for some simple yet rewarding projects to start with? Look no further! In this article, we will introduce you to a variety of easy knitting patterns that are perfect for beginners.
Knitting is a versatile and enjoyable hobby that allows you to create beautiful garments, accessories, and home decor items with just a pair of needles and some yarn. While it may seem intimidating at first, there are plenty of resources and patterns available for beginners to help them get started.
Whether you’re interested in knitting scarves, hats, dishcloths, or even baby blankets, there are patterns out there that will suit your skill level and provide you with a sense of accomplishment. These easy knitting patterns typically use basic stitches and simple techniques, making them perfect for those who are just starting to learn.
Choosing the right yarn and needles

When starting out with knitting, it is important to choose the right yarn and needles for your project. The type of yarn you select will greatly affect the overall look and feel of your finished piece, while the appropriate needles can make your knitting experience much more enjoyable.
Yarn: There are various types of yarn available, each with its own unique characteristics. As a beginner, it is best to choose a smooth, medium-weight yarn in a light or medium color. Avoid using yarns with too much texture or fuzziness, as they can make it difficult to see your stitches and correct any mistakes. Also, opt for a yarn that is easy to work with and doesn’t split easily.
Needles: The size of your knitting needles will depend on the thickness of your yarn and the desired tension of your project. As a beginner, it is recommended to start with medium-sized needles (US 7-9) as they are versatile and easier to handle. It is also important to choose the right type of needles – straight, circular, or double-pointed – based on the type of project you are working on. Straight needles are commonly used for flat projects such as scarves, while circular needles are ideal for knitting in the round or larger projects. Double-pointed needles are often used for knitting smaller items such as socks or mittens.
By selecting the right yarn and needles for your project, you can set yourself up for knitting success as a beginner. Remember to experiment and try different combinations until you find what works best for you.
Knitting terminology and stitch basics
When starting out with knitting, it is important to familiarize yourself with the basic knitting terminology and stitch techniques. This will help you understand knitting patterns and follow along more easily.
Casting on: This is the first step in starting a knitting project. It involves creating the very first row of stitches on your knitting needle.
Stitches

Knit stitch: This is the most basic stitch in knitting. It is created by inserting the right-hand needle into the front of the stitch on the left-hand needle, wrapping the yarn around the needle, and pulling it through the stitch.
Purl stitch: This stitch is the opposite of the knit stitch. It is created by inserting the right-hand needle into the back of the stitch on the left-hand needle, wrapping the yarn around the needle, and pulling it through the stitch.
Stockinette stitch: This is a common stitch pattern that is created by alternating rows of knit and purl stitches. It creates a smooth, flat fabric with a “v” pattern on the right side.
Garter stitch: This stitch pattern is created by knitting every row, resulting in a fabric with ridges on both sides. It is a great stitch pattern for beginners as it is simple and reversible.
Other knitting terms
Row: A row is a horizontal line of stitches going across the width of your knitting project.
Repeat: When a knitting pattern instructs you to repeat a specific set of stitches or instructions, it means you should do them again the specified number of times.
Bind off: This is the final step in finishing your knitting project. It involves removing the stitches from the needle and securing them to prevent unraveling.
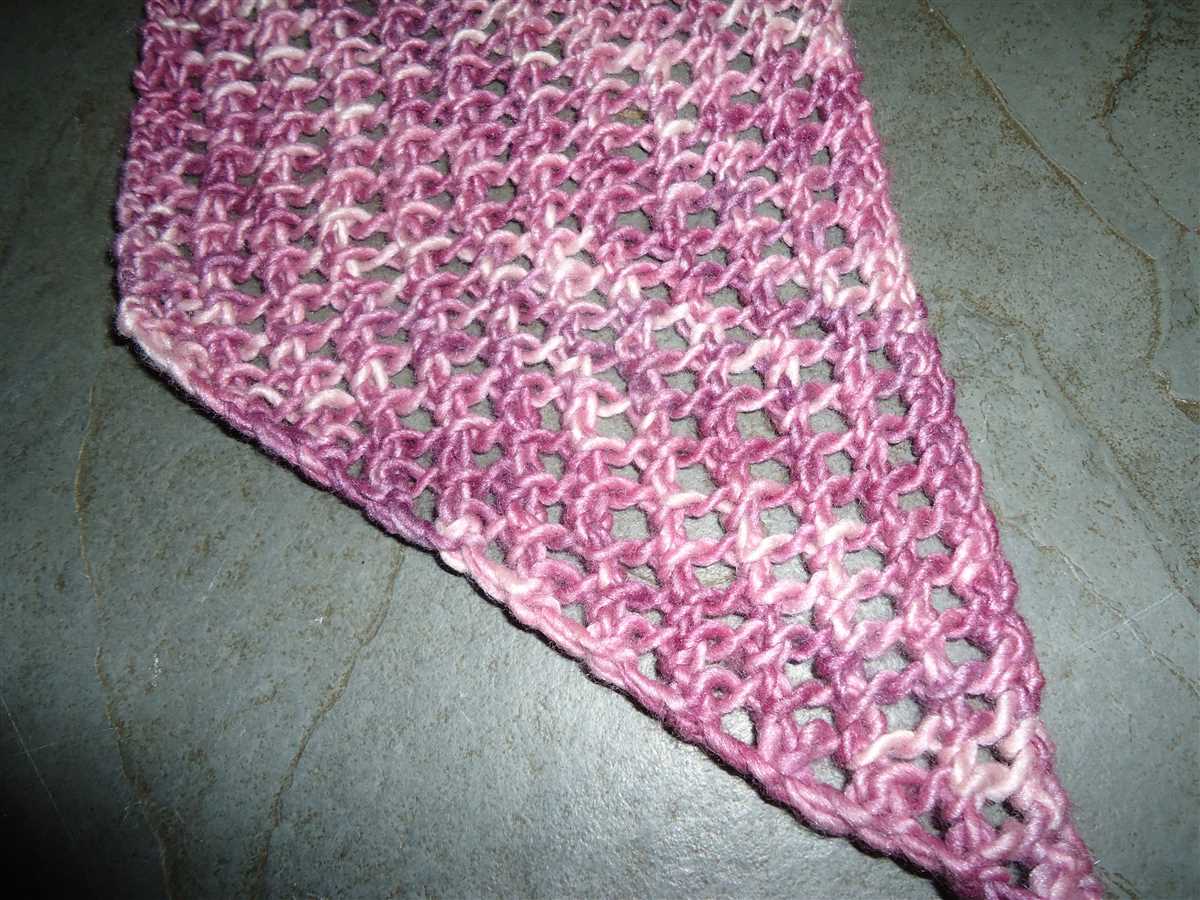
Simple scarf knitting pattern
Knitting is a great hobby for beginners, and making a simple scarf is the perfect project to start with. This easy knitting pattern requires only basic knitting skills and a few supplies. Whether you’re a complete beginner or have some experience, this pattern is a great way to practice your knitting and create a cozy scarf for yourself or as a gift.
To get started, you’ll need a pair of knitting needles and some yarn. Choose a soft and warm yarn that is easy to work with, such as a medium-weight acrylic or wool blend. You can also experiment with different colors and textures to add some personal flair to your scarf.
Instructions:

- Cast on a multiple of stitches, depending on how wide you want your scarf to be. For a standard scarf, cast on about 30-40 stitches.
- Knit every row until your scarf reaches the desired length. This simple pattern uses the garter stitch, which means you knit every row. This creates a squishy and textured fabric that is perfect for a cozy scarf.
- Continue knitting until your scarf is long enough to wrap around your neck comfortably. You can measure it against yourself as you go to ensure the perfect length.
- Once you’ve reached the desired length, bind off your stitches. Cut the yarn, leaving a long tail, and thread it through the last stitch to secure it.
That’s it! Your simple scarf is complete. You can wear it as is or add some decorative touches, such as fringe or buttons, to personalize it even further. This pattern is easy enough for beginners but still allows for creativity and customization. It’s a great way to learn and practice knitting while creating a wearable and cozy accessory.
Basic Hat Knitting Pattern
Whether you’re a beginner or an experienced knitter looking for a quick and easy project, a basic hat pattern is a great place to start. This pattern is simple enough for beginners to follow but still results in a stylish and functional hat that you can wear yourself or give as a gift.
Materials:
- Yarn: Choose a soft and comfortable yarn in your preferred color. Worsted weight yarn is a popular choice for hats.
- Knitting needles: Use size 8 or 9 knitting needles, or the size needed to get the gauge mentioned in the pattern.
- Stitch markers
- Tapestry needle for weaving in ends
Pattern:
- Start by casting on the required number of stitches. The pattern will usually specify the number of stitches needed, which will depend on the size of the hat.
- Next, begin knitting in the round using circular needles. This eliminates the need to sew up the seam later.
- Continue knitting in the round until the hat reaches the desired length. This may involve knitting several rows of a basic stitch pattern, such as stockinette stitch or ribbing.
- Once the hat is the desired length, you will begin decreasing stitches to shape the crown of the hat. This can be done by knitting two stitches together at regular intervals.
- Continue decreasing until there are only a few stitches left, and then cut the yarn leaving a long tail. Thread the tail through the remaining stitches and pull tight to close the top of the hat.
- Finally, weave in any loose ends and attach a pompom or other decorative embellishments if desired.
This basic hat knitting pattern is customizable and can be easily adapted to fit your personal preferences. You can experiment with different stitch patterns, yarn types, and color combinations to create unique hats for yourself or your loved ones. Happy knitting!
Beginner-friendly baby blanket pattern
Knitting a baby blanket can be a joyous and rewarding project for beginners. With a simple pattern and basic techniques, you can create a beautiful and cozy blanket for the little ones in your life. This beginner-friendly baby blanket pattern is perfect for those who are new to knitting but still want to create something special.
Materials Needed:
- Size 8 or 9 knitting needles
- Soft and baby-friendly yarn in your desired color
- Tapestry needle for weaving in ends
- Scissors
Pattern:
- Cast on 100 stitches using your chosen yarn and knitting needles.
- Knit every row until the blanket reaches your desired length. This pattern uses the garter stitch, which means you will knit every row instead of alternating between knit and purl stitches. This creates a lovely textured pattern.
- Continue knitting until the blanket measures approximately 36 inches in length.
- Bind off all stitches on your last row.
- Using a tapestry needle, weave in any loose ends.
Tips:
- Choose a soft and gentle yarn that is perfect for sensitive baby skin.
- Consider using a circular needle to accommodate the large number of stitches.
- Feel free to get creative with colors and stripes to personalize the blanket.
- If you make a mistake, don’t worry! It’s all part of the learning process. Keep going and embrace the imperfections.
This beginner-friendly baby blanket pattern is a great way to practice your knitting skills while creating a meaningful and functional item. Whether you are knitting for your own baby or as a gift for someone else, this blanket will be cherished for years to come.
Cozy and Quick Headband Pattern
If you’re a beginner knitter looking for a fun and practical project, this cozy and quick headband pattern is perfect for you. With just a few basic stitches, you can create a stylish and warm accessory to keep you cozy during the colder months.
Materials needed for this project include:
- Size 8 knitting needles
- Worsted weight yarn in your preferred color
- A yarn needle for finishing
To start, cast on 15 stitches using the long-tail cast on method. This will create the base of the headband. Knit every row until the headband reaches your desired length, typically about 18 inches. Remember to keep your tension even throughout the project for a polished finish.
Once you’ve reached the desired length, bind off your stitches. Use the yarn needle to weave in any loose ends. To create a snug fit, overlap the ends of the headband and sew them together using the same yarn and needle.
This headband can be customized in various ways to suit your personal style. You can add a decorative element, such as a bow or a button, to the front of the headband. You can also experiment with different colors or even add stripes for a more playful look.
Overall, this cozy and quick headband pattern is the perfect project for beginners. It’s a great way to practice basic knitting techniques and create a useful and fashionable accessory. So grab your knitting needles and get started on this fun and rewarding project!
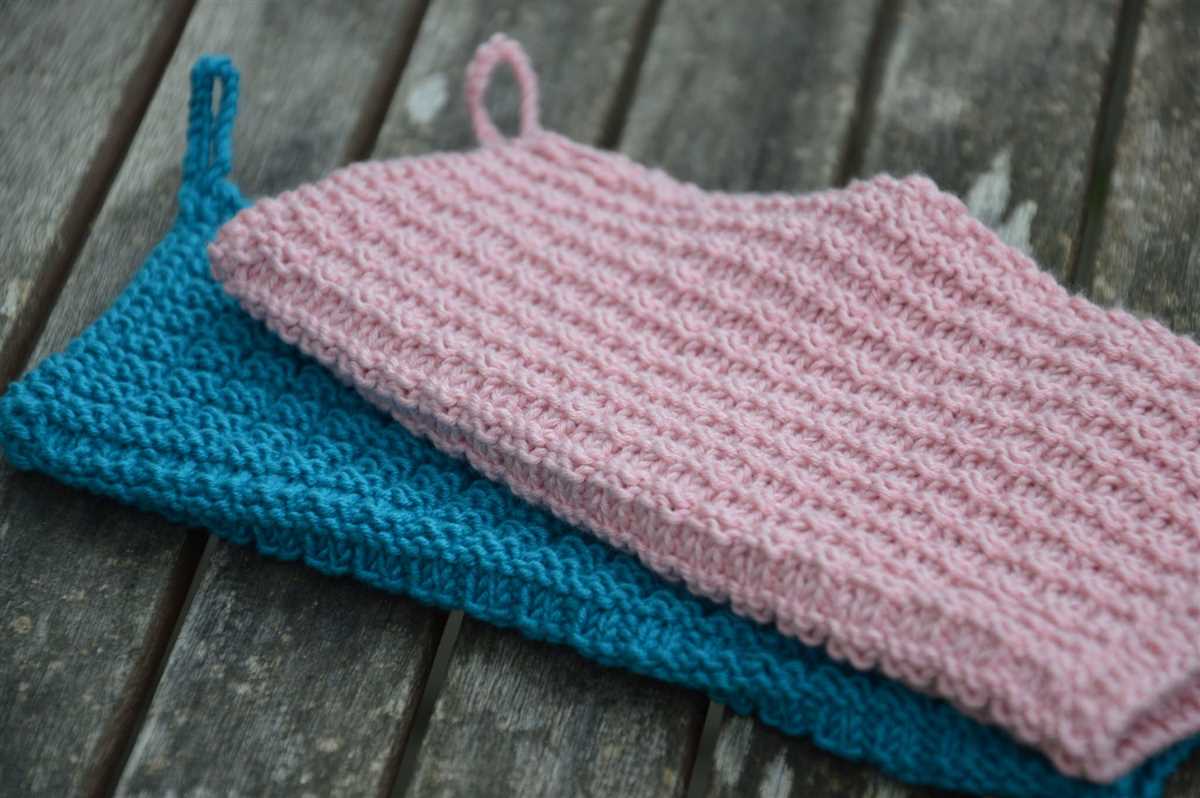
Cute dishcloth pattern for beginners
If you’re new to knitting and looking for a fun and easy project to start with, a cute dishcloth pattern is a great option. Dishcloths are not only practical but can also be a stylish addition to your kitchen. With this simple pattern, you’ll be able to create your own personalized dishcloths in no time.
To begin, you’ll need some basic knitting supplies, including yarn and knitting needles. Choose a soft cotton yarn in your favorite color or a combination of colors to add a touch of creativity to your dishcloths. Select needles that are appropriate for the thickness of your yarn. For beginners, it’s recommended to start with medium-sized needles.
Once you have your supplies ready, you can begin knitting your dishcloth. The pattern consists of basic knit and purl stitches, making it ideal for beginners. Start by casting on the desired number of stitches, typically around 30-40, depending on the size you prefer. Then, follow the pattern instructions to create a combination of knit and purl rows. This will give your dishcloth a textured look.
To add an extra flair to your dishcloth, you can incorporate simple color changes or create stripes by switching between different colored yarns. This allows you to customize your dishcloths and make them unique to your style and kitchen decor.
Once you’ve finished knitting your dishcloth, it’s time to bind off and weave in any loose ends. This will give your dishcloth a clean and finished edge. Then, give your dishcloth a gentle hand wash and let it dry flat. Now, you have a cute and functional dishcloth ready to use or gift to someone special.
Knitted Cushion Cover Pattern

If you’re a beginner knitter looking for a fun and easy project, a knitted cushion cover is a great place to start. With its simple design and basic stitches, this pattern is perfect for those new to knitting. Plus, you’ll have a cozy and stylish cushion cover to add to your home decor!
To begin, you’ll need a few basic supplies: knitting needles (size 8 or 9), yarn (choose a soft and bulky yarn for added comfort), scissors, and a tapestry needle for weaving in ends.
Step 1: Cast on Stitches
Start by casting on enough stitches to match the width of your cushion. For example, if your cushion is 18 inches wide and each stitch is approximately 0.5 inches, you’ll need to cast on 36 stitches. Use the longtail cast-on method for a neat and sturdy edge.
Step 2: Knit the Body
Once you’ve cast on the desired number of stitches, begin knitting the body of the cushion cover in a basic stockinette stitch. This means you’ll knit one row, then purl the next row, and repeat until the cover reaches the desired length.
Step 3: Shape the Cover
To create a snug fit for your cushion, you’ll need to shape the cover. To do this, decrease stitches evenly across a row. For example, if you have 36 stitches and want to decrease to 32 stitches, knit two stitches together at evenly spaced intervals throughout the row.
Step 4: Complete the Cover
Continue knitting the body of the cover until it reaches the desired length, keeping in mind that it needs to be slightly smaller than the cushion to ensure a snug fit. Once you reach the desired length, bind off all stitches and cut the yarn, leaving a long tail for sewing.
Optional: For added texture and interest, you can experiment with different stitches or even add a cable pattern to your cushion cover.
Step 5: Sew the Cover
Using a tapestry needle and the long tail of yarn, sew up the sides of the cushion cover, leaving an opening for inserting the cushion. Make sure to secure the yarn tightly to ensure the cover stays in place.
Once your cover is complete, simply insert your cushion, close the opening, and enjoy your cozy and stylish knitted cushion cover!
Easy Fingerless Gloves Pattern
If you’re a beginner knitter looking for a simple and quick project, fingerless gloves are a great choice. They are perfect for keeping your hands warm while allowing your fingers to be free, making them ideal for typing, texting, and other activities that require dexterity.
To get started, you’ll need a pair of knitting needles and some yarn. Choose a color that you love and a yarn weight that suits your preferences. Once you have your materials ready, follow these easy steps to create your own fingerless gloves:
- Cast on stitches: Start by casting on the desired number of stitches. This will determine the size of your gloves. If you’re not sure how many stitches to cast on, the pattern you’re using should provide guidance.
- Knit the ribbing: Knit the ribbing section of the gloves. This is usually done using a combination of knit and purl stitches to create a stretchy and decorative edge. The ribbing will help the gloves stay in place on your wrists.
- Continue knitting: Once the ribbing is complete, continue knitting in the desired stitch pattern until the gloves reach the desired length. This could be a simple stockinette stitch or a more intricate pattern, depending on your skill level and preferences.
- Create the thumb opening: Once you’ve reached the desired length, it’s time to create the thumb opening. This is done by binding off a certain number of stitches in the middle of a row and then casting them back on in the next row. Follow the pattern instructions to ensure proper placement and sizing of the thumb opening.
- Finish the gloves: After the thumb opening is complete, continue knitting the remaining stitches until the gloves reach the desired length for your fingers. Then, bind off all stitches and weave in any loose ends.
Once you’ve finished knitting your fingerless gloves, try them on to make sure they fit comfortably. If needed, make any adjustments by adding or subtracting rows or stitches. Once you’re satisfied with the fit, you can wear your handmade fingerless gloves with pride and enjoy the warmth and style they provide!
Knit your first pair of socks
Knitting socks can seem like a daunting task for beginners, but with the right pattern and some practice, you can knit your first pair of cozy socks. Socks are a great project to improve your knitting skills and create a useful and stylish item.
To get started, choose a simple sock pattern that is designed for beginners. Look for patterns that use basic stitches and techniques, such as the knit stitch, purl stitch, and simple color changes. Don’t be intimidated by the small size of the project – socks are actually quite quick to knit.
Materials you’ll need:
- Yarn: Choose a sock yarn that is soft, durable, and machine washable. Look for yarns specifically labeled for socks or with a high percentage of wool or nylon.
- Needles: Use double-pointed needles or a circular needle, depending on your preference and the pattern instructions. Choose a needle size that matches the recommended gauge for the yarn.
- Stitch markers
- Tapestry needle
- Scissors
Step-by-step instructions:

- Start by casting on the required number of stitches using the long-tail cast-on method.
- Work the ribbing for the cuff of the sock, usually in a knit 1, purl 1 rib or knit 2, purl 2 rib pattern.
- Continue knitting the leg of the sock in your desired stitch pattern or plain stockinette stitch. Follow the pattern instructions for any stitch or color changes.
- Once the leg is the desired length, it’s time to work the heel flap. This involves working back and forth on just a portion of the stitches to create a reinforced heel.
- Next, turn the heel by decreasing and creating a triangular shape that fits snugly around your heel.
- Continue knitting the foot of the sock, following the pattern instructions for any stitch or color changes.
- Finally, work the toe decreases to shape the toe and close it off.
- Finish off your sock by weaving in any loose ends and blocking it to give it a polished look.
Once you’ve finished your first pair of socks, you’ll be proud of your accomplishment and ready to take on more challenging knitting projects. Don’t worry if your first pair isn’t perfect – sock knitting can take some practice, and each pair will get better as you gain experience. So grab your knitting needles and start knitting your first pair of socks today!