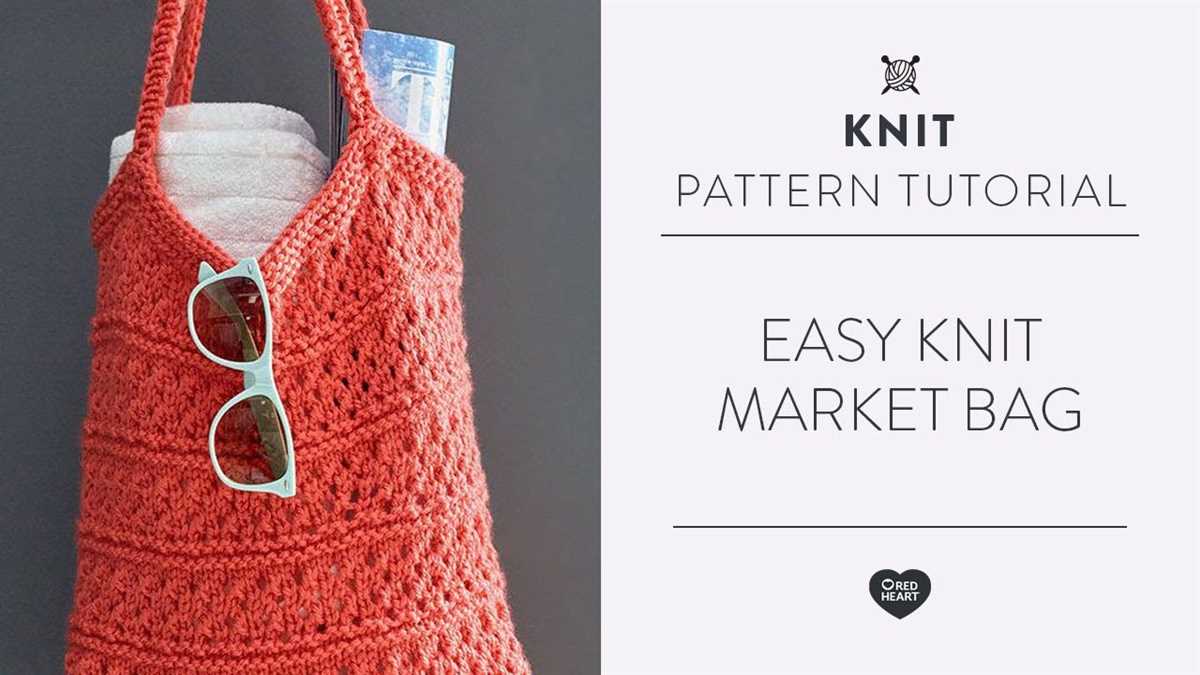
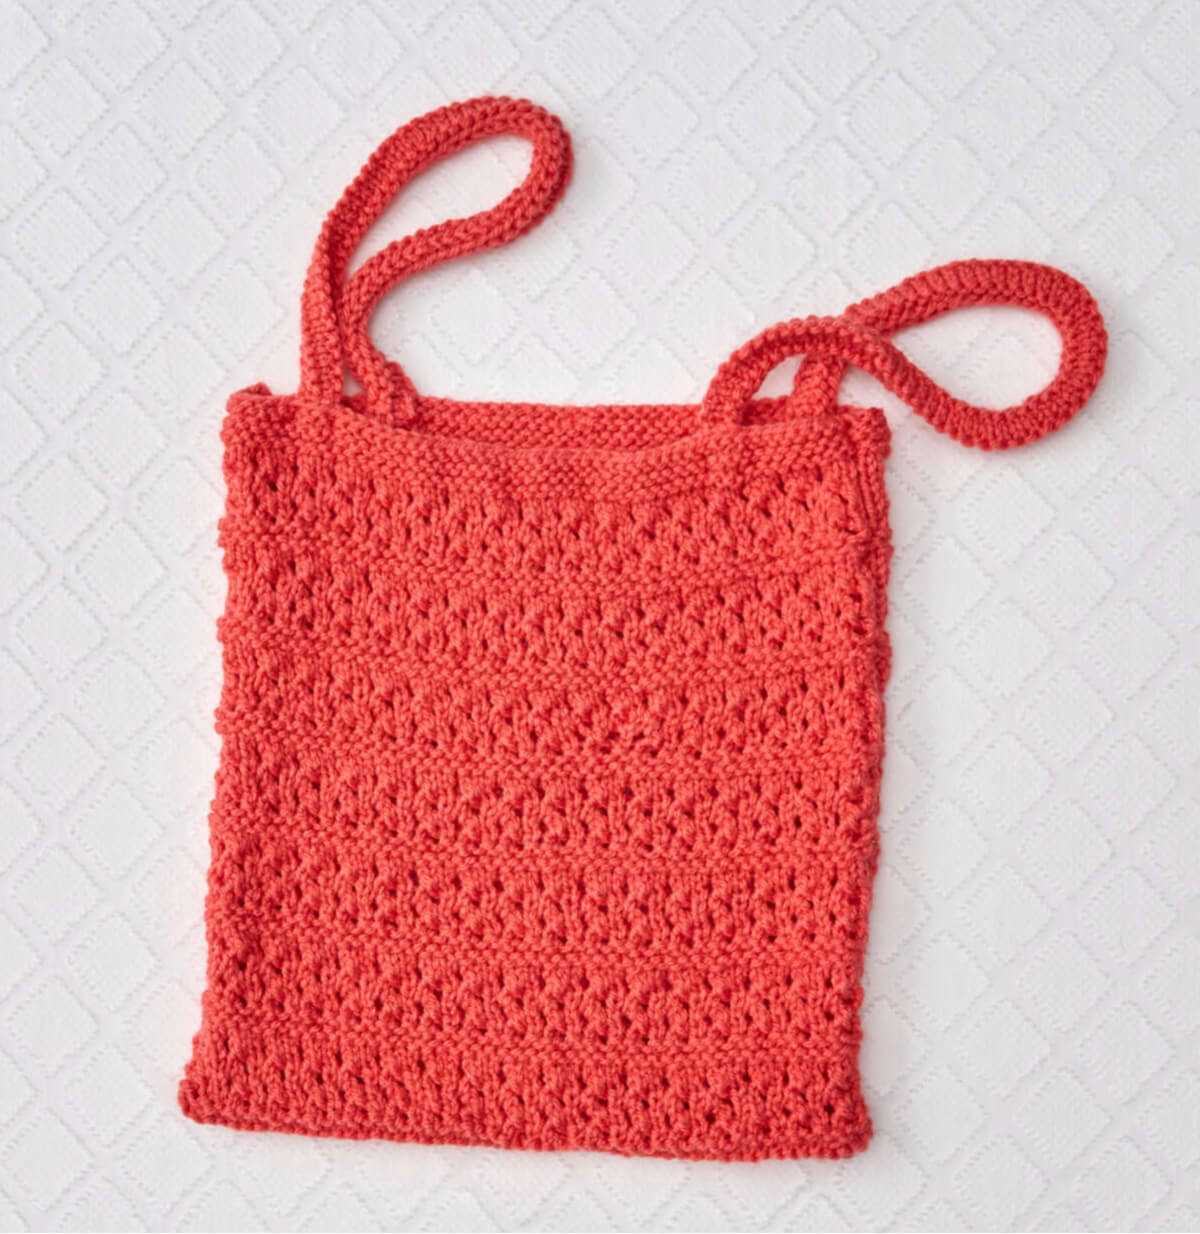
Simple Knit Bag Pattern for Effortless Market Trips

If you’re looking for a simple and satisfying knitting project, look no further than the easy knitted market bag pattern. This pattern is perfect for beginner knitters looking to expand their skills and create a practical, reusable bag for all their shopping needs.
The beauty of this pattern is its simplicity. With just a few basic stitches and techniques, you’ll have a sturdy and stylish market bag in no time. Whether you’re a seasoned knitter or just starting out, this pattern is a great way to practice your skills while creating something useful.
Not only is this knitted market bag pattern easy to follow, but it’s also customizable. You can choose your favorite colors and even experiment with different stitch patterns to create a unique design. Plus, once you’ve mastered the basic pattern, you can easily make adjustments to create larger or smaller bags to suit your needs.
So grab your knitting needles and get ready to embark on a fun and rewarding knitting project. With the easy knitted market bag pattern, you’ll have a stylish and eco-friendly bag to take with you on every shopping trip.
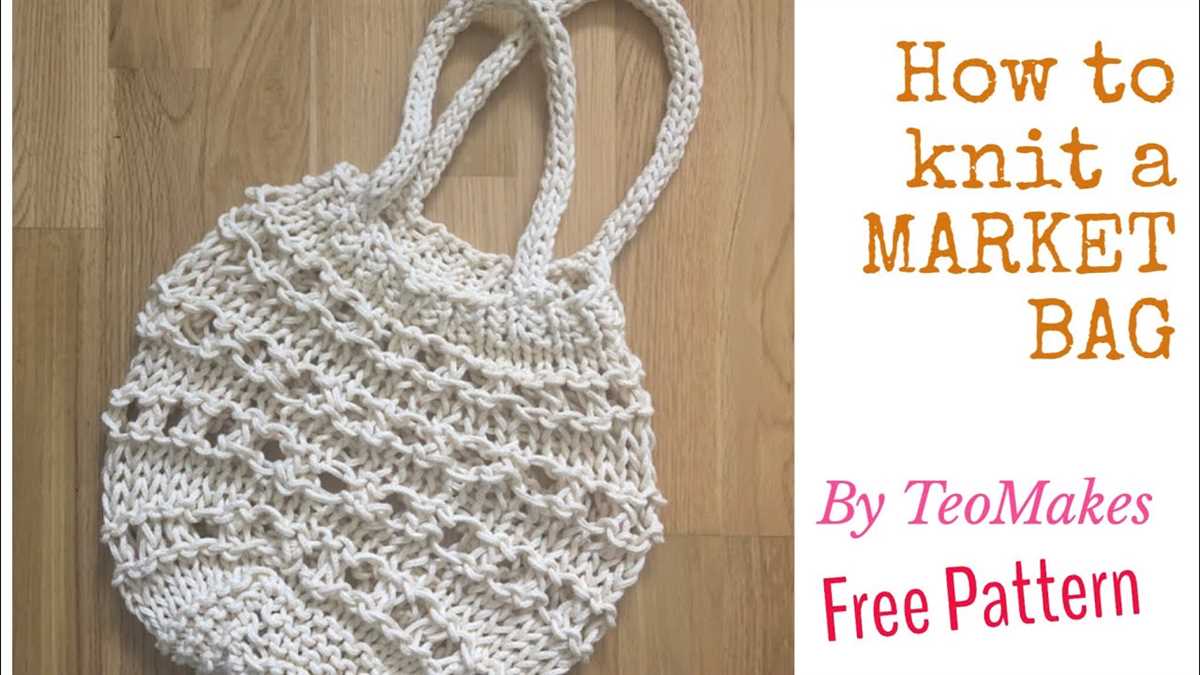
Easy Knitted Market Bag Pattern
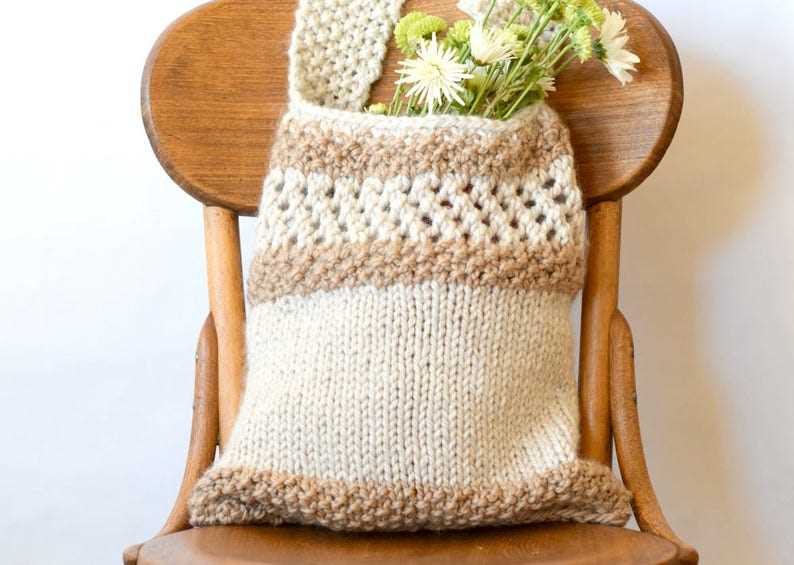
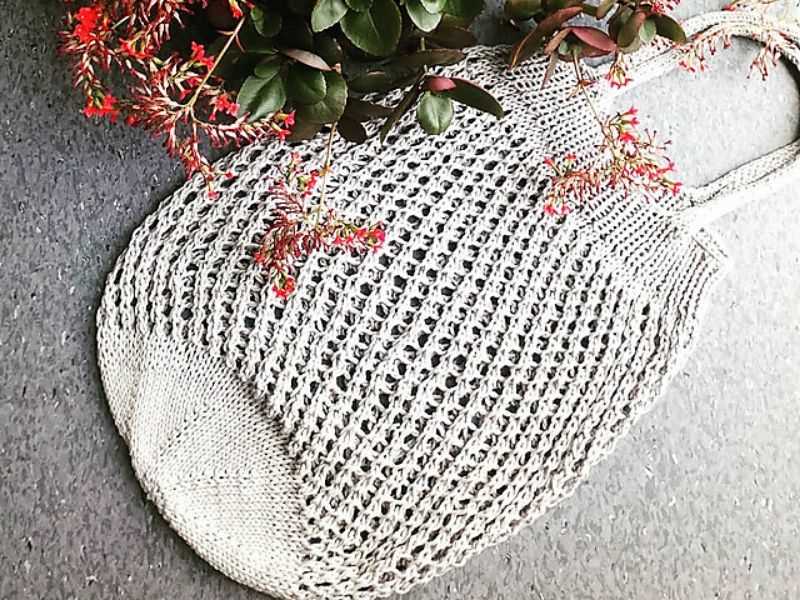
Are you in need of a sturdy and reusable bag for your trips to the farmers market? Look no further! This easy knitted market bag pattern is the perfect solution. With just a few basic stitches and some durable yarn, you’ll have a stylish and practical bag in no time.
To get started, you’ll need to gather your materials. You’ll want to choose a yarn that is both strong and washable, as your bag will need to hold up to heavy loads and occasional spills. Cotton or linen yarn is a great option for this project.
Once you have your yarn, you’ll need to choose your needle size. A larger needle size will result in a looser and more flexible bag, while a smaller needle size will create a tighter and sturdier bag. Choose the size that best suits your needs and preferences.
Next, you’ll need to cast on your stitches. This pattern uses a simple garter stitch, which means you’ll be knitting every row. Start by casting on the desired number of stitches, depending on how wide you want your bag to be. Keep in mind that the bag will stretch when filled, so you may want to cast on a few extra stitches.
Once you have cast on your stitches, simply knit every row until your bag reaches the desired length. You can make your bag as long or as short as you like, depending on how deep you want it to be. If you want to add some visual interest, you can also incorporate stripes or other simple stitch patterns.
When you’re happy with the length of your bag, it’s time to bind off. Simply knit two stitches, then use your left needle to lift the first stitch over the second stitch and off the right needle. Continue in this manner until you have only one stitch left on your right needle, then cut your yarn and pull it through the last stitch to secure it.
To finish your bag, you’ll need to attach the handles. You can either knit them separately and sew them on, or you can pick up stitches along the top edge of your bag and knit them directly onto the bag. Choose a length for your handles that suits your needs, then attach them securely to the bag.
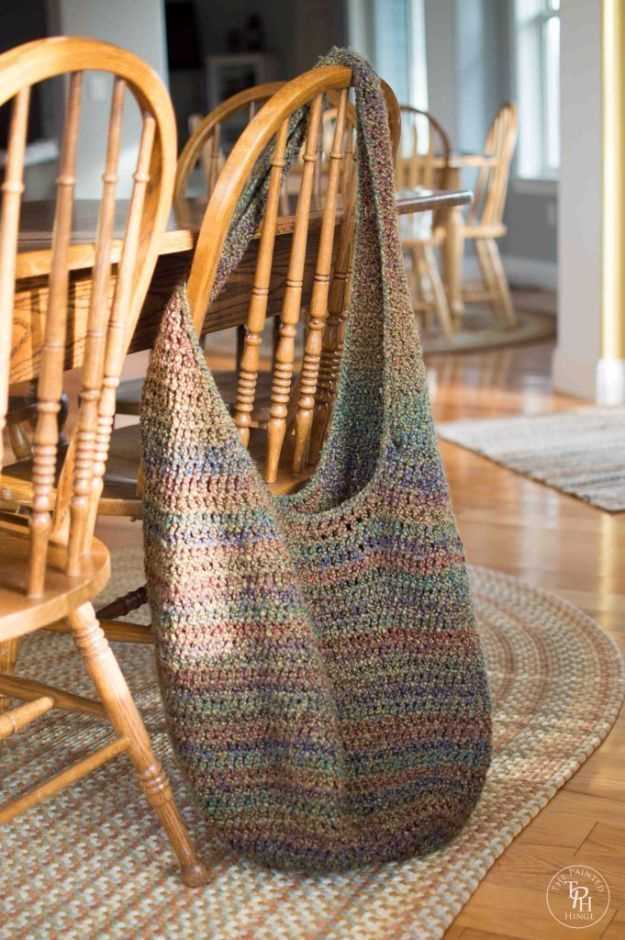
Once your handles are attached, your easy knitted market bag is ready to use! Take it with you on your next trip to the farmers market or use it for carrying groceries or other items. The sturdy construction and stylish design make it a versatile and practical accessory.
Materials Needed
Before you start knitting your market bag, make sure you have all the necessary materials on hand. Here is a list of what you will need:
- Yarn: Choose a durable, medium weight yarn in your desired color. Cotton or linen yarn is recommended for market bags as they are sturdy and can hold heavy items.
- Knitting Needles: You will need a pair of straight or circular knitting needles, depending on your preference. Choose a size that corresponds to the recommended gauge for the yarn you are using.
- Tapestry Needle: This needle will be used for weaving in ends and sewing up any seams in your bag.
- Stitch Markers: Stitch markers are helpful for marking specific points in your knitting, such as the beginning of a round or where increases or decreases should be made.
- Scissors: A pair of sharp scissors is essential for cutting yarn.
- Measuring Tape: A measuring tape or ruler will be useful for checking your gauge and measuring your bag as you knit.
Once you have gathered all of these materials, you will be ready to start knitting your market bag. Make sure to read through the pattern instructions and check your gauge before beginning to ensure the best results. Happy knitting!
Basic Knitting Skills

Knitting is a popular hobby that allows you to create beautiful and functional items using just a pair of needles and some yarn. To start knitting, you will need to learn a few basic skills.
Casting on: This is the first step in starting your knitting project. It involves creating the first row of stitches on your needle. There are different methods of casting on, such as the long-tail cast on and the knit cast on. Each method creates a different edge, so it’s good to experiment and find the one that works best for your project.
Knit stitch: The most basic stitch in knitting is the knit stitch. With this stitch, you create a fabric that has a “V” pattern on one side and horizontal bars on the other side. The knit stitch is achieved by inserting the right needle into the first stitch on the left needle, wrapping the yarn around the right needle, and pulling it through to create a new stitch.
Purl stitch: The purl stitch is the opposite of the knit stitch. It creates a fabric with horizontal bars on one side and “V” pattern on the other side. To purl, you insert the right needle into the first stitch on the left needle from right to left, wrap the yarn around the right needle, and pull it through to create a new stitch.
Increasing and decreasing: To shape your knitting project, you will need to learn how to increase and decrease stitches. Increasing involves adding stitches to your work, while decreasing involves removing stitches. There are different methods for increasing and decreasing, such as the knit front and back (kfb) and the knit two together (k2tog).
Binding off: Once you have completed your knitting project, you will need to bind off to secure the stitches and create a finished edge. To bind off, you knit the first two stitches, then pass the first stitch over the second stitch and off the needle. Repeat this process until you have one stitch left, then cut the yarn and pull it through the last stitch to secure it.
These are just a few basic knitting skills to get you started. As you practice and gain more experience, you can explore different stitches, patterns, and techniques to take your knitting to the next level!
Choosing Yarn and Needle Size
When choosing yarn for your easy knitted market bag, there are a few factors to consider. First, you’ll want to think about the weight of the yarn. For this project, a medium weight yarn, also known as worsted weight or 4-ply yarn, is recommended. This yarn weight is versatile and easy to work with, making it a great choice for a market bag.
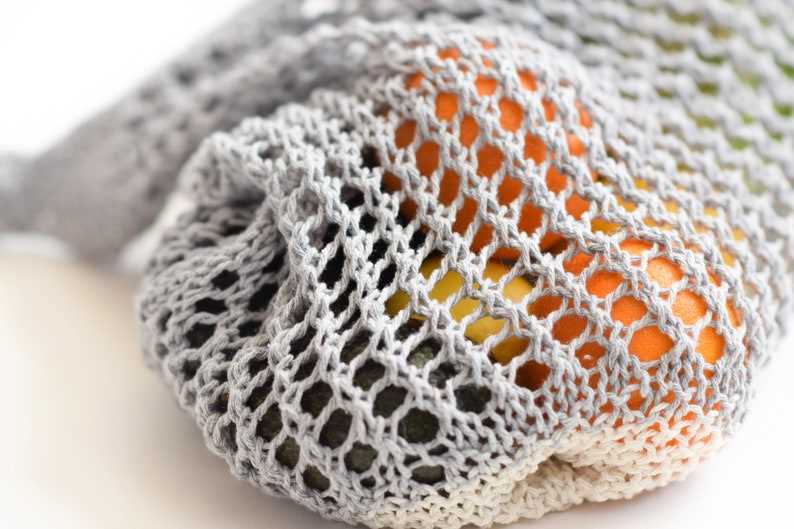
Next, you’ll want to consider the fiber content of the yarn. Cotton or a cotton blend yarn is a popular choice for knitting market bags. Cotton is durable, breathable, and washable, which are all important qualities for a bag that will be used to carry groceries or other items. Other natural fibers such as linen or bamboo can also be good options.
As for needle size, it will depend on the type of yarn you choose and your personal knitting tension. The pattern usually specifies a recommended needle size, but it’s always a good idea to make a gauge swatch before starting the project. This will help you determine if you need to adjust your needle size to achieve the correct gauge.
Remember, the choice of yarn and needle size can affect the final size and appearance of your knitted market bag. So take some time to consider your options and make sure to choose yarn and needles that will result in a bag you’ll be happy with!
Gauge Swatch
Before beginning the easy knitted market bag pattern, it is important to create a gauge swatch. A gauge swatch is a small sample of knitting that allows you to determine the number of stitches and rows per inch in a given pattern. It helps ensure that your finished project will turn out the correct size.
To create a gauge swatch for the market bag pattern, use the specified yarn and needle size. Cast on the recommended number of stitches and knit a few rows in the stitch pattern indicated. Typically, a gauge swatch should be at least 4 inches square, but you may need to make it larger depending on the pattern.
When measuring your gauge swatch, use a ruler or tape measure to count the number of stitches and rows within a 1-inch area. Compare this to the gauge specified in the pattern. If you have more stitches and rows per inch than the pattern calls for, you need to switch to a larger needle size. Conversely, if you have fewer stitches and rows per inch, you should switch to a smaller needle size.
Creating a gauge swatch may seem like an extra step, but it is an important one to ensure your finished market bag turns out the correct size. Knitting can vary from person to person, so taking the time to create a gauge swatch will help you achieve the best results with your project. Once you have determined your gauge, you can confidently begin knitting your easy market bag knowing it will turn out just right.
Cast On
When starting a knitting project, one of the first steps is to cast on. Casting on creates the foundation row of stitches, which allows you to begin constructing your project. There are several different methods of casting on, each with its own advantages and uses.
Long Tail Cast On
The long tail cast on is one of the most common and versatile methods. To start, you will need to estimate the amount of yarn needed for your project and leave a long tail. Holding both strands of yarn in your hand, make a slipknot and place it on your knitting needle. Then, with your thumb and index finger, grasp both strands of yarn and create a loop over your thumb. Slide the knitting needle through the loop, creating a new stitch. Repeat this process until you have cast on the desired number of stitches.
Knitted Cast On
The knitted cast on is another popular method that creates a neat and elastic edge. Begin by making a slipknot and placing it on your knitting needle. Insert the right-hand needle into the slipknot as if to knit. Wrap the working yarn around the right-hand needle counterclockwise, and pull the new loop through the slipknot. This creates a new stitch. Repeat this process until the desired number of stitches have been cast on.
Cable Cast On

The cable cast on is a method that creates a sturdy and decorative edge. Start by making a slipknot and placing it on your knitting needle. Insert the right-hand needle into the slipknot as if to knit. Take the yarn and wrap it around the right-hand needle counterclockwise. Instead of pulling through the loop, bring the new loop between the two needles and place it onto the left-hand needle. Repeat this process until the desired number of stitches have been cast on.
These are just a few examples of the many different casting on techniques available to knitters. Each method has its own unique characteristics and is suited to different types of projects. Once you have mastered the basic cast on, you can explore and experiment with different techniques to enhance your knitting skills.
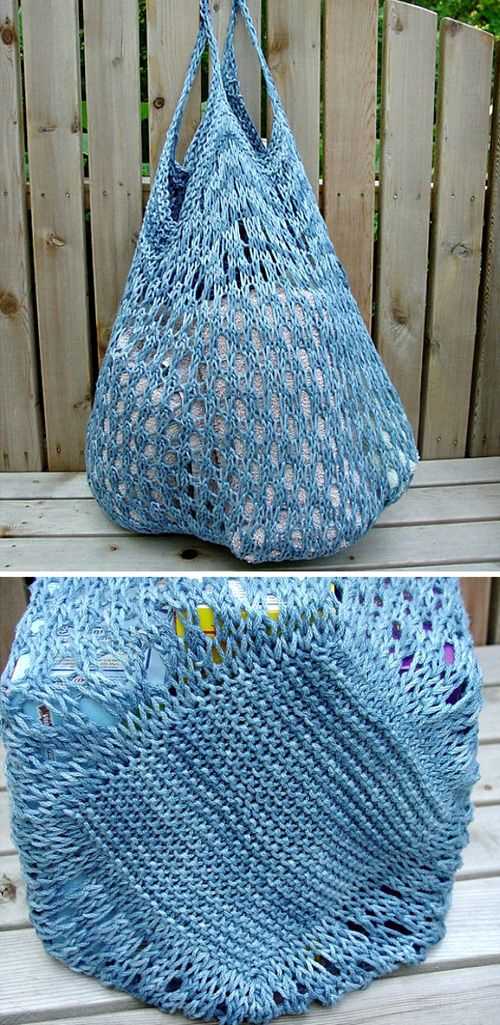
Knitting the Base
Once you have gathered all your materials, it’s time to start knitting the base of your market bag. This is the foundation of your bag, so it’s important to get it right.
Start by casting on the desired number of stitches onto your knitting needles. This will depend on how wide you want your bag to be. If you want a smaller bag, cast on fewer stitches, and if you want a larger bag, cast on more stitches.
Pro Tip: If you’re familiar with different cast-on methods, you can choose the one that you prefer. However, a simple long-tail cast on works well for most projects.
Next, you will knit each row in your chosen stitch pattern until the base reaches the desired length. Some popular stitch patterns for market bags include garter stitch (knitting every row), stockinette stitch (knitting one row, purling the next), and seed stitch (alternating between knitting and purling stitches).
Keep in mind that the base needs to be sturdy enough to hold all the items you plan to carry in your market bag. If you want added durability, you can consider knitting with a double strand of yarn or using a thicker yarn weight.
Once you have completed the base, you can start working on the sides of your bag. This is where you will create the depth of the bag by knitting in the round or using a seam to join the edges together. Stay tuned for the next section to learn more about knitting the sides of your market bag.
Starting the Sides
Once you have completed the base of the market bag, it’s time to start working on the sides. To do this, you will continue knitting in the round.
Begin by knitting the first stitch, and then purling the next stitch. Continue this pattern of knit one, purl one until you reach the end of the round. This creates a ribbed texture on the side of the bag.
Increasing the Number of Stitches
After completing the first round of knit one, purl one, you will need to increase the number of stitches. This is done by knitting into the front and back of certain stitches. Knit into the front of one stitch, then without dropping it off the needle, knit into the back of the same stitch. This creates two stitches from one. Repeat this increase technique for the desired number of stitches.
Continue knitting in the round, maintaining the ribbed pattern, until the sides of the market bag reach the desired height. Remember to periodically check your gauge and measurements to ensure you are on track.
Note: If you prefer a plain stockinette stitch instead of the ribbed pattern, simply knit every round and omit the purl stitches.
Creating the Handle
One of the most important features of a market bag is its handle. Without a sturdy and comfortable handle, the bag would be difficult to carry and could potentially break under the weight of groceries or other items. Fortunately, creating a handle for your knitted market bag is a straightforward process that requires only a few simple steps.
To begin, you’ll need to determine the desired length of your handle. This will depend on your personal preference and how you plan to use the bag. If you typically carry your bag over your shoulder, you may want a longer handle that can easily fit across your body. If you prefer to carry your bag by hand, a shorter handle may be more suitable.
Once you have determined the length of your handle, you can start creating it. To do this, you will need to pick up stitches along the top edge of your bag. Using a knitting needle that is slightly smaller than the one you used to knit the body of the bag, insert it into the first stitch along the edge. Then, using your working yarn, knit the stitch onto the needle. Repeat this process until you have picked up the desired number of stitches for your handle.
To ensure that the handle is sturdy, you may want to reinforce it by knitting it in a ribbed or twisted stitch pattern. This will give the handle added strength and prevent it from stretching over time. Alternatively, you could use a different color of yarn or incorporate a decorative stitch pattern to make your handle stand out.
Once you have finished knitting the handle, bind off the stitches and weave in any loose ends. You may also choose to sew the ends of the handle securely to the sides of the bag for added reinforcement. Finally, give your bag a gentle block to help shape the handle and make it look neat and tidy.
Finishing the Bag
Once you have completed the knitting portion of the bag, it’s time to finish it off and make it ready for use. There are a few steps involved in finishing the bag, but they are relatively simple and straightforward.
1. Weaving in the ends: Start by weaving in all the loose ends from the yarn. Take a yarn needle and thread it with the loose end of the yarn. Insert the needle under the stitches, going back and forth to secure the end. Trim any excess yarn once it is securely woven in.
2. Blocking: Blocking is an important step in finishing the knitted bag. It helps to give the bag its final shape and smooth out any uneven stitches. To block the bag, fill a basin with lukewarm water and a small amount of mild detergent. Submerge the bag in the water, gently pressing it down to ensure it is completely soaked. Allow the bag to sit in the water for about 15 minutes before removing it. Gently squeeze out excess water and lay the bag flat on a clean towel. Reshape the bag by patting it gently into the desired shape and size. Allow it to air dry completely before moving on to the next step.
3. Adding handles: Once the bag is dry, it’s time to add handles. You can use pre-made handles or make your own using the same yarn. Measure the desired length of the handles and mark the spots where you want to attach them to the bag. Using a yarn needle and the same yarn, stitch the handles securely to the bag, making sure to reinforce the stitches to ensure they can hold the weight of the bag.
4. Finishing touches: To complete the bag, you can add any final embellishments or decorative elements. This could include attaching buttons, beads, or fabric flowers to add a personal touch to your knitted market bag.
Once you have finished all these steps, your knitted market bag is ready to use! It’s a great eco-friendly alternative to plastic bags and can be used for carrying groceries, beach essentials, or anything you need. Enjoy your new bag!
Blocking
Blocking is an important step in the knitting process that helps to shape and finish your knitted item. It involves wetting the knitted fabric and then shaping it to the desired dimensions. This process can greatly improve the drape, shape, and overall appearance of your finished project.
There are several methods of blocking, but the most common one is called wet blocking. To wet block your knitted item, you will need to fill a basin or sink with cool water and add a bit of gentle detergent. Gently submerge the knitted fabric in the water, making sure it is fully saturated. Let it soak for about 15-20 minutes, then carefully remove it from the water.
Once the item is removed from the water, gently squeeze out the excess water without wringing or twisting the fabric. Lay the damp fabric on a clean towel and roll it up to remove more moisture. Then, lay the fabric flat on a blocking board or other flat surface, pinning it into the desired dimensions. Use rustproof blocking pins to secure the fabric in place, making sure to evenly distribute the pins along the edges.
Leave the fabric to dry completely, which can take anywhere from 24 to 48 hours depending on the thickness of the fabric. Once it is completely dry, remove the pins and admire your beautifully blocked knitted item. It will now have a professional-looking finish and will be ready to use or wear with pride.
Customize Your Bag
One of the great things about knitting your own market bag is that you can customize it to make it truly unique. There are so many ways you can customize your bag to reflect your personal style and preferences. Whether you prefer a classic and understated design or a bold and colorful pattern, the possibilities are endless.
Color: One of the easiest ways to customize your bag is by choosing the colors you want to use. You can stick to a single color for a simple and elegant look, or you can use multiple colors to create a fun and vibrant design. Consider using yarns in different shades of a single color for a subtle gradient effect, or mix and match complementary colors for a bold and eye-catching pattern.
Size: Another way to customize your bag is by adjusting its size. The pattern may specify a certain size, but you can easily make the bag larger or smaller by adding or subtracting stitches or rows. This allows you to create a bag that can accommodate your specific needs, whether you want a small bag for quick trips to the market or a larger bag for carrying multiple items.
Embellishments: If you’re feeling extra creative, you can add embellishments to your bag to give it a unique touch. You can stitch on buttons, beads, or sequins for a touch of glamour, or you can embroider patterns or designs onto the surface of the bag. You can also add tassels or pom poms to the handles of the bag for a playful and whimsical look.
Lining: While not strictly a knitting technique, adding a lining to your bag can give it a more finished and professional look. You can sew a fabric lining into the bag to add durability and stability, as well as to prevent items from snagging on the knitted stitches. A lining can also allow you to incorporate additional pockets or compartments for added functionality.
By customizing your market bag, you can create a one-of-a-kind accessory that is both practical and stylish. Whether you choose to play with color, size, embellishments, or lining, the customization options are limited only by your imagination. Have fun experimenting and making your bag truly your own!
Care Instructions
Proper care and maintenance of your knitted market bag can help prolong its lifespan and keep it looking its best. Follow these care instructions to ensure your bag stays in great condition:
1. Hand wash or gentle machine wash
It is recommended to hand wash your market bag to prevent any damage. Fill a sink or basin with cool water and add a mild detergent. Gently agitate the bag in the water, making sure to fully soak it. Rinse thoroughly with cool water and gently squeeze out excess water. If using a washing machine, place the bag in a mesh laundry bag or pillowcase to protect it from snagging. Use a gentle cycle with cool water and a low spin setting.
2. Air dry
Avoid using a dryer to prevent shrinking or warping. Instead, lay the bag flat on a clean towel or drying rack to air dry. Make sure it is in its original shape and properly supported to maintain its structure. Avoid direct sunlight as it can fade the colors of the bag.
3. Store properly
When not in use, store your market bag in a cool, dry place to prevent any moisture or mildew. To maintain its shape, stuff the bag with tissue paper or fabric and store it upright.
Following these care instructions will help ensure that your knitted market bag continues to be a practical and stylish accessory for your shopping needs. Enjoy your eco-friendly and reusable bag!