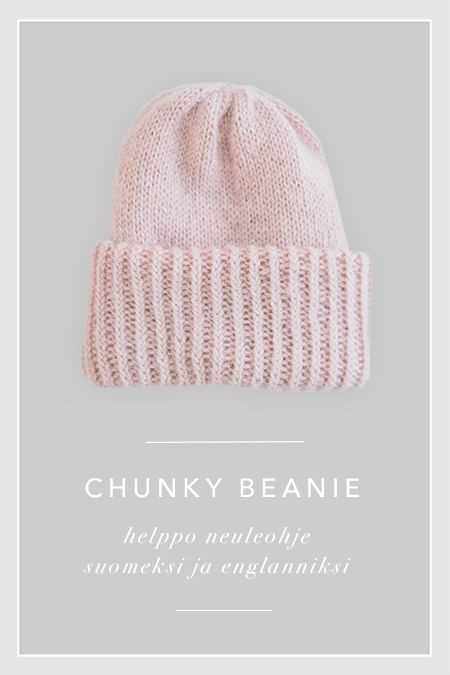
Get Cozy with a Complimentary Chunky Knit Beanie Pattern

Are you ready to stay warm and fashionable this winter season? Look no further than the free chunky knit beanie pattern! Whether you’re new to knitting or an experienced pro, this pattern is perfect for anyone looking to create a cozy and stylish accessory.
The chunky knit trend has taken the fashion world by storm, and for good reason. Not only do chunky knits add an extra level of warmth, but they also provide a trendy and effortless look. With this free pattern, you’ll be able to make your own chunky knit beanie in no time.
This pattern is suitable for all skill levels, so don’t worry if you’re new to knitting. With simple stitches and easy-to-follow instructions, you’ll have your own chunky knit beanie ready to wear in just a few hours. Plus, the pattern is adjustable, so you can customize the size to fit your specific needs.
So why wait? Start knitting today and get ready to rock your new chunky knit beanie all winter long. With this free pattern, you’ll have a stylish and cozy accessory that will keep you warm and on-trend throughout the season.
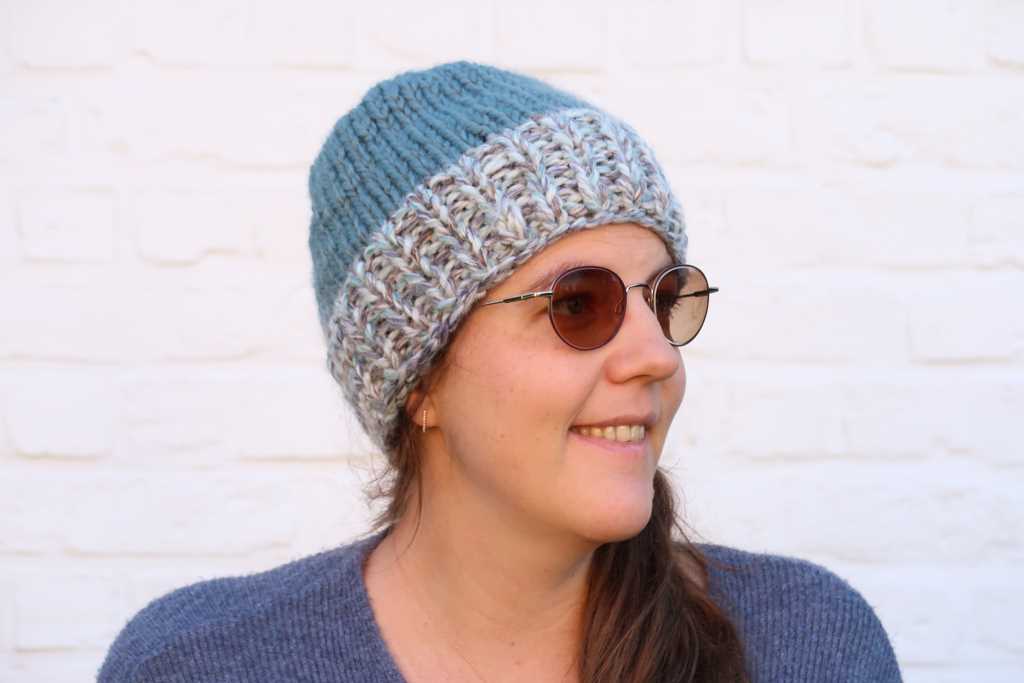
Chunky Knit Beanie Pattern: Free and Easy to Follow!

If you’re looking for a cozy and stylish accessory to keep you warm during the cold winter months, look no further than a chunky knit beanie. Not only are these beanies fashionable, but they also provide the perfect opportunity to showcase your knitting skills. And the best part? We have a free and easy-to-follow pattern just for you!
Our chunky knit beanie pattern is designed for all levels of knitters, from beginners to advanced. With detailed instructions and helpful tips, you’ll be able to create a beautiful beanie in no time. Whether it’s for yourself or as a thoughtful gift for a loved one, this pattern is sure to impress.
Materials:
- Chunky yarn – 2 skeins
- Knitting needles – size 10
- Circular knitting needles – size 10
- Stitch marker
- Tapestry needle
- Scissors
Instructions:
- Cast on 60 stitches using the circular knitting needles.
- Join in the round, being careful not to twist the stitches. Place a stitch marker to indicate the beginning of the round.
- Knit in a 2×2 rib pattern (knit 2, purl 2) for 2 inches.
- Switch to the knitting needles and continue knitting in stockinette stitch (knit every round) until the beanie measures 8 inches from the cast-on edge.
- Decrease rounds:
- Round 1: *Knit 6, knit 2 together. Repeat from * to the end of the round.
- Round 2: Knit every stitch.
- Round 3: *Knit 5, knit 2 together. Repeat from * to the end of the round.
- Round 4: Knit every stitch.
- Continue in this pattern, decreasing by one stitch before the knit 2 together, until there are 10 stitches remaining.
- Cut the yarn, leaving a long tail. Thread the tail through a tapestry needle and slip the needle through the remaining stitches. Pull tight to close the top of the beanie.
- Weave in any loose ends and trim excess yarn.
And there you have it–a beautiful chunky knit beanie! Feel free to customize your beanie by adding a pom-pom or other embellishments. This pattern is versatile and can be modified to fit your style. Happy knitting!
Gathering Supplies
Before starting your chunky knit beanie project, you will need to gather all the necessary supplies. Here is a list of the items you will need:
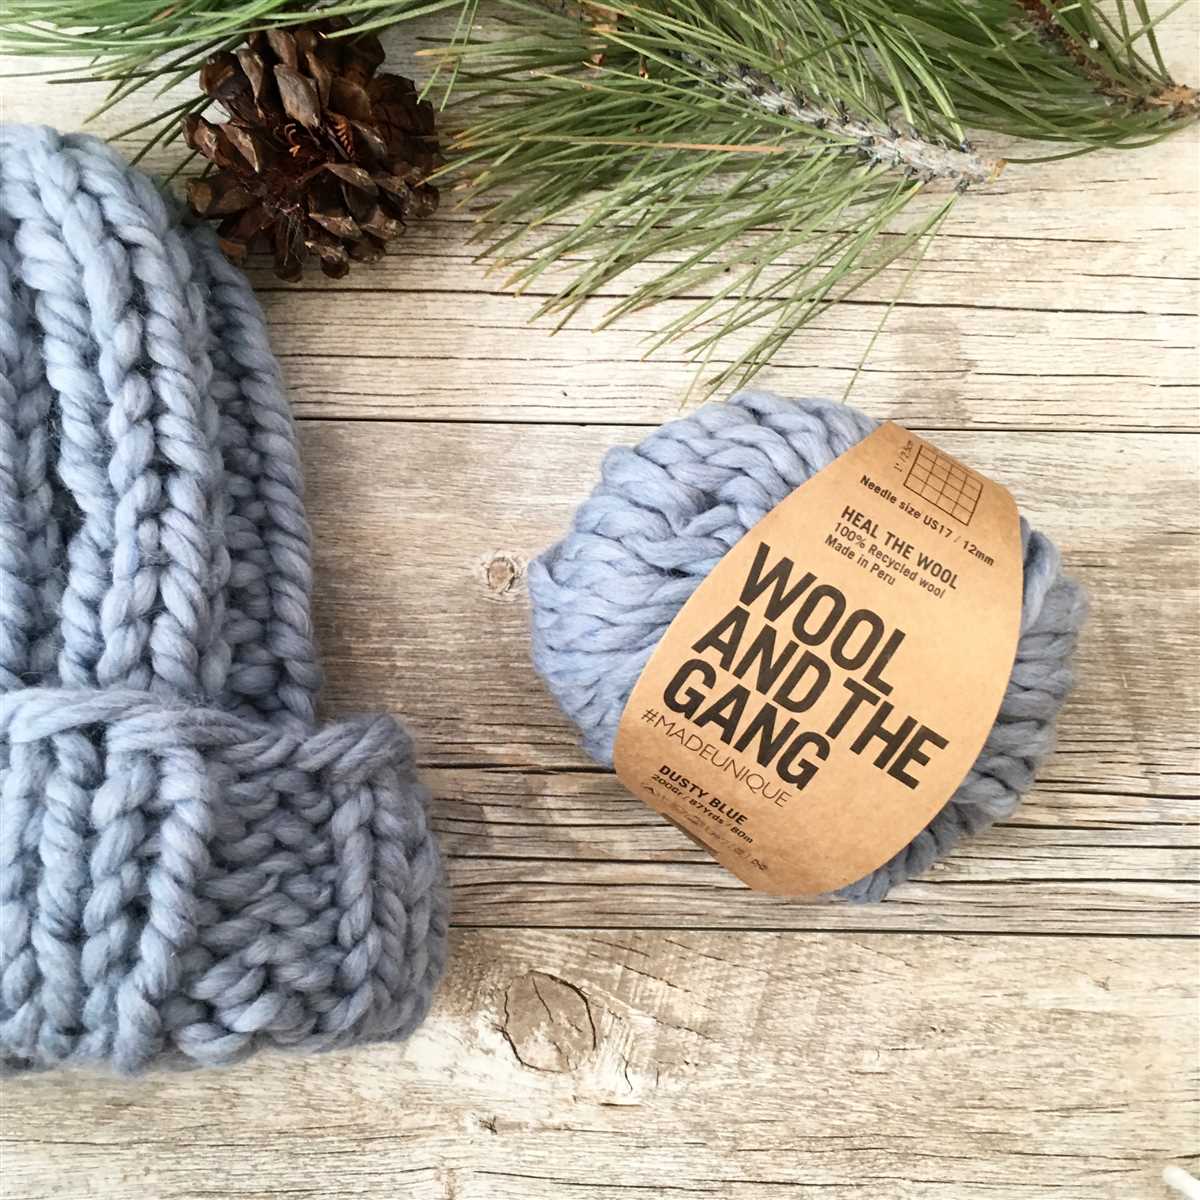
- Chunky Yarn: Choose a chunky yarn that is soft and warm. Opt for a color that matches your personal style or the recipient’s preferences.
- Knitting Needles: Make sure to use knitting needles that are suitable for chunky yarn. The size will depend on the specific pattern you are using.
- Tapestry Needle: This needle will be used for sewing and finishing off your beanie.
- Scissors: You will need a pair of sharp scissors to cut the yarn.
In addition to these basic supplies, you may also want to consider using stitch markers to help you keep track of your stitches and a row counter to keep track of your progress. These optional tools can be helpful, especially if you are new to knitting or working on a more complex pattern.
Choosing the Right Yarn
When it comes to knitting a chunky knit beanie, choosing the right yarn is essential. The right yarn can make a huge difference in the look and feel of the finished beanie, as well as the ease of knitting. Here are a few factors to consider when selecting the perfect yarn for your project.
Weight: The weight of the yarn will determine the thickness of the beanie and how warm it will be. For a chunky knit beanie, you’ll want to look for a bulky or super bulky weight yarn. These yarns are thicker and will create a cozy and warm beanie.
Fiber content: The fiber content of the yarn will also affect the feel and performance of the beanie. Acrylic yarns are affordable and come in a wide range of colors, but they can be less insulating than natural fibers. Wool yarns, on the other hand, are known for their excellent insulation properties and are perfect for keeping your head warm in colder weather.
Texture: If you want your chunky knit beanie to have a certain texture, such as a smooth or fluffy finish, you’ll need to consider the texture of the yarn. Some yarns have a smooth, even texture, while others may have a boucle or eyelash effect. Consider how you want the finished beanie to look and feel, and choose a yarn with a texture that matches your vision.
Color: Lastly, don’t forget to consider the color of the yarn. The color will ultimately determine the overall look of the beanie, so choose a color that complements your personal style and wardrobe. Whether you prefer bold and vibrant hues or neutral tones, there is a wide variety of yarn colors available to choose from.
By considering these factors and taking the time to choose the right yarn for your chunky knit beanie, you can ensure that your finished project is not only stylish but also comfortable and warm.
Selecting the Needles
When choosing the right needles for your chunky knit beanie, there are a few important factors to consider. The size of the needles will determine the overall gauge and size of your finished beanie, so it’s essential to choose the correct size for your project. Additionally, the material of the needles can influence the overall comfort and ease of working with them.
Size: The size of the needles you choose will depend on the desired gauge and size of your chunky knit beanie. Most chunky knit patterns will recommend a specific needle size, typically ranging from US size 10 (6mm) to US size 15 (10mm). The larger the needle size, the looser and more open the stitches will be, resulting in a larger, more relaxed beanie. Conversely, smaller needle sizes will create tighter, denser stitches and a smaller, snugger beanie. It’s important to consult your pattern and make a gauge swatch before beginning your project to ensure you’re using the correct needle size.
Material: The material of the needles can affect the overall feel and ease of knitting. Common needle materials include metal, wood, and plastic. Metal needles are typically smooth and slick, making them ideal for fast knitting, but some knitters find them too slippery. Wood needles offer a warm and comfortable grip, which can be beneficial during long knitting sessions. Plastic needles are lightweight and quiet, but they may not be as durable as metal or wood. Consider your personal knitting style and preferences when choosing the material of your needles.
It’s also worth noting that different needle types, such as straight, circular, or double-pointed needles, can be used for chunky knit beanies depending on your preferred knitting method. Circular needles, for instance, are great for knitting in the round and can accommodate larger numbers of stitches. Ultimately, selecting the right needles for your chunky knit beanie is a personal choice that will depend on your desired results, comfort, and knitting style. Experimenting with different needle sizes and materials can help you find the perfect fit for your knitting project.
Casting On
When starting a knitting project, the first step is to cast on. This is the process of creating the first row of stitches on your knitting needle. The number of stitches you cast on will depend on the size of your project and the pattern you are following. For the free chunky knit beanie pattern, the cast on number is typically provided.
To cast on, you will need your knitting needle and your yarn. There are different methods for casting on, but a common one is the long-tail cast on. In this method, you create a slipknot and place it on your needle. Then, you use the long tail of the yarn to create the rest of your stitches.
First, hold the needle with the slipknot in your right hand and the long tail in your left hand. Insert the needle into the slipknot from front to back, and then bring the yarn over the needle from back to front. Finally, pull the new loop through the slipknot, tightening it onto the needle. Repeat this process until you have cast on the required number of stitches.
Casting on is an essential part of knitting, as it sets the foundation for your project. It is important to cast on with a tension that matches the rest of your knitting, as a loose or tight cast on can affect the overall look and fit of your finished item. Practice and experimentation will help you find the cast on method and tension that works best for you.
Knitting the Body
After you have cast on and completed the ribbed brim of your chunky knit beanie, it is time to move on to knitting the body. This is where the beanie starts to take shape and you will begin to see the chunky texture of the yarn come through.
To start knitting the body, you will need to switch to your larger size needles. This will allow you to create a looser and more relaxed fabric that will drape well when worn. Once you have switched needles, you can begin knitting in the round. This means that you will be knitting each row without turning your work, creating a seamless tube for the beanie.
When knitting the body, you will continue using the same stitch pattern that you used for the ribbed brim. This will ensure that the pattern flows seamlessly from the brim to the body. Whether you are using a simple knit and purl pattern or a more intricate stitch pattern, make sure to keep consistent tension throughout your work to maintain an even fabric.
As you knit the body, make sure to periodically try on the beanie to check the fit. Depending on your gauge and the desired length of the beanie, you may need to adjust the number of rounds you knit. The body should be long enough to fully cover your ears and sit comfortably on your head without being too tight or too loose.
Once you have knit the desired length for the body, you can move on to shaping the crown of the beanie. This will involve decreasing stitches to create a tapered shape that will fit snugly on your head. The specific decrease pattern will depend on the style of beanie you are making and can be found in the pattern instructions.
Creating the Ribbed Brim
The ribbed brim is an important element of a chunky knit beanie as it adds stretch and a snug fit to the hat. It also adds a decorative touch to the design. To create the ribbed brim, you will need to alternate between knitting and purling stitches.
Start by casting on the desired number of stitches onto your knitting needles. The number of stitches will depend on the size of the beanie you want to make. It is recommended to cast on a multiple of 4 stitches to create a balanced ribbed pattern. For example, you can cast on 60 stitches for a standard adult size beanie.
Once you have cast on the stitches, begin the ribbed pattern by knitting two stitches, then purling two stitches. Repeat this pattern across the row. This will create a 2×2 rib pattern. Continue knitting in this pattern for the desired length of the ribbed brim. Keep in mind that the ribbed brim will fold up onto itself, so make it long enough to provide the desired length when folded.
To create a different ribbed pattern, you can experiment with different stitch combinations. For example, you can try a 1×1 rib pattern by knitting one stitch, then purling one stitch, and repeating this pattern across the row. You can also try a 3×3 or 4×4 rib pattern for a wider ribbed look.
Once you have finished knitting the ribbed brim, you can continue with the main body of the beanie using your desired stitch pattern. The ribbed brim will give your chunky knit beanie a polished and professional finish.
Shaping the Crown
To create a cozy and stylish chunky knit beanie, it is important to pay attention to shaping the crown. This is the part of the hat that sits on top of your head and gives it its rounded shape. Shaping the crown involves decreasing the number of stitches gradually to achieve the desired fit and look.
Decreasing stitches:
One common method for shaping the crown of a chunky knit beanie is to decrease stitches at regular intervals. This can be done by knitting two stitches together, also known as a knit two together (k2tog) decrease. By working this decrease stitch every few rounds, the circumference of the hat gradually decreases, creating a tapered effect.
Creating ribbing:
Another way to shape the crown is by creating ribbing. Ribbing is made by alternating knit and purl stitches, creating a stretchy and textured fabric. By gradually increasing the number of knit stitches and decreasing the number of purl stitches, you can create a gradual taper towards the top of the hat.
Using a decrease round:
Some patterns may include a specific decrease round where a certain number of stitches are decreased evenly throughout the round. This can be done by working a decrease stitch at regular intervals, such as every 10 stitches. By repeating this decrease round a few times, the crown of the hat will gradually shape into a rounded top.
Experimenting with shaping:
Shaping the crown of a chunky knit beanie is a great opportunity to get creative and experiment with different techniques. You can try different decrease stitches, such as slip slip knit (ssk), or incorporate decorative elements like cables or colorwork. The key is to make sure the crown gradually decreases in stitches to achieve the desired fit and shape.
Finishing Touches
Once you have completed knitting your chunky beanie, it’s time to add some finishing touches to make it truly special. These little details can elevate the overall look and feel of the hat, giving it a polished and professional finish.
One of the first things you can do is to weave in any loose ends or yarn tails from the knitting process. This ensures that all the ends are secure and won’t come undone over time. Use a tapestry needle and carefully weave the ends into the stitches, making sure to hide them as much as possible.
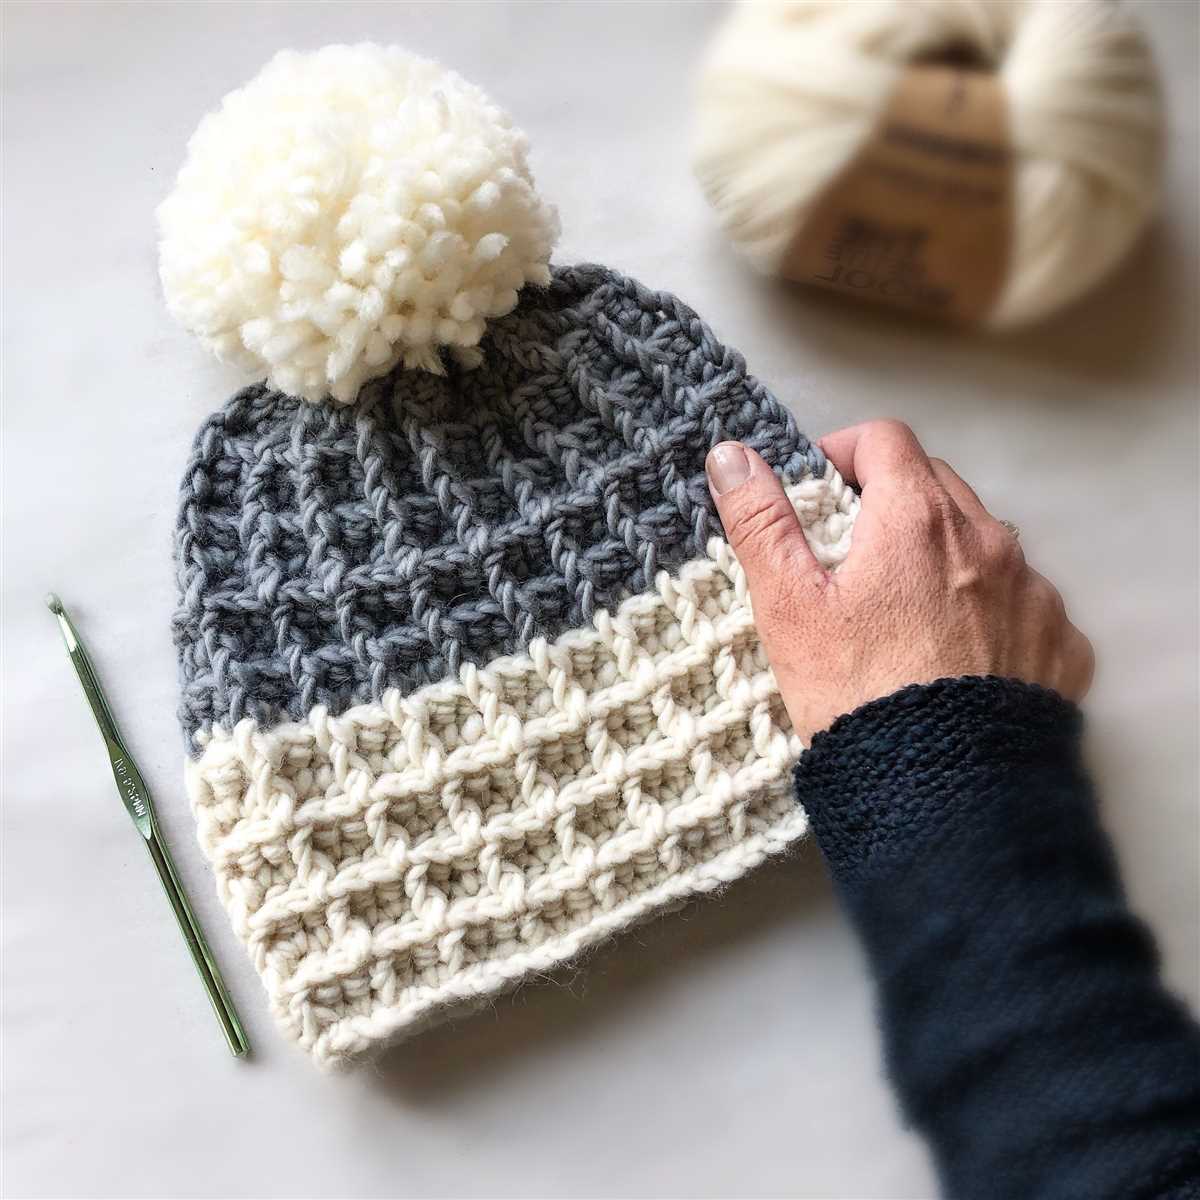
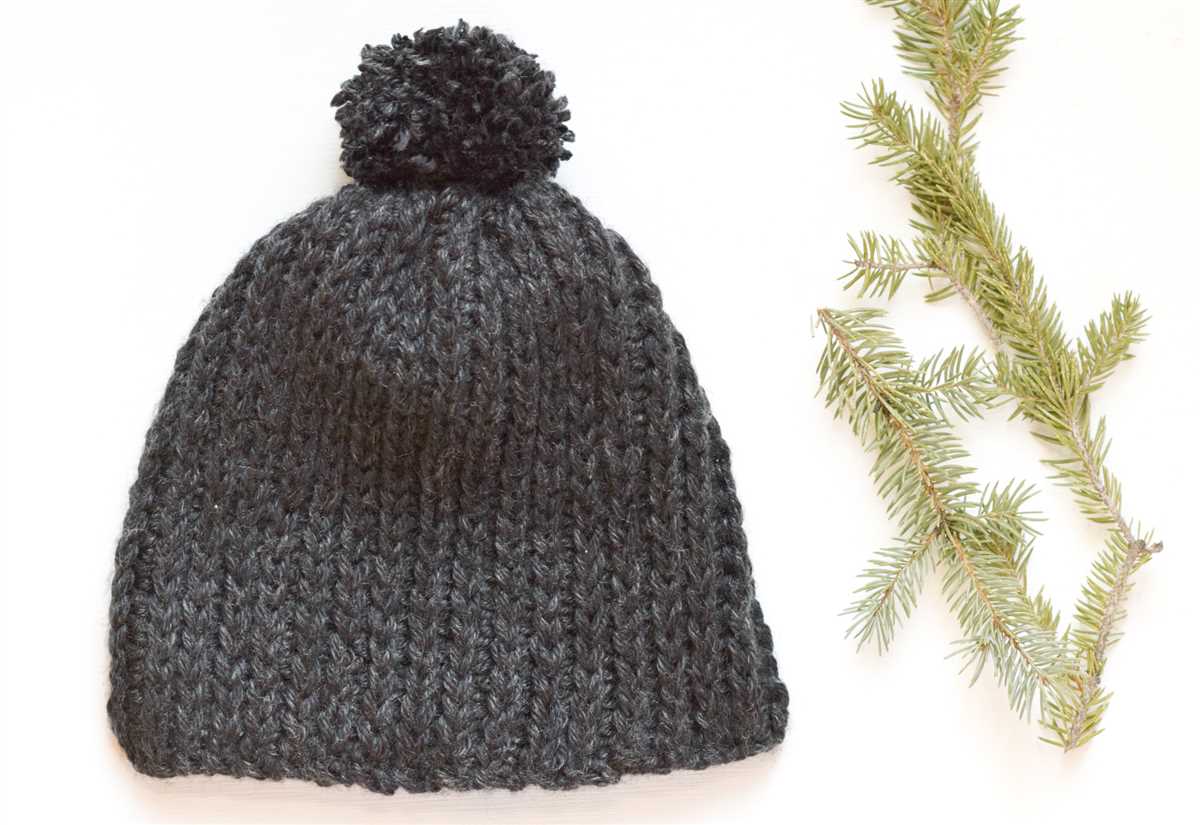
1. Pom Pom
Adding a pom pom to the top of your chunky knit beanie can add a playful and whimsical touch. There are many different ways to make a pom pom, including using a pom pom maker, cardboard circles, or your own hands. Choose a contrasting color or match it with the yarn used for the beanie.
2. Ribbed Hem
For a more structured and polished look, consider adding a ribbed hem to your beanie. This can be done by using a smaller needle size and knitting the first few inches in a rib stitch pattern, such as k2, p2 or k1, p1. This creates a stretchy and snug fit around the forehead, giving the beanie a more finished appearance.
3. Embellishments
If you want to add a touch of uniqueness to your chunky knit beanie, consider adding some embellishments. This can include buttons, patches, or even embroidery. Sewing on a cute button or attaching a patch can instantly transform a simple beanie into a statement accessory. Embroidery can also be used to add personalized designs or initials.
4. Blocking
Blocking your finished beanie can help even out the stitches and give it a more professional look. To block your beanie, wet it gently with water, shape it to your desired size, and let it dry flat. This helps make the stitches more defined and the beanie will hold its shape better.
With these finishing touches, your chunky knit beanie will not only keep you warm, but also make a style statement. Tailor it to your personal tastes and let your creativity shine!
Adding Embellishments
Once you have finished knitting your chunky knit beanie, you can add embellishments to make it even more unique and personalized. There are several options for embellishments that you can consider:
- Pom Pom: Attach a fluffy pom pom to the top of the beanie using a yarn needle. You can make a pom pom using the same yarn or a contrasting color.
- Buttons: Sew buttons onto the brim or the sides of the beanie for a decorative touch.
- Embroidery: Use embroidery thread to add decorative stitches or patterns to the surface of the beanie.
- Flower Appliques: Crochet or knit flower appliques and sew them onto the beanie for a feminine touch.
- Charms or Brooches: Attach small charms or brooches to the beanie for a touch of sparkle or elegance.
Remember to secure your embellishments properly to ensure they don’t come off easily during wear. Use strong thread or yarn to attach them securely. Additionally, consider the washability of your embellishments and remove them if necessary before washing the beanie.
Adding embellishments to your chunky knit beanie allows you to express your creativity and make it truly one-of-a-kind. Whether you choose to add a pom pom, buttons, embroidery, flower appliques, or charms, these extra details will add personality and style to your hat. Have fun experimenting with different embellishment options and make your beanie uniquely yours!