Tips for pattern placement on knitted fabric

Knitting is a popular craft that allows you to create beautiful and unique garments. Whether you’re a seasoned knitter or just starting out, properly laying out a pattern on knit fabric is essential to ensure a successful and well-fitting end result. With a few tips and techniques, you can easily navigate the unique challenges of working with knit fabric and create a project that you’ll love.
One of the first things to consider when laying out a pattern on knit fabric is the grainline. The grainline refers to the direction of the threads in the fabric and is crucial for achieving the desired fit and drape of the finished garment. It’s important to find the grainline on your knit fabric and align it with the appropriate markings on your pattern. This will ensure that the fabric stretches and moves in the right direction when worn.
In addition to the grainline, you’ll also need to pay attention to the stretch of your knit fabric. Knit fabrics come in a variety of stretch percentages, ranging from very stretchy to barely stretchy. Understanding the stretch of your fabric is important when laying out your pattern, as it will affect how the finished garment fits and feels. If your fabric has a lot of stretch, you may need to adjust the pattern to compensate and prevent the garment from being too loose or baggy.
When laying out a pattern on knit fabric, it’s a good idea to use weights instead of pins to secure the pattern pieces in place. Pins can distort the fabric and cause it to stretch or warp, which can affect the overall fit and appearance of the garment. Instead, use small weights or washers to hold the pattern pieces in place. This will allow the fabric to lay flat and maintain its shape, ensuring accurate cutting and sewing.
Choosing the Right Knit Fabric for Your Pattern
When it comes to laying out a pattern on knit fabric, choosing the right fabric is crucial for achieving the desired results. Knit fabrics come in a variety of types and weights, each with its own characteristics and properties. By understanding the different types of knit fabrics and their suitability for your pattern, you can ensure that your project turns out just the way you envisioned.
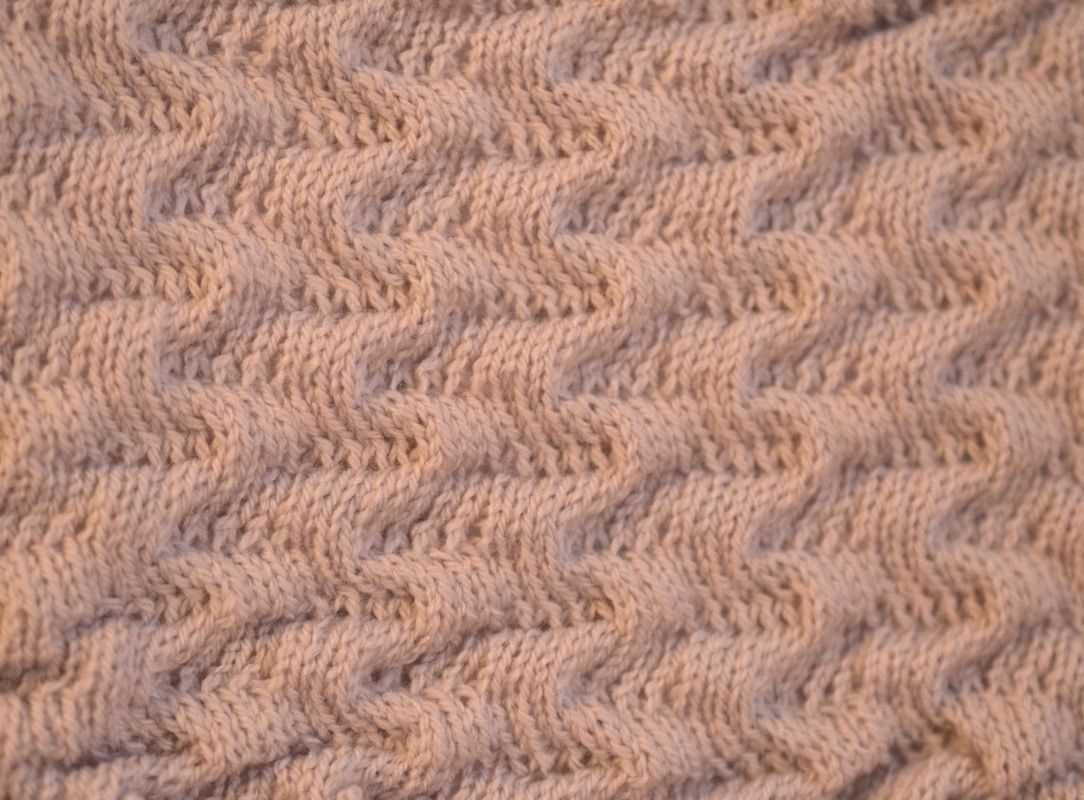
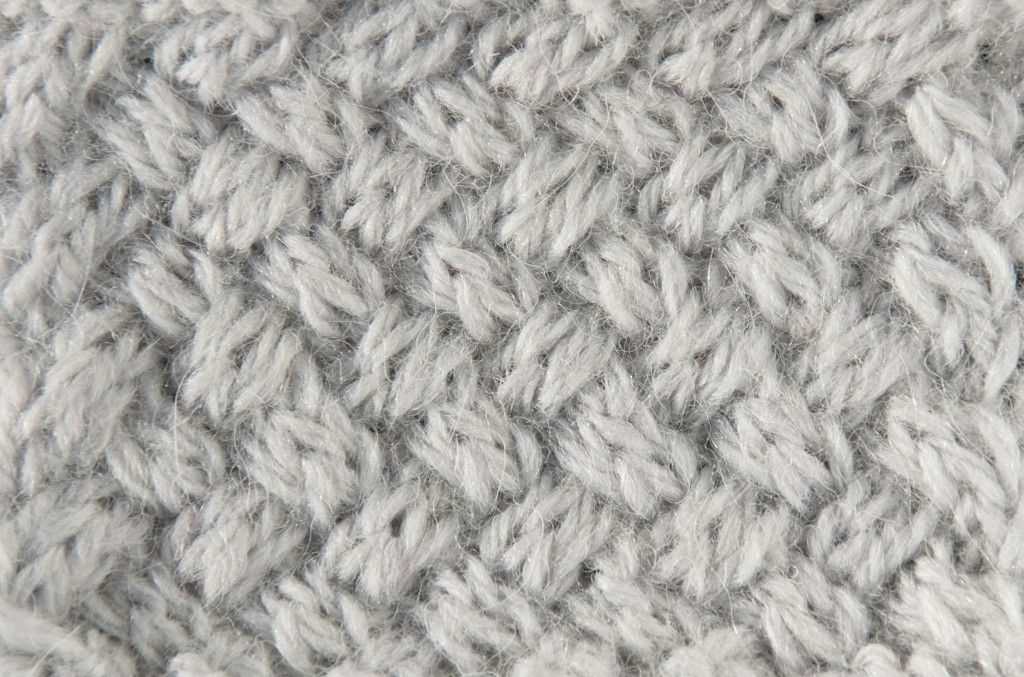
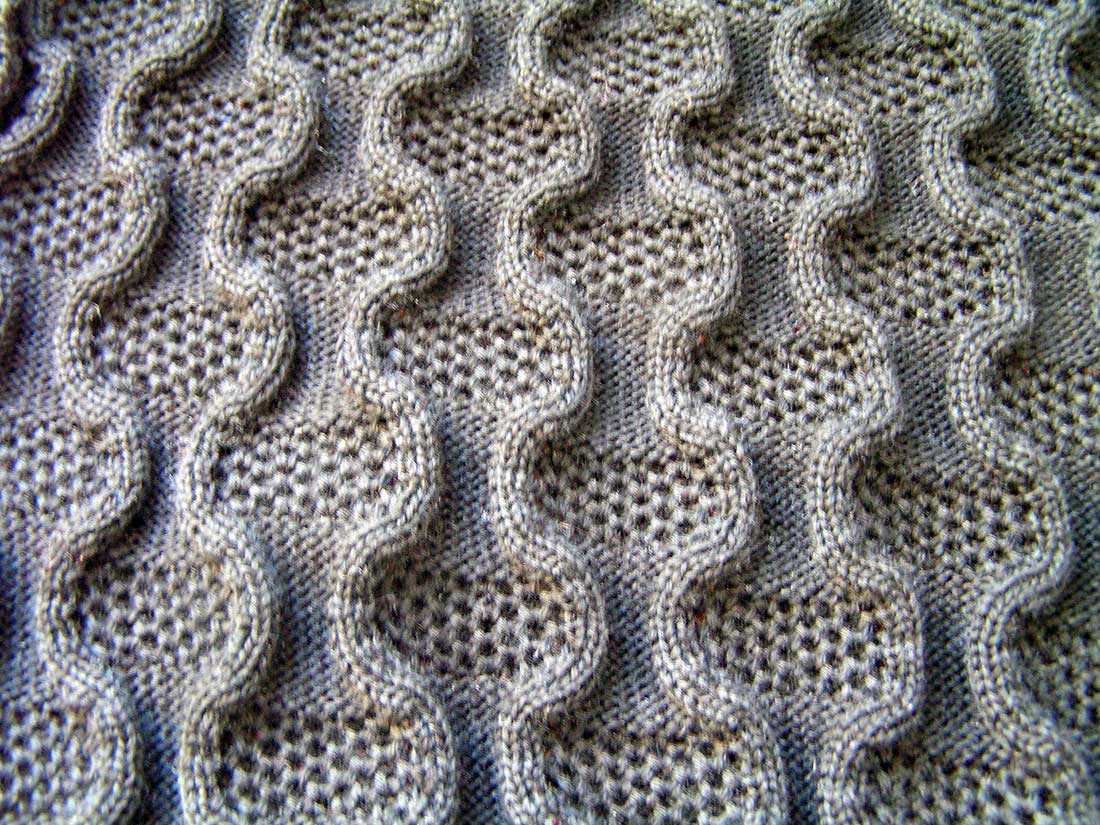
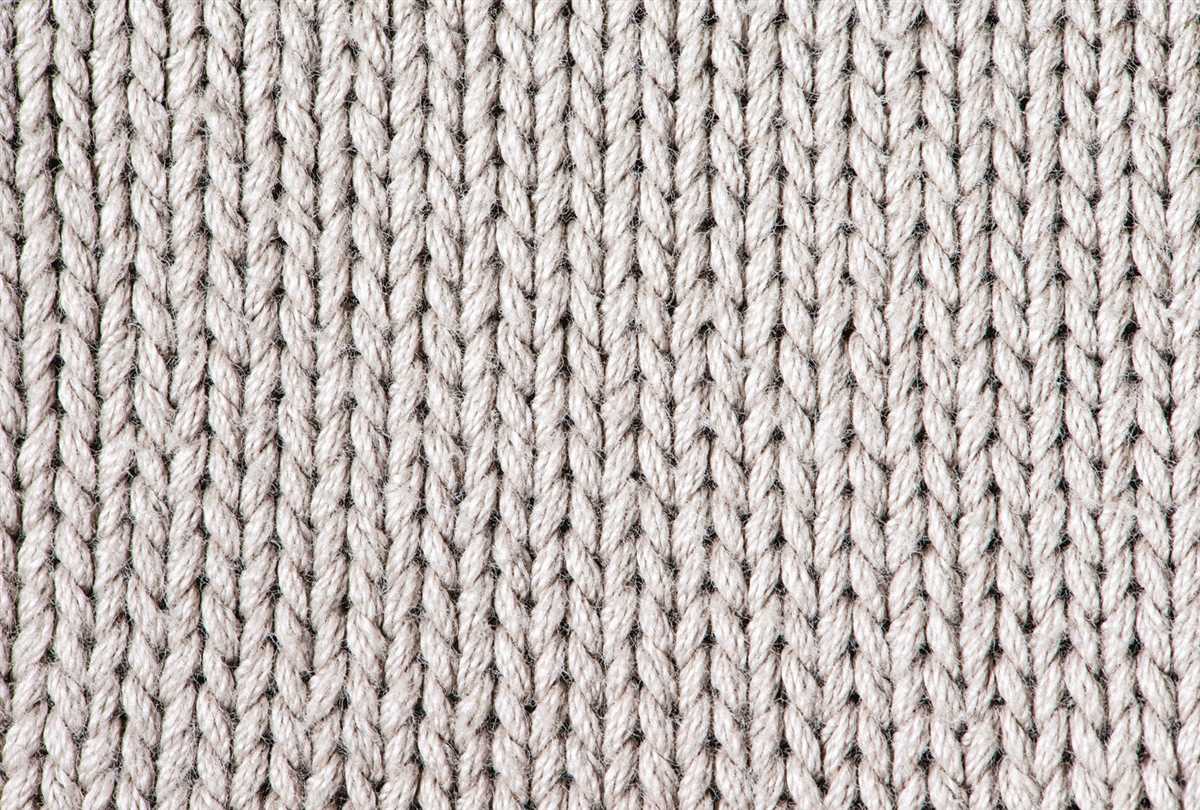
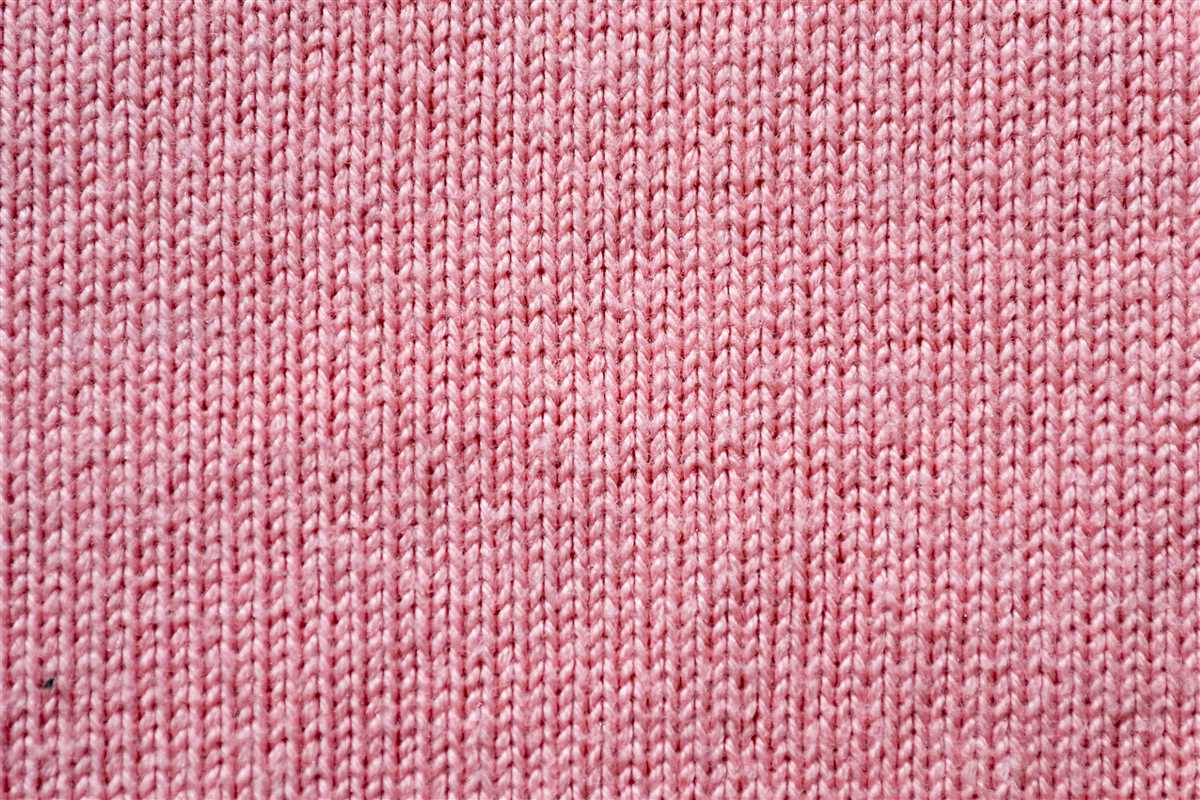
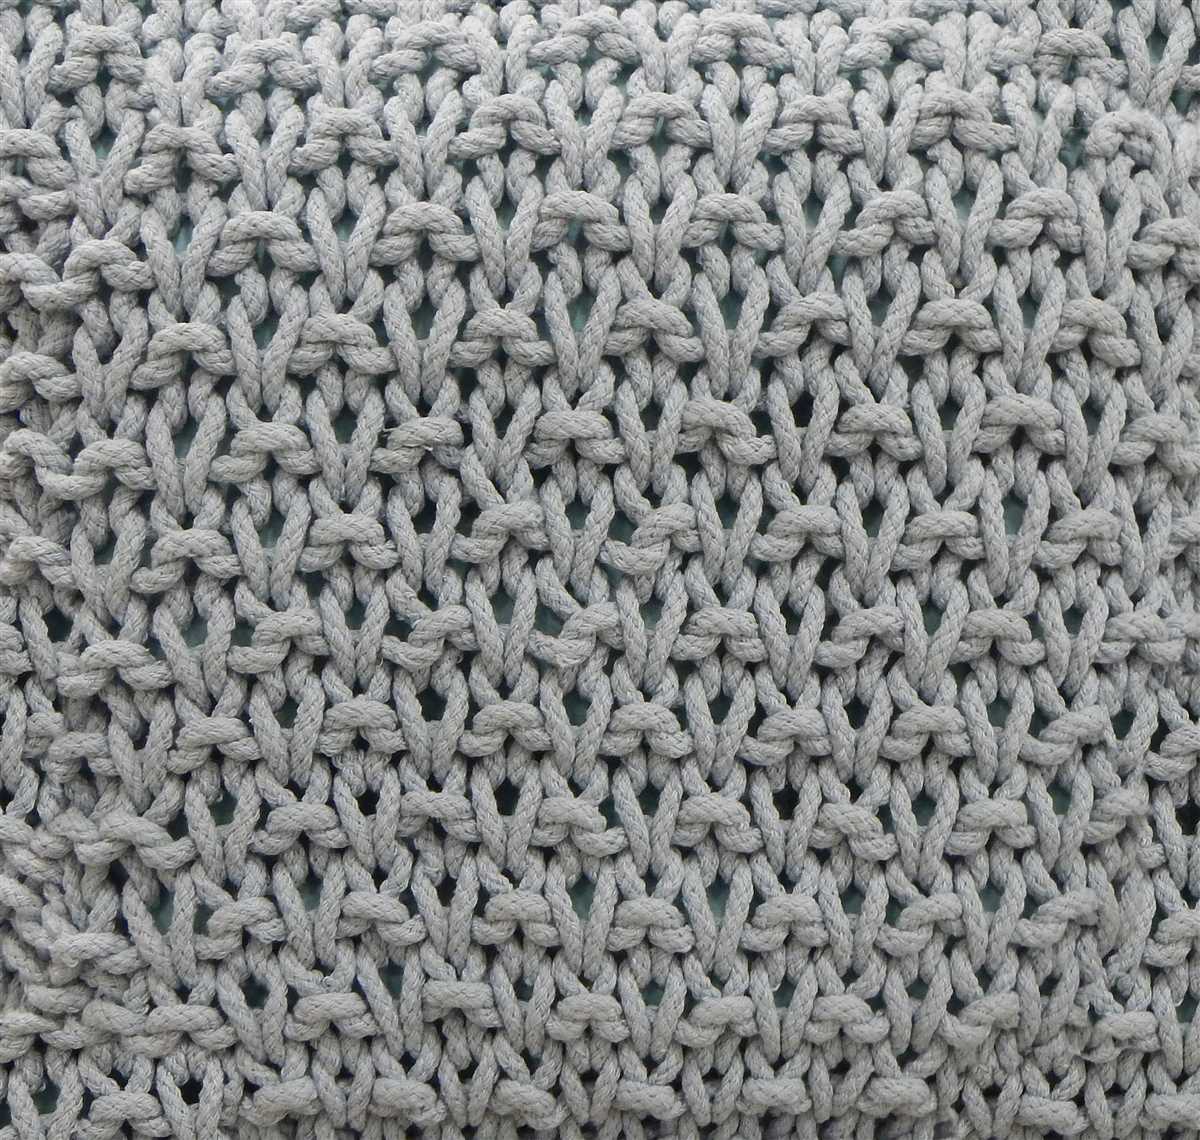
Type of knit: The first thing to consider when choosing knit fabric is the type of knit. Some common types include jersey, rib knit, interlock, and sweater knit. Each type has its own distinct look and feel, as well as varying stretch and drape. For example, jersey knit is lightweight and has a soft drape, making it ideal for T-shirts and dresses, while rib knit has a more textured appearance and is often used for cuffs and bands.
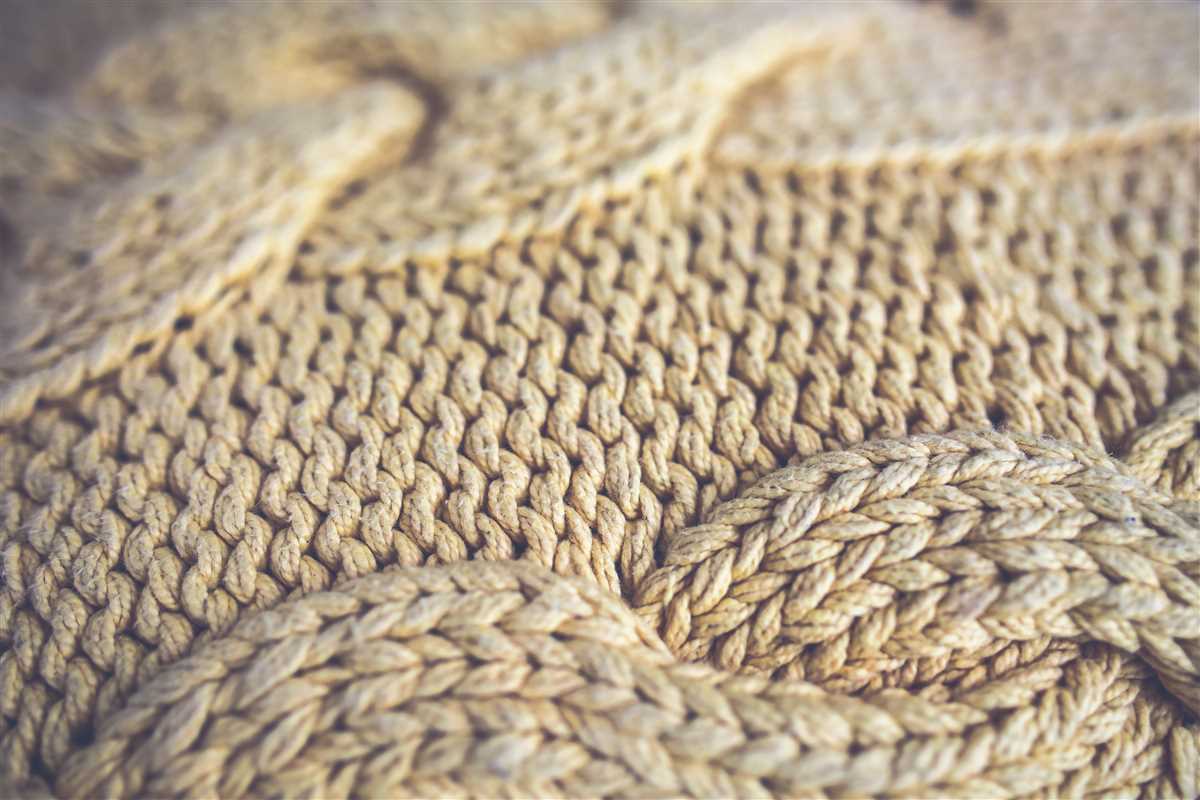
Fabric weight: The weight of the knit fabric is another important factor to consider. Knit fabrics can range from lightweight and sheer to heavy and bulky. The weight of the fabric will affect how it drapes and how it feels against the skin. For instance, a lightweight knit fabric is great for summer garments, while a heavy knit fabric would be more suitable for winter sweaters.
- Stretch: The amount of stretch in the knit fabric is also essential. Some knit fabrics have more stretch than others, and this can affect how the garment fits and moves. For patterns that require a lot of stretch, such as activewear or dancewear, you’ll want to choose a fabric with a high percentage of stretch.
- Fiber content: The fiber content of the knit fabric can impact its performance and care requirements. Common fiber options for knit fabrics include cotton, polyester, rayon, and spandex. Each fiber has its own characteristics, such as breathability, durability, and stretch, so consider the specific qualities you’re looking for in your fabric.
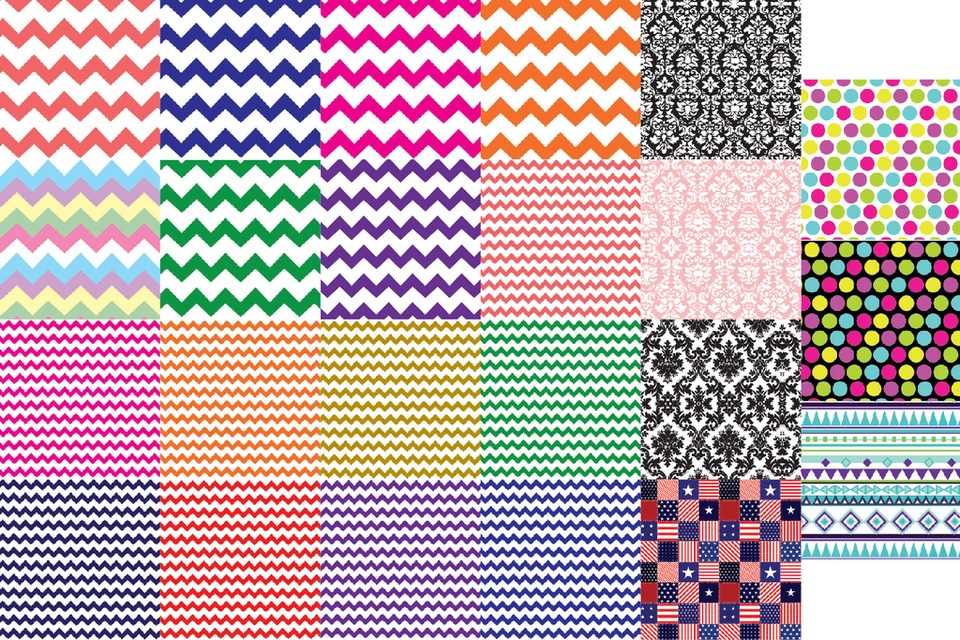
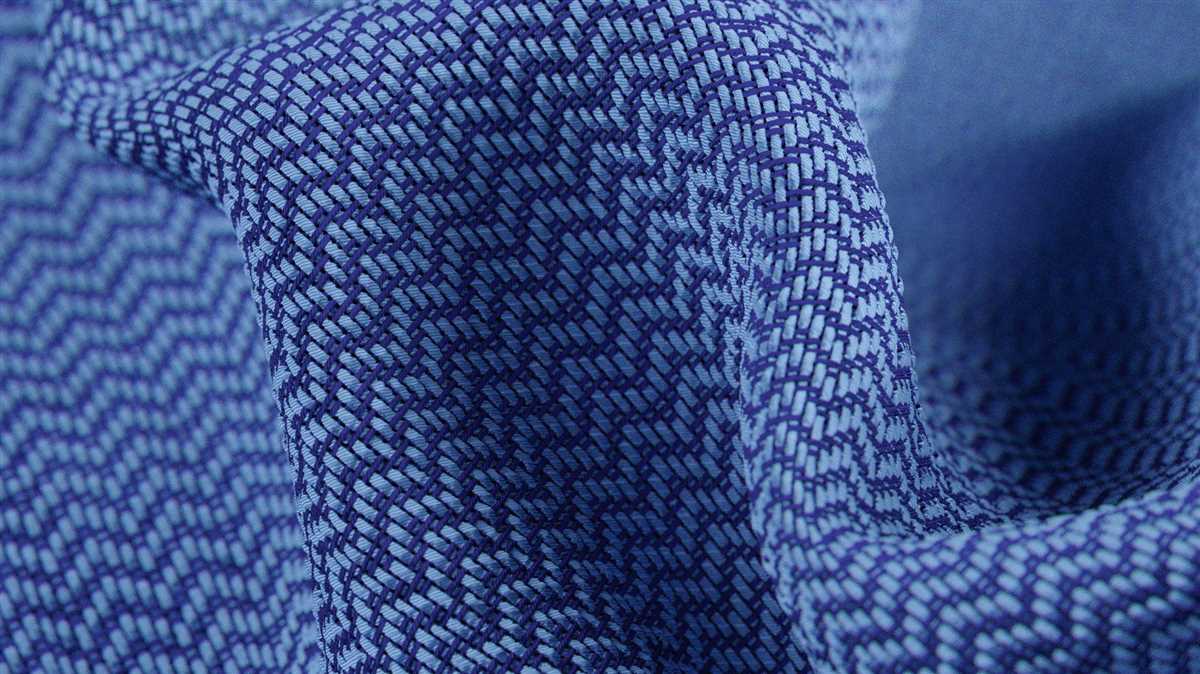
- Print or solid: Finally, consider whether you want a printed or solid knit fabric for your pattern. Both options have their own advantages and can affect the overall look of your garment. Prints can add visual interest and make a statement, while solids allow for more versatility and can be easily paired with other garments.
By considering the type of knit fabric, its weight, stretch, fiber content, and whether you want a print or solid, you can choose the perfect fabric for your pattern. Taking the time to select the right fabric will not only ensure a successful layout, but also a finished garment that looks and feels great.
Understanding the Grainline and Stretch of Knit Fabric
When working with knit fabric, it is important to understand the grainline and stretch of the fabric in order to properly lay out a pattern. The grainline refers to the direction of the threads in the fabric, while the stretch refers to the amount of give or stretchiness the fabric has. By understanding these two elements, you can ensure that your pattern is placed and cut correctly, resulting in a garment that fits well and drapes nicely.
Grainline: The grainline of knit fabric is usually indicated by the selvedge, which is the finished edge of the fabric. The grainline runs parallel to the selvedge and is typically indicated by arrows on the pattern. It is important to align the grainline of the pattern with the grainline of the fabric when laying out your pattern. This ensures that the fabric will drape and hang properly when the garment is finished.
Stretch: Knit fabric has a natural stretch that allows for comfortable wearing and ease of movement. The amount of stretch varies depending on the type of knit fabric. Some knits have a lot of stretch, known as 4-way stretch, meaning they stretch both horizontally and vertically. Others have less stretch, known as 2-way stretch, meaning they only stretch in one direction. It is important to consider the stretch of the fabric when placing your pattern on the fabric. If a pattern has stretch in one direction, it should be placed so that the stretch is going around the body, rather than up and down.
When laying out your pattern on knit fabric, it is important to take the grainline and stretch into consideration. Ensure that the grainline of the pattern aligns with the grainline of the fabric, and that the stretch of the fabric is positioned correctly for the desired fit of the garment. By understanding these aspects of knit fabric, you can achieve a well-fitting and comfortable finished garment.
Preparing Your Pattern Pieces

Before you can start laying out your pattern on knit fabric, you need to prepare your pattern pieces. This involves several steps to ensure that your pattern is properly aligned and ready to be cut.
Gather your pattern pieces: Start by gathering all the necessary pattern pieces for your project. Lay them out on a clean and flat surface, making sure they are all accounted for.
Trim excess paper:
Next, trim any excess paper from your pattern pieces. This will make it easier for you to arrange and place them on the fabric. Use a pair of scissors to carefully cut along the outer edge of each pattern piece, removing any unnecessary paper.
Arrange and place pattern pieces:
Once your pattern pieces are trimmed, you can begin arranging and placing them on your knit fabric. Consider the layout instructions provided with your pattern, if any, to ensure proper placement.
- Align grainlines: Start by aligning the grainline of each pattern piece with the grainline of the fabric. The grainline is indicated on the pattern and should be parallel to the selvedge of the fabric. This will ensure that your garment hangs properly.
- Maximize fabric usage: Arrange your pattern pieces in a way that minimizes fabric waste. Rotate and flip the pieces, nesting them closely together to optimize fabric usage.
- Pin or weigh down pattern pieces: Once you have arranged the pattern pieces, secure them to the fabric by pinning them in place or by using weights. This will prevent the pieces from shifting while you cut them.
Trace or cut pattern pieces:
With your pattern pieces securely in place, you can now either trace or cut around them. Tracing is often recommended for knit fabrics to avoid distortion. If you choose to trace, use a marking tool such as tailor’s chalk to outline each pattern piece on the fabric. If you prefer to cut directly, use sharp fabric scissors to carefully cut along the edges of each pattern piece.
Marking the Grainline on Your Knit Fabric

When working with knit fabric, it’s important to mark the grainline accurately to ensure that your garment hangs and drapes correctly. The grainline refers to the direction of the fabric’s woven threads, and it’s crucial to align your pattern pieces according to the grainline for a professional finish.
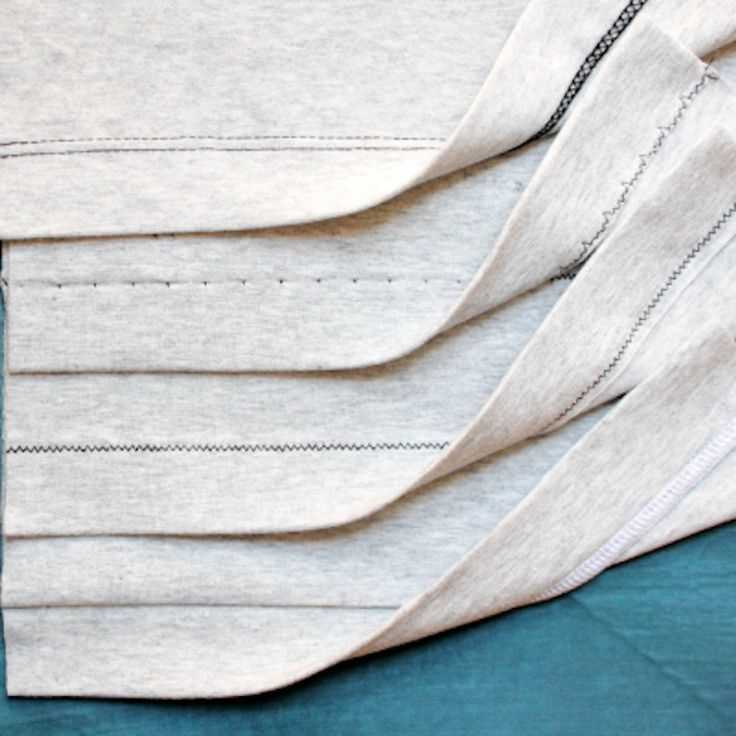
To mark the grainline on your knit fabric, start by identifying the selvage edge. The selvage is the tightly woven edge of the fabric that runs parallel to the grainline. This edge is usually more stable and less prone to stretching, so it’s important to keep it intact throughout the construction process.
- Step 1: Lay your knit fabric on a flat surface and smooth out any wrinkles or folds.
- Step 2: Find the selvage edge by looking for the tightly woven edge of the fabric. This edge is usually straight and may have a different texture or appearance than the rest of the fabric.
- Step 3: Measure approximately 1-2 inches away from the selvage edge and make a small mark with a fabric marker or chalk. This will be your reference point for marking the grainline.
- Step 4: Take a measuring tape or ruler and align it parallel to the selvage edge, starting from your reference point. Make additional marks at regular intervals along this line to indicate the grainline.
- Step 5: Connect the marks to create a clear line that represents the grainline of your fabric. You can use a ruler or a long, straight edge to ensure accuracy.
Once you’ve marked the grainline on your knit fabric, make sure to transfer the grainline markings to your pattern pieces. This can be done by aligning the markings on the pattern with the markings on the fabric and tracing them onto the pattern piece. By accurately marking the grainline, you’ll be able to create garments that hang and fit well, enhancing the overall look and feel of your finished project.
Making Adjustments for Knit Fabric
When working with knit fabric, it is important to make some adjustments compared to working with woven fabric. Knit fabric has stretch and recovery, which means that it can be stretched and then return to its original shape. This makes it more forgiving and comfortable to wear, but it also requires some modifications when laying out a pattern.
1. Consider the grainline: The grainline refers to the direction of the fabric’s stretch. When working with knit fabric, it is important to align the grainline with the lengthwise grain, which runs parallel to the selvage. This will ensure that the fabric stretches correctly when worn.
2. Adjust for stretch: Knit fabric has varying degrees of stretch, so it is important to take this into account when laying out a pattern. You may need to add extra ease or make adjustments to the pattern to accommodate the fabric’s stretchiness. It is also a good idea to test the stretch of the fabric before cutting out the pattern pieces.
3. Use a stretch stitch: When sewing knit fabric, it is important to use a stretch stitch to allow for maximum elasticity. A straight stitch may break when the fabric is stretched, so opt for a zigzag stitch, a stretch stitch, or a twin needle stitch. These stitches will provide the necessary give and flexibility.
4. Consider the drape: Knit fabric has a different drape compared to woven fabric, so it is important to take this into account when laying out a pattern. Make adjustments to the pattern if necessary to achieve the desired drape and fit.
5. Test and adjust: It is always a good idea to make a test garment or a muslin before cutting into your final fabric. This will allow you to test the fit and make any necessary adjustments before committing to the final product. This is especially important when working with knit fabric, as the stretch and recovery can affect the fit.
By making these adjustments and being mindful of the unique qualities of knit fabric, you can ensure that your finished garment has the desired fit, comfort, and stretch that make knits so popular.
Pinning and Cutting Your Pattern Pieces
Once you have selected or created a pattern for your knit fabric project, the next step is to pin and cut out your pattern pieces. This process ensures that each piece is cut accurately and will fit together properly when you sew them.
Pinning:
Before cutting, it is important to secure your pattern pieces to the fabric using pins. Start by laying your fabric flat on a clean, flat surface. Make sure the fabric is smooth and free from any wrinkles or creases. Then, place your pattern pieces on top of the fabric, aligning the grain lines and markings as indicated on the pattern. Use fabric weights or pattern weights to hold the pattern pieces in place, or you can use pins to pin them to the fabric.
Cutting:
Once your pattern pieces are securely pinned to the fabric, it’s time to start cutting. Use sharp fabric scissors or a rotary cutter to carefully cut along the edges of the pattern pieces. Take your time and make sure to follow the cutting lines precisely. If there are notches or markings on the pattern, be sure to transfer them to the fabric using tailor’s chalk or a fabric marker.
Tips:
- When pinning, make sure that the pins go through the pattern and fabric without distorting the shape or causing any puckering of the fabric.
- When cutting, try to cut in long, smooth strokes rather than chopping or sawing at the fabric. This will result in cleaner, more accurate cuts.
- Double-check that all pattern pieces have been cut out before removing the pins or weights. It can be frustrating to realize that you missed a piece after you have already started sewing.
- Store your pattern pieces in a safe place for future use. You can use plastic bags or envelopes to keep them organized and protected.
By carefully pinning and cutting your pattern pieces, you can ensure that your knit fabric project will be a success, with garments that fit well and look professional.
Cutting with a Rotary Cutter
When it comes to cutting knit fabric for your sewing projects, using a rotary cutter can be a game changer. A rotary cutter is a versatile cutting tool that allows you to make clean and precise cuts on fabric without distorting or stretching it. It is especially useful when working with knit fabric, as it helps to prevent the fabric from shifting or unraveling during the cutting process.
To use a rotary cutter, start by laying your knit fabric flat on a cutting mat. Make sure the fabric is smooth and wrinkle-free. Then, place your pattern pieces on top of the fabric, using weights or pins to secure them in place.
Tips for cutting with a rotary cutter:
- Choose the right blade: There are different types of rotary cutter blades available, so make sure to choose the one that is suitable for cutting knit fabric. A sharp blade will create clean and precise cuts.
- Use a ruler or straight edge: When cutting straight lines, it’s helpful to use a ruler or straight edge as a guide. This will ensure that your cuts are straight and even.
- Apply gentle pressure: When cutting with a rotary cutter, it’s important to apply gentle pressure. Pressing too hard can cause the fabric to shift or stretch, resulting in uneven cuts.
- Take breaks: Cutting large pieces of fabric can be tiring, so be sure to take breaks as needed. This will help prevent fatigue and ensure that your cuts remain accurate.
- Practice on scrap fabric: If you’re new to using a rotary cutter, it’s a good idea to practice on scrap fabric first. This will give you a chance to get familiar with the tool and improve your cutting technique.
- Clean and maintain your blade: To keep your rotary cutter in good working condition, make sure to clean and maintain the blade regularly. This will help prolong the life of the blade and ensure that it cuts smoothly.
By following these tips and practicing your cutting technique, you can achieve clean and precise cuts on knit fabric with a rotary cutter. Happy cutting!
Using Weights instead of Pins
If you find that pinning your pattern to the knit fabric is not working well for you, another option to consider is using weights. Instead of pinning the pattern pieces down, you can use small weights to hold the fabric in place while you work.
One advantage of using weights is that they do not create any holes in the fabric like pins do. This can be especially helpful when working with delicate or stretchy knit fabrics that may be easily damaged by pins. By using weights, you can ensure that your fabric remains intact and undamaged.
To use weights, simply place them on top of the pattern pieces to hold them in place. You can use specialized sewing weights, or even household items such as washers or small weights from a jewelry scale. Make sure to distribute the weights evenly across the pattern pieces to ensure they are held securely.
Using weights can be especially useful when working with slippery knit fabrics that have a tendency to shift or move while you are cutting or sewing. The weights help to hold the fabric in place and prevent it from sliding around, making it easier to accurately cut out your pattern pieces.
Overall, using weights instead of pins can be a great alternative when laying out a pattern on knit fabric. They provide a secure hold without damaging the fabric, making your sewing process easier and more efficient.
Transferring Pattern Markings to Knit Fabric
When working with knit fabric, it is important to transfer pattern markings accurately in order to ensure the final result matches the intended design. Unlike woven fabric, knit fabric has more stretch and can easily distort if not handled correctly. Here are some tips for transferring pattern markings to knit fabric:
1. Use tailor’s chalk or washable fabric markers
To mark the pattern on knit fabric, it is best to use tailor’s chalk or washable fabric markers. These tools will allow you to make clear and visible markings without the risk of leaving permanent stains on the fabric. Make sure to choose a color that contrasts well with the fabric, so the markings are easily visible.
2. Transfer the markings before cutting the fabric

Before cutting out your fabric pieces, it is essential to transfer the pattern markings accurately. Lay the fabric flat on a cutting surface and carefully trace the marking lines onto the fabric using the chosen tool. Pay special attention to things like dart points, notches, and grainlines, as these will affect the fit and overall appearance of the garment.
3. Test the marking tool on scrap fabric

Before you start marking directly on your precious knit fabric, it is a good idea to test the marking tool on a scrap piece of the same fabric. This will allow you to ensure that the markings can be easily removed or washed away without leaving any residue or damage on the fabric.
By following these tips, you can confidently transfer pattern markings to knit fabric and achieve professional-looking results. Taking the time to accurately mark your fabric will ensure that your finished garment matches the intended design and fits you perfectly.
Securing the Pattern Pieces before Sewing
Before you start sewing your knit fabric, it is important to secure the pattern pieces in place. This will ensure that the fabric does not shift or slide during sewing, resulting in a more accurate and professional-looking finished garment. There are several methods you can use to secure the pattern pieces, depending on your preference and the type of fabric.
Pinning: Pinning is a common and effective way to secure pattern pieces on knit fabric. Use fine, sharp pins and insert them perpendicular to the fabric, making sure to catch both layers of fabric and the pattern piece. Space the pins evenly along the edges of the pattern piece to distribute the tension and prevent distortion.
Clipping: Clipping is another method to secure pattern pieces on knit fabric. Instead of pins, you can use small clips or binder clips. The advantage of using clips is that they won’t leave holes or punctures in the fabric like pins do. Place the clips along the edges of the pattern piece, making sure they are securely holding the fabric in place.
Basting stitches: Basting stitches are temporary stitches that hold the fabric together until the final stitching is done. You can use a regular straight stitch or a long basting stitch on your sewing machine. Sew along the edges of the pattern piece, leaving a long tail of thread at the beginning and end. These basting stitches will keep the fabric in place and can be easily removed once the final stitching is complete.
Tape or adhesive: In some cases, using tape or adhesive can be a convenient method to secure pattern pieces on knit fabric. You can use double-sided tape, fabric adhesive, or even masking tape. Be sure to use a tape or adhesive that is safe for your fabric, and only apply it to areas that won’t be visible in the final garment.
Remember to remove any pins, clips, or basting stitches as you sew each seam to prevent interference with the stitching. Securing the pattern pieces before sewing will help ensure that your finished garment fits as intended and looks neat and professional.
Matching Patterns and Seams on Knit Fabric

When working with knit fabric, it is important to pay attention to the pattern and match it seamlessly across your project. This ensures a professional finish and enhances the overall appearance of your garment. Here are some tips to help you match patterns and seams on knit fabric:
1. Preparing the Fabric

Before laying out your pattern, it is important to prepare the fabric properly. Make sure your fabric is clean, pressed, and free from any wrinkles or distortions. If necessary, consider blocking the fabric to ensure it is in its natural shape and size. This will make it easier to match patterns and seams accurately.
2. Identifying Key Points
When working with a pattern that has a specific motif or design, identify the key points or elements that need to be matched. These can include motifs, stripes, plaids, or any other design elements. Take note of these points and use them as a guide when cutting and sewing the fabric.
3. Using Pattern Paper
If your pattern does not have pre-marked matching points, consider using pattern paper to transfer these points onto the fabric. Trace the pattern onto the paper and then mark the key points using a contrasting color or pencil. This will provide a visual guide when aligning the fabric pieces.
4. Pinning and Basting
When aligning the fabric pieces, use pins or basting stitches to hold them together securely. This will prevent the fabric from shifting during sewing and ensure that the pattern matches accurately. Take your time to match the pattern carefully at the seams and any other key points.
5. Test Sewing
Before sewing the final seams, consider doing a test sew on scrap fabric to check the pattern matching. This will allow you to make any necessary adjustments and ensure that the pattern matches perfectly when sewing the actual garment. It is better to take the time to make adjustments now rather than after the garment is completed.
By following these steps and paying attention to detail, you can achieve seamless pattern matching on your knit fabric projects. Remember to take your time and be patient, as this will greatly enhance the overall appearance of your finished garment.
Tips for Sewing Knit Fabric
When it comes to sewing knit fabric, there are a few key tips to keep in mind to ensure successful and professional-looking results.
1. Use the right needle: When sewing knit fabric, it’s important to use a ballpoint or stretch needle. These needles have a rounded tip that allows them to pass through the fabric without snagging or tearing the fibers.
2. Use a stretch stitch or zigzag stitch: Instead of using a straight stitch, which can cause the fabric to pucker or tear, use a stretch stitch or zigzag stitch. These stitches are designed to accommodate the stretchiness of knit fabric and will help maintain the integrity of the seams.
3. Use the right tension: Adjusting the tension on your sewing machine is crucial when working with knit fabric. Consult your sewing machine manual for instructions on how to properly adjust the tension for your specific machine and fabric type.
4. Use the correct thread: When sewing knit fabric, it’s best to use a polyester thread that has a slight stretch to it. This will help ensure that the seams stretch with the fabric and do not break under stress.
5. Use a walking foot: A walking foot is a helpful tool when sewing knit fabric as it helps prevent the layers of fabric from shifting or stretching unevenly. This can result in more precise and even stitches.
6. Test your techniques: Before starting your project, it’s always a good idea to test your sewing techniques on a scrap piece of fabric. This will allow you to adjust your needle, stitch type, tension, and thread if needed, ensuring a better outcome on your final garment.
7. Take your time: Sewing knit fabric can be more challenging than sewing woven fabric, so it’s important to be patient and take your time. Go slow and carefully feed the fabric through your machine, and remember to always backstitch at the beginning and end of your seams.
By following these tips, you’ll be well-equipped to sew knit fabric successfully and create beautiful garments that are both comfortable and stylish.