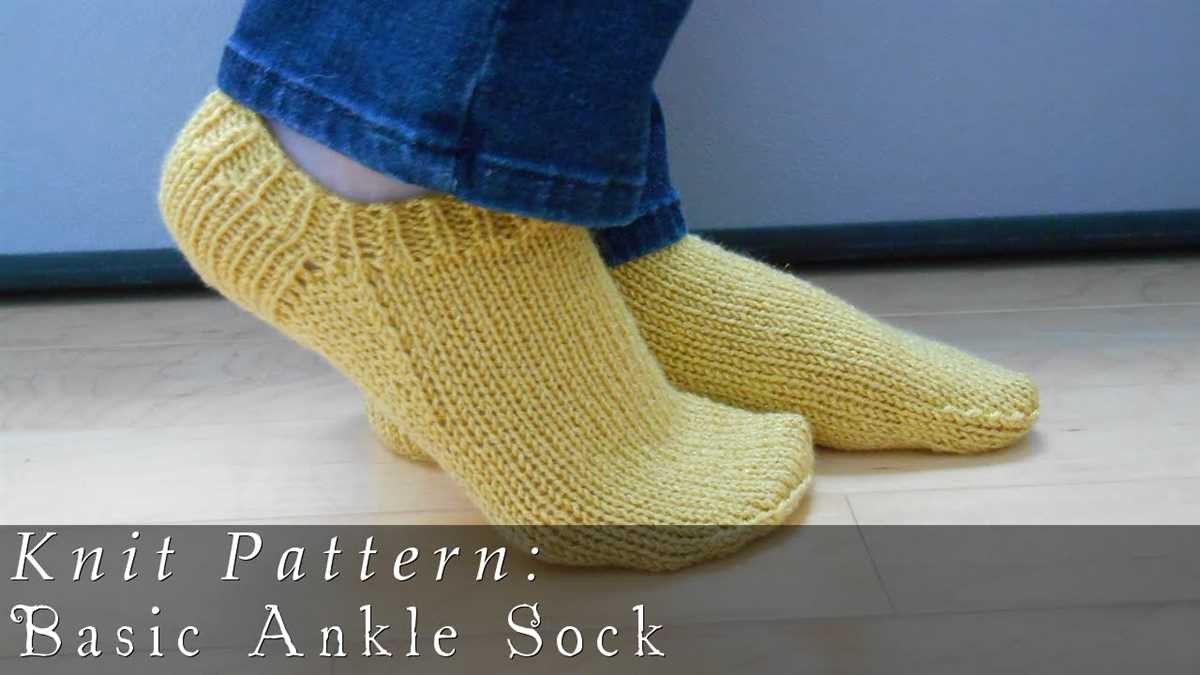
Cozy and Chic: Ankle Sock Knitting Pattern for Fashionable Feet

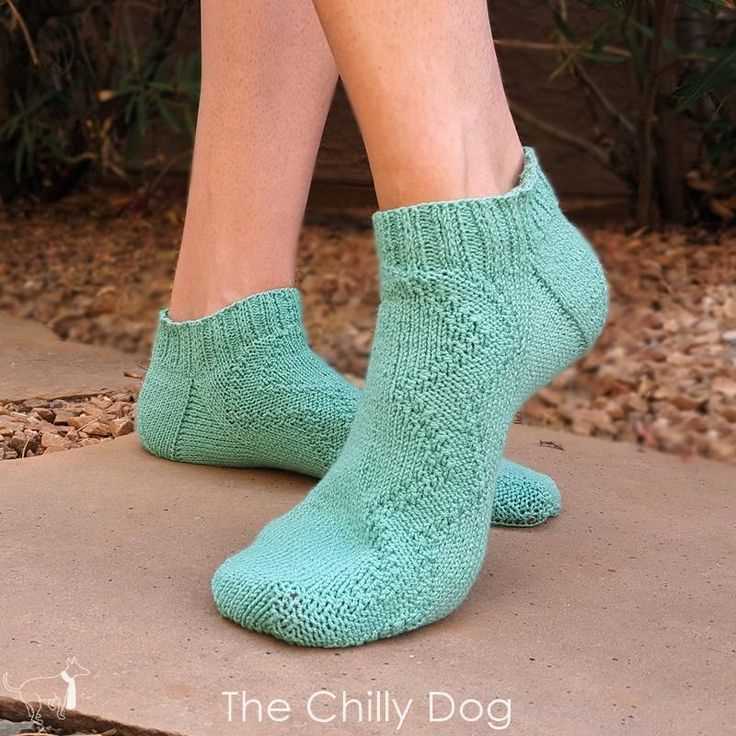
Knitting has long been a popular craft for creating warm and cozy garments. One versatile and practical option is the ankle sock. Ankle socks are perfect for wearing with sneakers or low-cut shoes, and they are a great way to showcase your knitting skills while keeping your feet comfortable and stylish.
Whether you are a beginner knitter or an experienced pro, knitting ankle socks can be a rewarding project. With a wide range of colors, yarns, and patterns to choose from, you can create a unique pair of socks that match your personal style and preferences. Plus, knitting your own socks allows you to customize the fit and design, ensuring that you have a pair that is both comfortable and flattering.
If you are new to sock knitting, don’t worry! There are plenty of ankle sock knitting patterns available to guide you through the process. These patterns will provide detailed instructions on the type of yarn and needles to use, as well as step-by-step directions for creating the sock’s cuff, heel, gusset, and toe. With a little patience and practice, you’ll be able to knit up a pair of ankle socks in no time.
So why not give ankle sock knitting a try? Not only will you be able to enjoy the therapeutic and meditative process of knitting, but you’ll also have a practical and stylish garment to show off. Whether you’re knitting for yourself or as a gift for a loved one, ankle socks are a fun and satisfying project that any knitter can tackle.
Choosing the right yarn and needles
When it comes to knitting ankle socks, choosing the right yarn and needles is essential. The yarn you choose should have a good blend of stretch and durability to ensure a comfortable and long-lasting sock. Look for yarns that contain a percentage of nylon or other synthetic fibers, as this will help prevent the socks from stretching out or losing their shape over time.
In terms of needle size, it’s important to consider the gauge of the pattern and the desired fit of the sock. Generally, a smaller needle size will result in a tighter fabric and a smaller sock, while a larger needle size will create a looser fabric and a larger sock. It’s a good idea to make a gauge swatch before starting the project to ensure that your needle size is giving you the desired tension and fit.
When choosing your yarn, consider the thickness or weight category (such as fingering, sport, or worsted) and the recommended needle size on the yarn label. This will give you a starting point for selecting your knitting needles. If you prefer a snugger fit or a denser fabric, you can choose a slightly smaller needle size than the recommended size. On the other hand, if you want a looser or airier fabric, you can go up a needle size.
Ultimately, the choice of yarn and needle size will depend on your personal preferences and the specific pattern you are using. It’s always a good idea to experiment with different combinations to find the perfect match for your ankle socks!
Getting started: casting on and knitting the cuff
Before you can start knitting the ankle socks, you need to cast on and create the cuff of the sock. The cuff is the part of the sock that sits at the top of the ankle and helps keep the sock in place. To cast on, you will need a set of double-pointed knitting needles and your chosen yarn.
To begin, make a slipknot and slide it onto one of your needles. Hold the needle with the slipknot in your right hand and the empty needle in your left hand. Insert the empty needle into the slipknot from left to right, making sure the working yarn is behind the needles.
Next, wrap the working yarn around the empty needle, going counterclockwise. Pull the wrapped yarn through the slipknot, creating a loop on the empty needle. Repeat this process until you have the desired number of stitches for your cuff. It’s important to note that the number of stitches will vary depending on your chosen yarn weight and desired sock size.
Once you have cast on all of your stitches, distribute them evenly onto three or four double-pointed needles. This will help you knit in the round and create a seamless cuff for your ankle socks. Join the needles in a circle by knitting the first stitch of the next needle with the working yarn. This will ensure that the cuff is joined together and ready for knitting in the round.
Now that your cuff is ready, you can start knitting the body of the ankle socks. This will involve following a specific pattern of stitches and techniques to create the desired sock shape and size. But first, take a moment to admire your work and revel in the excitement of starting a new knitting project!
Creating the heel flap: short row shaping
One crucial step in knitting ankle socks is creating the heel flap, which provides added durability and comfort to the sock. To achieve a nicely fitting heel, short row shaping is used. Short rows are partial rows of knitting that do not extend all the way across the stitches on the needle.
The short row shaping technique begins by knitting a set number of stitches and then turning the work before reaching the end of the row. The stitches that were not worked are left unworked and “wrapped” with the working yarn. This creates a gap or “hole” in the fabric. When the work is turned again, these gaps are closed and knitted together with their wrapped stitches.
The benefits of short row shaping
Short row shaping allows for creating a heel flap that is more form-fitting and comfortable. It provides extra fabric in the center of the sock, which accommodates the shape of the heel. By using short rows, the heel flap is built up gradually and contoured to fit the foot’s curve, creating a smoother and more comfortable fit.
Another advantage of using short row shaping for the heel flap is that it does not require any additional decreases or increases. This makes the knitting process simpler and easier to follow. The short rows create the necessary shaping by manipulating the fabric and redistributing the stitches already on the needle.
Following a heel flap short row pattern
When following a heel flap short row pattern for ankle socks, it is important to carefully follow the instructions for wrapping and turning stitches. The number of stitches to be worked and wrapped may vary depending on the specific pattern. It is essential to keep track of these steps to ensure the proper shaping of the heel flap.
Once the heel flap is completed using short row shaping, the sock can continue with the rest of the pattern, such as working the gusset or shaping the toe. The heel flap provides added cushioning and reinforcement to the sock, making it a crucial step in the construction of ankle socks.
Knitting the foot: working in the round
After completing the heel flap, it’s time to start knitting the foot of the ankle sock. This section is where you will work in the round, creating the overall shape of the sock.
To begin, transfer the stitches from the heel flap onto double-pointed needles or a circular needle, making sure the stitches are evenly distributed. The number of stitches will depend on the size of the sock and the pattern you are following.
Round 1: Knit all stitches on the first round to establish your starting point.
Continue knitting in the round, following the pattern instructions if you have any. If you are not following a specific pattern, you can simply continue knitting in the round with the desired stitch pattern or plain stockinette stitch.
Tip: To avoid gaps or ladders between the needles, make sure to tighten the first stitch of each needle when transitioning between them.
As you knit the foot, periodically try on the sock to check for the desired length. You want the sock to fit comfortably and snugly, so make any necessary adjustments as you go.
Once you have reached the desired length for the foot, you can move on to the next step of the sock knitting pattern, such as shaping the toe or adding any desired details. Working in the round allows for a seamless finish, creating a clean and professional-looking ankle sock.
Shaping the toe: decreasing stitches
In order to create the tapered shape of the toe, you will need to decrease stitches gradually. There are several methods you can use to achieve this, but the most common one is the classic k2tog (knit two together) decrease. This decrease involves knitting two stitches together as if they were one, resulting in one stitch being decreased.
To begin decreasing stitches, you will start with a certain number of stitches on your needles. Divide these stitches evenly onto four needles if you are using double-pointed needles, or onto two needles if you are using circular needles. This will help you distribute the decreases evenly around the toe.
Method 1: K2tog decrease
To perform the k2tog decrease, simply insert your right needle into the next two stitches on your left needle as if to knit, and then knit them together as one stitch. Repeat this decrease every few stitches until you have decreased the desired number of stitches.
Method 2: SSK decrease
An alternative method to decrease stitches is the SSK decrease, which stands for “slip slip knit.” To perform this decrease, slip the first stitch from your left needle onto your right needle knitwise, then slip the next stitch from your left needle onto your right needle purlwise. Insert your left needle into the front loops of both slipped stitches and knit them together as one stitch. Repeat this decrease every few stitches until you have decreased the desired number of stitches.
- Continue working these decrease stitches until you have narrowed down the toe to the desired width.
- Depending on the pattern, you may also need to change your needle size after the decreases to achieve the desired tension and fit.
Remember to consult your pattern for specific instructions on the number of stitches to decrease and the frequency of decreases. With practice, you’ll be able to shape the toe of your ankle socks to perfection!
Finishing touches: Kitchener stitch for a seamless toe
When it comes to knitting ankle socks, one of the finishing touches that can really make a difference is using the Kitchener stitch to create a seamless toe. This technique allows the stitches to be woven together seamlessly, creating a professional and polished look.
The Kitchener stitch is a method of grafting, where you essentially create a new row of stitches that seamlessly connects the two sets of live stitches. To begin, you will need a tapestry needle and yarn in a contrasting color. Thread the tapestry needle with the yarn, making sure it’s long enough to comfortably go through all of the live stitches.
Start by holding your knitting with the wrong side facing you and the needles parallel to each other. Insert the tapestry needle into the first stitch on the front needle as if to purl, leaving the stitch on the needle. Then, insert the tapestry needle into the first stitch on the back needle as if to knit, again leaving the stitch on the needle.
Next, insert the tapestry needle into the first stitch on the front needle as if to knit, but this time, slip the stitch off the needle. Then, insert the tapestry needle into the second stitch on the front needle as if to purl, leaving the stitch on the needle.
Continue this pattern of knitting and purling, always slipping the stitch off the needle after you insert the tapestry needle, until you have only two stitches left on each needle. Then, knit two stitches together and purl two stitches together, removing them from the needles as you go.
Finally, pull the yarn through the last stitch to secure it and weave in any loose ends. With the Kitchener stitch, your ankle socks will have a seamless toe that is both comfortable and stylish.
Customizing your ankle socks
When it comes to knitting ankle socks, there are many ways to customize the pattern and make them uniquely your own. Whether you’re a beginner or an experienced knitter, adding your personal touch to your ankle socks can be a fun and rewarding project. Here are a few ideas to get you started:
1. Adjusting the length
One of the easiest ways to customize your ankle socks is by adjusting the length. You can make them shorter or longer depending on your preference. If you want shorter ankle socks, simply knit fewer rows before starting the heel. On the other hand, if you prefer longer ankle socks that go up higher on your leg, add more rows before starting the heel. This simple modification can make a big difference in the overall look and fit of your socks.
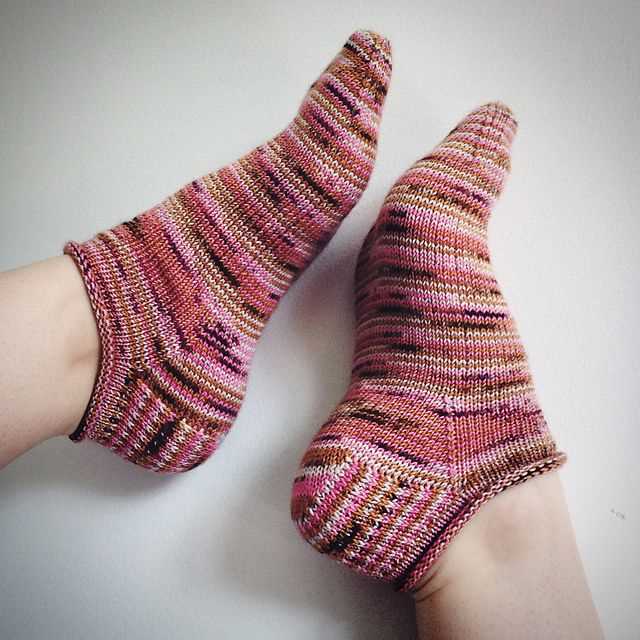
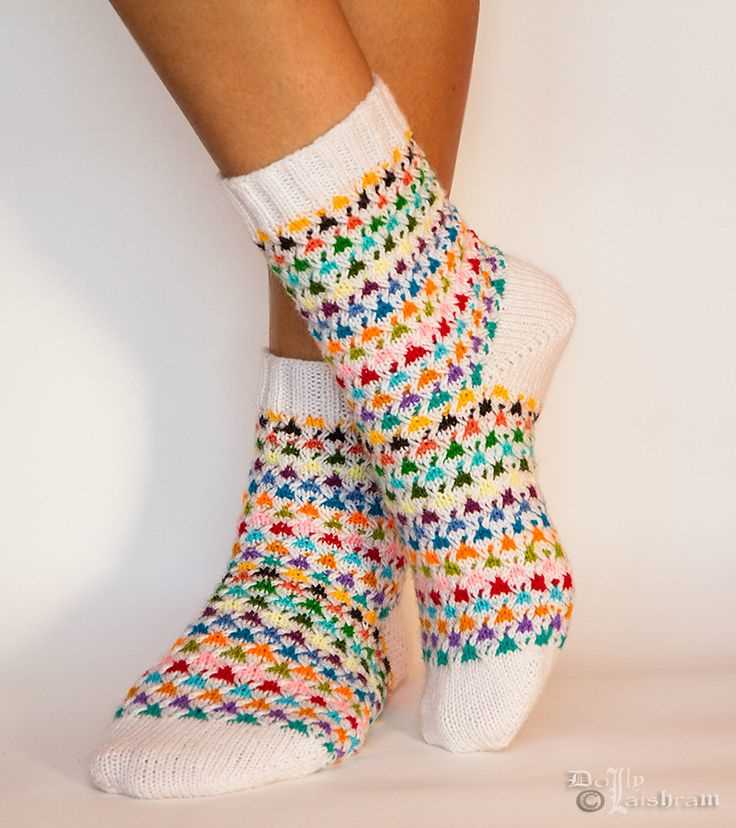
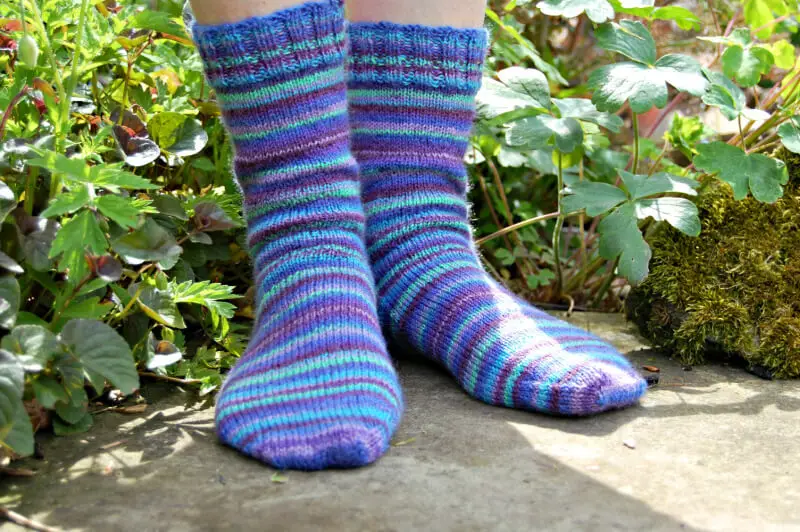
2. Experimenting with colors
Another way to personalize your ankle socks is by playing around with different colors. You can create striped patterns by alternating between two or more colors, or even try your hand at color blocking. Choose colors that match your personality or experiment with vibrant hues for a bold and eye-catching look. The possibilities are endless when it comes to adding color to your ankle socks.
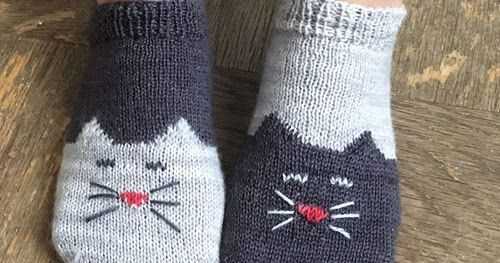
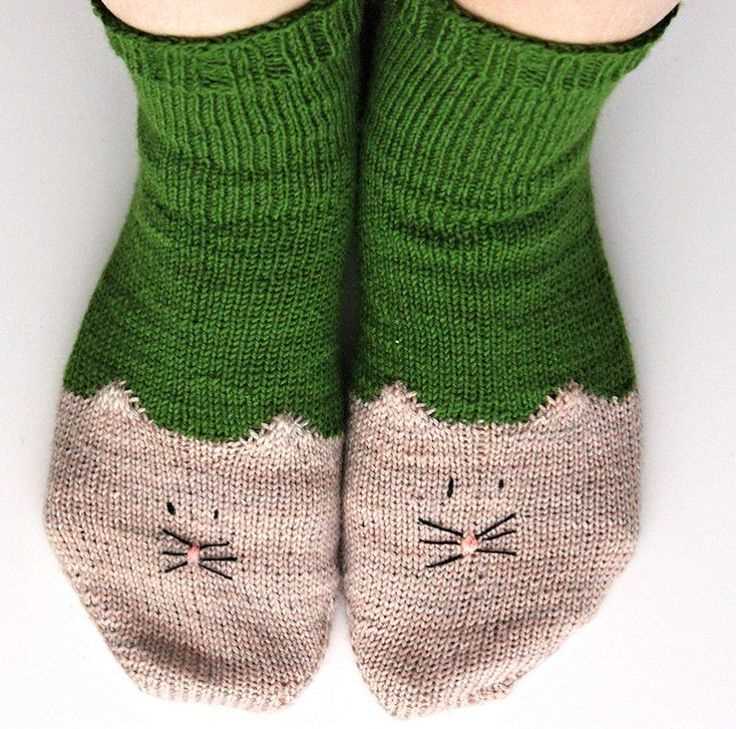
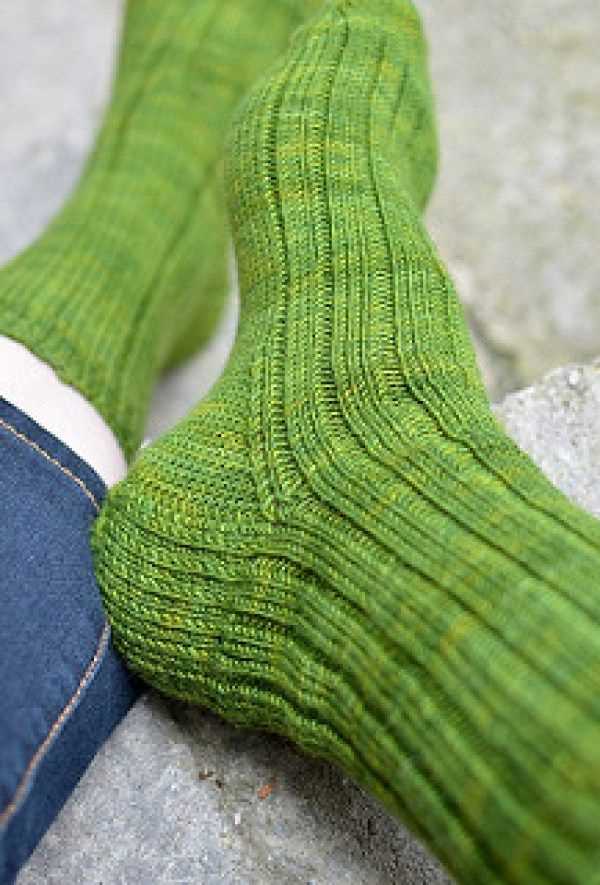
3. Embellishments and stitch patterns
If you’re feeling adventurous, consider adding embellishments or trying out different stitch patterns on your ankle socks. You can incorporate lace or cable patterns for an elegant touch, or add small details like buttons or bows for a playful look. Be creative and let your imagination run wild – the choice is yours!
These are just a few ideas to help you get started in customizing your ankle socks. Remember, knitting is a versatile craft that allows you to express your individuality and create something truly unique. So grab your needles, select your favorite yarn, and start customizing your ankle socks today!
Troubleshooting common knitting issues
Knitting can be a relaxing and rewarding hobby, but like any craft, it can come with its fair share of challenges. From dropped stitches to twisted cables, here are some common knitting issues and how to troubleshoot them.
1. Dropped stitches
One of the most common knitting issues is dropping a stitch. This can happen when you accidentally let a stitch slip off the needle, or when you don’t pick up a stitch properly when working a decrease. To fix a dropped stitch, use a crochet hook or a smaller knitting needle to pick up the stitch and place it back on the needle in the correct orientation.
2. Twisted stitches
Twisted stitches can occur when you accidentally twist the stitch while knitting or purling. This can result in a distorted fabric that doesn’t lay flat. To fix twisted stitches, carefully unravel the row or rows where the twist occurred and re-knit them correctly, ensuring that the stitches are not twisted.
3. Uneven tension
Uneven tension is a common issue for many knitters, especially when switching between different stitch patterns or yarn weights. To improve tension consistency, try experimenting with different needle sizes or practicing knitting with a relaxed grip. You can also block your finished project to even out the tension and create a more uniform appearance.
4. Uneven edges
Uneven edges can be caused by several factors, including tension inconsistencies, not slipping the first stitch of each row, or accidentally adding or dropping stitches. To create smooth and even edges, make sure to slip the first stitch of each row purl-wise to create a clean selvedge. Count your stitches regularly to ensure you haven’t accidentally added or dropped any.
5. Cable mistakes
When working with cables, it’s easy to make mistakes and cross the wrong stitches. If you notice a mistake in your cable pattern, carefully unravel the row or rows where the mistake occurred and rework the cable in the correct order. It can be helpful to use a cable needle or stitch markers to keep track of your cables and prevent mistakes.
By learning how to troubleshoot common knitting issues, you can save time and frustration and enjoy a smoother knitting experience. Remember, practice makes perfect, and with each project, you’ll become more skilled at fixing mistakes and creating beautiful knitted items.
Blocking and Caring for Your Ankle Socks
Caring for your knitted ankle socks is important to ensure that they maintain their shape, longevity, and overall aesthetic appeal. One key step in maintaining your socks is blocking them after they have been completed. Blocking is the process of shaping and stretching the knitted fabric to its desired dimensions.
Blocking: To block your ankle socks, start by soaking them in lukewarm water with a mild detergent or wool wash. Gently squeeze out any excess water and lay the socks flat on a clean towel. Use blocking pins or rustproof T-pins to secure the edges and shape the sock. Allow the socks to dry completely before removing the pins. This helps to set the shape and ensure that the socks fit well and look polished.
Caring: When it comes to caring for your ankle socks, hand washing is recommended to maintain their quality and prevent any unwanted stretching or damage. Use a gentle wool wash or mild detergent, and avoid scrubbing or twisting the socks. Rinse them thoroughly and gently squeeze out excess water before laying them flat to dry. Avoid wringing or hanging the socks as this can distort their shape.
Storage: Proper storage is also important to keep your ankle socks in the best condition. Make sure they are clean and completely dry before storing them. Consider folding them neatly and placing them in a drawer or using a breathable fabric bag to prevent any potential damage from moths or dust. Avoid storing them in direct sunlight or in areas with high humidity that can cause the yarn to lose its elasticity.
Repairs: Despite your best efforts, sometimes ankle socks may develop small holes or loose threads. It’s important to address these issues promptly to prevent further damage. Use a small sewing needle and matching yarn to darn the hole or secure any loose threads. This will help to extend the life of your ankle socks and keep them looking their best.
Advanced Techniques for Experienced Knitters
If you are an experienced knitter looking to take your skills to the next level, there are several advanced techniques you can explore to challenge yourself and create even more intricate and stunning knitted items. These techniques require a deep understanding of knitting principles and a willingness to learn new skills.
Fair Isle Knitting: Fair Isle knitting, also known as stranded knitting, is a technique that involves working with two or more colors in a single row to create intricate patterns. This technique requires careful tension control and the ability to work with multiple yarns at once. By mastering Fair Isle knitting, you can create beautiful colorwork designs in sweaters, hats, and other accessories.
Cable Knitting: Cable knitting is a technique that creates textured patterns by crossing stitches over each other. This technique adds depth and dimension to your knitting, making it perfect for creating cozy and visually appealing garments. Advanced cable knitting involves working with complex cable patterns that require concentration and attention to detail.
Lace Knitting: Lace knitting is a technique that creates intricate and delicate patterns resembling lace. It involves working yarn overs and decreases to create holes and openwork designs. Advanced lace knitting often involves complex stitch patterns and requires a high level of concentration and precision.
Double-Knitting: Double-knitting is a technique that creates a reversible fabric with two layers. This technique allows you to create a design on both sides of the fabric and produces a thick and warm fabric. Advanced double-knitting involves working with complex color patterns and requires a good understanding of colorwork.
Twisted Stitches: Twisted stitches are created by knitting into the back of the loop instead of the front. This technique creates a raised and twisted effect, adding texture to your knitting. Advanced twisted stitch patterns often involve intricate stitch combinations and require precision and attention to detail.
By exploring these advanced techniques, you can expand your knitting skills and create stunning, one-of-a-kind pieces. However, it’s important to remember that these techniques require practice and patience, so don’t be discouraged if you don’t master them right away. Take your time, enjoy the process, and soon you’ll be creating beautiful and intricate knitted items.
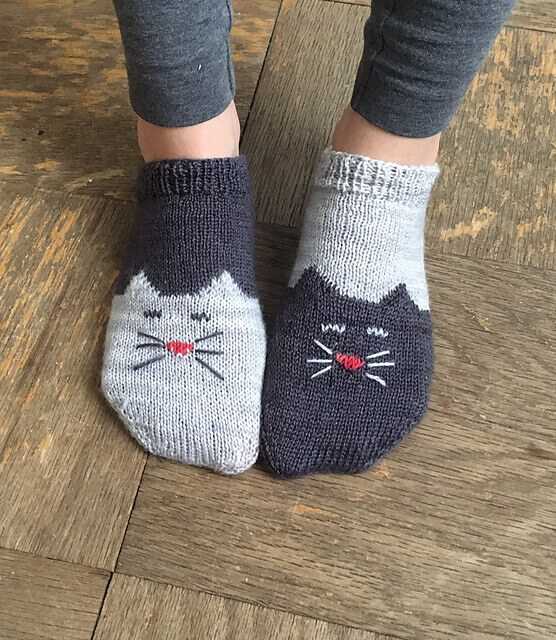
Tips for knitting ankle socks for children
When knitting ankle socks for children, there are a few important tips to keep in mind to ensure a successful and comfortable finished product.
1. Choose the right yarn:
When selecting yarn for ankle socks, it’s important to choose a lightweight and soft yarn that is suitable for children. Look for yarns that are specifically labeled as suitable for socks, as they will usually have the right blend of fibers for durability and comfort.
2. Use the correct needle size:
Using the correct needle size is crucial for getting the right gauge and ensuring that the socks fit well. Check the recommended needle size on your yarn label and make sure to use needles of the appropriate size to achieve the desired tension.
3. Consider the stretch:
Children’s feet grow quickly, so it’s important to knit ankle socks that have some stretch to accommodate their growth. Consider using a ribbed or ribbed pattern for the cuff and using a stretchy bind-off method to ensure a snug but comfortable fit.
4. Pay attention to measurements:
To ensure a good fit, take accurate measurements of the child’s foot before starting the socks. This will help you determine the appropriate size to knit and make any necessary adjustments to the pattern.
5. Reinforce high-wear areas:
Children are often active and can be hard on their socks. To increase durability, reinforce the heel and toe areas of the sock by using a reinforcing yarn or working a slip stitch pattern in these areas.
6. Don’t forget about ease:
Keep in mind that ankle socks should have a bit of ease to allow for comfortable movement. Ensure that the socks are not too tight and allow for some room for the child’s foot to move and grow.
By following these tips, you can create beautiful and well-fitting ankle socks for children that will be both stylish and comfortable.
Resources for finding new ankle sock knitting patterns
Here are some helpful resources for finding new ankle sock knitting patterns:
1. Knitting websites and blogs
There are numerous knitting websites and blogs that feature a wide range of ankle sock knitting patterns. Some popular websites include Ravelry, Knitty, and LoveKnitting. These sites often have user-generated patterns as well as patterns from established designers.
2. Knitting magazines
Many knitting magazines regularly publish patterns for ankle socks. Subscribing to a knitting magazine can provide you with a steady stream of new and exciting ankle sock patterns.
3. Knitting books
There are numerous knitting books focused on sock knitting that include ankle sock patterns. These books often provide detailed instructions and tips for knitting socks of various sizes and styles.
4. Online knitting communities
Joining online knitting communities, such as forums or social media groups, can be a great way to connect with other knitters and discover new ankle sock patterns. These communities often share patterns and tips, and provide a space for asking questions and seeking advice.
5. Local yarn stores
Local yarn stores often have a selection of knitting patterns available for purchase or some stores even offer free patterns. Additionally, the staff at yarn stores may be able to provide recommendations for ankle sock patterns based on your preferences and skill level.
Conclusion
Finding new ankle sock knitting patterns can be an exciting and rewarding process. With the wide variety of resources available, you are sure to find patterns that suit your style and skill level. Whether you prefer online sources or enjoy flipping through physical books and magazines, there are plenty of options to explore. Happy knitting!
Q&A:
What is an ankle sock knitting pattern?
An ankle sock knitting pattern is a set of instructions that guide knitters on how to create ankle-length socks. These patterns include information on the type of yarn, needle size, and specific stitches to use. They also provide step-by-step instructions on how to knit the sock from the cuff to the toe.
What materials do I need to knit ankle socks?
To knit ankle socks, you will need yarn, knitting needles (usually size 5 or 6 for ankle socks), a tapestry needle for weaving in ends, and a pair of scissors. Additionally, you may need stitch markers and a measuring tape to ensure proper sizing.
Can I customize the ankle sock knitting pattern?
Yes, you can customize the ankle sock knitting pattern to fit your preferences. You can experiment with different yarn colors, stitch patterns, or even add embellishments such as buttons or lace. Just make sure to adjust the pattern accordingly to maintain the proper fit and shape of the sock.
Are ankle socks suitable for beginners?
Ankle socks can be suitable for beginners who have basic knitting skills. The simplicity of the ankle sock pattern, with its shorter length compared to other sock types, makes it a great project for beginners to practice knitting in the round and working with smaller needle sizes. However, it is recommended to have some prior experience with knitting before attempting to knit ankle socks.
Where can I find ankle sock knitting patterns?
You can find ankle sock knitting patterns in various sources. Online platforms such as knitting websites, online marketplaces, and knitting blogs often offer free or paid ankle sock patterns. Additionally, you can check local yarn stores or libraries for knitting pattern books that may include ankle sock patterns.
What size needles do I need for knitting ankle socks?
The size of the needles you need for knitting ankle socks depends on the yarn weight you are using and your personal knitting tension. Generally, a US size 2 or 2.75mm needle is a common choice for sock knitting. However, you may need to adjust the needle size to achieve the desired gauge and fit for your ankle socks.
What is a recommended yarn weight for knitting ankle socks?
A recommended yarn weight for knitting ankle socks is typically a fingering or sock weight yarn. These weights usually result in a comfortable and lightweight fabric that works well for socks. However, you can experiment with other weights to create different effects and textures in your ankle socks.