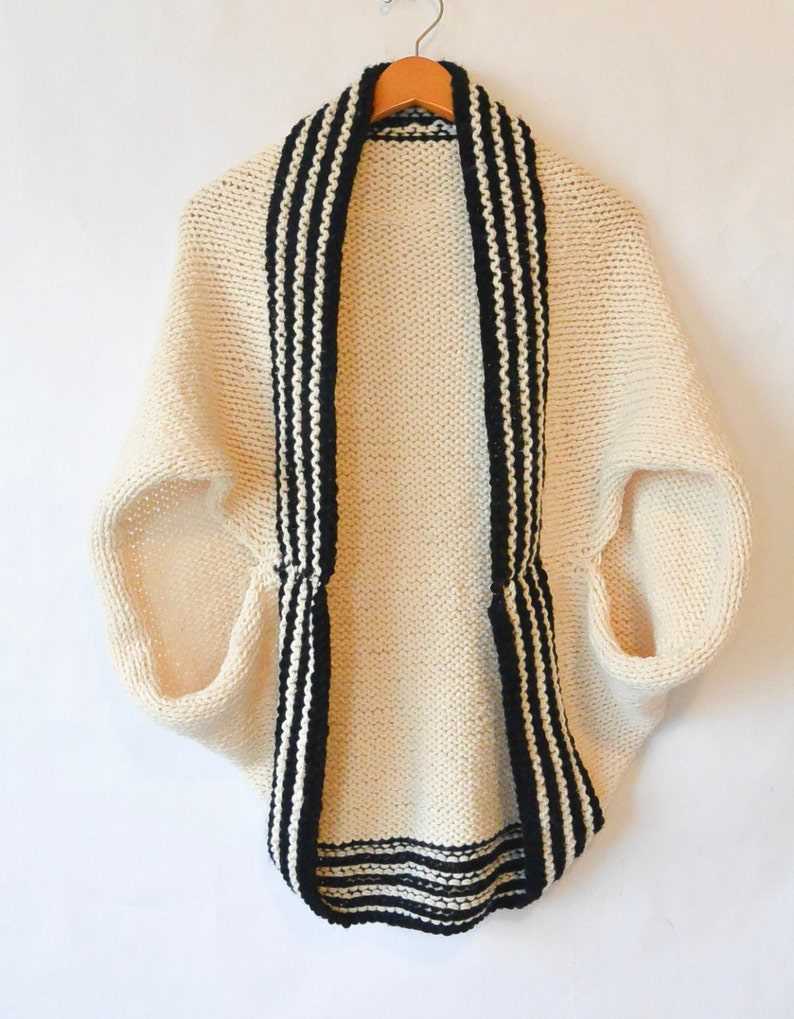
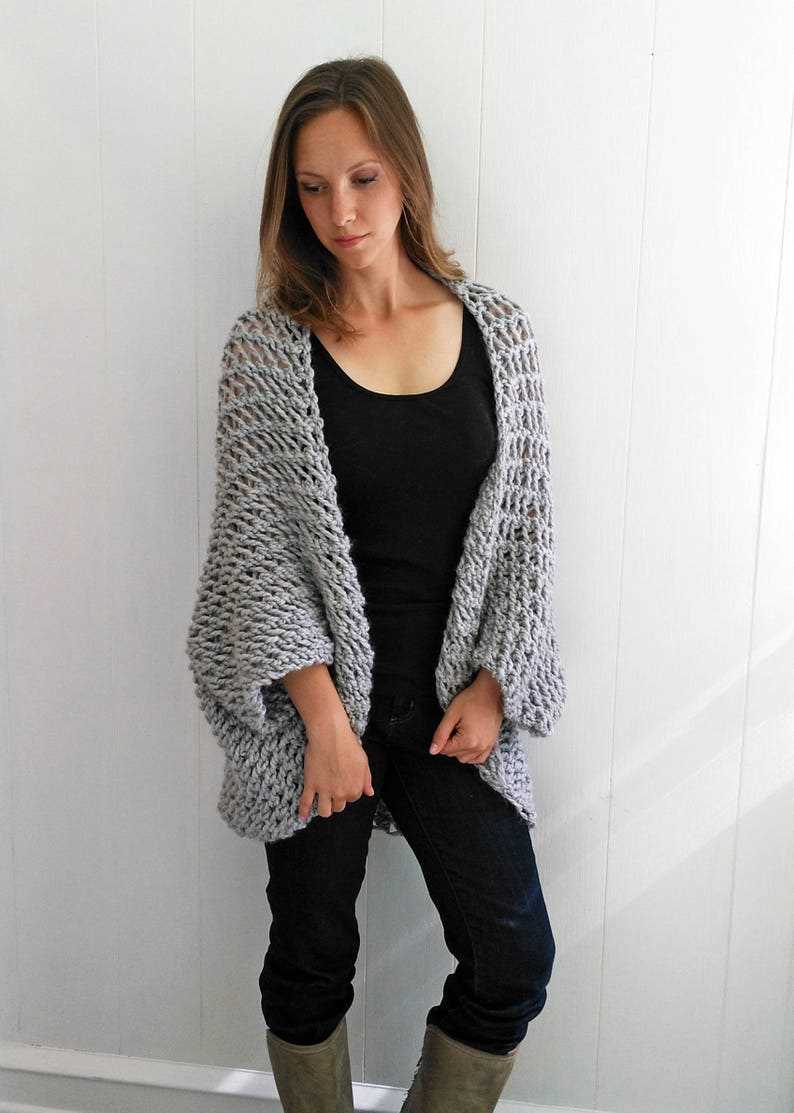
Cozy and Effortless Sweater Pattern for Knitting Beginners

Knitting is a beloved pastime, and there’s nothing quite as satisfying as creating handmade items to keep you warm and cozy. If you’re looking for a new project, why not try knitting a blanket sweater?
A blanket sweater is the perfect choice for both experienced knitters and beginners. It’s a simple and versatile garment that can be worn in many different ways, making it a wardrobe staple for chilly days.
This easy knit blanket sweater pattern is perfect for those who are new to knitting or looking for a quick and relaxing project. The pattern uses basic stitches and techniques, so you don’t need to be an expert to give it a try.
With this pattern, you’ll learn how to create a beautiful and cozy sweater that’s as comfortable as a blanket. You can customize it to your preferred size and color, making it a truly personalized piece. Whether you want to make it for yourself or as a thoughtful gift for a loved one, this easy knit blanket sweater pattern is sure to become a favorite.
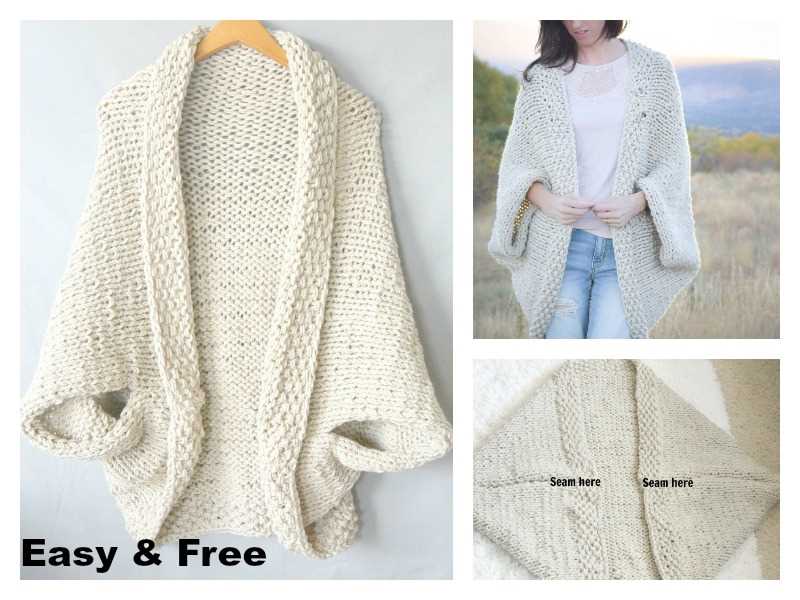
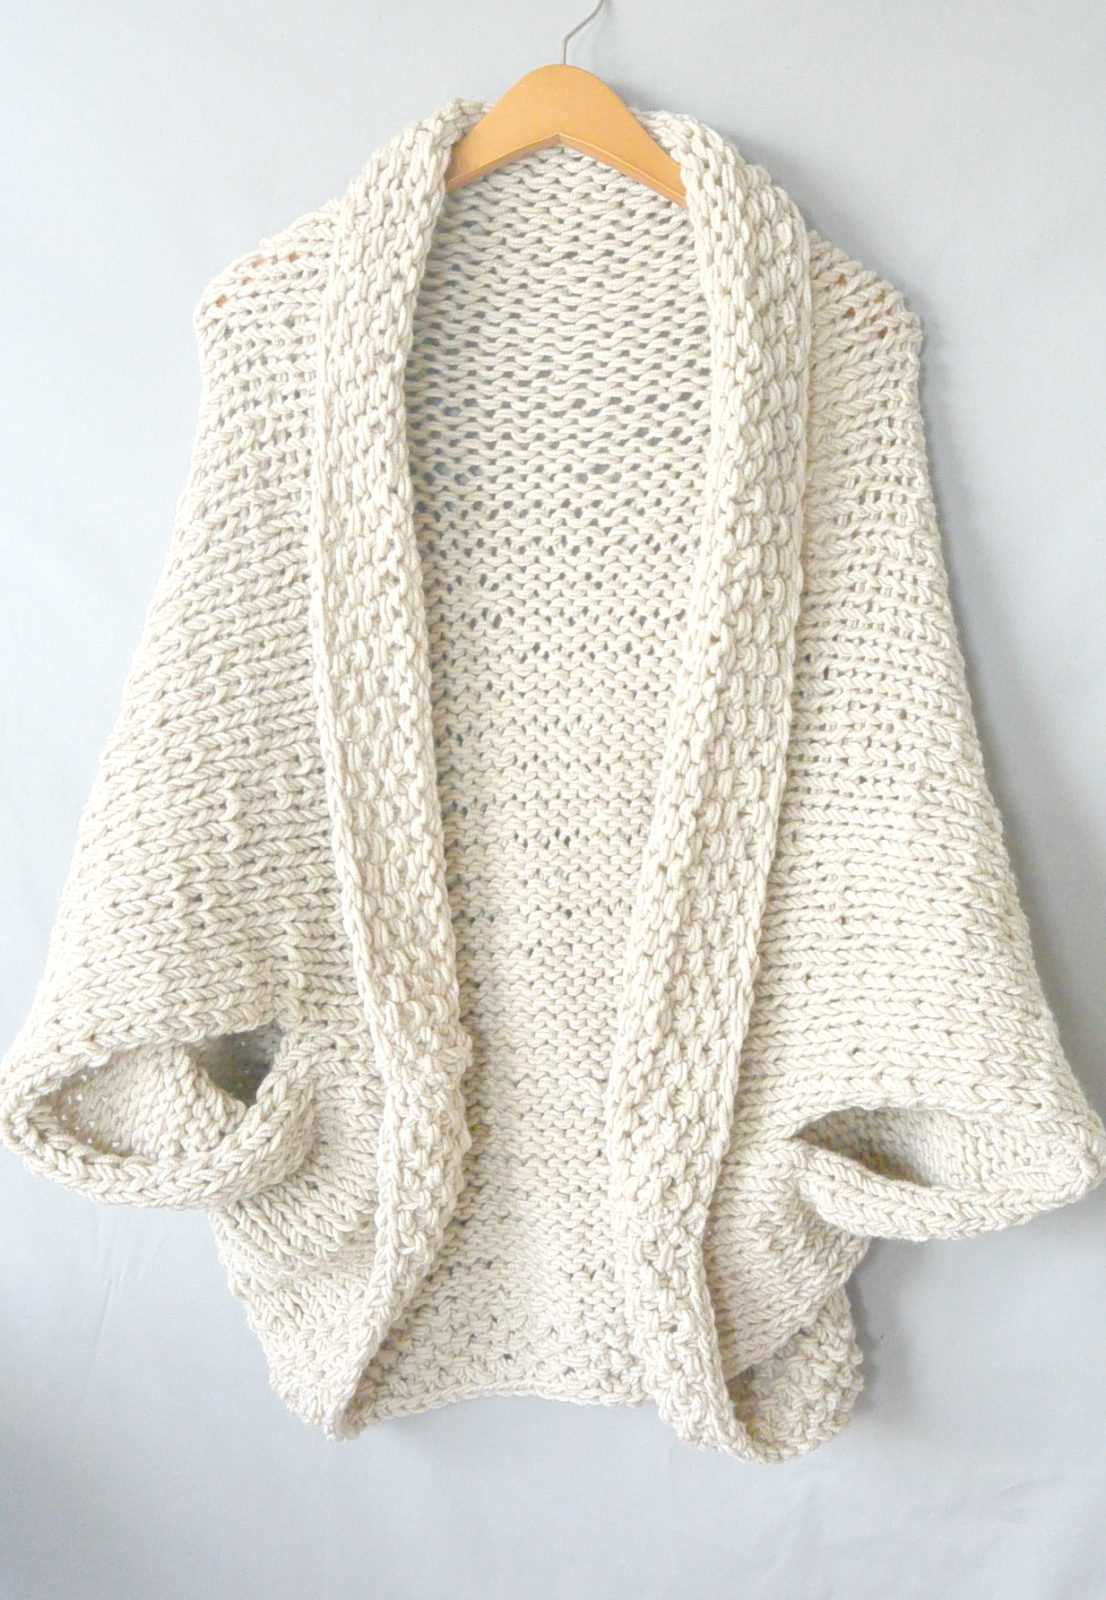
Easy Knit Blanket Sweater Pattern
If you’re looking for a cozy, stylish, and easy-to-make sweater pattern, then the easy knit blanket sweater pattern is just what you need. This pattern is perfect for beginners or experienced knitters who want a quick project that yields stunning results. The best part is that this sweater is made using a simple knit stitch, so even if you’re new to knitting, you can create a beautiful and comfortable sweater.
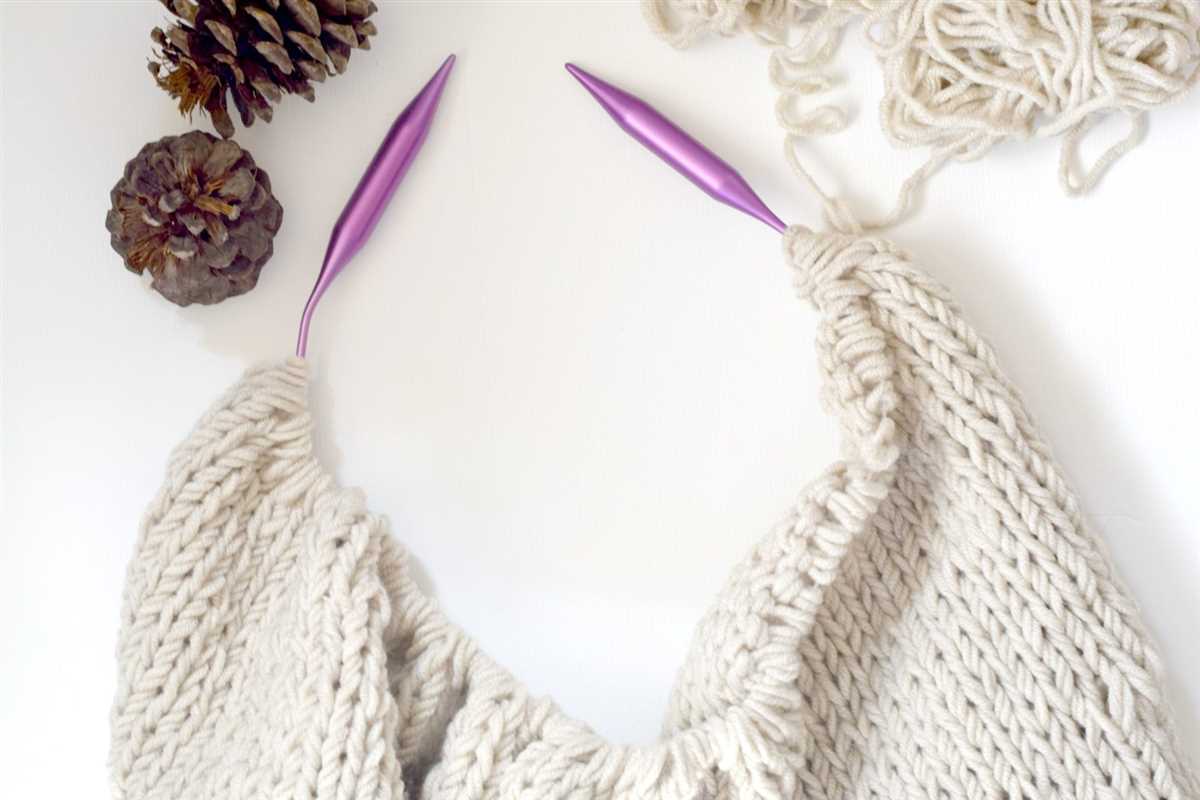
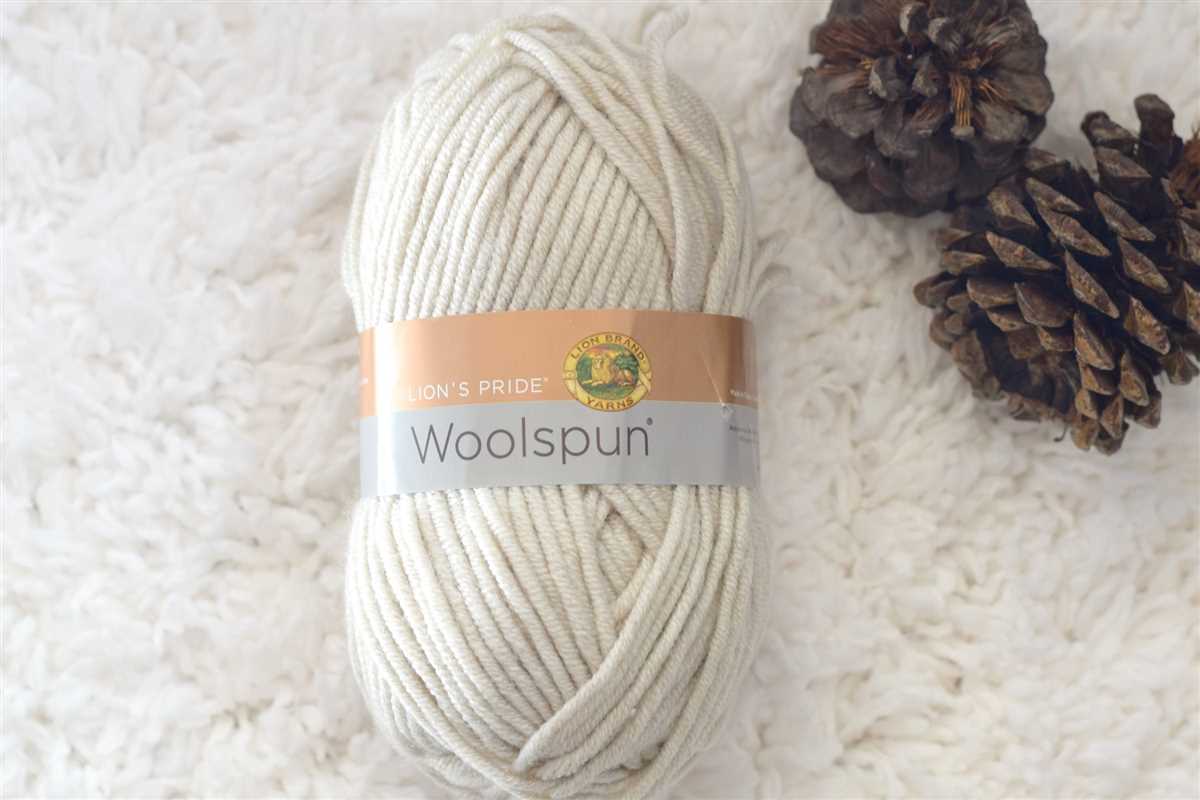
To start, you’ll need a bulky weight yarn and circular knitting needles. Choose a yarn that feels soft and warm against the skin, like a merino wool or acrylic blend. The circular needles will allow you to knit in the round, creating a seamless sweater that is both stylish and comfortable.
Materials:
- Bulky weight yarn (approximately 800-1000 yards)
- Circular knitting needles (size 10 or 11)
- Stitch markers
- Tapestry needle
- Scissors
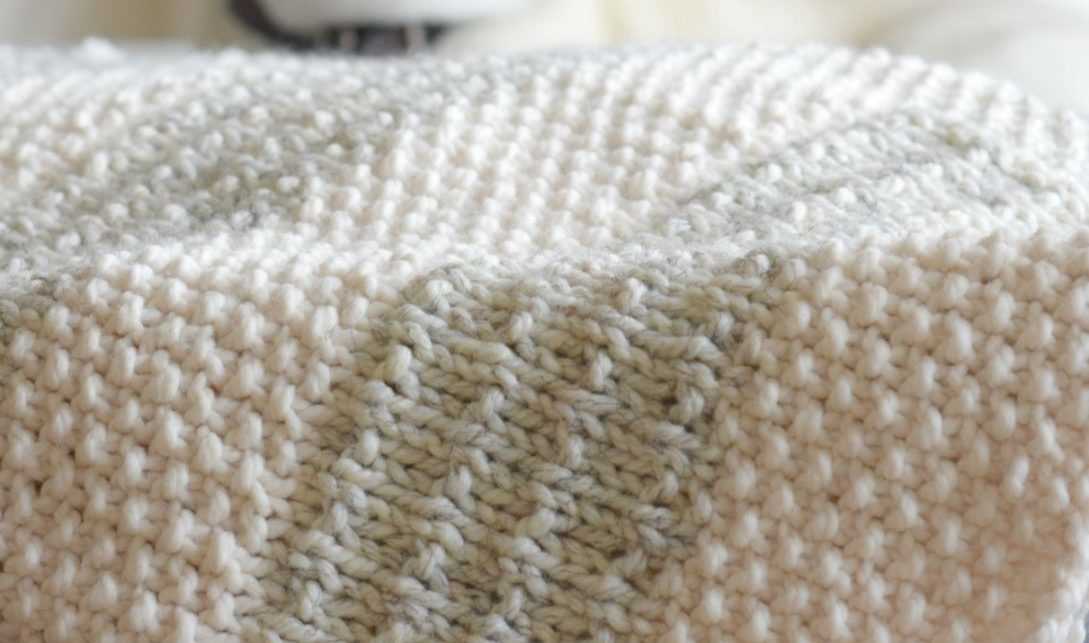
Once you have your materials, cast on the required number of stitches for your size and join in the round. You’ll then knit in a simple stitch pattern, alternating between knit and purl stitches, until you reach the desired length for your sweater. The oversized fit of this sweater makes it perfect for lounging around the house or pairing with jeans for a cozy, casual look.
Once you’re finished knitting, you’ll need to weave in any loose ends and block your sweater to ensure its shape and drape. Blocking involves gently soaking your sweater in water, laying it flat to dry, and shaping it to the desired measurements. This step helps to smooth out any uneven stitches and gives your sweater a polished look.
With its easy-to-follow pattern and cozy design, the easy knit blanket sweater is a great project for knitters of all skill levels. Whether you’re knitting it for yourself or as a gift for someone special, this sweater is sure to be a wardrobe staple that you’ll reach for again and again.
Choosing the Right Yarn and Needles
When it comes to knitting a cozy blanket sweater, choosing the right yarn and needles is crucial. The yarn you select will determine the drape, warmth, and overall look of the finished garment. Similarly, the size and type of needles you use will affect the stitch definition and the ease of knitting. Therefore, it is important to consider a few factors when making these decisions.
Yarn Weight
One of the first things to consider is the weight of the yarn. For a blanket sweater, you’ll want to choose a bulky or super bulky weight yarn. These thicker yarns will create a chunky and warm fabric, perfect for snuggling up in during colder months.
Fiber Content
The fiber content of the yarn is another important consideration. Wool is a popular choice for sweaters due to its natural insulation properties and ability to regulate body temperature. However, if you have sensitivities to wool, there are plenty of other options available, such as cotton or acrylic blends. Consider the desired level of warmth, breathability, and ease of care when selecting the fiber content.
Needle Size
The size of the needles you choose will depend on the yarn weight and the desired fabric density. For bulky or super bulky yarn, larger needles, such as US size 13 or 15 (9mm or 10mm), are recommended. These larger needles will create a looser fabric with more drape. However, if you prefer a denser and more structured fabric, you can opt for smaller needles. Just keep in mind that using smaller needles may require more time and effort to complete the project.
Comfort and Gauge
Lastly, it is important to consider your own comfort and knitting gauge when choosing needles. Some knitters find that certain needle materials, such as bamboo or metal, suit their knitting style better than others. Additionally, make sure to check your gauge before starting the project to ensure your sweater turns out the right size. Adjust your needle size as necessary to achieve the correct gauge.
By carefully considering the yarn weight, fiber content, needle size, and your own knitting preferences, you can choose the perfect combination for your easy knit blanket sweater project. Remember to swatch and check your gauge before diving into the main project to ensure a successful outcome. Happy knitting!
Gauge Swatch
Before you begin knitting your easy knit blanket sweater, it’s important to create a gauge swatch. This is a small sample of knitting that helps you determine the correct tension and size for your project.
To make a gauge swatch, choose the yarn and needles you plan to use for your sweater. Cast on a few more stitches than the recommended gauge and knit a square or rectangle. Be sure to measure both the width and height of the swatch.
Key Phrases:
- Gauge swatch
- Correct tension
- Size
- Yarn and needles
- Recommended gauge
- Square or rectangle
- Width and height
After knitting your swatch, compare the measurements to the recommended gauge specified in the pattern. If your swatch is larger than the recommended gauge, try using smaller needles. If your swatch is smaller than the recommended gauge, try using larger needles.
Remember, creating a gauge swatch is essential for ensuring your easy knit blanket sweater turns out the correct size. Taking the time to check your tension before starting the project will save you from potential disappointment and frustration later on.
Starting the Sweater
Before beginning your easy knit blanket sweater, gather all the necessary materials. You will need a set of knitting needles in the appropriate size for your chosen yarn, as well as several skeins of yarn in your desired color. It’s important to choose a yarn that is soft and cozy, as this will make the finished sweater even more comfortable to wear.
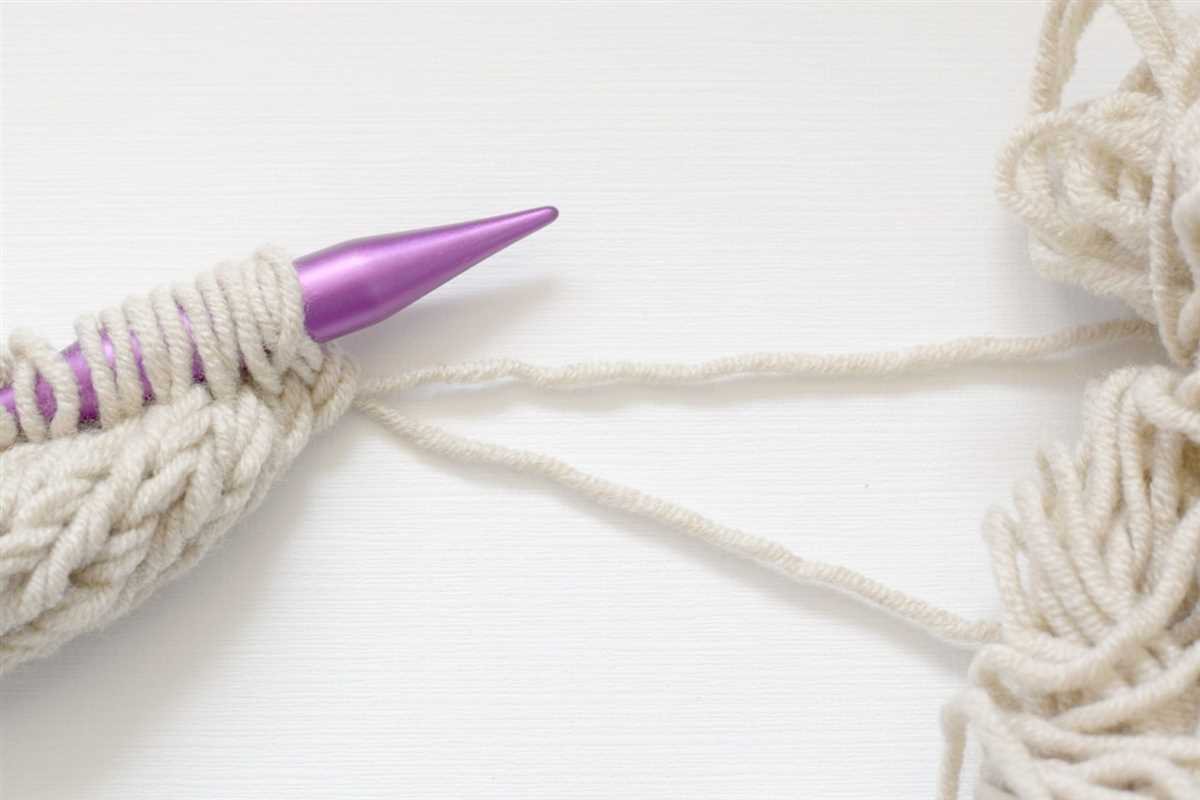
Once you have your materials ready, it’s time to cast on. To do this, make a slipknot with your yarn and place it on one of your knitting needles. Hold the needle with the slipknot in your dominant hand, and use your other hand to hold the second knitting needle. Insert the second needle into the slipknot, and use it to wrap the yarn around both needles in a clockwise direction.
Casting On:
- Hold the first needle with the slipknot in your dominant hand, and the second needle in your other hand
- Insert the second needle into the slipknot
- Wrap the yarn around both needles in a clockwise direction
- Bring the second needle through the slipknot, creating a loop
- Slide the loop onto the first needle, and pull the yarn tight to secure the stitch
- Repeat this process until you have cast on the required number of stitches for your sweater
Once you have finished casting on, you can start knitting the body of your sweater. Follow the pattern instructions carefully, knitting each stitch as directed. It’s important to maintain an even tension throughout your knitting to ensure that the sweater has a consistent appearance. As you work, you may find it helpful to use stitch markers to keep track of your progress and mark any important sections of the pattern.
Continue knitting until you have reached the desired length for your sweater. Remember to take breaks and stretch your hands and wrists as needed to prevent any discomfort or strain. Once you have completed the body of the sweater, you can move on to knitting the sleeves and finishing details.
Knitting the Front and Back Panels
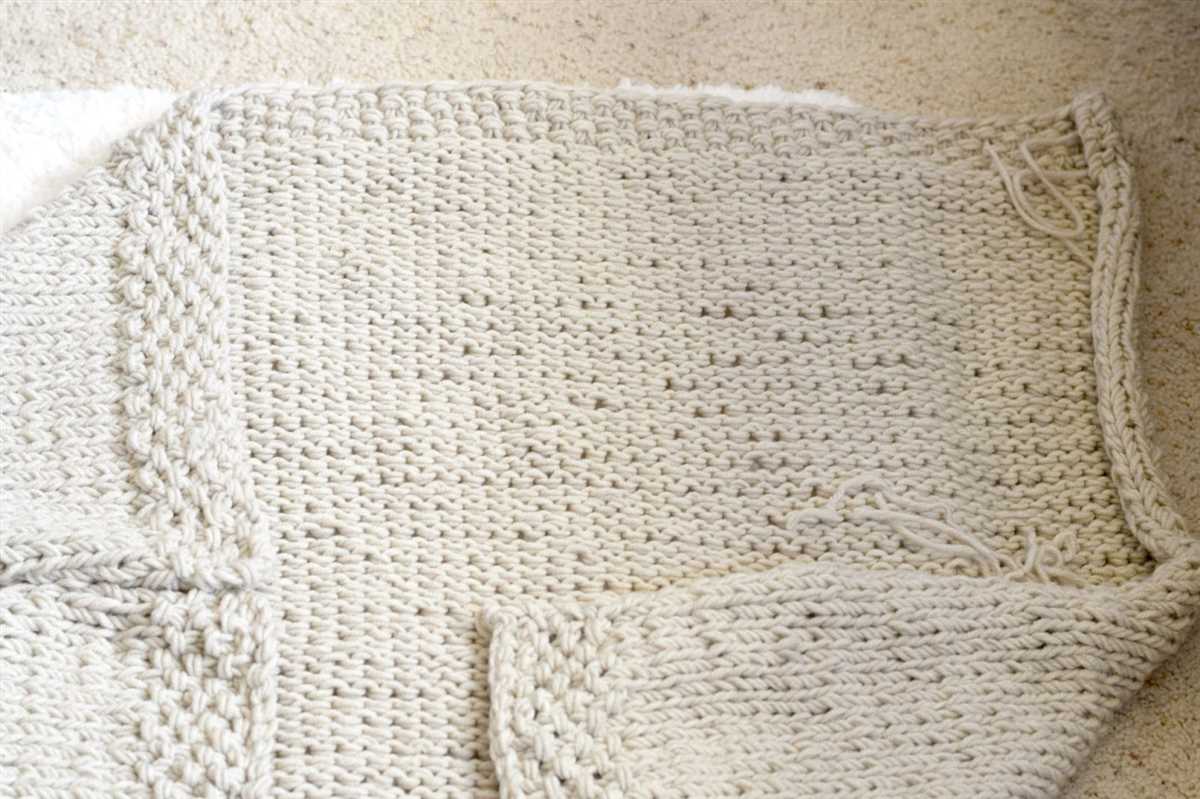
Now that you have completed the ribbed collar, it’s time to start knitting the front and back panels of your easy knit blanket sweater. These panels will be worked separately and then joined later to create the body of the sweater.
1. Front Panel: To begin the front panel, you will first need to transfer the stitches from the stitch holder back onto your needle. Be careful to make sure the stitches are facing the correct direction. Starting at the bottom edge, you will knit the desired length for the front panel, which will typically be shorter than the back panel.
2. Back Panel: Once the front panel is complete, you can move on to knitting the back panel. Again, transfer the stitches from the stitch holder back onto your needle. This time, you will knit the desired length for the back panel, which will typically be longer than the front panel.
3. Joining the Panels: After both panels are completed, you will join them together to create the body of the sweater. This can be done by placing the front and back panels side by side and using your yarn and a tapestry needle to sew the seams together. You can choose to sew the seams using a mattress stitch or a whip stitch, depending on your preference.
4. Finishing Touches: Once the front and back panels are joined, make sure to weave in any loose ends and secure them. You can also add any desired embellishments, such as buttons or a decorative trim, to the collar or edges of the panels.
This pattern provides a basic guide for knitting the front and back panels of an easy knit blanket sweater. Feel free to customize the length and style of the panels to fit your desired sweater design. With a little patience and practice, you’ll have a cozy and stylish sweater in no time!
Knitting the Sleeves
Once you have finished knitting the body of the sweater, it’s time to move on to the sleeves. The sleeves are typically knitted separately and then attached to the body. This gives you the flexibility to adjust the length of the sleeves according to your preference.
Before you begin knitting the sleeves, it’s important to measure your arm length and compare it to the pattern instructions. This will help you determine how many rows you need to knit to achieve the desired length. You can also try on the body of the sweater and estimate where the sleeves should start to ensure a proper fit.
Start by casting on the required number of stitches for the sleeve. You can use the same type of yarn and needle size as you did for the body of the sweater, or you can choose a different yarn to add some variety. Knit the sleeves in the same stitch pattern as the body, or you can opt for a different stitch pattern to create a unique look.
Follow the pattern instructions for shaping the sleeves. This may involve decreasing or increasing stitches at certain points to create a tapered shape. Pay attention to the row counts and measurements to ensure that both sleeves are symmetrical.
Once you have finished knitting the sleeves, it’s time to attach them to the body of the sweater. This can be done using a tapestry needle and yarn. Align the edges of the sleeves with the armhole openings of the body and use a whipstitch or mattress stitch to sew them together. Make sure to sew the sleeves securely to prevent them from coming loose during wear.
After attaching the sleeves, try on the sweater to check the fit. Make any necessary adjustments by adding or removing stitches in the seam area. Once you are satisfied with the fit, weave in any loose ends and block the sweater to give it a polished appearance.
Joining the Panels and Sleeves
Now that you have completed knitting all the panels and sleeves for your easy knit blanket sweater, it’s time to join them together. This step is crucial in creating a cohesive and functional sweater that fits well.
1. Sewing the Panels: Start by laying out the front and back panels side by side, with the wrong side facing up. Use a tapestry needle and matching yarn to sew the side seams together. Make sure to line up the stitches and sew with neat, even stitches to create a professional finish. Repeat the process for the other side.
2. Attaching the Sleeves: Now it’s time to attach the sleeves to the body of the sweater. With the right side of the sweater facing out, align the sleeve seams with the shoulder seams. Use stitch markers or pins to hold the sleeves in place. With a tapestry needle and matching yarn, sew the sleeve seams to the shoulder seams, making sure to catch both layers of fabric.
3. Finishing Touches: Once the panels and sleeves are securely attached, it’s time to add any finishing touches, such as ribbing or a collar. Follow the pattern instructions for these steps carefully to ensure a polished and professional-looking sweater.
- 4. Blocking: After joining the panels and sleeves, it’s a good idea to block the sweater to even out any uneven stitches and give it a finished look. Wet your sweater and gently press it into shape, then lay it flat to dry. Be sure to read the yarn label for specific blocking instructions.
- 5. Try it On: Once your sweater is dry, it’s time to try it on and make any necessary adjustments. Check the fit and make any necessary alterations, such as shortening the sleeves or adjusting the length. This is your chance to customize the sweater to your liking.
By following these steps and paying attention to the details, you will soon have a beautiful and cozy easy knit blanket sweater that you can proudly wear and show off your knitting skills.
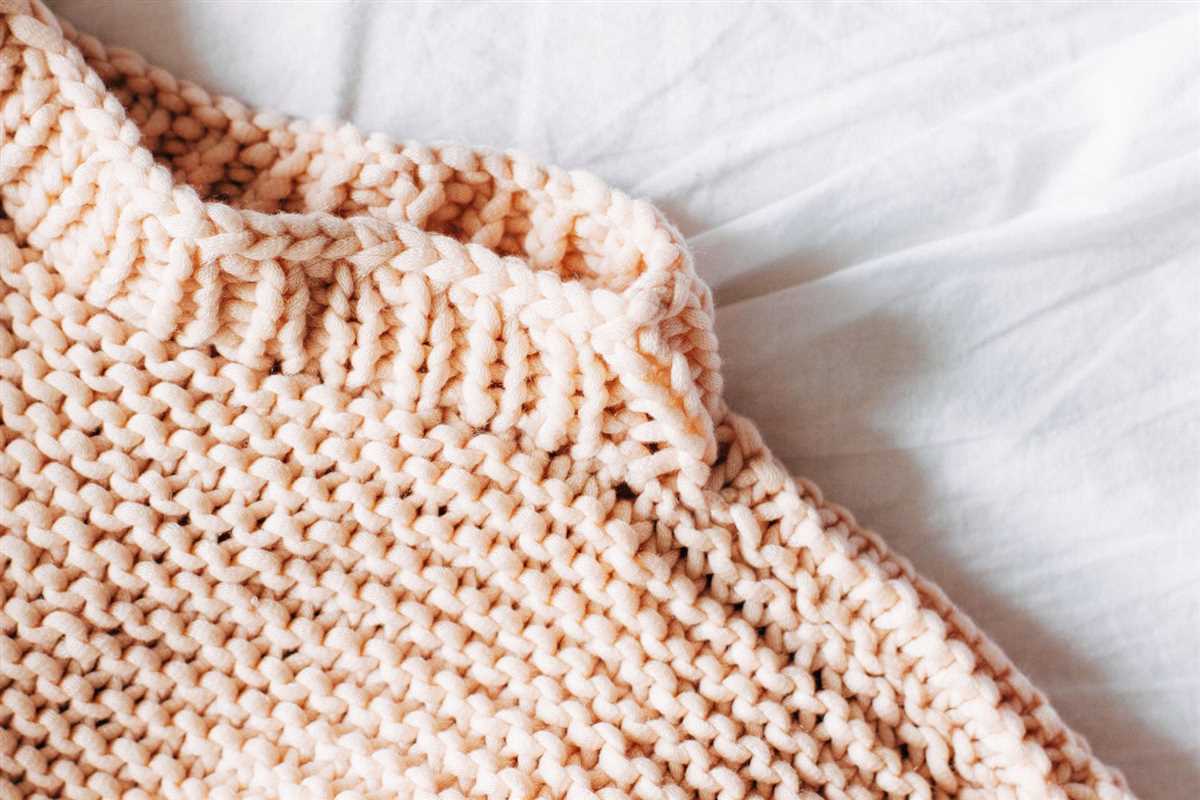
Adding Ribbing to the Edges
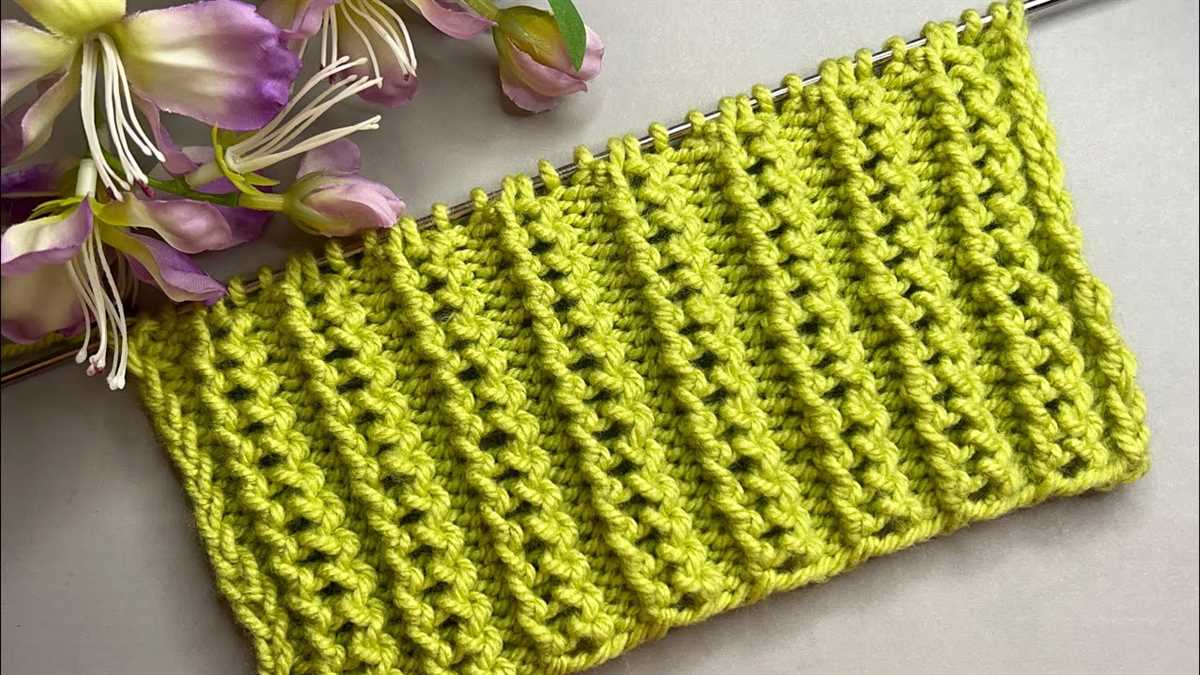
In order to create a polished and finished look for your easy knit blanket sweater, adding ribbing to the edges is a great option. Ribbing not only adds a touch of texture and visual interest, but it also helps to provide structure and prevent the edges from rolling or stretching out. Here are a few steps to guide you through the process of adding ribbing to the edges of your sweater.
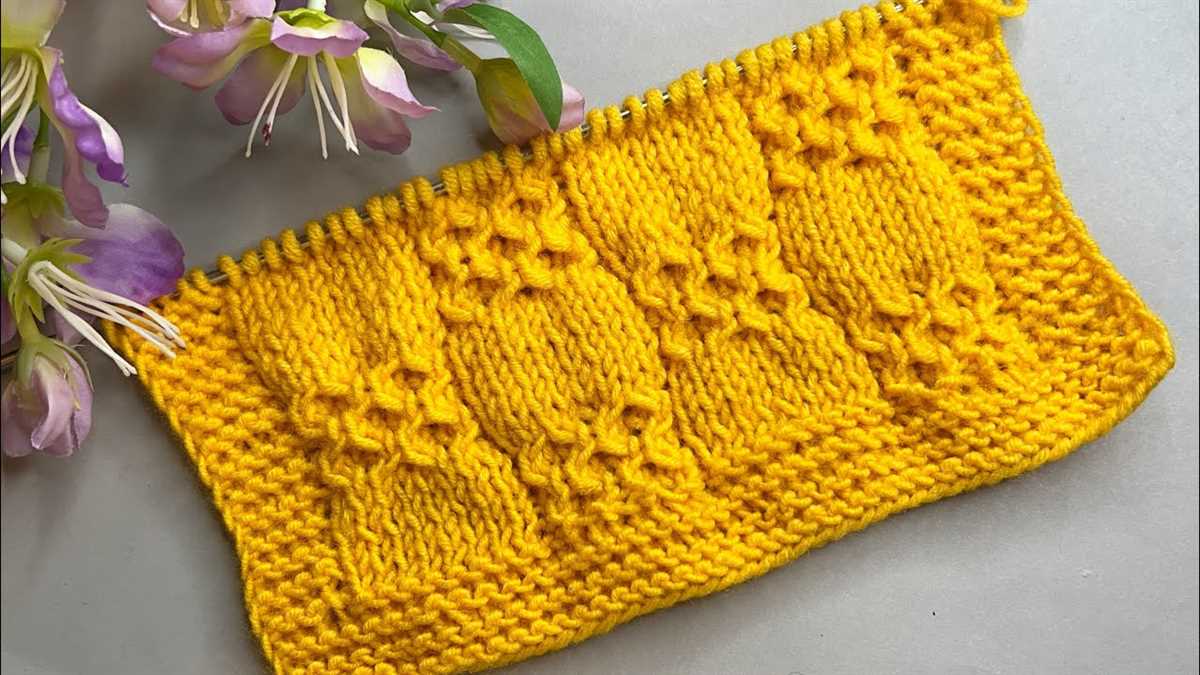
1. Choose your ribbing pattern: There are several different ribbing patterns you can choose from, such as 1×1 ribbing (alternating knit and purl stitches), 2×2 ribbing (alternating two knit stitches and two purl stitches), or even a more decorative pattern like a cable rib. Consider the overall design aesthetic of your sweater and choose a ribbing pattern that complements it.
2. Measure your edge: Before you start knitting the ribbing, measure the length of the edge you want to add ribbing to. This will help you determine how many stitches you need to cast on and how many rows you need to knit in order to achieve the desired width and length of the ribbing.
3. Cast on the stitches: Using the same size needles you used for the body of the sweater, cast on the required number of stitches for your chosen ribbing pattern. Make sure to use a stretchy cast-on method, such as the long-tail cast-on, to ensure that the ribbing has enough elasticity.
4. Work the ribbing pattern: Once you have cast on the stitches, begin working your chosen ribbing pattern. Follow the pattern instructions, repeating the necessary stitches in the designated order. Knit the knits and purl the purls according to the pattern, and continue working the ribbing until it reaches the desired length.
5. Bind off: Lastly, bind off your ribbing to secure the edges. You can use a regular bind-off method or choose a stretchy bind-off technique, such as the sewn bind-off or the tubular bind-off, to ensure that the edges of the ribbing retain their elasticity.
By following these steps, you can easily add ribbing to the edges of your easy knit blanket sweater, giving it a finished and professional look. Experiment with different ribbing patterns and yarn colors to customize your sweater and create a unique design.
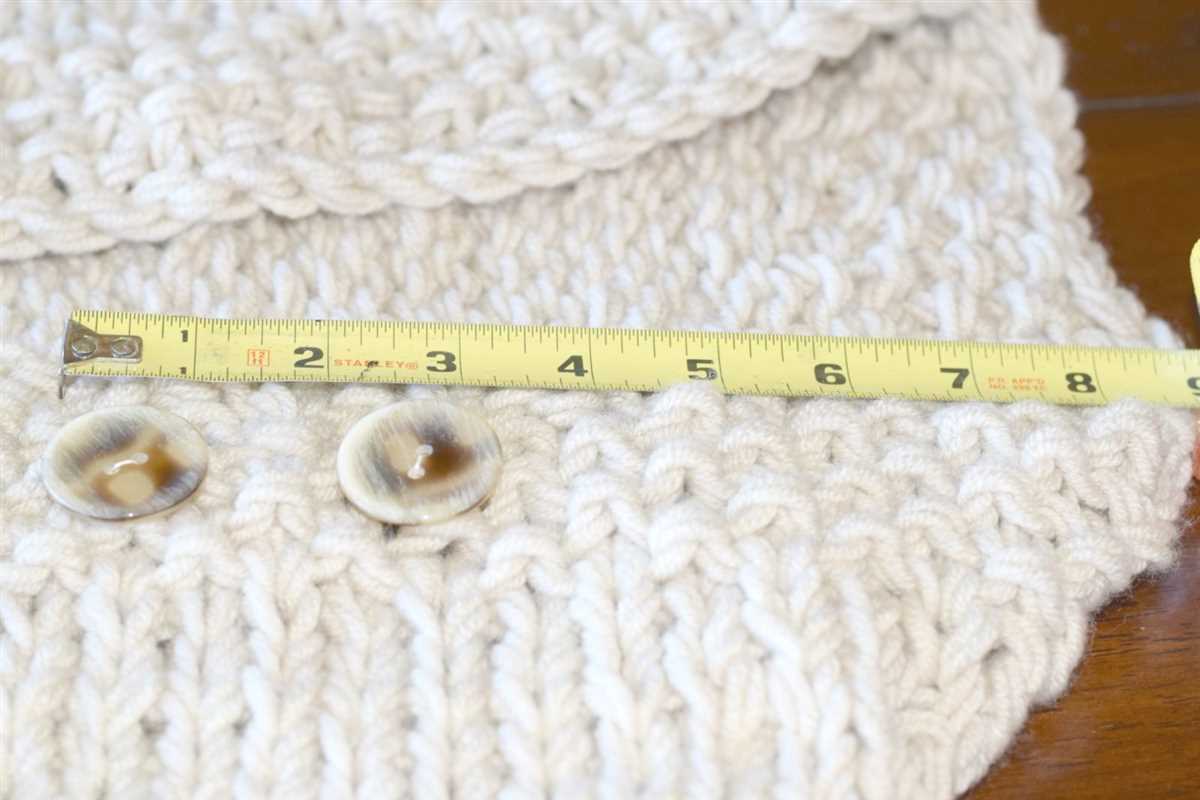
Finishing Touches: Buttons and Buttonholes
One of the final steps in completing your easy knit blanket sweater is adding the buttons and buttonholes. These small details not only serve a functional purpose but also add a stylish touch to your finished garment.
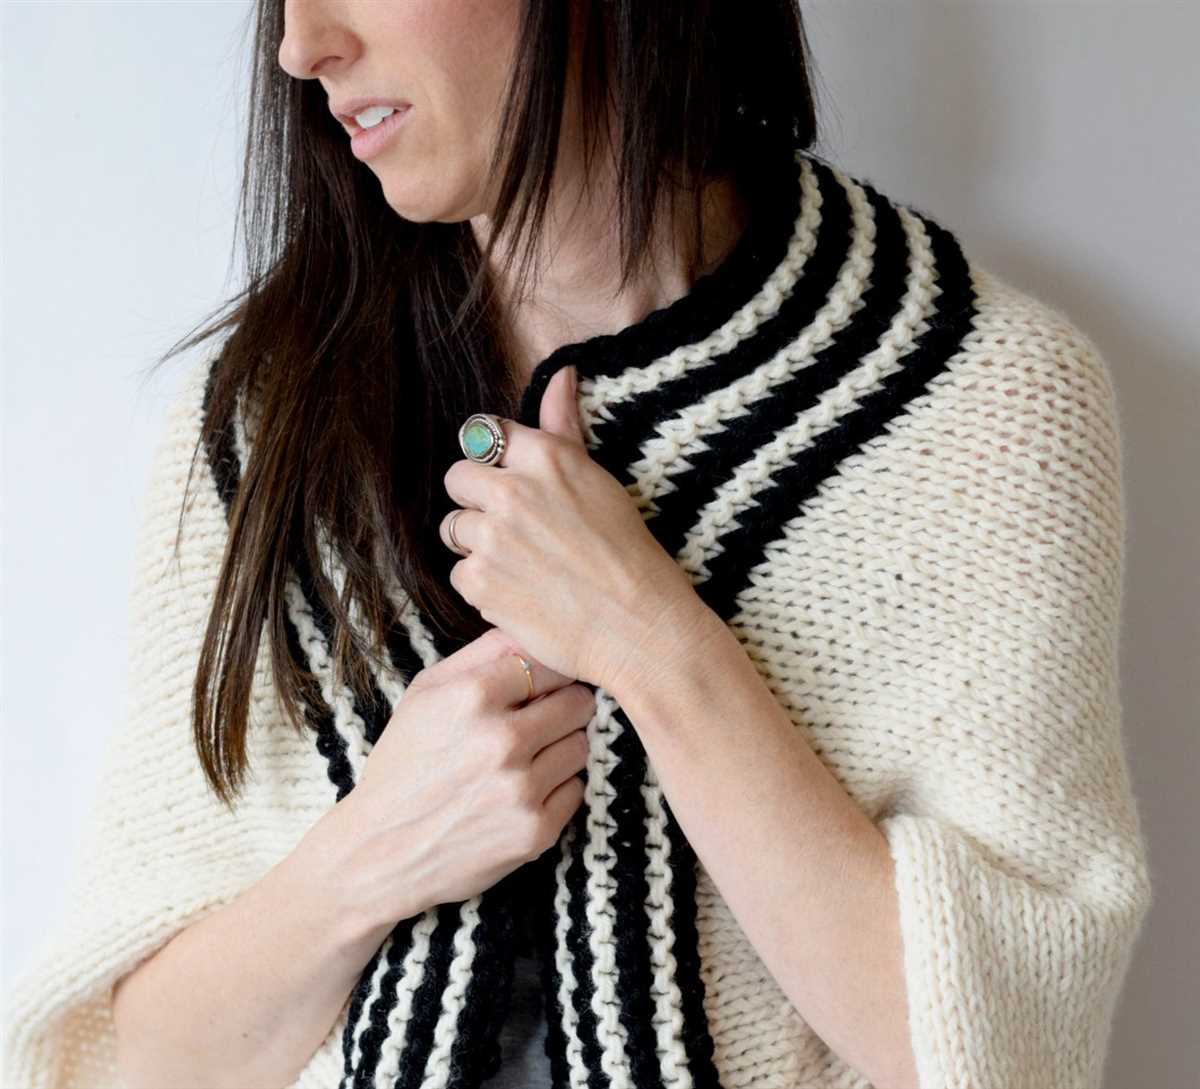
When selecting buttons for your sweater, consider the overall look and feel you want to achieve. For a classic and timeless look, opt for simple and understated buttons in a neutral color that complements your yarn choice. If you want to add a pop of color or a touch of whimsy, choose buttons in a contrasting shade or with a playful design.
Button Placement
Before sewing on the buttons, it’s important to determine the right placement. This will ensure that your sweater closes comfortably and securely. The exact placement will depend on your personal preference and the size and style of your sweater.
Generally, buttons are evenly spaced along the center front of the sweater, with the top button placed just below the collar and the bottom button near the hem. To ensure proper spacing, you can use stitch markers or pins to mark the desired button placement before sewing them on.
Buttonholes
Now that you have determined the button placement, it’s time to make the buttonholes. There are several ways to create buttonholes, including yarn overs, eyelets, or ribbed slits.
If you’re new to knitting or prefer a simple approach, you can create basic yarn over buttonholes. To do this, simply knit to the desired buttonhole placement, then yarn over and knit two stitches together to close the hole. Repeat this process for each buttonhole.
Alternatively, you can create eyelet buttonholes by binding off a few stitches and then casting them back on in the next row. This creates a small hole that is both functional and decorative. Another option is to create ribbed slits by knitting a few rows of ribbing and then binding off the desired number of stitches in the next row.
Whichever method you choose, make sure to test the size of your buttonhole with your selected buttons. It should be snug enough to hold the button securely but not too tight that it becomes difficult to button and unbutton.
- Choose buttons that complement the yarn and desired look.
- Decide on the placement of buttons, typically evenly spaced along the center front.
- Create buttonholes using yarn overs, eyelets, or ribbed slits.
- Test the size of your buttonhole with your selected buttons for proper fit.
Blocking and Seaming
Blocking and seaming are important steps in finishing your knit blanket sweater. Blocking helps to even out the stitches and shape the garment, while seaming allows you to join the different pieces of the sweater together.
Before blocking, make sure to read the care instructions for your yarn to determine the best method. Wet blocking is a common technique where you soak the knitted pieces in lukewarm water with a mild detergent, gently squeeze out the excess water, and lay them flat to dry. You can use blocking mats or towels to help shape the pieces and use rustproof pins to secure them in place. Allow the pieces to dry completely before moving on to seaming.
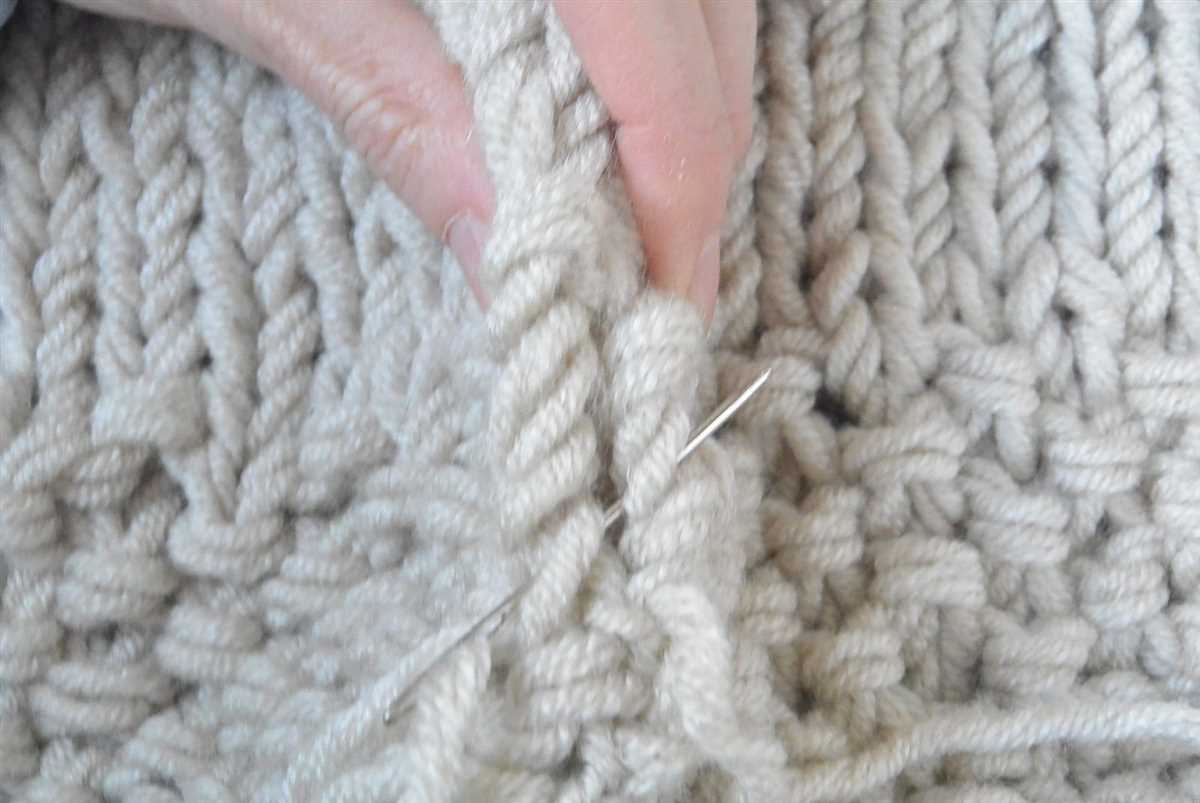
To seam the sweater, you will need a yarn needle and the same yarn you used for knitting. Start by aligning the edges of the pieces you want to seam and use the yarn needle to whip stitch them together. Take care to match the stitches on each side, ensuring a neat and even seam. You can also use mattress stitch or backstitch, depending on your preference and the desired finish.
As you seam the pieces, make sure to try on the sweater periodically to ensure a good fit. You can also use blocking to help shape the sweater as you seam, by gently tugging and pinning the edges to the desired dimensions. Once all the seams are complete, weave in any remaining loose ends and your knit blanket sweater will be ready to wear!
Enjoying Your Cozy Knit Blanket Sweater
Now that you have finished knitting your easy blanket sweater, it’s time to start enjoying its cozy goodness! Here are a few tips on how to make the most of your new favorite garment:
1. Cozy up with a hot drink: Slip into your blanket sweater, grab a warm cup of tea, coffee, or hot cocoa, and find a comfortable spot to curl up in. The oversized design of the sweater will keep you warm and snug, making it the perfect companion for a cozy evening indoors.
2. Watch your favorite shows or movies: Whether you prefer binge-watching the latest shows or catching up on your favorite movies, your knit blanket sweater will add an extra layer of comfort to your viewing experience. Snuggle up on the couch, grab some snacks, and enjoy your screen time in style.
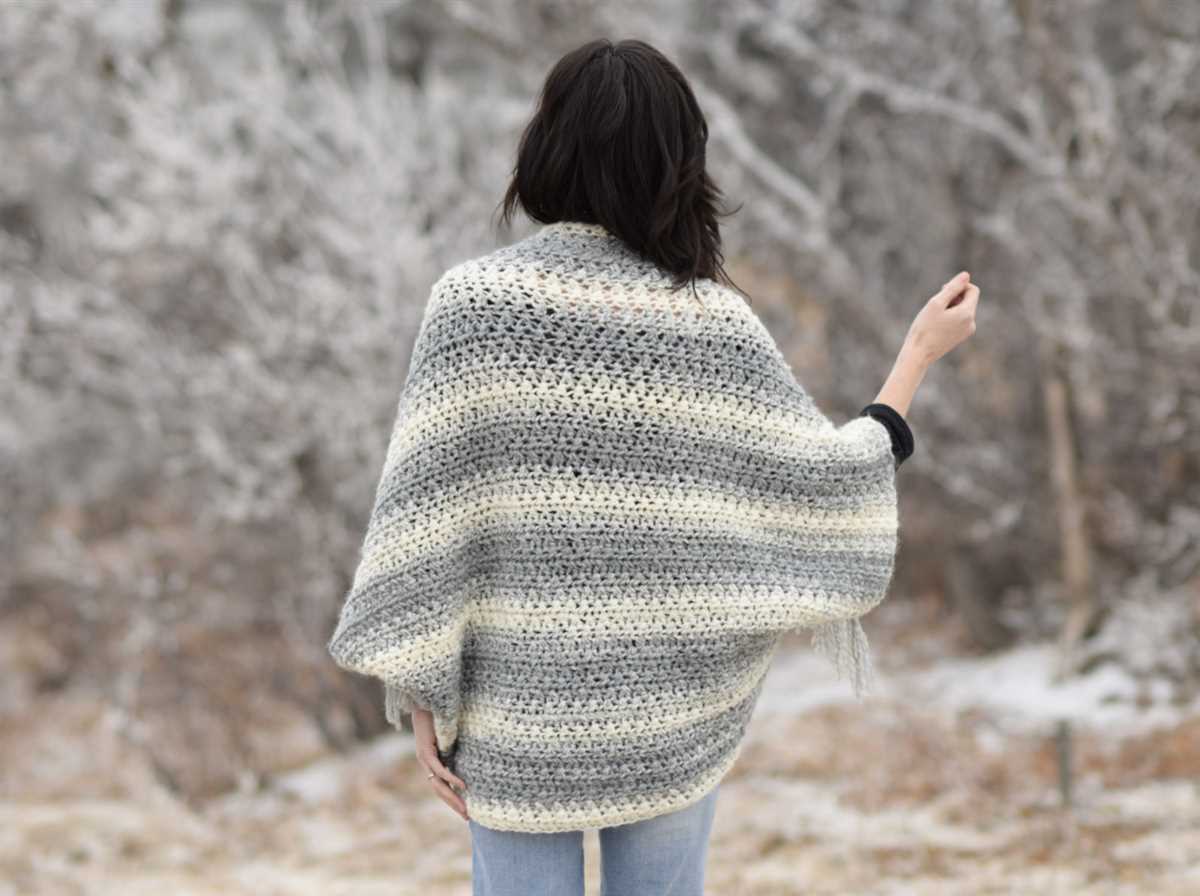
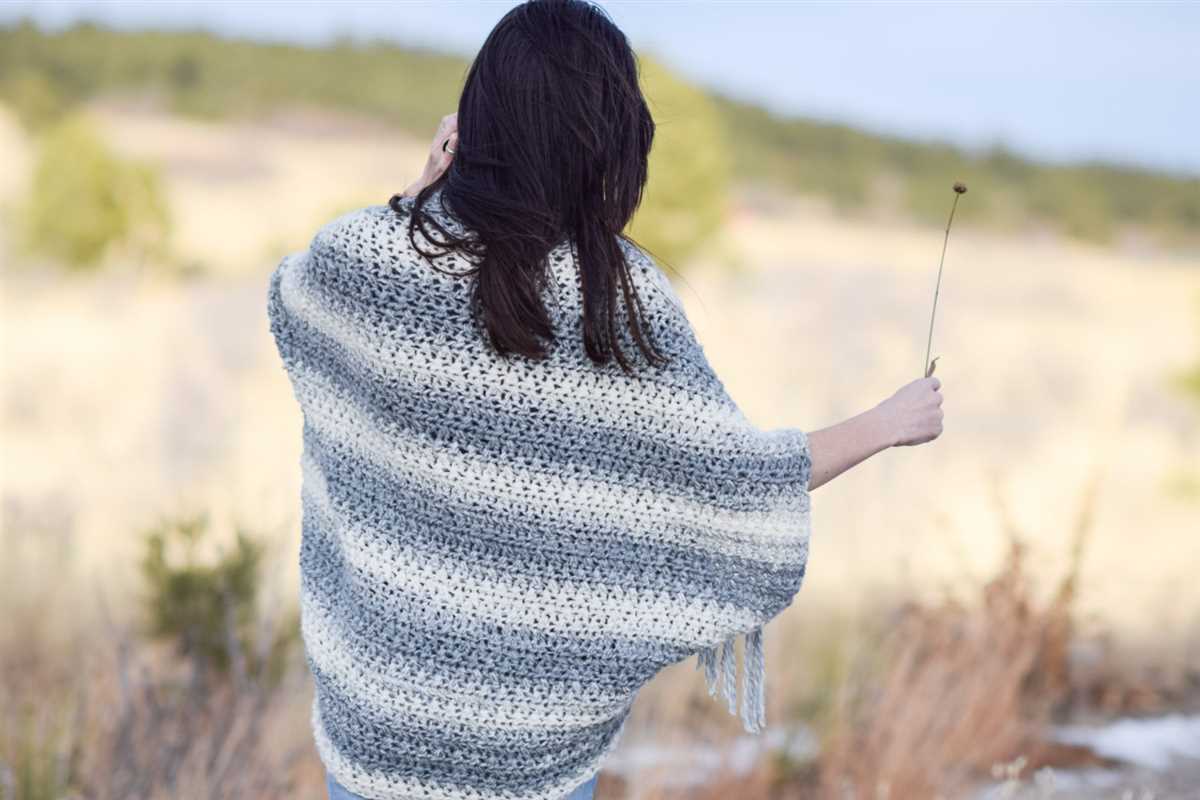
3. Take it outdoors: Don’t limit your blanket sweater to just indoor activities. Its cozy and oversized design makes it a perfect outer layer for chilly walks or trips to the park. Pair it with some leggings or jeans, put on your favorite boots, and embrace the fall or winter weather while staying warm and stylish.
4. Wrap yourself in warmth: If you’re looking for a bit of extra warmth around the house, drape your blanket sweater around your shoulders like a shawl. Not only will this add a touch of cozy elegance to your look, but it will also keep you toasty without needing an additional heater or blanket.
5. Share the love: If you enjoyed knitting your blanket sweater, consider making one for a loved one! It makes for a thoughtful and personalized gift that will be appreciated for its comfort and warmth. Plus, you’ll have someone to enjoy cozy nights in or outdoor adventures with.
Remember, your cozy knit blanket sweater is not just a fashion statement, but also a source of comfort and warmth. Embrace its versatility and enjoy the cozy moments it brings to your life!