Cozy and Warm: Free Knitting Pattern for a Double Layer Beanie

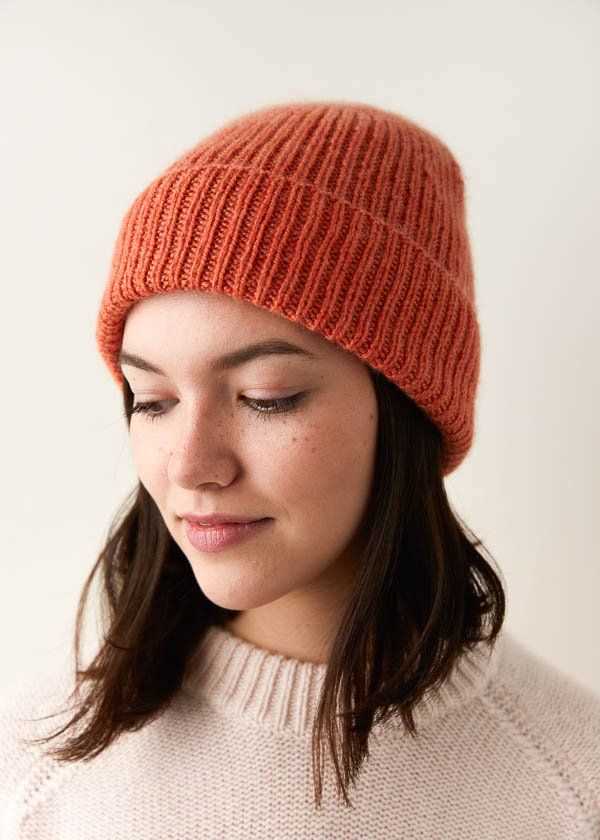
Winter is the perfect time to cozy up with some warm and stylish accessories, and what better way to do that than with a double layer beanie? Knitting your own beanie is a great way to show off your skills and create something customized to your own taste. Plus, with this free knitting pattern, you don’t have to spend a penny!
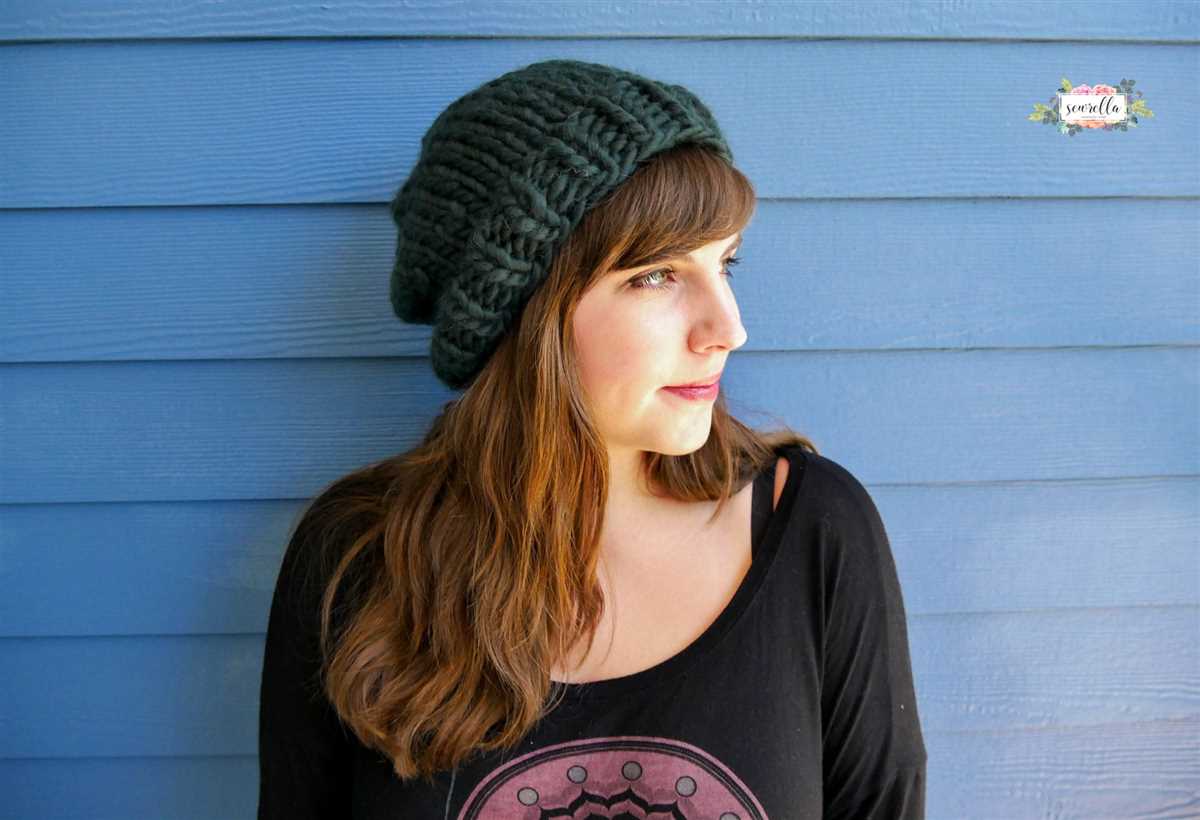
A double layer beanie is not only fashionable, but also functional. The two layers provide extra warmth and insulation, making it ideal for chilly days. Whether you’re hitting the slopes or simply going for a winter walk, this beanie will keep you comfortable and snug.
This knitting pattern is suitable for knitters of all levels, from beginners to experts. With basic stitches and simple techniques, you can easily create a beautiful double layer beanie in no time. The pattern includes step-by-step instructions, helpful tips, and detailed pictures to guide you through the process.
Materials
In order to knit the double layer beanie, you will need the following materials:
- Yarn: You will need two different colors of yarn, one for the main layer and another for the lining layer. Choose a yarn that is soft and warm to keep your head cozy during the colder weather.
- Knitting Needles: It is recommended to use circular knitting needles with a length of at least 16 inches. This will allow you to comfortably knit in the round and create the double layer effect.
- Tape Measure: You will need a tape measure to accurately measure your head circumference. This will help you determine the appropriate size for your beanie.
- Stitch Markers: Stitch markers are helpful tools that can be used to mark specific points in your knitting. They will help you keep track of where you are in the pattern and ensure that your stitches are evenly spaced.
- Tapestry Needle: A tapestry needle is used to weave in loose yarn ends and finish off your beanie. It is an essential tool for creating a neat and professional-looking finished product.
By gathering these materials, you will be well-equipped to start knitting your double layer beanie and enjoy the process of creating a cozy and stylish accessory.
Gauge

Gauge is an important aspect of knitting patterns. It refers to the number of stitches and rows per inch in a knitted fabric. Achieving the correct gauge is crucial for ensuring that the finished project turns out the right size and shape.
Most knitting patterns specify a certain gauge that you should strive to achieve. This is usually given in terms of a number of stitches and rows over a specific measurement, such as a 4-inch square. It is important to check your gauge before beginning a project to ensure that your tension matches the pattern’s gauge.
Measuring gauge
To measure gauge, you will need a ruler or measuring tape and a swatch of fabric. First, follow the pattern instructions to knit a swatch using the recommended yarn and needle size. Make sure your swatch is large enough to measure accurately.
Once your swatch is complete, lay it flat on a table or surface. Use the ruler or measuring tape to count the number of stitches and rows over a specific measurement. For example, if the pattern specifies a gauge of 20 stitches and 28 rows over a 4-inch square, measure the number of stitches and rows in a 4-inch square on your swatch.
If your gauge matches the pattern’s gauge, great! You can proceed with confidence knowing that your finished project will turn out as expected. If your gauge is too small, you will need to switch to a larger needle size to loosen your tension. Conversely, if your gauge is too large, you will need to switch to a smaller needle size to tighten your tension.
Importance of gauge
It is essential to achieve the correct gauge in your knitting projects for several reasons. First, gauge affects the overall size and fit of the finished item. If your gauge is off, your project may turn out too small or too large.
Gauge also affects the yardage required for a project. If your gauge is tighter than the pattern gauge, you may need less yarn than specified. Conversely, if your gauge is looser, you may need more yarn to complete the project.
Furthermore, achieving the correct gauge ensures that the stitch patterns and textures in the pattern will look as intended. If your gauge differs significantly from the pattern’s gauge, the stitches may appear stretched or compressed, altering the overall look of the design.
Therefore, taking the time to measure and adjust your gauge before beginning a project is crucial for achieving the desired results. It may seem like an extra step, but it can save you from disappointment and frustration later on.
Abbreviations
When knitting patterns are written, abbreviations are often used to keep the instructions concise and easy to read. Understanding these abbreviations is important in order to follow the pattern accurately and achieve the desired result. Here are some common abbreviations you may encounter in a double layer beanie knitting pattern:
- K: Knit stitch
- P: Purl stitch
- YO: Yarn over
- K2tog: Knit two stitches together
- P2tog: Purl two stitches together
- PM: Place marker
- SM: Slip marker
- St(s): Stitch(es)
- Rep: Repeat
- Inc: Increase
These abbreviations are commonly used in knitting patterns and having a good understanding of them will make the pattern easier to follow. If you come across any other abbreviations that are not listed here, refer to a knitting abbreviation guide or dictionary for clarification.
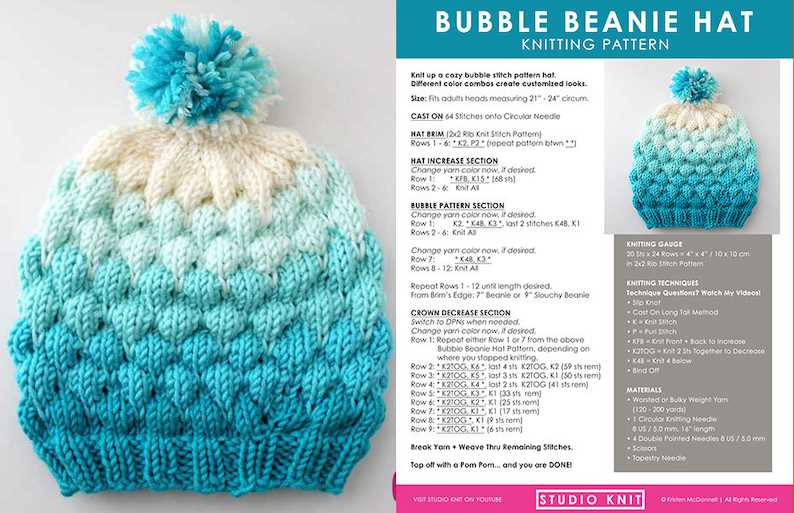
Size
The size of the double layer beanie knitting pattern can be adjusted to fit different head sizes. The pattern typically includes instructions for small, medium, and large sizes. To determine which size to knit, it is important to measure the head circumference of the person who will be wearing the beanie.
When measuring the head circumference, make sure to wrap the measuring tape around the widest part of the head, typically just above the ears. Take note of the measurement in inches or centimeters, depending on the pattern’s specifications.
Small Size:
- Head circumference: 18-20 inches (45-50 cm)
- Recommended needle size: US 6 (4 mm)
- Gauge: 20 stitches and 24 rows = 4 inches (10 cm) in stockinette stitch
Medium Size:
- Head circumference: 20-22 inches (50-55 cm)
- Recommended needle size: US 7 (4.5 mm)
- Gauge: 18 stitches and 22 rows = 4 inches (10 cm) in stockinette stitch
Large Size:
- Head circumference: 22-24 inches (55-60 cm)
- Recommended needle size: US 8 (5 mm)
- Gauge: 16 stitches and 20 rows = 4 inches (10 cm) in stockinette stitch
It is important to check the gauge before starting the project to ensure that the beanie will fit properly. Adjustments can be made to the needle size or stitch count to achieve the correct gauge if necessary. Following the instructions for the desired size will result in a well-fitting double layer beanie.
Instructions
Knitting a double layer beanie is a great way to keep your head warm in cold weather. This pattern provides step-by-step instructions on how to create a cozy beanie using basic knitting techniques. Whether you’re an experienced knitter or a beginner, you’ll be able to follow along and create a stylish accessory.
Materials:
- Worsted weight yarn
- Size 8 (5mm) circular knitting needles
- Set of size 8 (5mm) double-pointed knitting needles
- Stitch marker
- Tapestry needle
Instructions:
- Cast on 88 stitches using the circular knitting needles.
- Place a stitch marker to mark the beginning of the round.
- Work in a 2×2 rib pattern (knit 2 stitches, purl 2 stitches) for 1 inch.
- Switch to stockinette stitch (knit every round) and continue until the piece measures 7 inches from the cast-on edge.
- Start the decrease round: *Knit 6, knit 2 together. Repeat from * to the end of the round.
- Continue knitting every round until the piece measures 8 inches from the cast-on edge.
- Start the final decrease round: *Knit 5, knit 2 together. Repeat from * to the end of the round.
- Switch to the double-pointed knitting needles when there are too few stitches to comfortably fit on the circular needles.
- Continue decreasing in this manner, knitting 1 fewer stitch between decreases in each decrease round, until there are 8 stitches remaining.
- Cut the yarn, leaving a 6-inch tail. Thread the tail through a tapestry needle and slip the needle through the remaining stitches, removing them from the knitting needles.
- Pull the tail tightly to close the top of the beanie.
- Weave in any remaining loose ends and your double layer beanie is complete!
Cast on
When starting a knitting project, the first step is to cast on. Cast on is the process of creating the foundation row of stitches on the knitting needle. It is an essential skill in knitting and sets the stage for the entire project.
To cast on, you will need your knitting needles and the yarn you will be using for your project. There are different methods of casting on, but the most common one is the long-tail cast on. This method creates a neat and flexible edge.
To begin the long-tail cast on, make a slipknot by making a loop with the yarn and passing the end of the yarn through the loop. Place the slipknot on the knitting needle and tighten the loop. Hold the needle with the slipknot in your right hand.
Using your left hand, hold the yarn with your thumb and index finger, leaving a long tail. With your right hand, bring the needle under the yarn and then over the yarn, forming a loop on the needle. Pass the needle through the loop from left to right and pull the yarn to tighten the stitch.
Continue this process until you have cast on the desired number of stitches. It is important to keep the tension of the yarn consistent throughout. Once you have finished casting on, you are ready to start knitting the first row of your project.
Ribbing
Ribbing is a knitting technique that creates a stretchy and textured fabric. It is commonly used for the edging of garments, such as cuffs and hems, as well as for the body of the garment itself. Ribbing is created by alternating knit and purl stitches in a specific pattern, usually with a ratio of knit stitches to purl stitches.
The most common ribbing pattern is called 2×2 ribbing, which means that you alternate between knitting 2 stitches and purling 2 stitches. This creates a pattern of raised ridges and recessed columns. Another common ribbing pattern is 1×1 ribbing, which alternates between knitting and purling 1 stitch.
Ribbing is often used at the beginning and end of a knitted piece to provide stretch and elasticity. It helps the garment retain its shape and prevents the edges from curling. For example, a double layer beanie knitting pattern may include ribbing at the brim to ensure a snug and comfortable fit.
When working ribbing, it is important to maintain an even tension and to ensure that the knit and purl stitches are consistent in size. This can be achieved by using the same size needles for the ribbing as for the rest of the project. Additionally, knitting ribbing with a smaller needle size can create a tighter and more defined texture.
Ribbing can also be used to add decorative elements to a knitted piece. For example, a seed stitch ribbing combines knit and purl stitches in a random pattern, creating a textured and slightly uneven surface. Slip stitch ribbing involves slipping stitches instead of knitting or purling them, resulting in a raised and elongated pattern.
In conclusion, ribbing is a versatile knitting technique that adds stretch, texture, and visual interest to garments. Its use in double layer beanies, as well as other knitted projects, helps create a comfortable fit and prevent curling edges. With different ribbing patterns and needle sizes, knitters can achieve a variety of effects and customize their projects according to their preferences.
Main body
In this section, we will discuss the main body of the double layer beanie knitting pattern. The main body is the part of the beanie that covers the head and provides warmth and comfort. It is typically knit in a ribbed or textured pattern to add elasticity and stretch. The main body can be knit in one color or in multiple colors to create different designs and patterns.
To begin knitting the main body, cast on the required number of stitches onto your knitting needles. The number of stitches will depend on the size of the beanie and the desired gauge. Once you have cast on the stitches, join the round and begin knitting the main body in the desired pattern. This could be a simple ribbed pattern, such as knit 2, purl 2, or a more complex textured pattern, such as cables or lace.
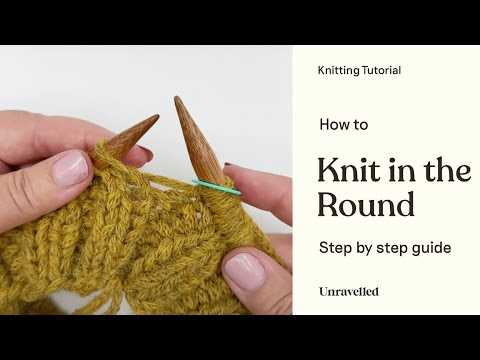
The main body is typically knit in the round using circular knitting needles or double-pointed needles. This allows you to seamlessly knit the beanie without any seams or seams. When knitting in the round, be sure to keep track of your stitches and markers to ensure you stay on track and maintain the pattern correctly.
Decrease rounds
In the double layer beanie knitting pattern, the decrease rounds are an essential part of creating the shape and fit of the beanie. These rounds help to taper the top of the beanie, creating a snug and comfortable fit on the head. Here is a breakdown of how to work the decrease rounds:
- Round 1: Begin by knitting two stitches together, then continue knitting in the established pattern until the end of the round.
- Round 2: Knit all stitches in the established pattern.
- Round 3: Repeat Round 1.
- Round 4: Repeat Round 2.
Continue alternating between Round 1 and Round 2 until the desired number of stitches remains on the needles. This will depend on the size and fit of the beanie you are making. As you continue working the decrease rounds, the beanie will gradually taper towards the top.
It is important to keep track of your stitches and rounds while working the decrease rounds. Using stitch markers can be helpful in marking the beginning and end of each round. By following the decrease instructions and staying consistent with the established pattern, you will be able to achieve the desired shape and fit for your double layer beanie.
Finish
Once you have completed the second layer of knitting for your double layer beanie, it’s time to finish off the hat.
First, cut the yarn, leaving a long tail of about 6 inches. Thread this tail onto a yarn needle and weave it through the remaining stitches on your knitting needle. This will close up the top of the hat and secure the stitches in place.
Next, remove the hat from the knitting needle and turn it inside out. Using the yarn needle, weave in any loose ends of yarn on the inside of the hat. This will help give the hat a clean and finished appearance.
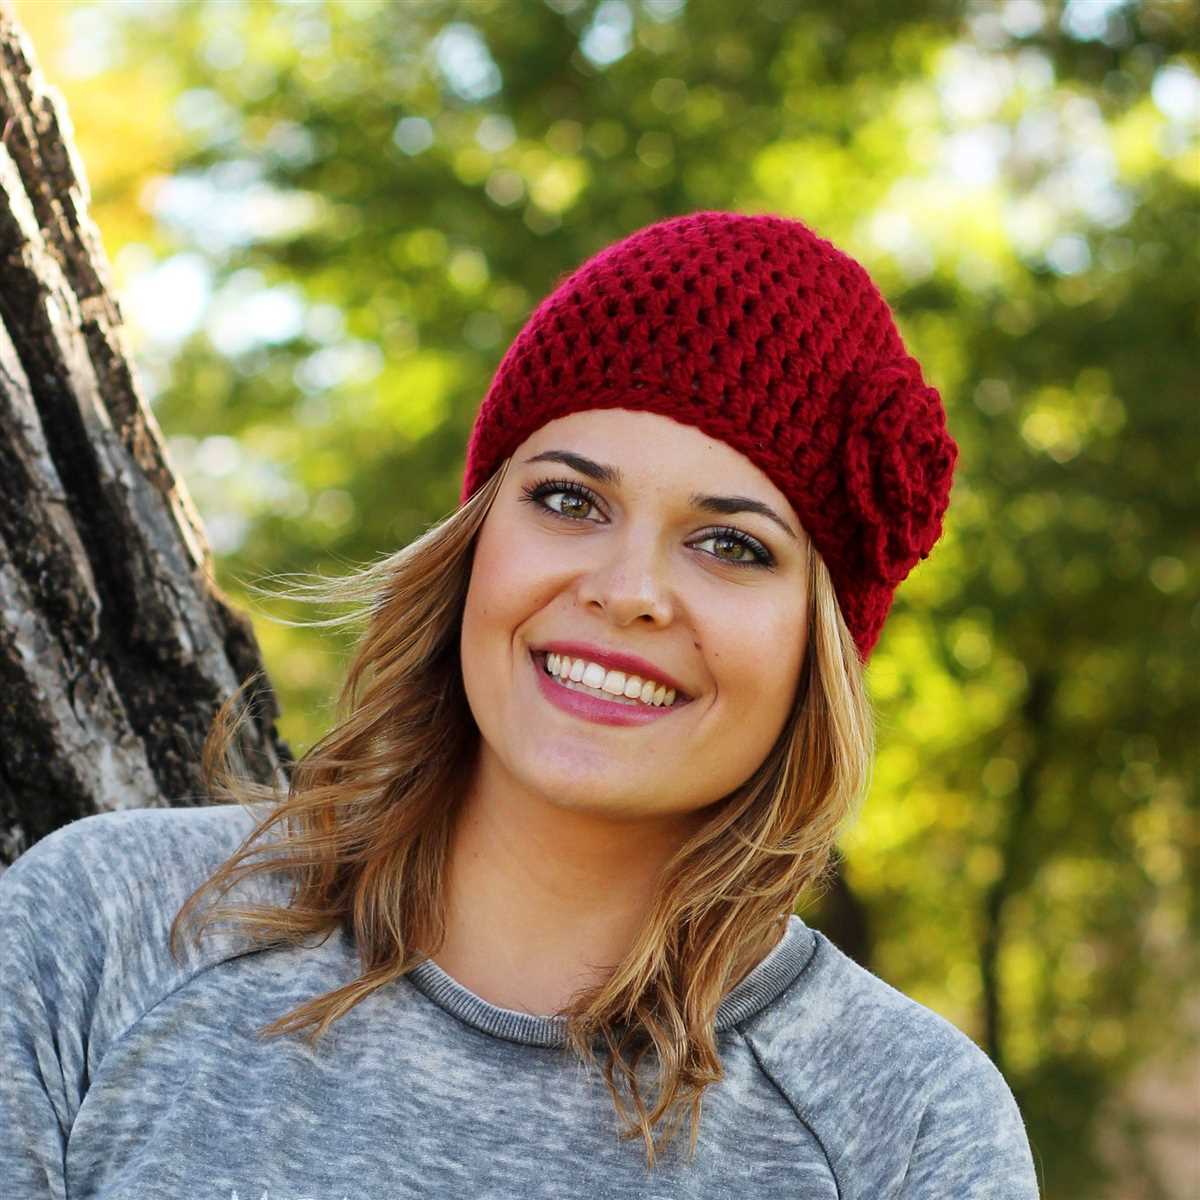
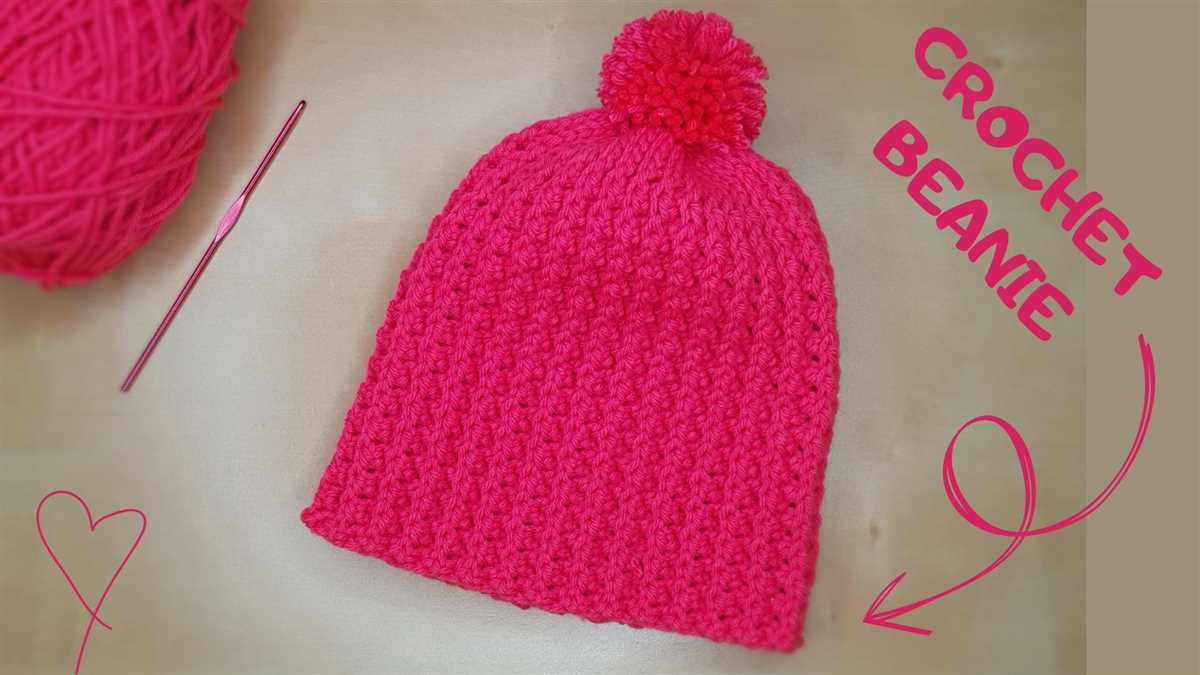
To add a decorative touch to your beanie, consider adding a pom pom. You can either make your own pom pom using yarn or buy a pre-made pom pom from a craft store. Attach the pom pom securely to the top of the hat using a yarn needle and additional yarn.
Finally, try on your finished double layer beanie! The two layers of knitting will provide extra warmth and insulation, making it a cozy and stylish accessory for the colder months.
Optional pom-pom
The optional pom-pom is a fun and playful addition to the double layer beanie. It adds a pop of color and texture, making the beanie even more stylish and unique. To make a pom-pom, you will need some yarn in the color of your choice and a pom-pom maker or a piece of cardboard.
To make a pom-pom using a pom-pom maker, simply wrap the yarn around the pom-pom maker until it is nice and full. Cut the yarn, making sure to leave a long tail. Then, tie a piece of yarn tightly around the middle of the wrapped yarn and secure it with a double knot. Open the pom-pom maker and gently remove the pom-pom. Trim any uneven strands to create a round and fluffy pom-pom.
If you don’t have a pom-pom maker, you can easily make a makeshift one using a piece of cardboard. Cut out two identical circles from the cardboard, with a smaller circle cut out in the middle. Place the two cardboard circles together and wrap yarn around them until they are nice and full. Cut along the edges of the circles, making sure to cut through all the layers of yarn. Tie a piece of yarn tightly around the middle of the wrapped yarn and secure it with a double knot. Remove the cardboard and fluff up the pom-pom by gently pulling and shaping it.
- Add the pom-pom to the top of the beanie by sewing it on securely.
- Experiment with different colors and sizes of pom-poms to create different looks.
- You can also attach multiple pom-poms to the beanie for a more whimsical and playful effect.
- Remember to trim any stray strands from the pom-pom to keep it looking neat and tidy.
Notes
Here are some notes to keep in mind while knitting this double layer beanie:
- The pattern is designed for intermediate knitters who are familiar with basic knitting techniques such as knitting in the round, ribbing, and decreasing.
- Read through the entire pattern before starting to make sure you understand all the instructions.
- Make sure to check your gauge using the recommended yarn and needle size to ensure the correct fit.
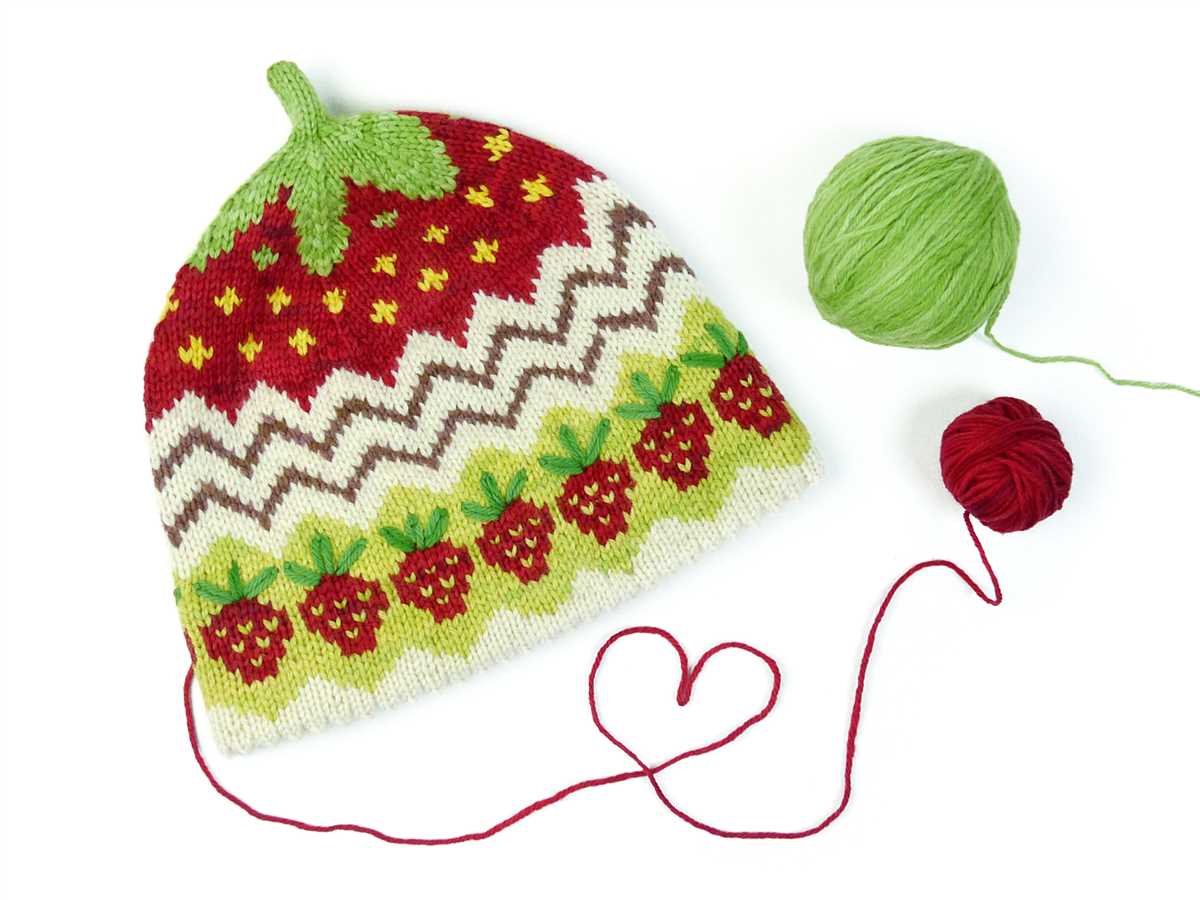
- Feel free to customize the beanie by adding stripes, colorwork, or other embellishments.
- Remember to weave in all loose ends neatly to give your beanie a polished finish.
- If you prefer a larger or smaller size, you can easily adjust the pattern by adding or removing stitches in multiples of the ribbing stitch pattern.
- If you encounter any difficulties or have questions, don’t hesitate to seek help from online knitting communities or local knitting groups.
Overall, this double layer beanie pattern is a versatile and cozy accessory for colder weather. Happy knitting!