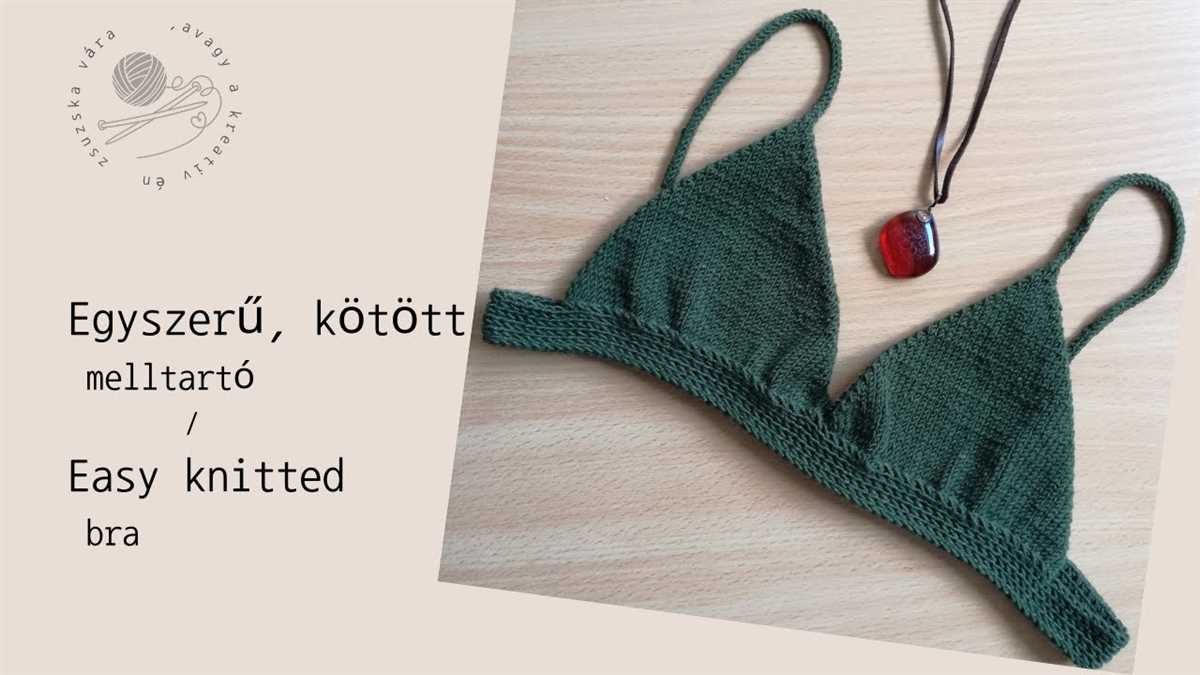
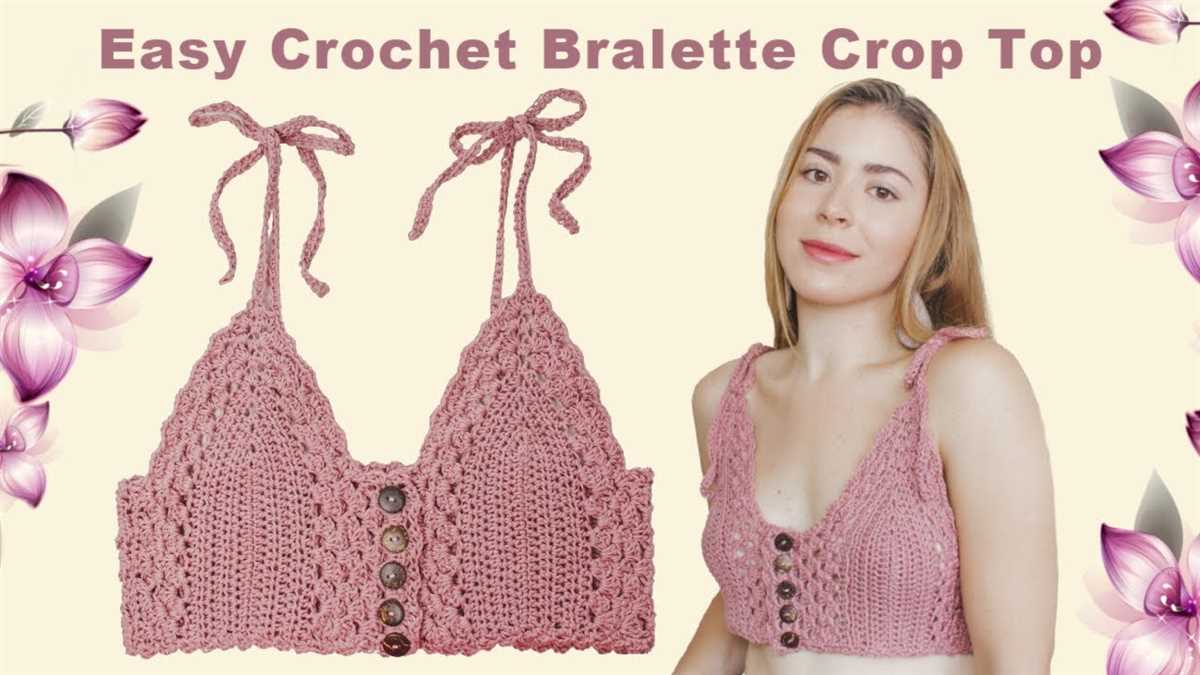
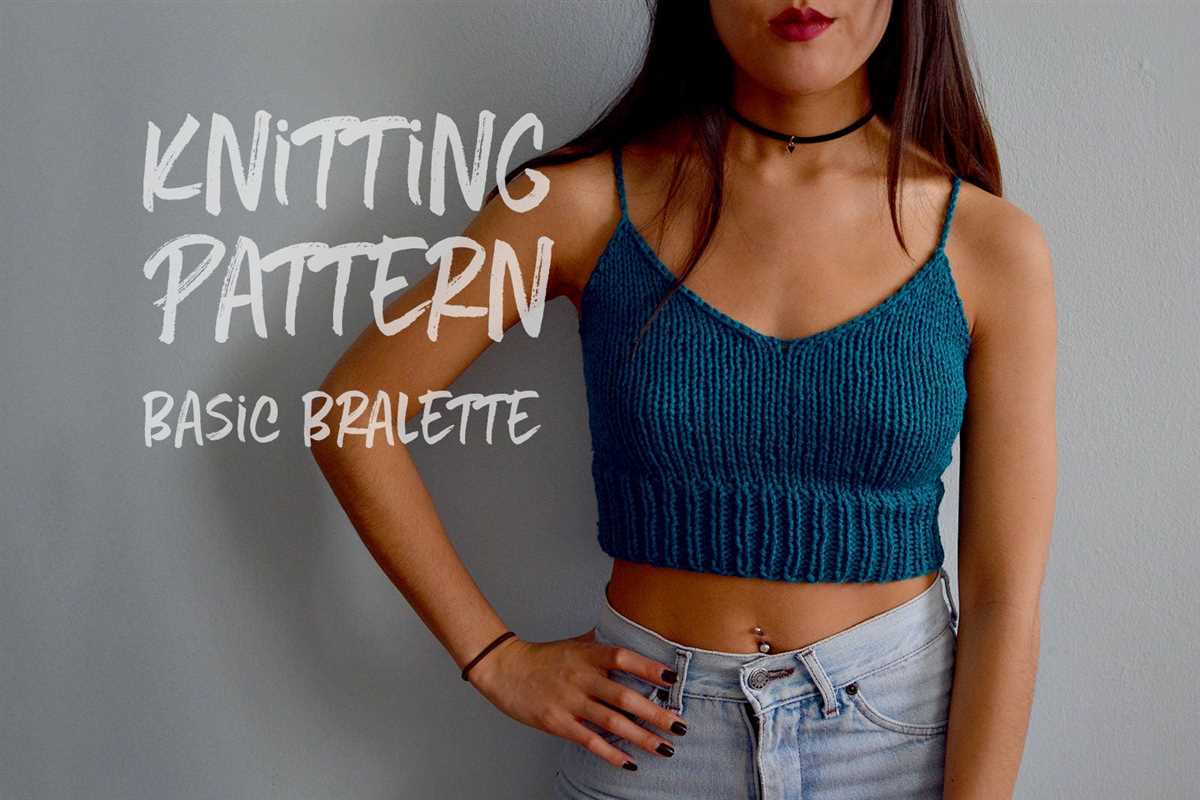
Simple and Free Knit Bralette Pattern

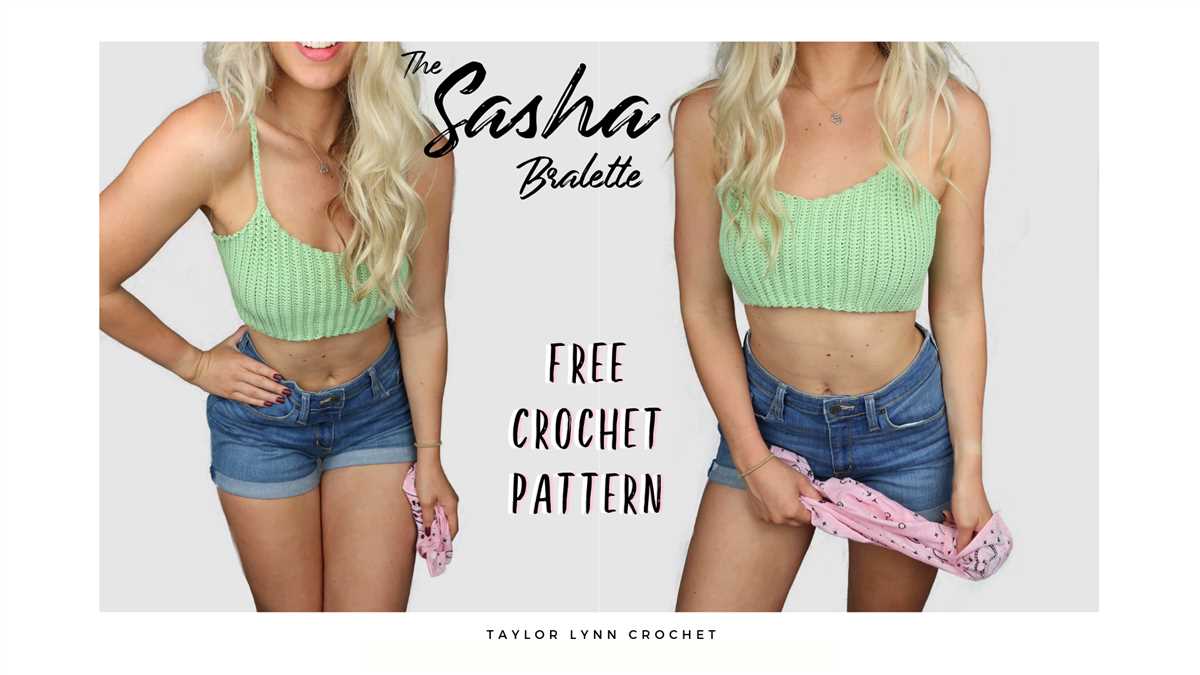
Looking for a comfortable and stylish bralette that you can make yourself? Look no further! In this article, we will share an easy knit bralette pattern that is free to use. Whether you are an experienced knitter or a beginner, this pattern is perfect for you.
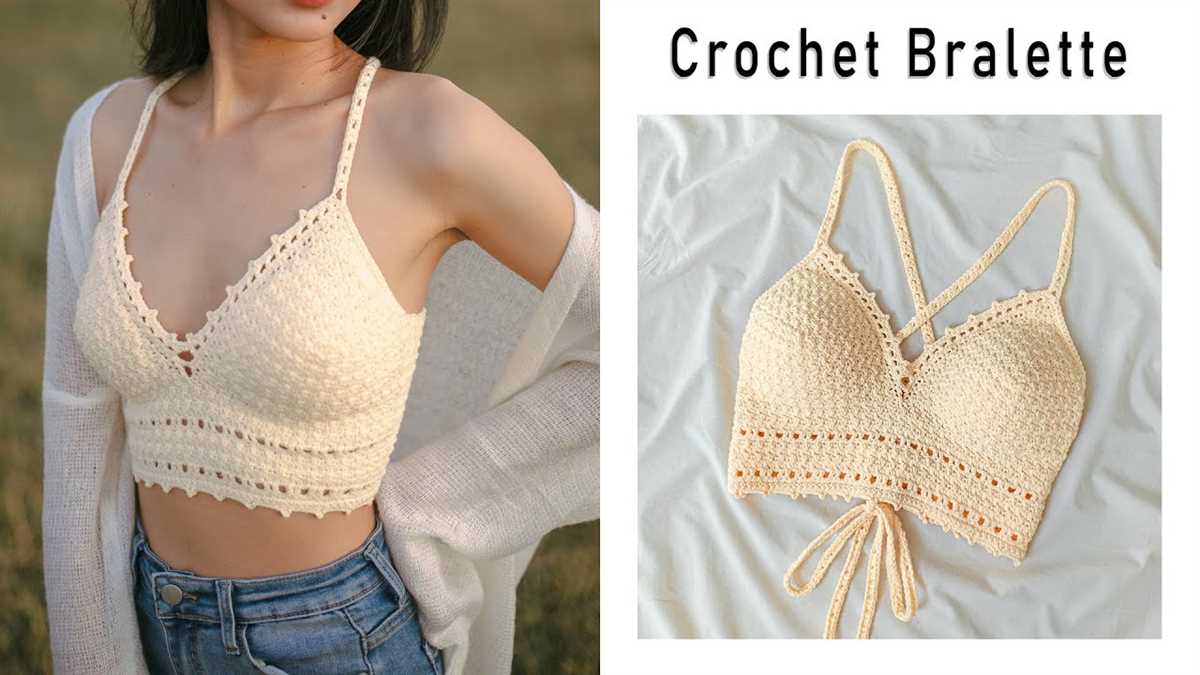
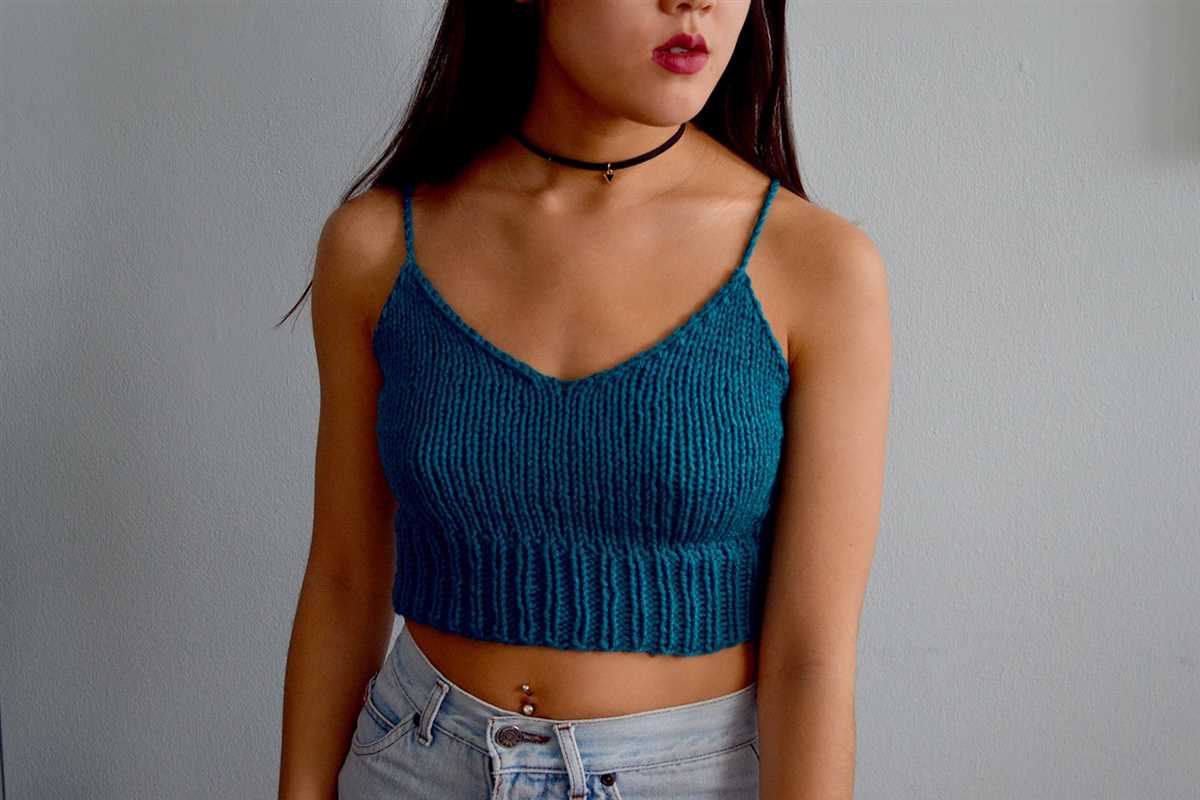
The knit bralette is a versatile and trendy addition to your wardrobe. It can be worn as a stylish crop top or as an extra layer under your favorite blouse. The best part is that you can customize it to fit your size and style preferences.
This pattern uses basic knitting stitches and is suitable for knitters of all skill levels. All you need is some soft and stretchy yarn, knitting needles, and a few hours of your time. Once you have all the materials ready, you can start knitting your own bralette and enjoy the satisfaction of wearing something that you made yourself!
Easy Knit Bralette Pattern Free

Looking for a comfortable and stylish bralette to wear? Look no further! With this easy knit bralette pattern, you can create your own bralette in no time. Best of all, the pattern is completely free!
This knit bralette pattern is perfect for beginners. The simple design and easy-to-follow instructions make it a great project for those new to knitting. All you need is some basic knitting skills and a few hours of your time.
Materials Needed:

- Yarn: Choose a soft, stretchy yarn in your desired color.
- Knitting Needles: Use a pair of US size 7 (4.5 mm) circular needles.
- Elastic: You will need a small amount of elastic to create the straps and band of the bralette.
- Stitch markers: These will help you keep track of your stitches.
Instructions:

- Begin by casting on the desired number of stitches. The exact number will depend on your bust size, but a good starting point is around 80 stitches.
- Knit in the round until the bralette measures the desired length. This will typically be around 6-8 inches, but you can adjust it to fit your preferences.
- Next, create the straps by knitting a smaller section of stitches on either side of the bralette. This will create the shoulder straps.
- Once the straps are complete, use elastic to create a band around the bottom of the bralette. This will help provide support and ensure a snug fit.
- Finally, weave in any loose ends and give your bralette a try!
With this easy knit bralette pattern, you can create a comfortable and stylish bralette that is perfect for lounging around the house or wearing under your favorite outfits. Plus, since the pattern is free, you can make as many bralettes as you like without breaking the bank. So grab your knitting needles and get started on your new favorite project!
Materials Needed

To create the easy knit bralette, you will need several materials to complete the project. These materials include:
- Knitting Needles: You will need a pair of knitting needles, ideally in a size that is appropriate for the yarn you will be using for the bralette. Consult the yarn label for recommended needle sizes.
- Yarn: Choose a soft, comfortable yarn that is suitable for garments. Cotton or bamboo yarns are popular choices for bralettes. You will need approximately one to two skeins, depending on the size of the bralette you will be making.
- Tape Measure: A tape measure will be useful for taking accurate measurements of your body to ensure the bralette fits properly.
- Tapestry Needle: This needle will be used for weaving in any loose ends of yarn and finishing touches.
- Stitch Holders: Stitch holders will be helpful for holding stitches that need to be set aside while working on other parts of the bralette.
- Scissors: A pair of scissors will be needed for cutting yarn and trimming any excess.
- Stitch Markers: Stitch markers can be used to mark important points in the pattern, such as the beginning of a round or a specific stitch pattern.
Having these materials on hand will ensure that you are prepared to start knitting your easy bralette pattern. Make sure to gather all the necessary supplies before you begin to ensure a smooth and enjoyable knitting experience.
Choosing the Right Yarn
When it comes to knitting a bralette, choosing the right yarn is essential for achieving the desired fit, comfort, and style. The yarn you select will determine how the final garment feels against the skin, its drape, and its stretchiness. Therefore, it’s important to consider a few factors before making your choice.
Fiber content: The fiber content of the yarn can greatly influence the feel and performance of the bralette. Natural fibers like cotton, bamboo, or silk are breathable, soft, and hypoallergenic, making them excellent choices for comfortable undergarments. Synthetic fibers like nylon and acrylic offer stretch and durability, which can be beneficial for a supportive bralette.
Weight: The weight of the yarn determines the thickness of the final fabric. For a cozy and warm bralette, opt for a bulky or chunky weight yarn. If you prefer a lightweight and breathable bralette, consider using a fingering or sport weight yarn. The weight of the yarn will also affect the stitch pattern and overall appearance of the bralette.
- Stretch and recovery: A bralette needs to have some stretch to ensure a snug and comfortable fit. Look for yarns with a high percentage of elastic fibers like spandex or Lycra. These yarns will provide the necessary stretch and excellent recovery, ensuring that the bralette retains its shape and elasticity over time.
- Color and texture: Consider the color and texture of the yarn to match your personal style and the intended use of the bralette. Solid colors are classic and versatile, while variegated or self-striping yarns can add visual interest. Textured yarns like boucle or mohair can create a unique and cozy look.
Overall, with the wide variety of yarns available, there is a perfect choice for every bralette project. By considering factors such as fiber content, weight, stretch and recovery, and color and texture, you can ensure that your bralette will be both fashionable and comfortable.
Selecting the Perfect Needles
When it comes to knitting, choosing the right needles can make all the difference in your project. Whether you’re a beginner or an experienced knitter, having the right tools can greatly impact the outcome of your work. Here are some factors to consider when selecting the perfect needles for your next knitting project.
Needle Size: One of the first things to consider is the size of the needle. The size of the needle will determine the gauge and the overall appearance of your knitted piece. If you’re working with delicate yarn, you might want to opt for smaller needles, whereas if you’re using bulkier yarn, larger needles are usually more suitable.
Material:
- Bamboo: Bamboo needles are known for their lightweight and smooth texture, making them a popular choice for many knitters. They provide a good grip and are less likely to slip out of your hands.
- Metal: Metal needles are known for their durability and strength. They are great for knitting with heavier yarns and can help create a more defined stitch.
- Plastic: Plastic needles are a budget-friendly option and are often available in a wide range of sizes. They are lightweight and can be a good choice for beginners.
Length: The length of the needle can also affect your knitting experience. Shorter needles, such as double-pointed needles, are great for knitting small projects or in the round. Longer needles, such as circular needles, are perfect for larger projects and can hold more stitches.
Tips and Ends: The type of tip or end of the needle can also affect your knitting. Some needles have sharp tips, while others have blunter tips. Sharp tips are great for intricate stitch patterns, while blunter tips are more suitable for beginners. Choose the option that feels most comfortable for you.
Ultimately, the perfect needles will depend on your personal preference and the project you’re working on. Experiment with different materials, sizes, and lengths to find the needles that work best for you. Happy knitting!
Gauge and Measurements
Before starting your project, it’s important to check your gauge. The gauge tells you how many stitches and rows you need to achieve a specific size. It ensures that your finished project will fit correctly. To check your gauge, make a swatch using the recommended needle size and yarn. Measure a 4-inch square on the swatch and count how many stitches and rows are within that measurement. If your gauge is too tight, use larger needles. If it’s too loose, use smaller needles.
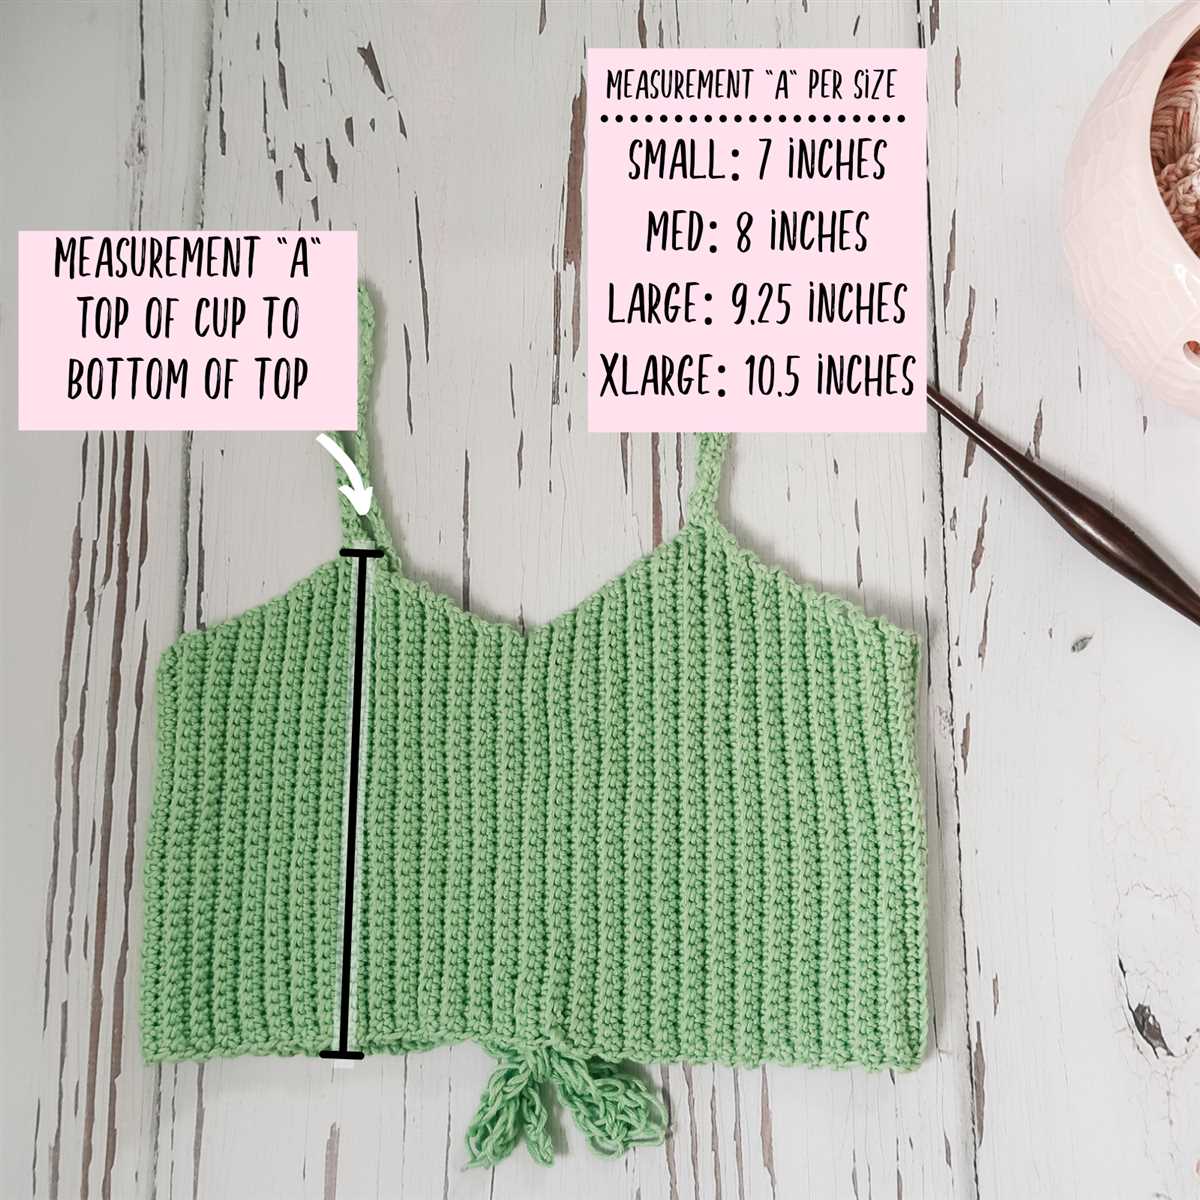
The measurements for your bralette will depend on the size you’re making. Here are the approximate measurements for each size:
- Small: Bust measurement of approximately 30-32 inches
- Medium: Bust measurement of approximately 34-36 inches
- Large: Bust measurement of approximately 38-40 inches
These measurements are just a guide, so it’s important to take your own measurements and adjust accordingly. To measure your bust, wrap a measuring tape around the fullest part of your bust, making sure it’s parallel to the ground. Make sure to measure snugly, but not too tight, as you want the bralette to fit comfortably.
Once you have your gauge and measurements, you’re ready to start knitting your bralette. Follow the pattern instructions, making any necessary adjustments to achieve the correct size. Happy knitting!
Getting Started: Cast On
Before you can start knitting your own bralette using the free pattern, you’ll need to cast on your stitches. Casting on is the process of creating the initial row of stitches on your knitting needle, which will serve as the foundation for your bralette project.
To cast on, you’ll need:
- A pair of knitting needles
- Yarn of your choice
- A tape measure or ruler
- A knitting pattern or instructions for the bralette you want to make
Step 1: Determine how many stitches to cast on
First, consult the knitting pattern or instructions to determine how many stitches you need to cast on. This information is usually provided at the beginning of the pattern and will depend on the size of the bralette you want to make.
Step 2: Make a slip knot
Start by making a slip knot with your yarn. To do this, create a loop with the yarn, insert the working end through the loop, and pull it tight.
Step 3: Hold the knitting needle
With the slip knot in your hand, hold one knitting needle in your right hand and the slip knot in your left hand. Make sure the working end of the yarn is hanging down from the slip knot.
Step 4: Insert the needle through the slip knot
With your right hand needle, insert it through the slip knot from front to back, with the needle pointing to the left.
Step 5: Pull the yarn through
Using your right hand, bring the working end of the yarn over the needle and through the slip knot. This will create a new loop on the right-hand needle.
Step 6: Tighten the stitch
Slide the new loop up to the needle and tighten it slightly. Be careful not to make it too tight or too loose.
Step 7: Repeat steps 4-6
Repeat steps 4-6 until you have cast on the required number of stitches, as determined by the knitting pattern or instructions.
Step 8: Check your cast-on row
Once you have cast on all the stitches, double-check your work to ensure that you have the correct number of stitches and that they are all securely on the needle. Count the stitches and compare it to the required number in the pattern.
You’re now ready to start knitting!
With your stitches cast on, you can now move on to the next steps in the pattern, which may involve knitting, purling, and shaping the bralette. Follow the pattern instructions carefully and have fun experimenting with different yarn colors and stitch patterns to create a unique and stylish bralette of your own.
Knitting the Body
When knitting the body of the bralette, it is important to follow the instructions and gauge given in the pattern. This will ensure that your bralette has the correct fit and shape. Start by casting on the required number of stitches, typically using a stretchy cast on method to ensure comfort and flexibility.
As you knit the body of the bralette, you will generally be working in the round using circular needles. This allows you to knit seamless and continuous rounds, avoiding the need for seaming later on. Pay attention to any stitch patterns or decreases that may be specified in the pattern, as these will help to shape the bralette and create a flattering silhouette.
One important aspect to consider when knitting the body of the bralette is the length. The pattern will typically indicate the desired length for the body, which may vary depending on your size and personal preference. Take regular measurements as you knit to ensure you are on track and make any necessary adjustments to achieve the desired length.
As you near the end of the body section, you may need to make increases or decreases to shape the underbust or waist areas. Follow the instructions carefully to ensure that these shaping elements are evenly distributed and create a comfortable and flattering fit. Once the body is complete, you can move on to the next step in the pattern, such as adding straps or a border.
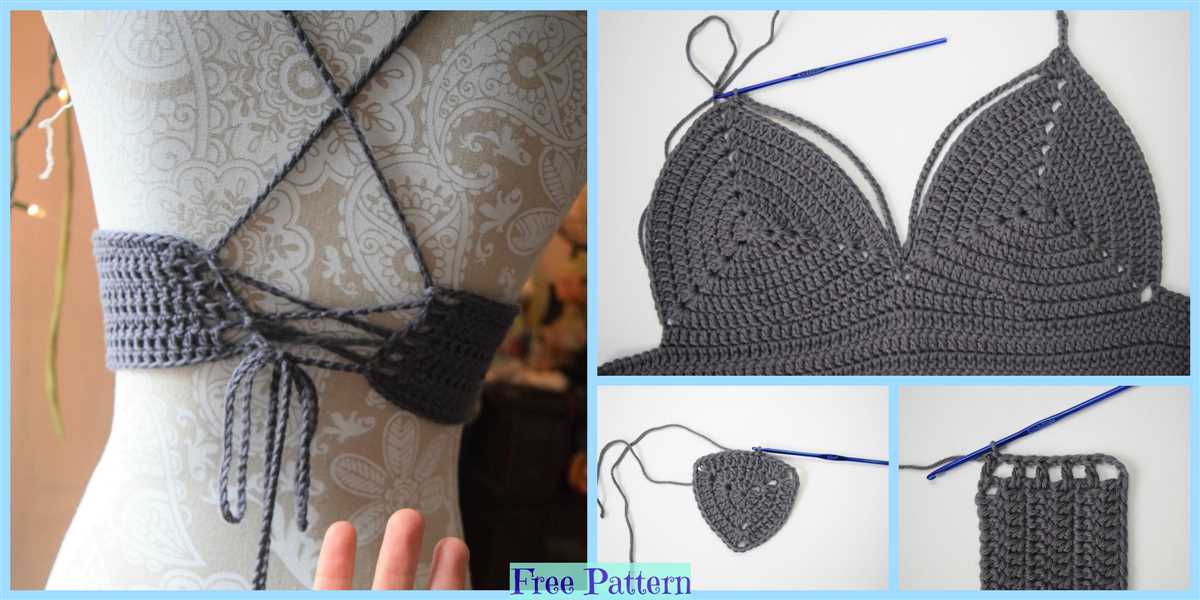
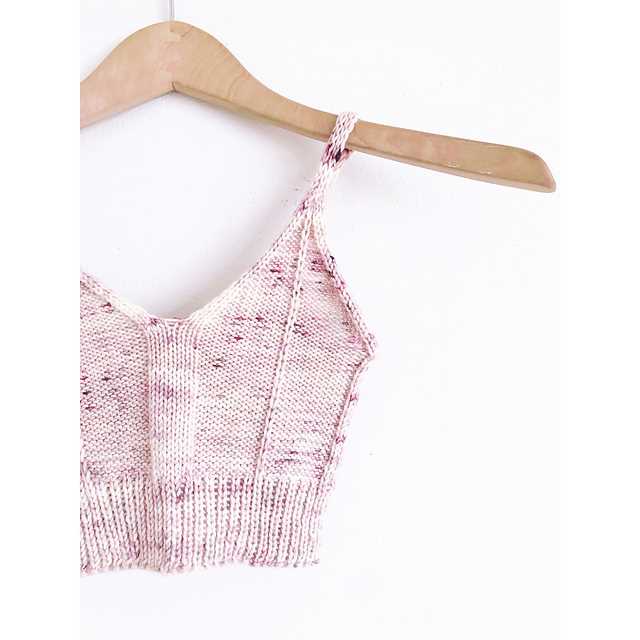
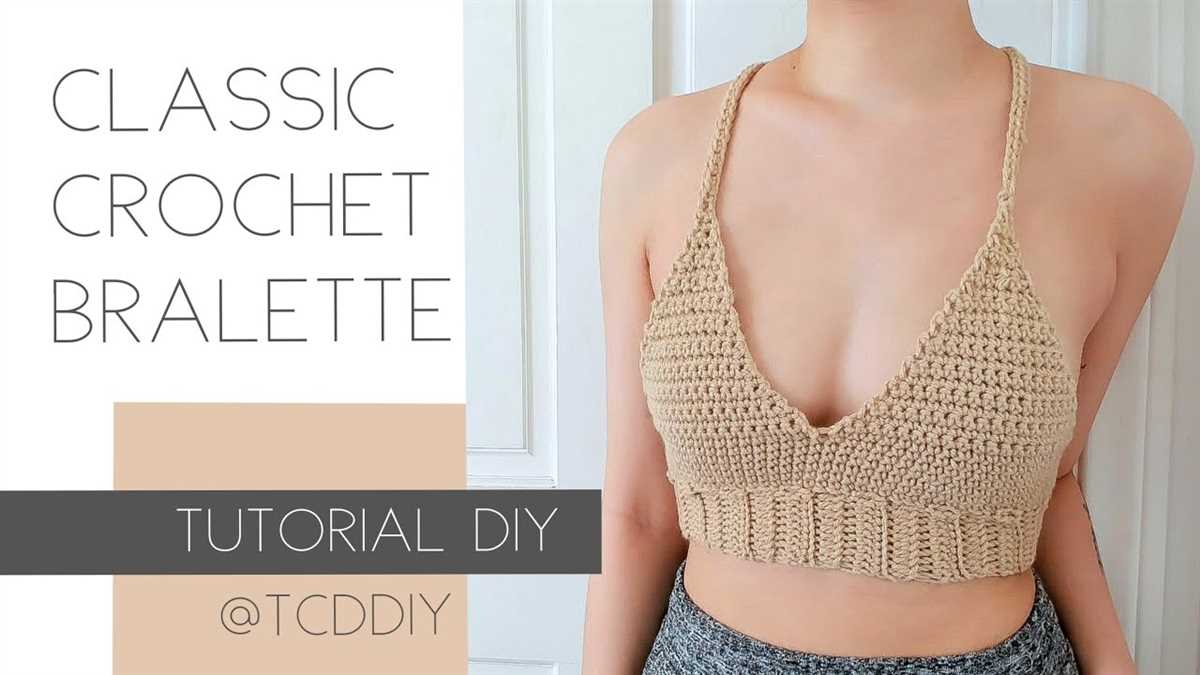
Creating the Straps
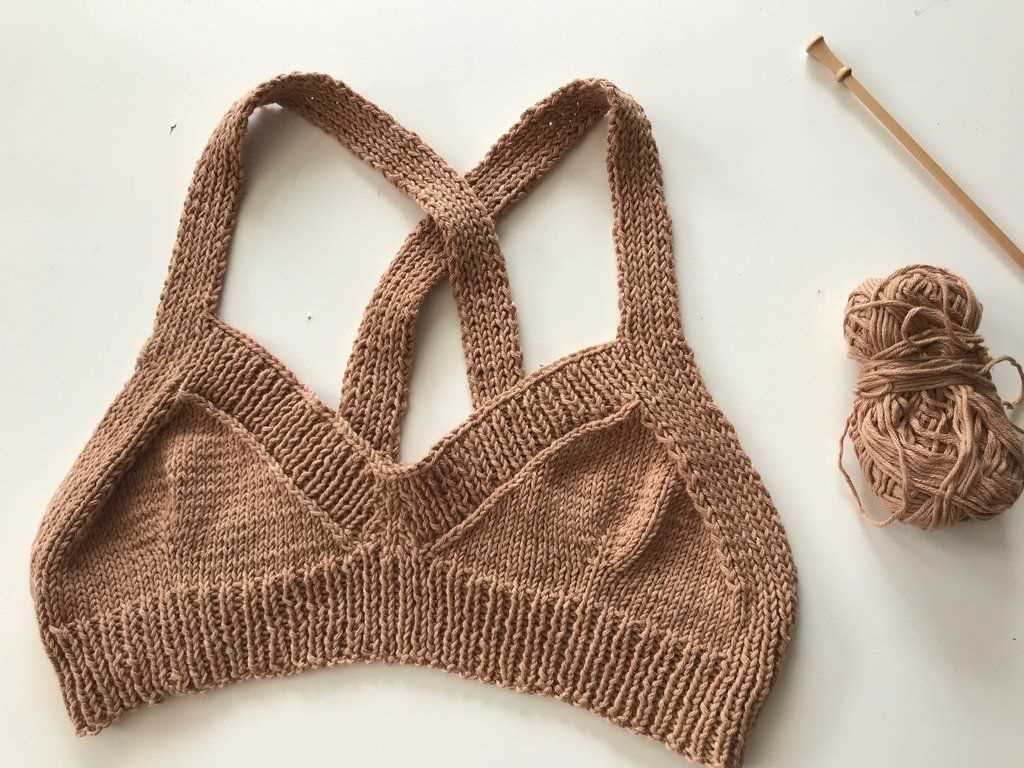
Once you have finished knitting the main body of the bralette, it is time to create the straps. The straps are an important part of the bralette as they provide support and help to keep it in place. There are several different options for creating the straps, depending on your personal preference and the style of bralette you are making.
One option is to create simple knit straps. To do this, you will need to pick up stitches along the top edge of the bralette and knit a long strip of fabric. This strip can then be folded in half and stitched to the back of the bralette. This creates a clean and seamless look, while also providing a comfortable and secure fit.
Another option is to create adjustable straps.
To do this, you will need to use a set of bra strap sliders. These can be purchased online or at your local fabric store. To create the straps, you will need to knit two long strips of fabric, slightly wider than the width of the sliders. Once the strips are complete, thread them through the sliders and sew the ends of the strips to the back of the bralette. This allows you to adjust the length of the straps to fit your body perfectly.
Regardless of the method you choose, it is important to ensure that the straps are securely attached to the bralette. This will help to prevent them from coming loose or falling down during wear. It may be helpful to try on the bralette and adjust the strap length before sewing them in place, to ensure a comfortable and supportive fit.
Binding Off and Finishing Touches
Once you have completed knitting your bralette, it’s time to bind off the stitches to finish off the edges. To bind off, simply knit the first two stitches as normal, then use the left needle to lift the first stitch over the second stitch and off the right needle. Continue in this manner, knitting one stitch and binding off the previous stitch, until you reach the end of the row.
After binding off, you can also add some finishing touches to your bralette to enhance its appearance. You can weave in any loose ends of yarn using a tapestry needle, making sure to secure them tightly so they do not come undone. Additionally, you can block your bralette to help shape it and give it a polished look. To do this, dampen your bralette with water, reshape it to your desired size and shape, then lay it flat to dry.
If you want to add some decorative details to your bralette, you can consider adding buttons, ribbons, or lace trim. These embellishments can add a unique touch to your bralette and make it stand out.
Finally, don’t forget to try on your finished bralette to ensure it fits you perfectly. Adjust the straps if needed and make any final alterations to achieve the desired fit. Enjoy wearing your handmade bralette with confidence and style!
Tips and Troubleshooting
If you’re new to knitting or bralette construction, here are some tips and troubleshooting advice to help you along the way:
Tips:
- Choose a comfortable and stretchy yarn for your bralette. Cotton or bamboo blends work well.
- Always make a gauge swatch before starting your project to ensure the correct sizing.
- Take accurate measurements of your body to choose the correct size. You may need to adjust the pattern accordingly.
- Use stitch markers to help you keep track of different sections and increases/decreases.
- Count your stitches regularly to avoid mistakes and unpicking rows.
- Take breaks and stretch your hands and wrists to prevent fatigue or injuries.
Troubleshooting:
- If your bralette turns out too tight, try going up a needle size or adding a few extra stitches.
- If your bralette turns out too loose, try going down a needle size or removing a few stitches.
- If your stitches look uneven or messy, try knitting more slowly and intentionally, or consider practicing the stitch before continuing.
- If you drop a stitch, use a crochet hook or a knitting needle to pick it up and continue knitting.
- If you’re struggling with a particular step or technique, don’t hesitate to seek help from online tutorials or a local knitting group.
- Don’t be discouraged if your first attempt doesn’t turn out perfectly. Practice makes perfect, and each project is an opportunity to improve your skills.
With these tips and troubleshooting advice, you’re ready to start knitting your own easy bralette! Enjoy the process and have fun experimenting with different yarns and colors.