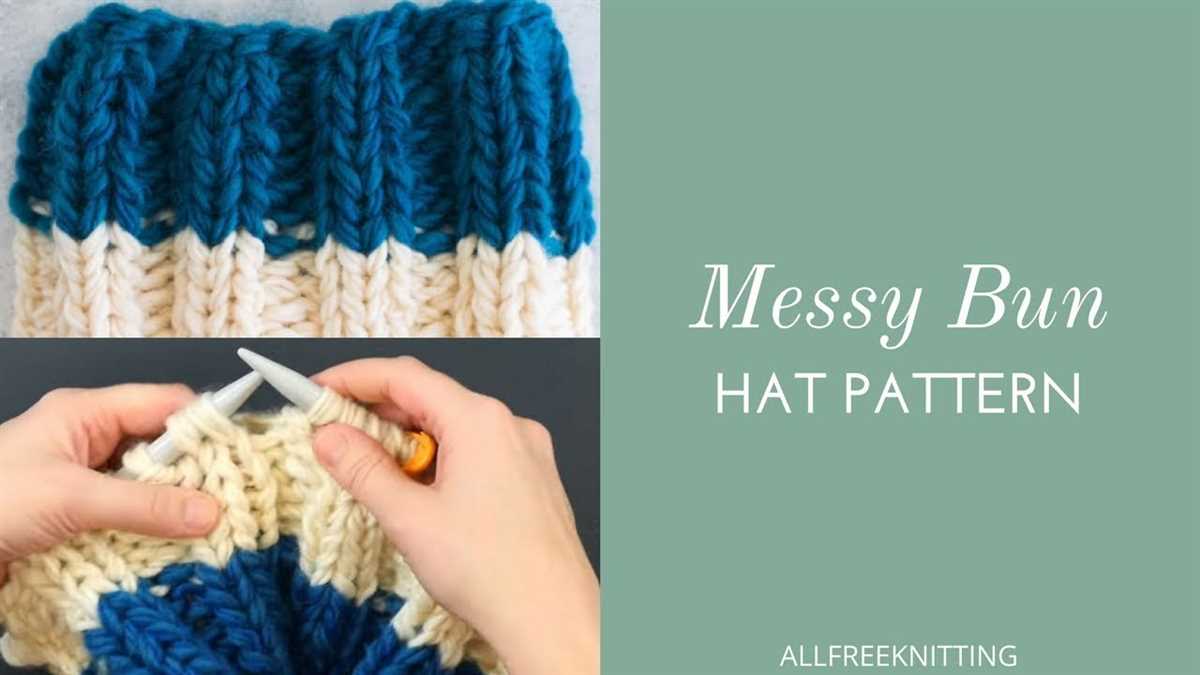
Cozy and Cute: Bun Beanie Knit Pattern

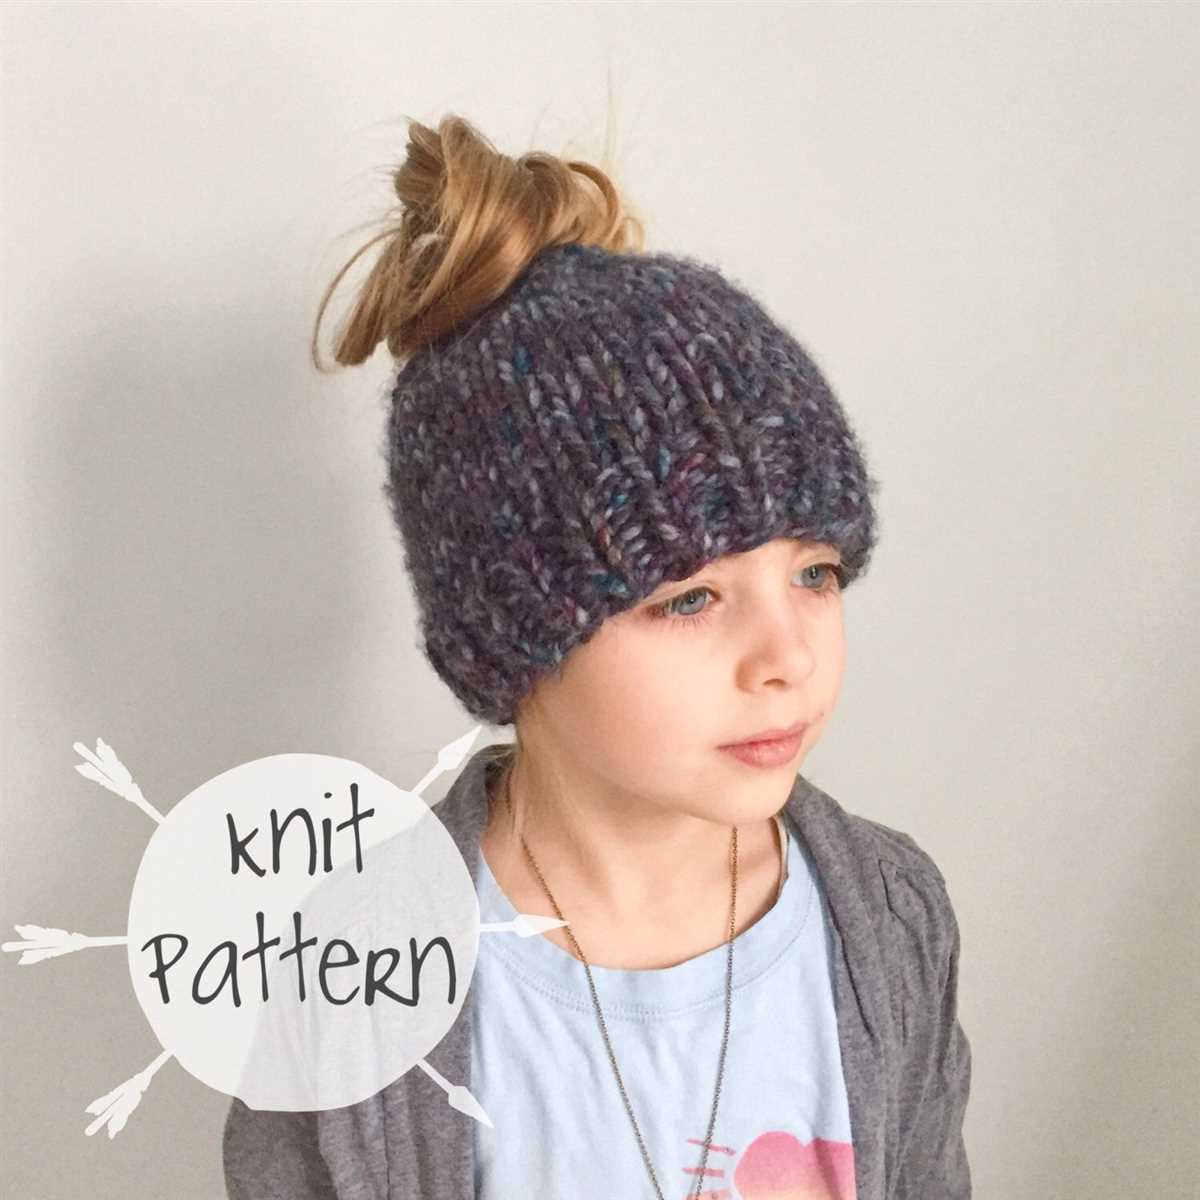
If you’re looking to add a fun and fashionable accessory to your winter wardrobe, look no further than the bun beanie knit pattern. This trendy hat features a stylish opening at the top to accommodate a bun or ponytail, keeping your head warm and your hair in place.
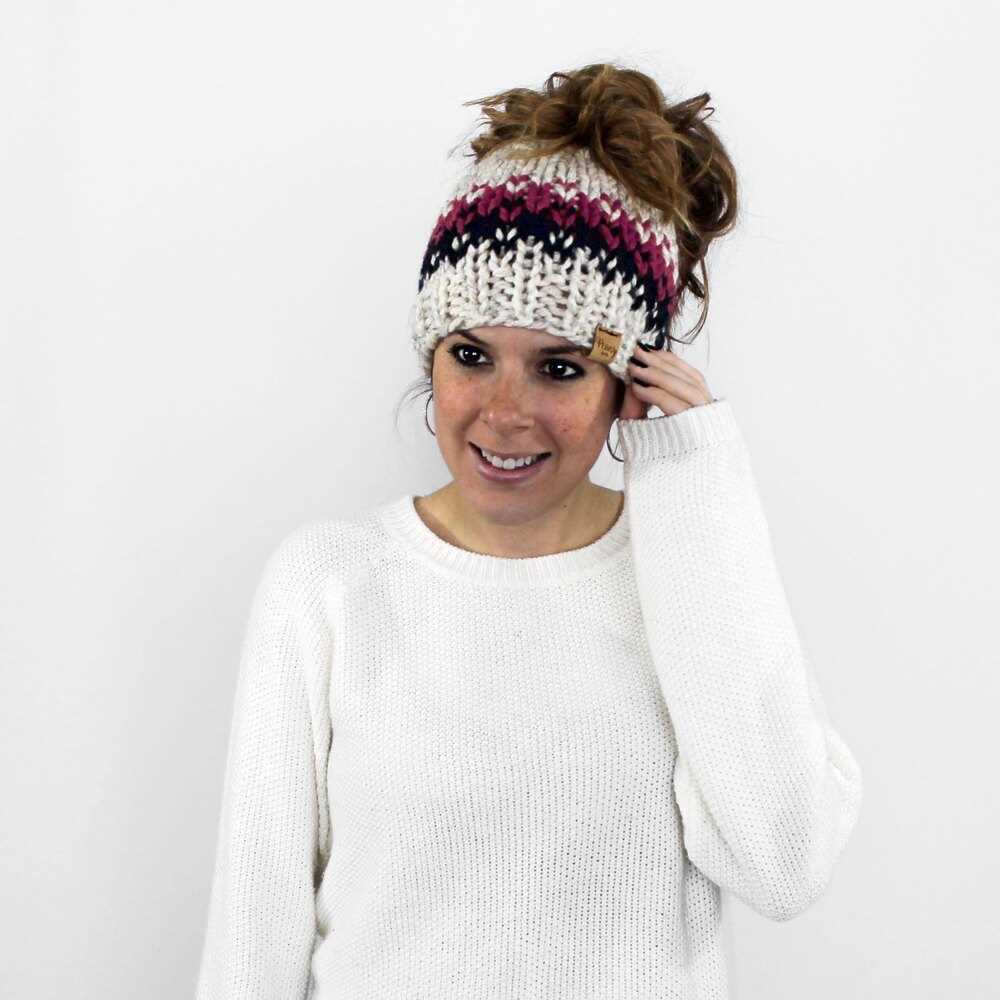
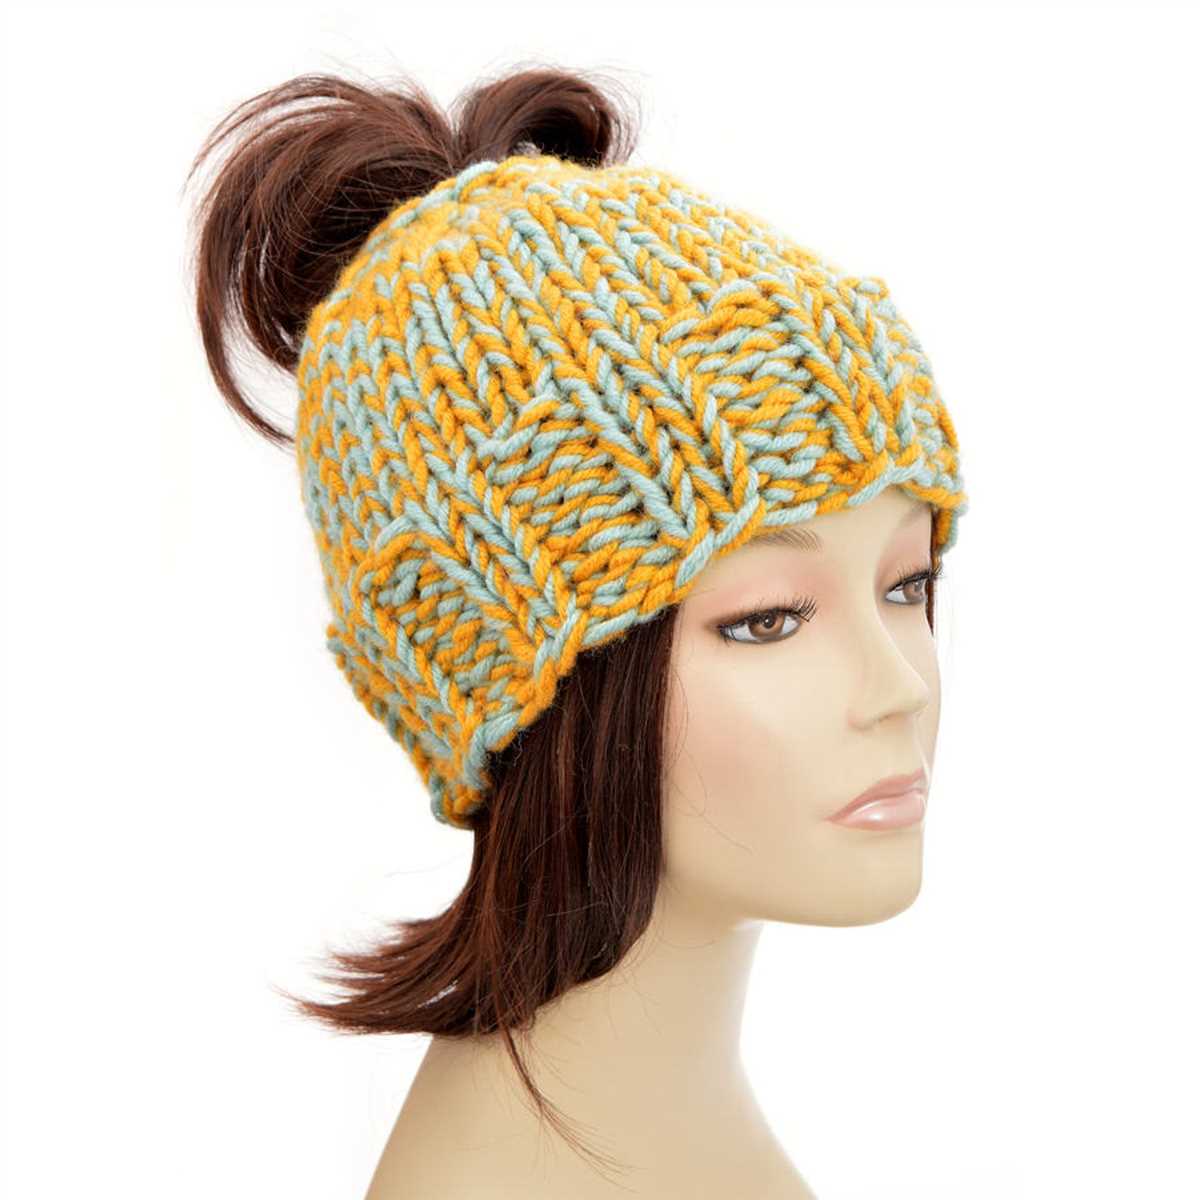
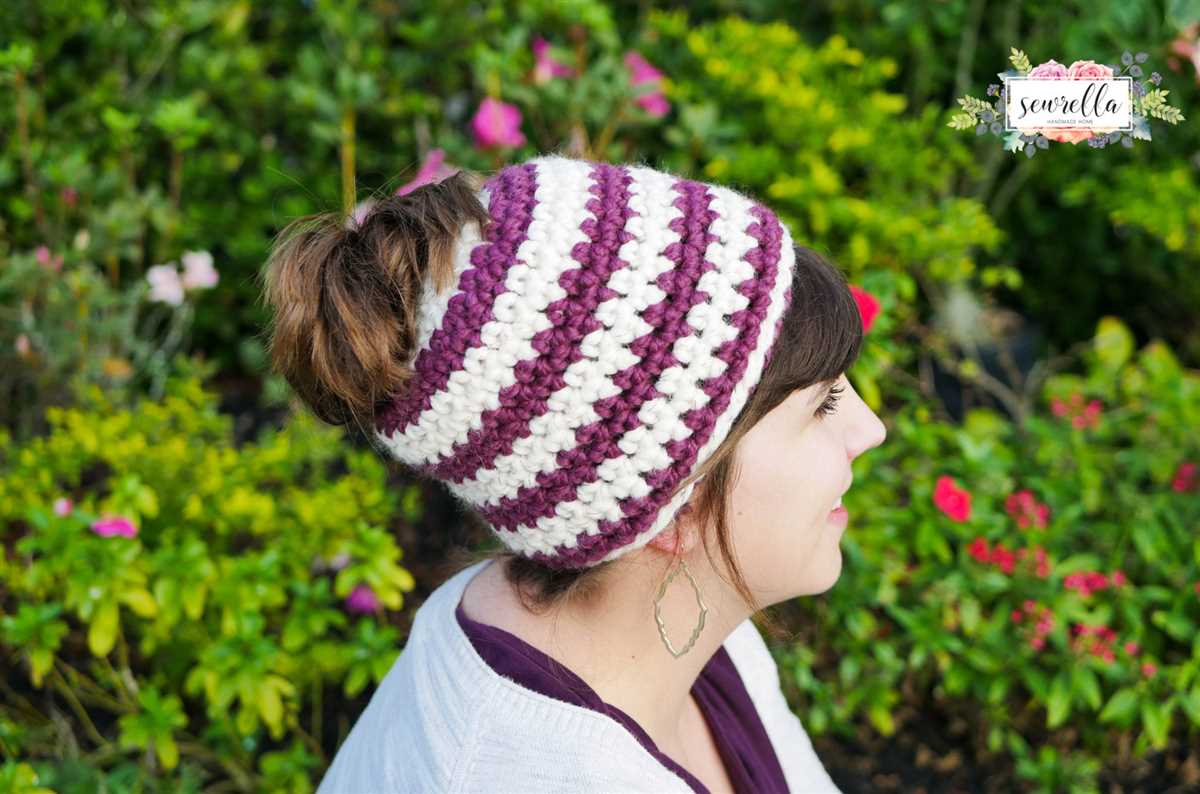
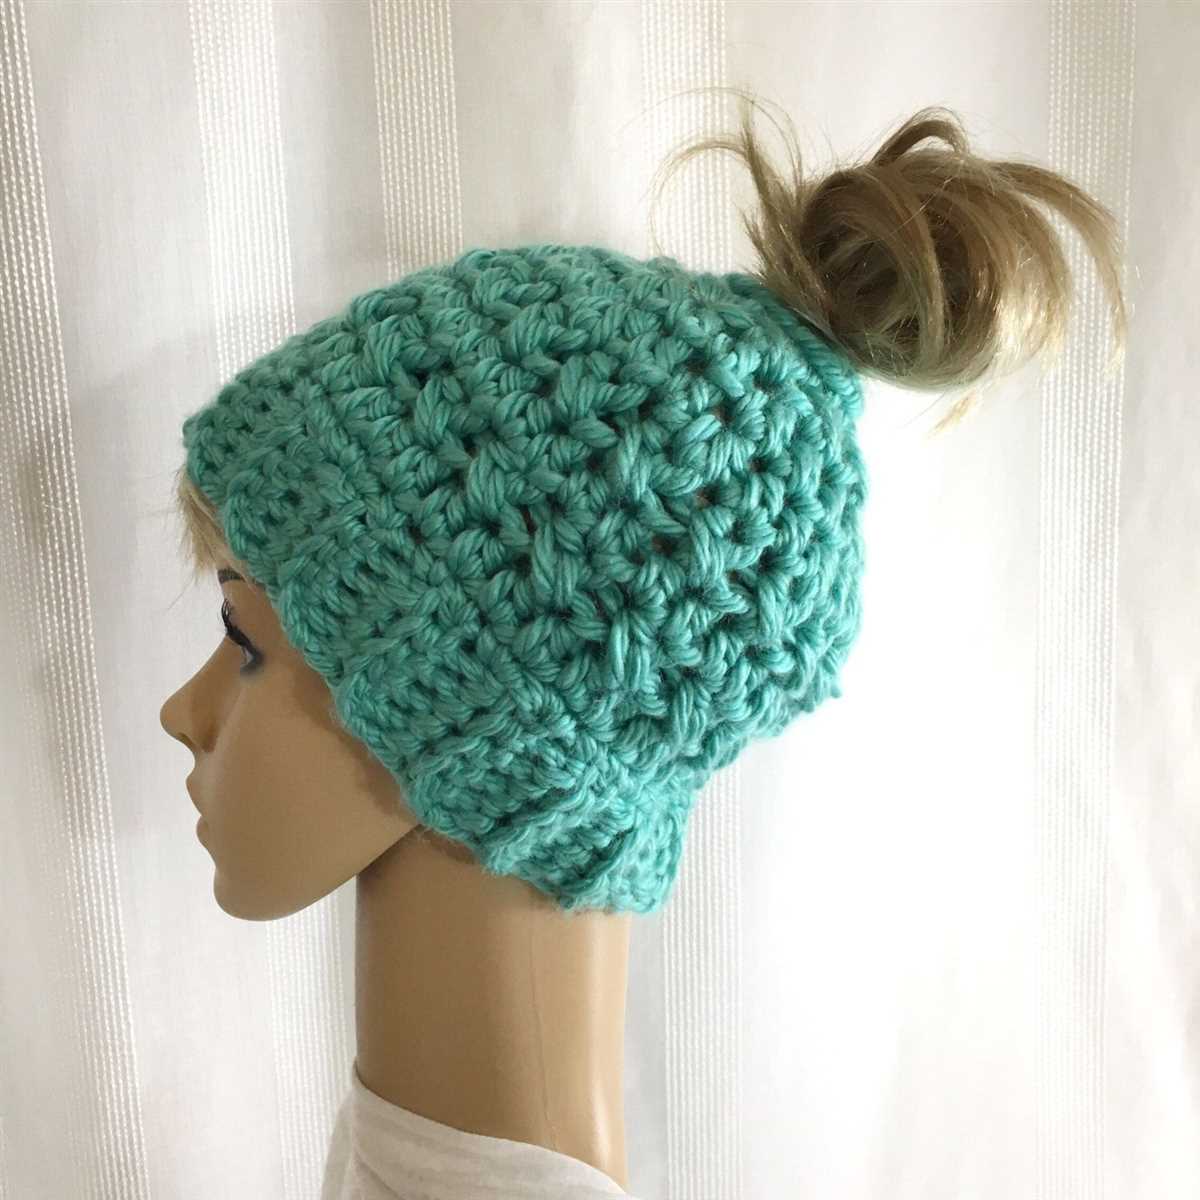
The bun beanie is a versatile accessory that can be customized to fit your personal style. Whether you prefer a classic beanie or a slouchy hat, there are many variations of the pattern available. You can also experiment with different colors and yarns to create a truly unique and eye-catching hat.
Knitting your own bun beanie allows you to not only showcase your creativity but also tailor the hat to fit your head perfectly. By adjusting the number of stitches and rows, you can ensure a snug and comfortable fit. Plus, knitting is a relaxing and meditative hobby that can help reduce stress and improve focus.
If you’re new to knitting, don’t worry! The bun beanie knit pattern is a beginner-friendly project that will introduce you to essential knitting techniques such as casting on, knitting in the round, and decreasing stitches. With some practice and patience, you’ll have a stylish new accessory in no time.
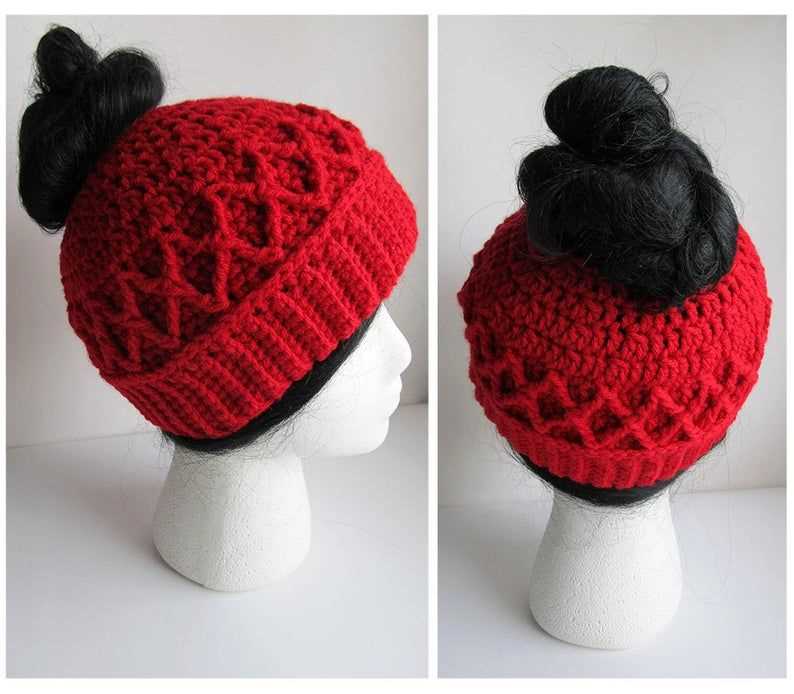
Bun Beanie Knit Pattern: Create a Cute and Cozy Hat for Any Occasion
Whether you’re heading out for a winter walk or simply want to add a playful touch to your outfit, a bun beanie knit pattern is the perfect choice. This trendy hat style combines fashion and functionality, allowing you to keep your head warm while still flaunting your favorite bun hairstyle. With the right pattern and a little bit of knitting know-how, you can create a cute and cozy hat for any occasion.
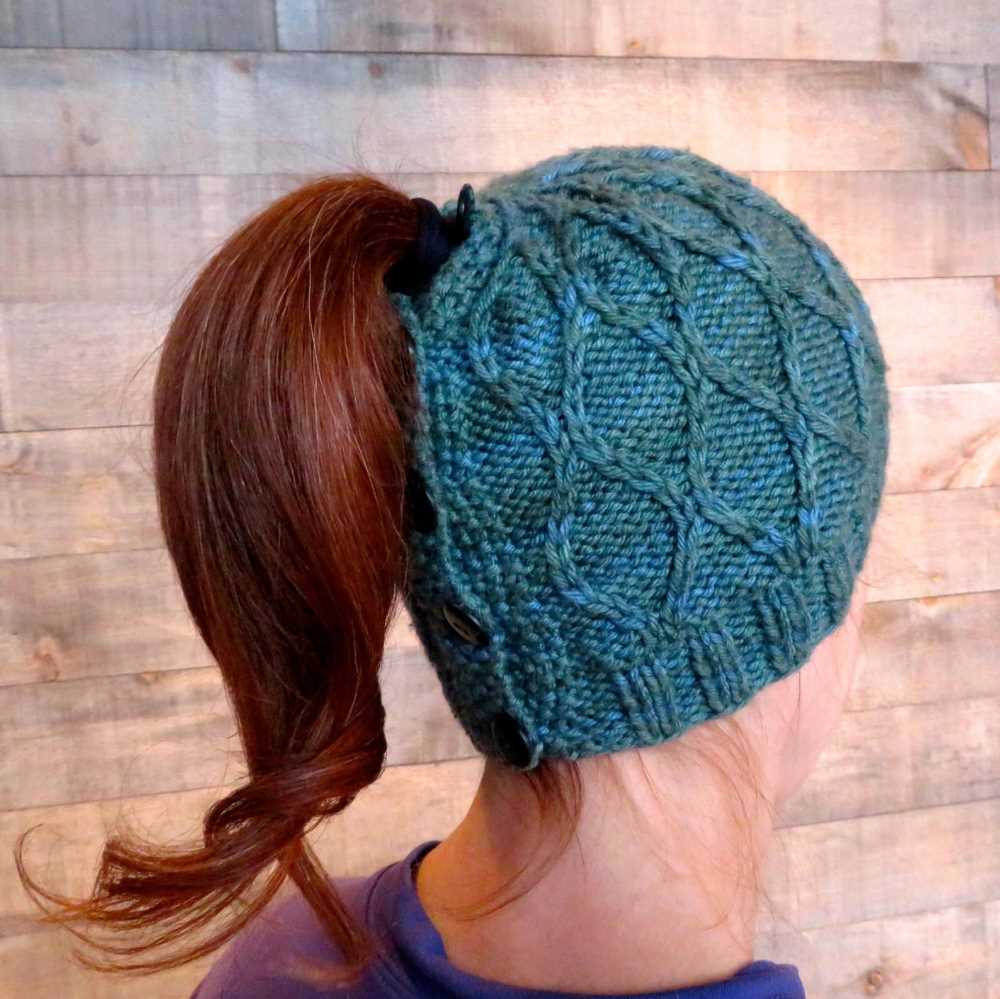
One of the great things about bun beanie knit patterns is that they come in a variety of styles and designs. From simple ribbed patterns to intricate cable knits, you can choose a pattern that suits your personal style and skill level. Many patterns also include options for different sizes, so you can make matching hats for your whole family. Whether you prefer a snug-fitting beanie or a slouchy, oversized style, there’s a bun beanie pattern out there that’s perfect for you.
To get started, gather your materials, including your chosen yarn and knitting needles. The pattern will typically provide a recommended yarn weight and needle size, but feel free to experiment with different options to achieve your desired look and fit. Once you have your materials ready, simply follow the pattern instructions step by step, using basic knitting techniques such as casting on, knitting, purling, and decreasing. Don’t worry if you’re new to knitting – bun beanie patterns are usually designed with beginners in mind, and there are plenty of resources available online to help you learn the necessary skills.
When you’ve finished knitting your bun beanie, it’s time to add the finishing touches. This may include sewing up any seams, attaching decorative buttons or pom-poms, or weaving in loose ends. Once your hat is complete, you can wear it with pride and enjoy the cozy warmth it provides. Whether you’re bundling up for a winter adventure or simply want to stand out in a sea of ordinary hats, a bun beanie is sure to turn heads and bring a smile to your face.
Why Choose a Bun Beanie?
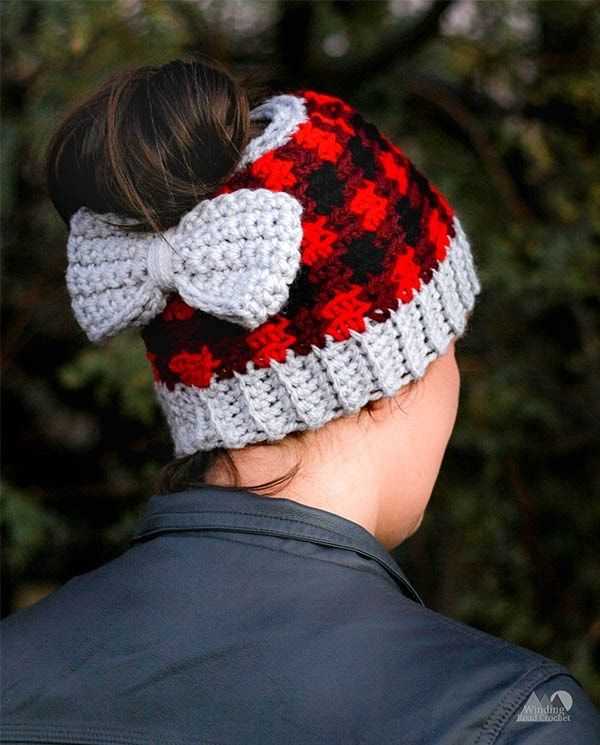
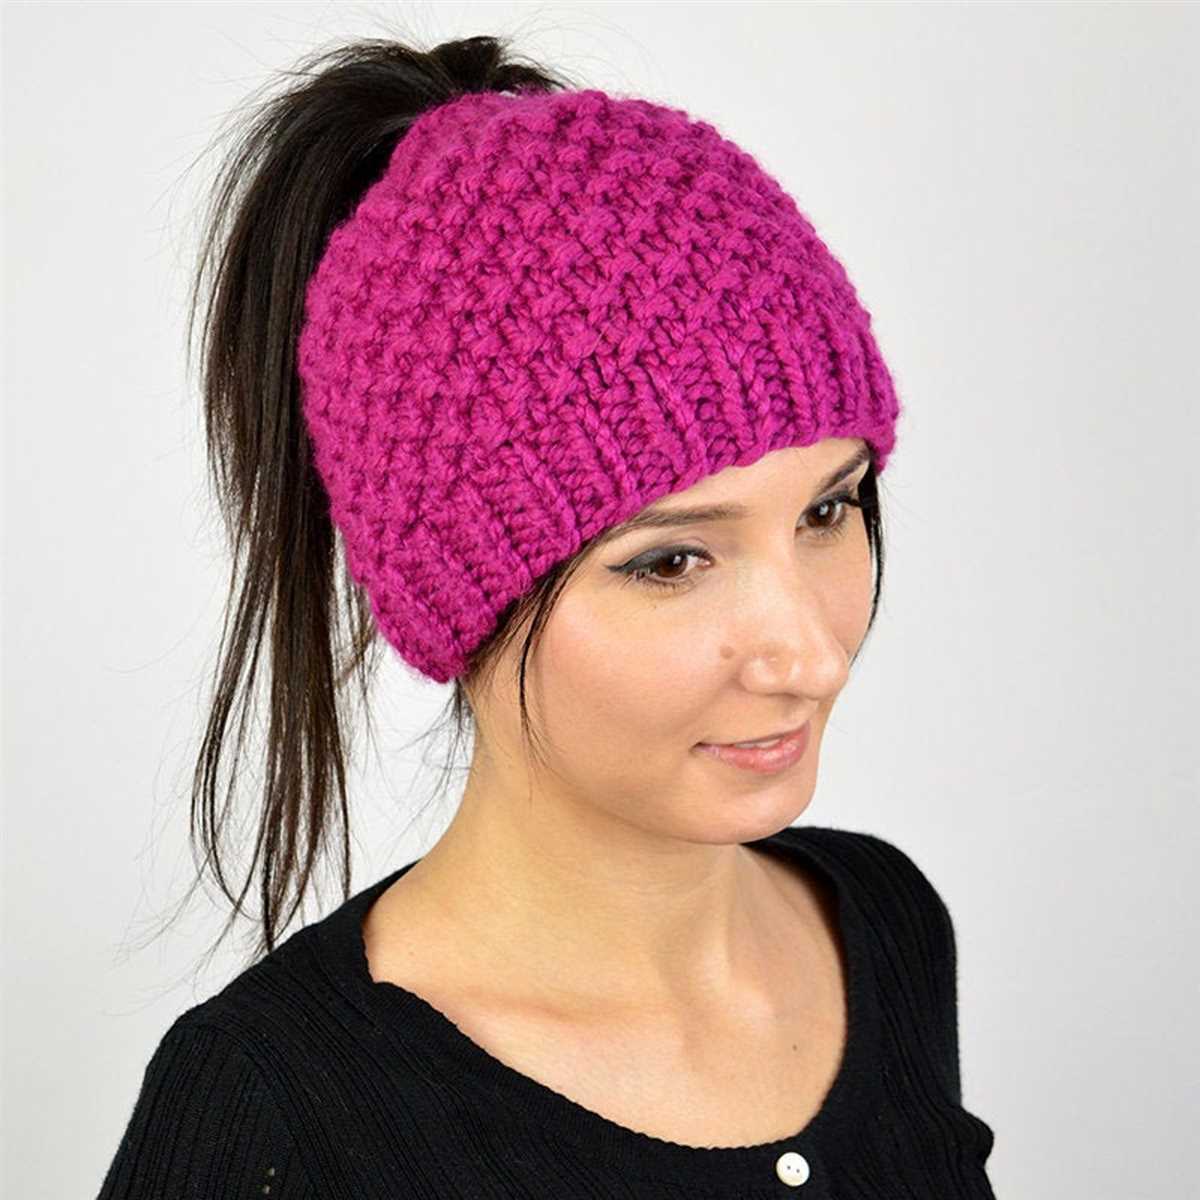
A bun beanie, also known as a bun hat or a ponytail hat, is a trendy and practical accessory for those with long hair. This unique style of hat features a hole or opening at the top, allowing the wearer to pull their hair through and secure it in a bun or ponytail. There are several reasons why someone might choose a bun beanie over a regular beanie or hat.
1. Versatility and Functionality
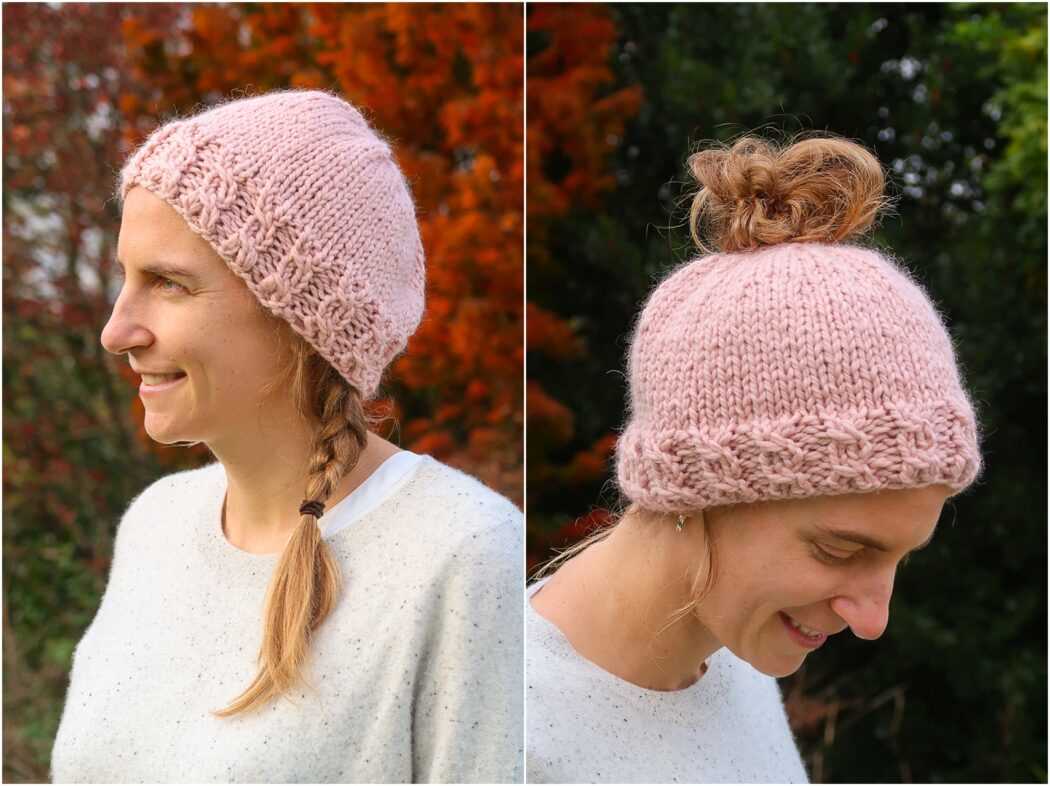
A bun beanie offers versatility and functionality that traditional beanies cannot provide. With a bun beanie, you can still keep your head warm while showcasing your hairstyle. Whether you prefer a high bun, low ponytail, or braided hair, a bun beanie allows you to wear your hair comfortably and stylishly.
2. Stay Warm without Sacrificing Style
During the colder months, it’s important to keep your head warm, but many hat styles can flatten or mess up your hairstyle. With a bun beanie, you don’t have to sacrifice style for warmth. You can maintain your desired hairstyle while still keeping your head and ears protected from the cold.
3. Fashionable and Trendy
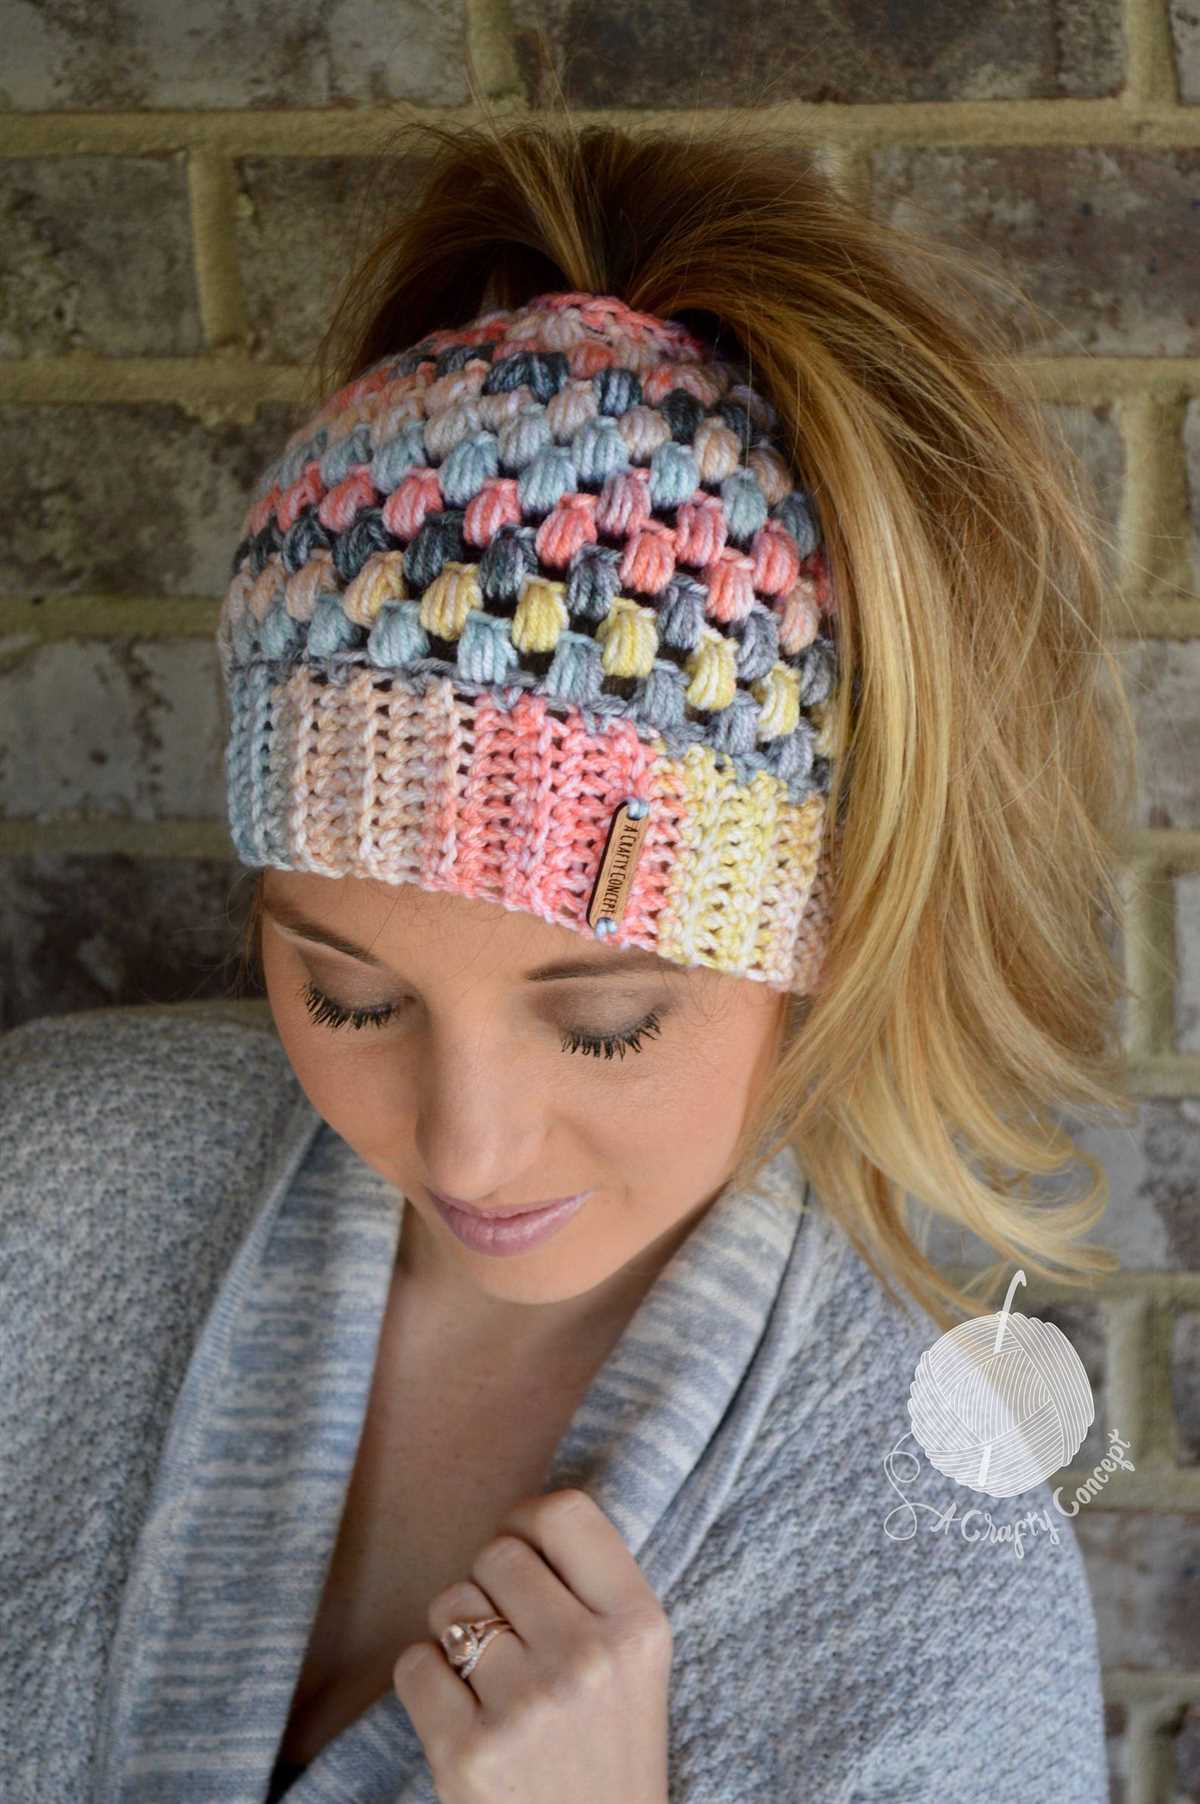
Bun beanies have become increasingly popular as a fashionable and trendy accessory. They come in a variety of colors, patterns, and materials, allowing you to find one that matches your personal style. Whether you prefer a cozy knit bun beanie for a casual look or a more elegant bun beanie for a dressier occasion, there are options available for every aesthetic.
4. Perfect for Active Lifestyles
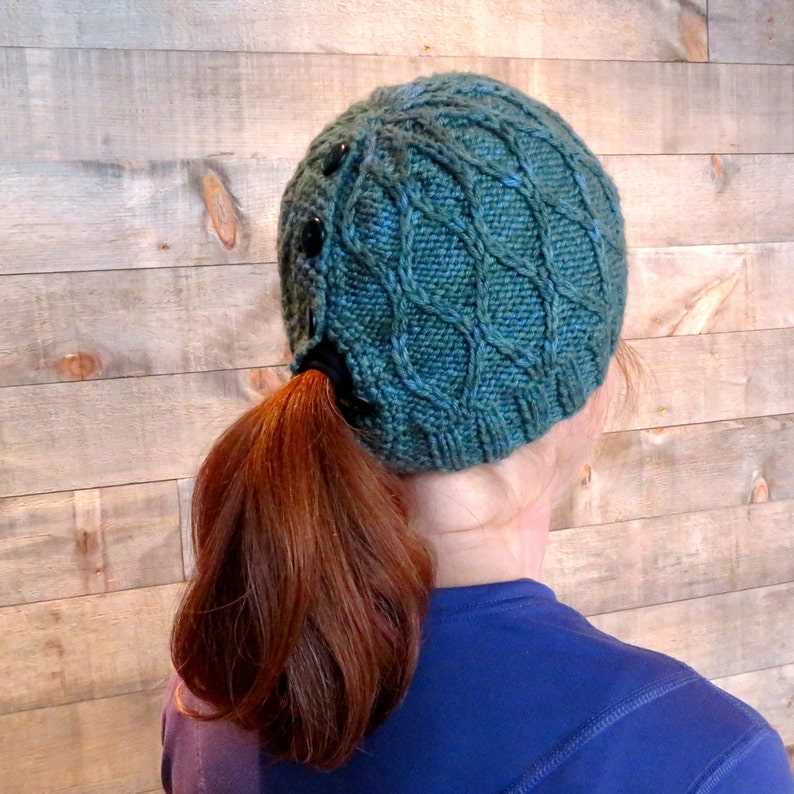
If you lead an active lifestyle and enjoy outdoor activities, a bun beanie is a practical choice. The opening at the top allows you to easily secure your hair and keep it out of your face while hiking, running, skiing, or participating in any other physical activities. The snug fit and secure design ensure that the hat stays in place during movement.
5. Ideal Gift
A bun beanie also makes for a great gift. Whether you’re looking to surprise a friend or family member, or simply treat yourself, a bun beanie is a thoughtful and practical choice. Its versatility and trendy design make it a gift that can be enjoyed and appreciated by anyone with long hair.
Materials Needed for Your Knitting Project
Before you start your bun beanie knitting project, make sure you have all the necessary materials at hand. This will ensure a smooth and enjoyable knitting experience. Here is a comprehensive list of the materials you will need:
Yarn:
- Main Color Yarn: Choose a soft and lightweight yarn in your desired color for the main body of the beanie.
- Contrasting Color Yarn: Select a complementary or contrasting color yarn to create the bun portion of the beanie.
Knitting Needles:
- Circular Knitting Needles: Opt for a pair of circular knitting needles in the appropriate size for your chosen yarn. This will allow you to comfortably knit in the round and create a seamless beanie.
Stitch Markers:

- Locking Stitch Markers: These markers will help you keep track of your stitches and indicate important sections such as the beginning of rounds or stitch pattern repeats.
Tapestry Needle:
- Tapestry Needle: Choose a tapestry needle with a blunt tip to weave in loose ends and seamlessly finish your project.
Measuring Tape:
- Measuring Tape: Have a flexible measuring tape on hand to check your gauge and measure your head circumference for a perfect fit.
Scissors:
- Scissors: Keep a pair of small, sharp scissors nearby for cutting yarn and trimming any excess.
By ensuring you have all the necessary materials before starting your knitting project, you can save time and minimize interruptions. So gather your yarn, needles, markers, tapestry needle, measuring tape, and scissors, and get ready to create your beautiful bun beanie!
Getting Started: Casting On
Before you can start knitting your bun beanie, you’ll need to cast on your stitches. Casting on is the first step in any knitting project and sets the foundation for your work. There are different methods of casting on, but for this pattern, we will be using the long-tail cast-on method.
To begin casting on, you’ll need your knitting needles and your yarn. Make a slip knot at the end of your yarn and place it onto one of your knitting needles. Hold the needle with the slip knot in your right hand.
Step 1: Hold the needle with the slip knot in your right hand and the empty needle in your left hand. With your left hand, hold the yarn running from the slip knot and drape it over your left thumb and index finger.
Step 2: Insert the tip of the empty needle from front to back between your thumb and index finger, going under the yarn that is draped over your thumb.
Step 3: With your right thumb, bring the yarn that is draped over your index finger over the tip of the needle, creating a loop.
Step 4: Carefully slide the loop onto the empty needle, ensuring that it is not too tight or too loose. This is called a cast-on stitch.
Step 5: Repeat steps 2-4 until you have cast on the desired number of stitches for your bun beanie. Make sure to keep the stitches evenly spaced and not too tight on the needle.
Note: The long-tail cast-on method provides a neat and flexible edge for your knitting. Once you have finished casting on, you are ready to begin knitting the first row of your bun beanie pattern.
Knitting the Ribbing
When knitting the ribbing for your bun beanie, there are a few important things to keep in mind. The ribbing is the band that goes around the bottom of the beanie and is often made using a different type of stitch, such as the 2×2 rib stitch.
The first step is to cast on the required number of stitches, usually a multiple of 4 for the 2×2 ribbing. This can be done using a long-tail cast-on technique or any other preferred method. Make sure to leave a long tail for later use when finishing the ribbing.
Once you have cast on the stitches, you can start knitting the ribbing pattern. For the 2×2 rib stitch, you will alternate between knitting 2 stitches and purling 2 stitches. This creates a stretchy and textured pattern that is perfect for ribbing.
It’s important to keep track of your stitches and maintain the ribbing pattern, especially if you’re working on a larger project like an adult-sized beanie. Using stitch markers can help you easily identify the sections where you need to knit and purl.
Continue knitting the ribbing until you reach the desired length, usually around 1-2 inches for a bun beanie. Make sure to periodically check your gauge to ensure that the ribbing is not too tight or too loose. Adjust your needle size if needed to achieve the desired gauge.
Once you have finished the ribbing, you can proceed to the main body of the beanie. The ribbing will provide a snug fit and prevent the beanie from sliding off. It also adds a nice decorative element to the overall design.
Creating the Body of the Beanie
Once you have completed the ribbing for the brim of the beanie, it’s time to start creating the body of the hat. This is where the beanie really starts to take shape.
To begin, you will need to switch to your main stitch pattern for the body of the beanie. This could be a simple stockinette stitch, a textured pattern, or any other stitch pattern you prefer. Make sure to refer to the pattern you are following to determine the correct stitch and row counts.
You will continue knitting in the main stitch pattern for the specified number of rows, which will vary depending on the desired length of the beanie. Remember to keep track of your rows using stitch markers or a row counter, especially if you need to repeat certain sections of the pattern.
As you knit the body of the beanie, you may also need to shape the crown. This is typically done by decreasing stitches evenly across the rows to create a tapered effect towards the top of the hat. Again, refer to the pattern for specific instructions on how to shape the crown.
Once you have completed the body of the beanie and shaped the crown, it’s time to finish off by binding off your stitches. This is typically done by knitting two stitches together across the row until there is only one stitch remaining, and then cutting the yarn and pulling it through the final stitch to secure it.
Now that the body of the beanie is complete, you can move on to any additional finishing touches such as adding a pom-pom, weaving in loose ends, or blocking the hat to ensure a proper fit. With a little bit of patience and skill, you’ll have a cozy knit beanie to keep you warm all winter long!
Shaping the Top of the Hat
When it comes to shaping the top of the hat, there are several techniques and patterns you can follow to achieve the desired look and fit. One popular method is decreasing stitches gradually towards the top, creating a tapered shape. To do this, you typically start by knitting two stitches together at regular intervals, either every other row or every few rounds, until you have decreased enough stitches to close the top. This creates a smooth and rounded shape.
Another technique involves creating a gathered or gathered effect at the crown of the hat. This is achieved by knitting several stitches together at once, usually in a single row or round, and then repeating this decrease pattern in subsequent rows or rounds. This gathers the fabric and creates a more textured and embellished look.
Decrease Methods
There are different methods for decreasing stitches, depending on the desired outcome. For a simple and basic decrease, you can knit two stitches together (k2tog) or purl two stitches together (p2tog) to reduce the stitch count. Alternatively, you can use a slip-slip-knit (ssk) or slip-slip-purl (ssp) decrease to create a left-leaning decrease.
For a more decorative decrease, you can try a centered double decrease, such as the double centered decrease (dcd) or the centered double decrease (cdd). These decrease methods create a distinctive pattern and can be a great way to add visual interest to the top of the hat. It’s important to follow the instructions provided in the specific knitting pattern to ensure the decreases are done correctly.
Overall, shaping the top of a bun beanie knit pattern is an important step in achieving the desired fit and look. By following the instructions and using the appropriate decrease methods, you can create a hat that is both stylish and comfortable. Whether you choose to taper the top or create a gathered effect, the shaping techniques you use can add a unique touch to your finished bun beanie.
Adding the Bun Opening
Once you have completed knitting the beanie, it’s time to add the bun opening. This is an important step as it allows the wearer to comfortably and easily pull their bun or ponytail through, while still keeping their head warm.
To create the bun opening, you will need to determine its placement on the beanie. Measure the circumference of the wearer’s head and decide where the bun opening should be placed based on their preferred bun or ponytail height. Mark this location on the beanie using stitch markers or a contrasting color yarn.
Step 1: Select a stitch to start the bun opening. This can be a knit or purl stitch, depending on your preference and the desired look of the beanie. For example, you can use a knit stitch for a smoother and more seamless bun opening, or a purl stitch for added texture.
Step 2: Begin knitting the stitch pattern for the bun opening, following the marked location. Make sure to keep track of your stitches, especially if you are using a pattern or stitch repeat. You can use a stitch marker or clip to mark the beginning and end of the bun opening section to make it easier to keep track.
Step 3: Continue knitting the beanie pattern as usual, working around the bun opening section. Keep in mind that the stitches within the bun opening may differ from the rest of the beanie pattern, depending on the stitch pattern you have chosen.
Step 4: Once you have completed the beanie, try it on and test the bun opening by pulling your bun or ponytail through. Adjust the size or placement of the opening if needed to ensure a comfortable fit. You can also add additional stitches or decrease stitches within the opening to accommodate different bun or ponytail sizes.
Incorporating a bun opening into your beanie design adds versatility and functionality to your knitwear. It allows the wearer to enjoy the warmth and style of a beanie while still keeping their hair comfortably secured. Follow these steps to create a well-placed and functional bun opening in your beanie knitting pattern.
Finishing Touches: Bind Off and Weave in Ends
After completing the final row of your bun beanie knit pattern, it’s time to finish off your project by binding off and weaving in the loose ends. The bind off is done to create a clean, finished edge and prevent the stitches from unraveling. Weaving in ends ensures that there are no loose strands of yarn showing on the outside of your beanie, giving it a polished look.
To bind off, start by knitting the first two stitches of the row as you normally would. Then, pass the first stitch over the second stitch and off the needle, leaving one stitch on your right needle. Knit the next stitch and repeat the process of passing the previous stitch over the newly knitted stitch. Continue this process until you have only one stitch remaining on your right needle. Cut the yarn, leaving a long tail, and pull it through the last stitch to secure it.
To weave in the ends, thread the tail of the yarn onto a tapestry needle. Start by inserting the needle into the back of the nearest stitch at the edge of the work. Weave the needle in and out of the stitches along the edge, making sure to catch the strands of the yarn to secure it. Once you have woven in the tail for a few inches, trim off any excess yarn.
Repeat the bind off and weaving in ends process for any remaining loose ends from color changes or joining new yarn. Take care to secure the ends tightly to prevent them from coming undone during wear or washing. Once all ends are woven in and trimmed, your bun beanie is ready to be worn or gifted to someone special!
Styling Your Bun Beanie
When it comes to styling your bun beanie, there are endless possibilities to explore. Whether you want to keep it casual or add some extra flair to your outfit, there is a bun beanie look for every occasion.
Casual Chic: For a relaxed and effortless look, pair your bun beanie with a cozy oversized sweater, leggings, and ankle boots. This laid-back style is perfect for running errands or catching up with friends over coffee.
Elegant Edge: Take your bun beanie to the next level by adding some sophistication to your outfit. Pair it with a tailored blazer, a flowy midi skirt, and heeled ankle boots. This combination is perfect for a lunch date or a day at the office.
Winter Wonderland: When the temperature drops, you can still rock your bun beanie while staying warm and stylish. Layer it over a long coat, chunky knit scarf, and knee-high boots. This look is perfect for exploring snowy landscapes or heading out for a winter walk.
Festival Vibes: If you’re heading to a music festival or an outdoor concert, your bun beanie can be the perfect accessory. Pair it with a boho-inspired maxi dress, ankle boots, and a fringe bag. Add some statement jewelry and you’re ready to dance the day away.
Sporty Chic: For a sporty and active look, style your bun beanie with a graphic sweatshirt, leggings, and sneakers. This combination is perfect for a morning jog or a quick trip to the gym.
Add the finishing touch with a bun beanie and let your personal style shine!
Share Your Creations: Bun Beanie Inspiration
Thank you for joining us in this adventure of creating cute and cozy bun beanies! We hope you’ve enjoyed knitting your own bun beanie using our pattern and have had as much fun as we did! Now, it’s time to show off your creations and inspire others with your talent and creativity.
Share your bun beanie creations with us! We would love to see how you’ve personalized and customized your bun beanies. Whether you’ve chosen bold and vibrant colors, added intricate designs, or experimented with different yarn types, we want to admire your work and be inspired by your unique creations.
- Step 1: Take a clear and well-lit photo of your finished bun beanie.
- Step 2: Share your photo on social media using the hashtag #BunBeanieInspiration.
- Step 3: Tag us (@bunbeanies) in your post so that we can easily find and admire your creation.
We can’t wait to see what you come up with! Your creativity may inspire someone else to try knitting their own bun beanie or spark new ideas for future bun beanie patterns. Let’s build a community where we share our love for knitting and inspire each other to create beautiful and cozy accessories.
If you’re not on social media, don’t worry! You can still share your creations by emailing us at [email protected]. We will showcase some of our favorite bun beanie creations on our website and social media platforms to inspire others.
Happy knitting and happy sharing! We can’t wait to see your amazing bun beanie creations!