Cozy Homespun: A Unique Loom Knit Blanket Pattern

If you’re a fan of knitting, you know how relaxing and satisfying it can be to create beautiful and cozy items with your own two hands. One popular project that many knitters enjoy is making blankets. But if you’re looking for a new and different way to create a blanket, then loom knitting might be just what you’re looking for.
Loom knitting is a technique that involves using a specialized round or rectangular loom instead of traditional knitting needles. This method is perfect for those who may have difficulty with traditional knitting needles or who simply prefer a different way of knitting. With a loom, you can create a wide variety of stitches and patterns, including beautiful blankets.
In this article, we will explore a loom knit blanket pattern that is perfect for both beginners and experienced loom knitters. With this pattern, you can create a warm and cozy blanket that is perfect for snuggling up on chilly nights or adding a pop of color to your home decor. So grab your loom and yarn, and let’s get started on creating your very own loom knit blanket!
Overview of loom knitting
Loom knitting is a popular technique for creating knitted items without the use of traditional knitting needles. Instead, a loom or knitting board is used, which is a series of pegs or hooks that hold the yarn in place. This method of knitting is great for beginners or those who struggle with traditional knitting techniques, as it is easier to learn and creates consistent stitches.
One of the advantages of loom knitting is its versatility. Looms are available in a variety of sizes, allowing you to create items of different widths and lengths. From hats and scarves to blankets and socks, the possibilities are endless. Loom knitting can also be used to create intricate designs and patterns, using different colored yarns and stitch combinations.
Getting started with loom knitting:
- Choose the right loom: There are different types and sizes of looms available, so choose one that suits your project.
- Select your yarn: Choose a yarn that is compatible with your loom and desired project.
- Cast on: Secure the yarn onto the loom and create a foundation row of stitches.
- Knit the rows: Use a loom hook or knitting tool to wrap the yarn around the pegs and create stitches.
- Finish off: Once you have completed the desired number of rows, cast off and secure the ends of the yarn.
Loom knitting is not only a fun and creative hobby, but it also allows you to create beautiful and practical items. Whether you are a beginner or an experienced knitter, loom knitting is a technique worth exploring.
Benefits of loom knitting
Loom knitting is a popular craft that offers several benefits for both beginner and experienced knitters. Here are some of the advantages of loom knitting:
1. Easy to learn
One of the major benefits of loom knitting is that it is easy to learn. Unlike traditional knitting with needles, loom knitting uses a set of pegs or pins to create stitches. This makes it more accessible for beginners who may struggle with traditional knitting techniques.
2. Faster knitting
Another advantage of loom knitting is that it can be faster than traditional knitting. Looms can hold multiple stitches at once, allowing you to create larger projects in less time. This makes loom knitting a great option for those who want to finish their projects more quickly.
3. Versatility
Loom knitting offers a lot of versatility in terms of the types of projects you can create. You can make a wide variety of items such as blankets, hats, scarves, and even socks using different loom sizes and stitches. This allows you to experiment with different patterns and designs to create unique and personalized pieces.
4. Comfort and ergonomics
Loom knitting can be more comfortable and ergonomic for some people compared to traditional knitting. The loom is held in a stationary position, which can help reduce strain on the hands, wrists, and arms. This makes it an ideal option for those who may have issues with arthritis or other hand and wrist conditions.
5. Easy to correct mistakes
One of the advantages of loom knitting is that it is easier to correct mistakes compared to traditional knitting. If you make a mistake, you can simply remove the stitches from the loom and start over without having to unravel the entire project. This can save a lot of time and frustration, especially for beginners.
In conclusion, loom knitting offers many benefits, including ease of learning, faster knitting, versatility in projects, comfort and ergonomics, and easy mistake correction. Whether you are a beginner or an experienced knitter, loom knitting can be a fun and rewarding craft to explore.
Choosing the right loom
When it comes to loom knitting blankets, choosing the right loom is essential to achieving the desired results. There are several factors to consider when selecting a loom for your project.
Size and Shape
The size and shape of the loom will determine the dimensions and design of the blanket. For larger blankets, a loom with a wider width is preferable. The length of the loom will determine the width of the blanket. Additionally, the shape of the loom can vary, with rectangular, round, and oval options available. Consider the desired size and shape of your blanket before choosing the appropriate loom.
Gauge
The gauge of the loom refers to the number of pegs per inch. A loom with a smaller gauge will result in a tighter weave, while a loom with a larger gauge will create a more open and loosely knit fabric. Consider the stitch pattern and yarn weight you plan to use for your blanket when selecting the loom gauge. A loom with a gauge of 1/4 inch is often recommended for blankets.
Material
The material of the loom can also affect the final outcome of the blanket. Looms can be made from various materials, including plastic, wood, and metal. Plastic looms are lightweight and affordable, making them a popular choice for beginners. Wood looms are durable and provide a smooth knitting experience. Metal looms offer a sturdy construction and are often preferred by more experienced knitters. Consider the advantages and disadvantages of each material before making your choice.
Additional Features
Some looms may come with additional features that can enhance the knitting process and make it easier to create complex patterns. These can include adjustable pegs, multiple gauges, and extended sizes. Consider whether these features would be beneficial for your specific project and choose a loom that meets your requirements.
By considering the size and shape, gauge, material, and additional features of a loom, you can choose the right tool for your loom knit blanket project. Remember to take into account your own skill level and comfort with different loom types to ensure a successful and enjoyable knitting experience.
Selecting yarn for the blanket
When it comes to making a loom knit blanket, selecting the right yarn is an important decision. The type of yarn you choose can greatly affect the overall look and feel of the finished blanket. It’s important to consider factors such as fiber content, weight, and texture.
Fiber Content: There are many different types of yarn available, each with its own unique characteristics. Common options for blankets include acrylic, cotton, and wool. Acrylic yarn is often a popular choice due to its affordability and easy care. Cotton yarn is lightweight and breathable, making it a great option for warmer climates. Wool yarn provides warmth and insulation, making it ideal for colder climates.
Weight: The weight of the yarn refers to its thickness. It’s important to choose a yarn weight that is suitable for the loom you are using and the desired final outcome of the blanket. Bulky weight yarn is commonly used for blankets as it creates a cozy and chunky texture. However, if you prefer a lighter and more delicate blanket, you may want to consider using a lighter weight yarn.
Texture: The texture of the yarn can also impact the look and feel of the blanket. Some yarns have a smooth and sleek finish, while others have a more textured or fuzzy appearance. Consider the desired texture of your blanket and choose a yarn that complements your vision. One option could be a soft and fluffy yarn for a cozy and cuddly blanket, or a smooth and sleek yarn for a more sophisticated look.
Ultimately, the choice of yarn for your loom knit blanket is a personal preference. Take into account factors such as fiber content, weight, and texture to select a yarn that will result in the desired look and feel of your finished blanket.
Understanding the basic stitches
When it comes to loom knitting, understanding the basic stitches is essential. These stitches form the foundation of any loom knitting project and knowing how to work them correctly is the key to creating beautiful and well-made items.
Knit stitch: The knit stitch is the most basic stitch in loom knitting. It is a tight stitch that creates a neat and sturdy fabric. To work the knit stitch, simply wrap the yarn around the peg in a clockwise direction, then use a hook to lift the bottom loop over the top loop and off the peg.
Purl stitch: The purl stitch is the opposite of the knit stitch and creates a bumpy texture. To work the purl stitch, wrap the yarn around the peg in a counterclockwise direction, then use a hook to lift the bottom loop over the top loop and off the peg.
Flat stitch: The flat stitch is similar to the purl stitch, but instead of wrapping the yarn around the peg, it is placed behind the peg. This stitch is often used to create ribbing or to add texture to a project.
U-wrap stitch: The u-wrap stitch is a variation of the knit stitch. Instead of wrapping the yarn around the peg in a clockwise direction, it is wrapped in a U-shape. This stitch creates a looser fabric and is often used for items that require more stretch, such as hats or socks.
Slip stitch: The slip stitch is used to move stitches from one peg to another without knitting or purling them. It can be used to create decorative effects or to decrease the number of stitches in a project.
Cable stitch: The cable stitch is a more advanced stitch that creates a twisted effect in the fabric. It involves crossing stitches over each other to create a cable-like pattern. This stitch is often used in projects like scarves and blankets to add interest and depth.
These are just a few of the basic stitches in loom knitting. By mastering these stitches, you will be well-equipped to tackle a wide variety of loom knitting patterns and create beautiful and unique projects.
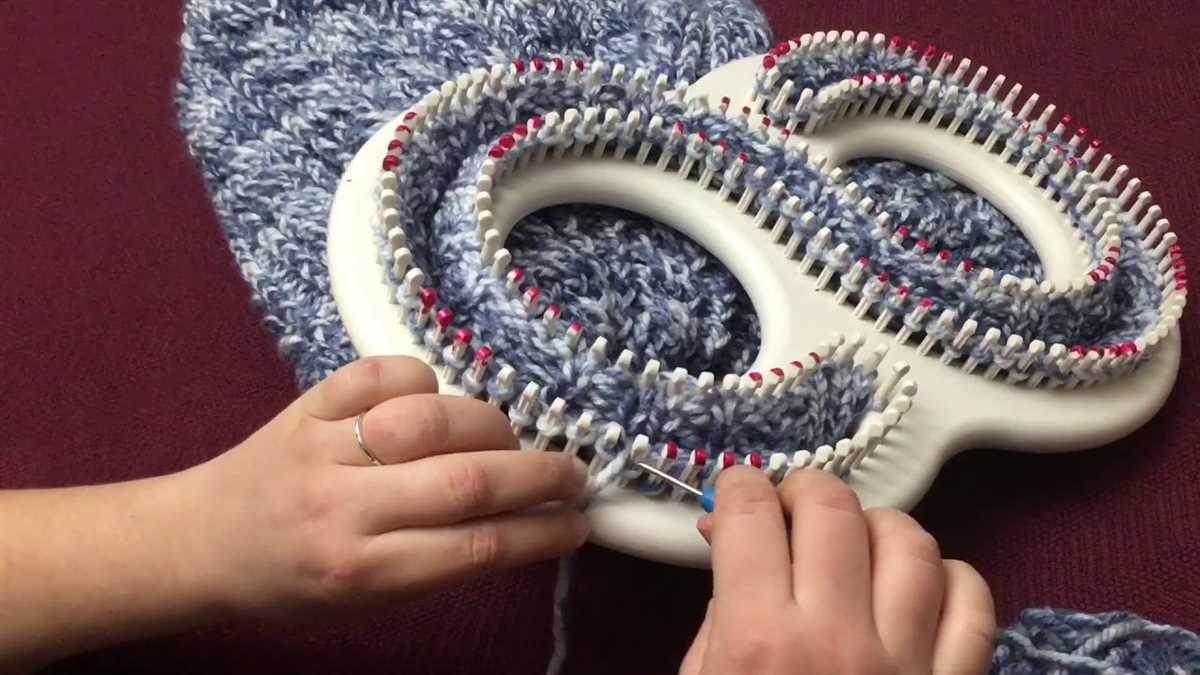
Casting on and starting the blanket
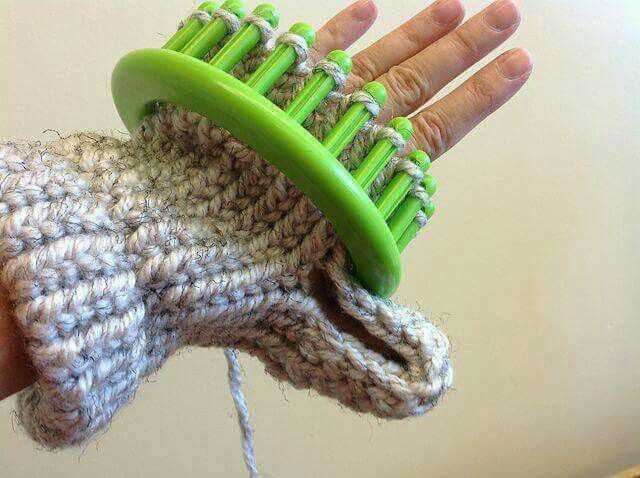
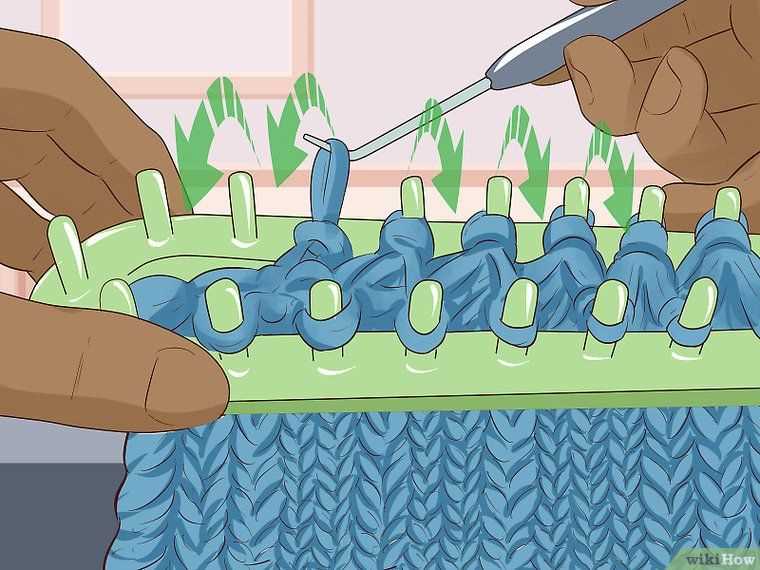
When it comes to creating a loom knit blanket, the first step is casting on. This is the process of setting up the initial stitches on the loom to create the foundation of your blanket. To cast on, begin by tying a slip knot at the end of your yarn and placing it on the peg of the loom. Then, wrap the yarn around the next peg in a clockwise direction, continuing to wrap each peg until you reach the desired number of stitches for your blanket. Ensure that the tension is even and the stitches are not too tight or too loose.
Once you have cast on all the stitches, it’s time to start knitting the blanket. To knit on a loom, you will use a tool called a loom hook or knitting hook. Insert the hook under the first loop of yarn on the first peg, then lift the loop over the peg and off the loom. Repeat this process for each peg until you have completed one row. Then, push the knitted stitches down to the bottom of the pegs and begin the next row by wrapping the yarn around the pegs again and repeating the knitting process.
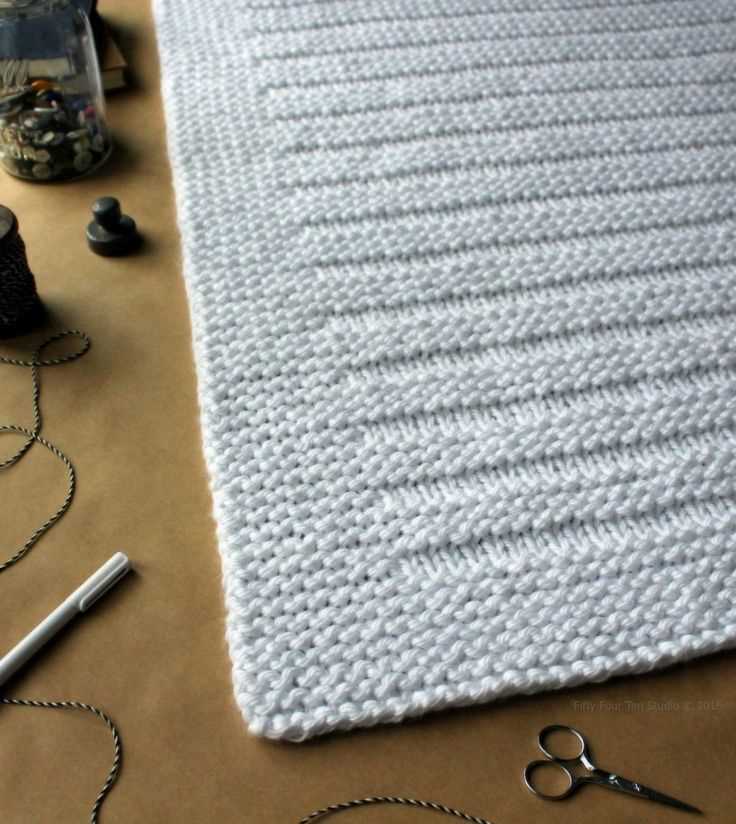
To create different patterns and textures in your loom knit blanket, you can experiment with different stitch patterns. Some popular stitch patterns for blankets include the garter stitch, where you simply knit every row, and the seed stitch, where you alternate between knit and purl stitches. You can also incorporate different colors or yarn weights to add visual interest to your blanket.
As you continue knitting, be mindful of the size and length of your blanket. You can easily adjust the size by adding or subtracting stitches at the beginning of each row, or by changing the number of rows you knit. It’s also important to keep track of your progress by counting the number of rows you have completed, especially if you want to create a symmetrical design or stripe pattern.
With these basic steps and techniques, you can confidently cast on and start knitting your own loom knit blanket. Whether you’re a beginner or an experienced loom knitter, the possibilities for creating a beautiful and cozy blanket are endless.
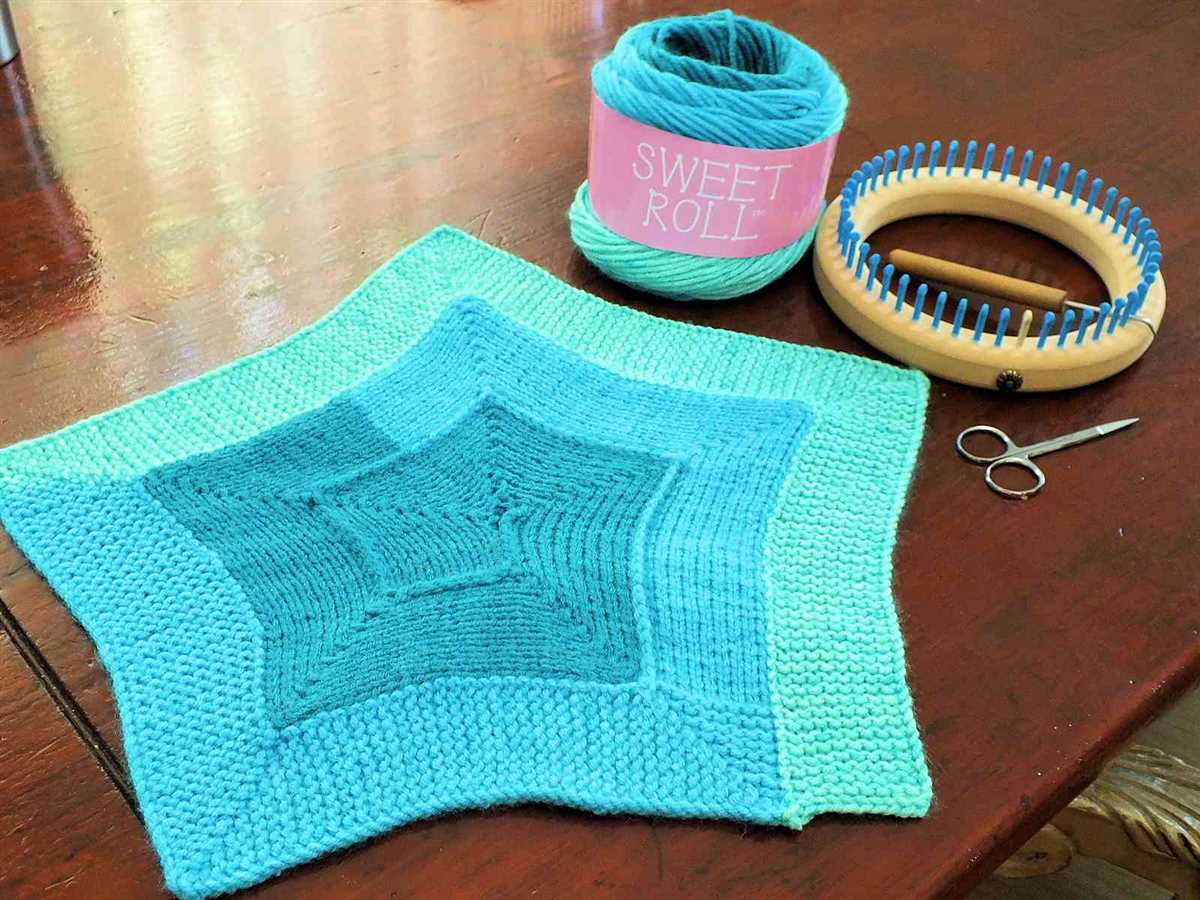
Creating the pattern and design
When it comes to creating a loom knit blanket pattern, there are a few key factors to consider. The first step is to decide on the size and shape of the blanket. This will depend on whether you want to make a small lap blanket or a larger bed-sized blanket. Once you have determined the dimensions, you can move on to the design.
In terms of design, there are numerous options to choose from. You may opt for a simple solid color blanket, or you can get creative with stripes, chevron patterns, or even intricate cable designs. It’s important to keep in mind that certain patterns may be more difficult to achieve on a loom, so it’s essential to choose a pattern that is suitable for loom knitting.
Materials:
- Loom knitting loom
- Yarn in your desired colors
- Loom knitting hook
- Yarn needle
- Scissors
Step-by-step instructions:
- Begin by casting on your desired number of stitches on the loom. This will depend on the size of your blanket and the desired stitch pattern.
- Start knitting the first row using the desired stitch pattern. This could be a simple garter stitch, a ribbed stitch, or any other pattern you choose.
- Continue knitting each row, following the pattern and changing colors as desired. Make sure to leave a long enough tail when changing colors to weave in later.
- Once you have reached the desired length for your blanket, bind off the stitches using the loom knitting hook.
- Weave in any remaining loose ends using the yarn needle.
- Your loom knit blanket is now complete and ready to be enjoyed!
Creating a loom knit blanket pattern allows you to customize the size, design, and color scheme to perfectly match your preferences. Whether you’re a beginner or an experienced loom knitter, this project is a great way to practice your skills and create a cozy and unique blanket.
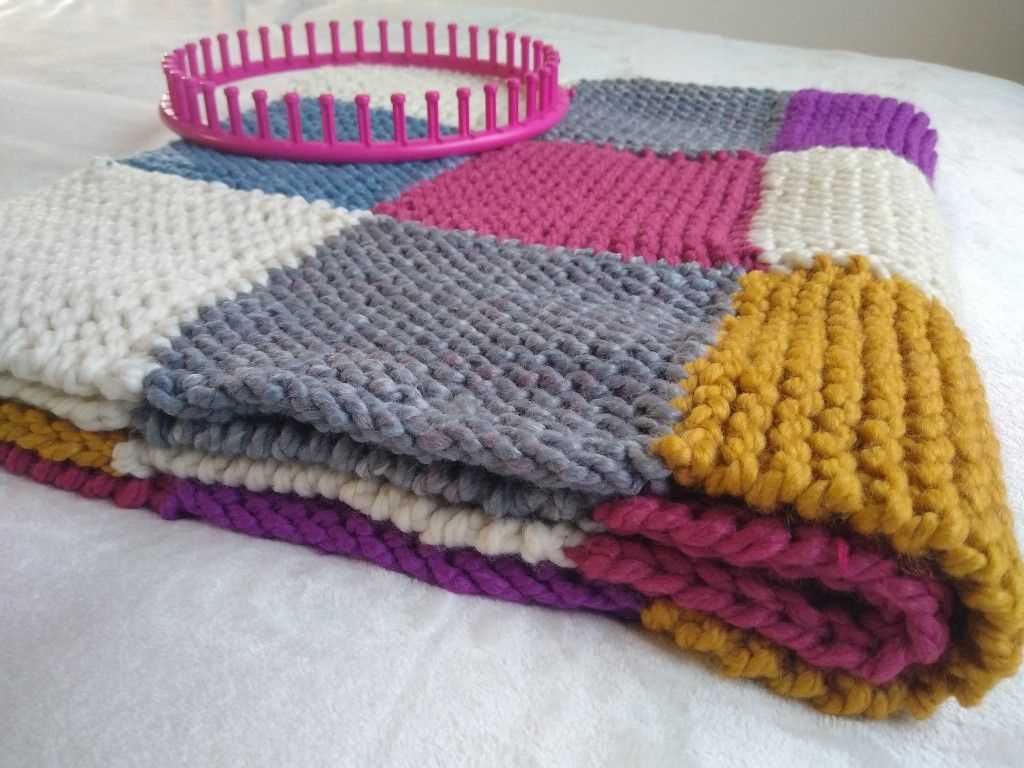
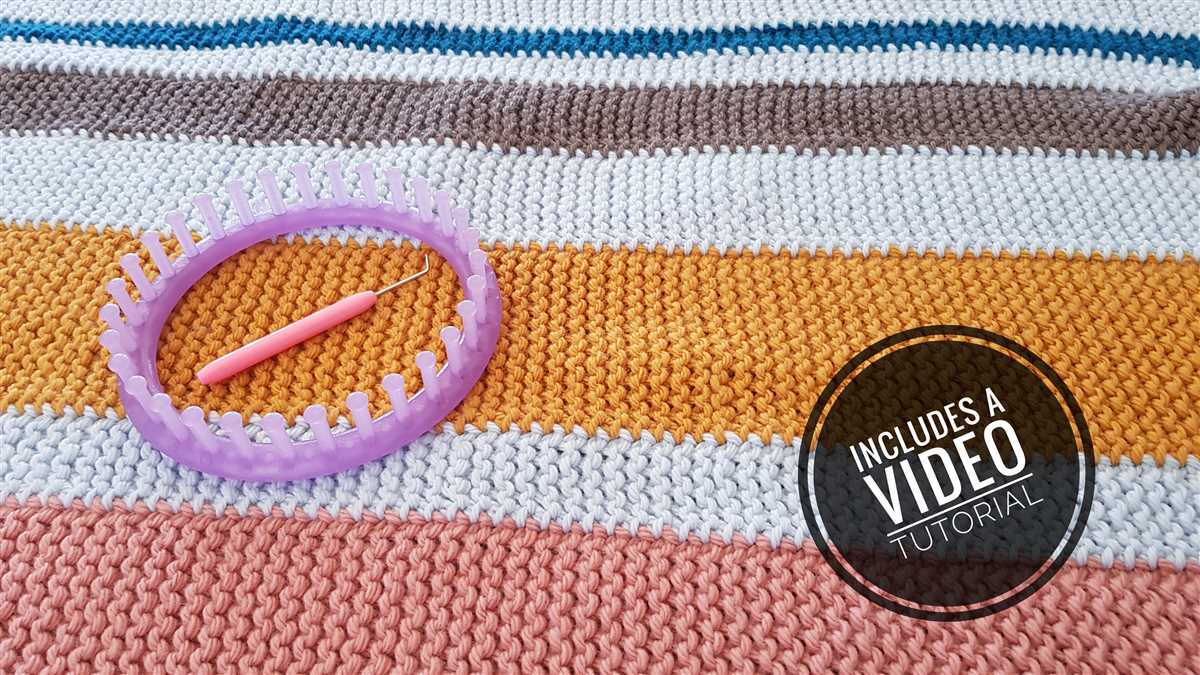
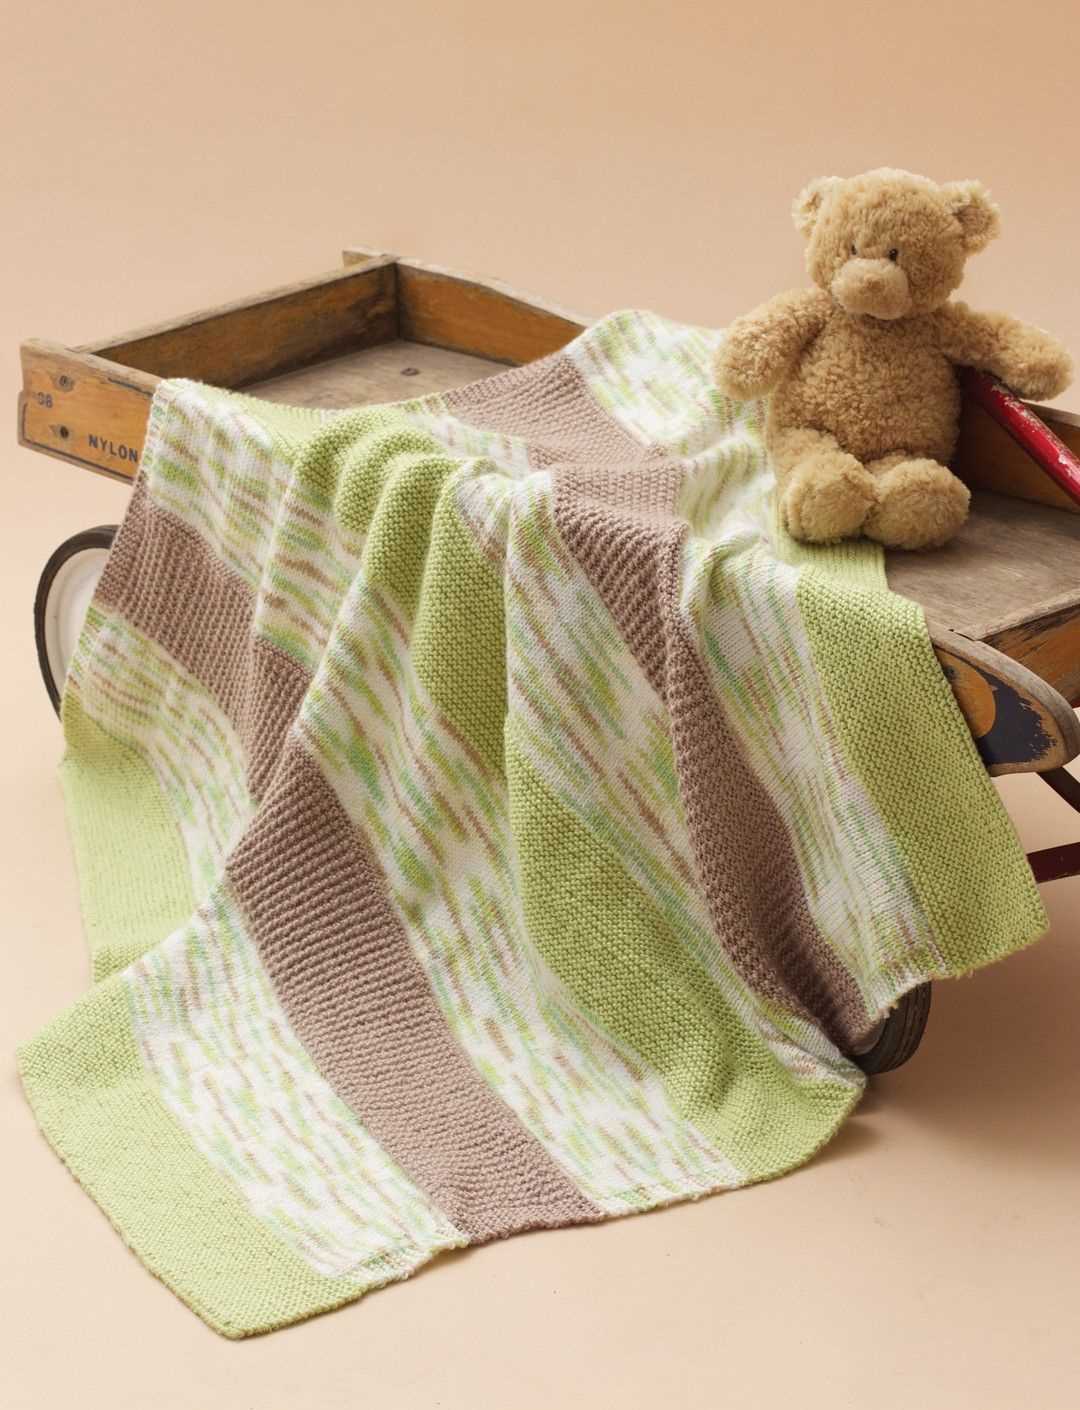
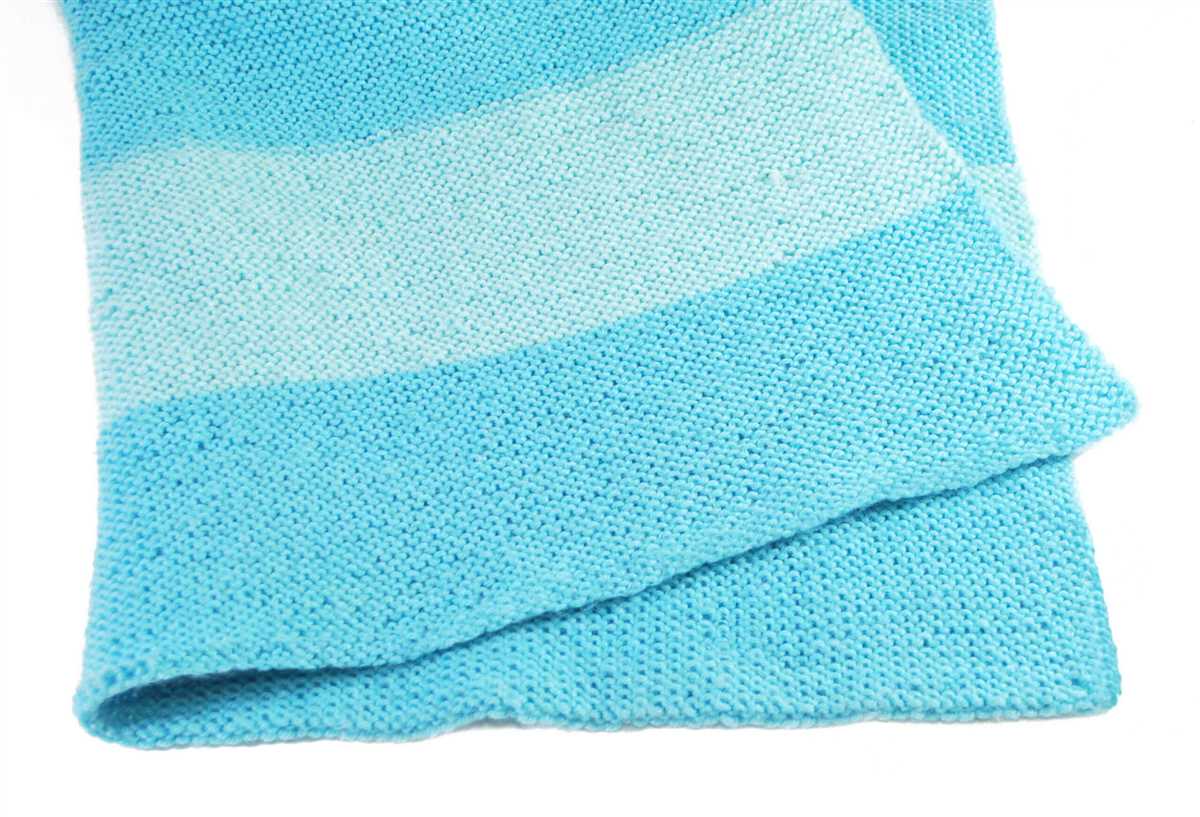
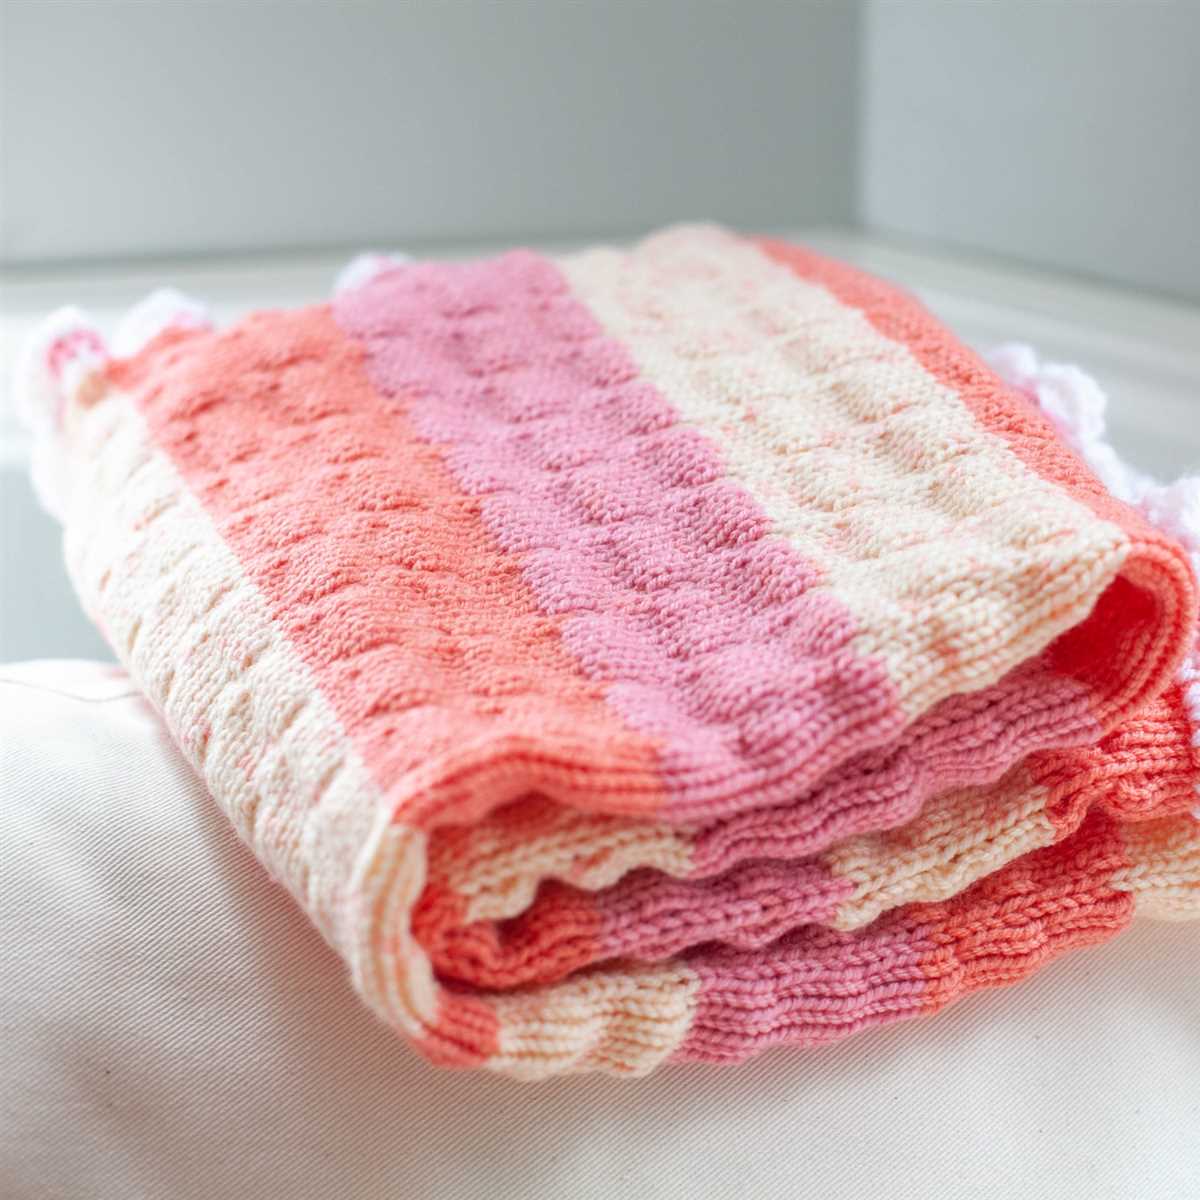
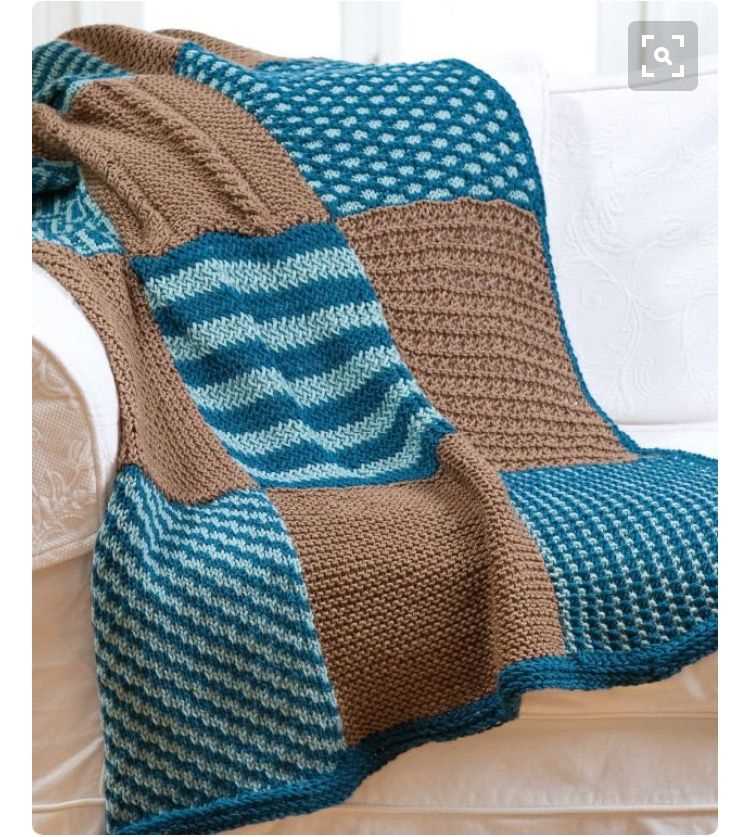
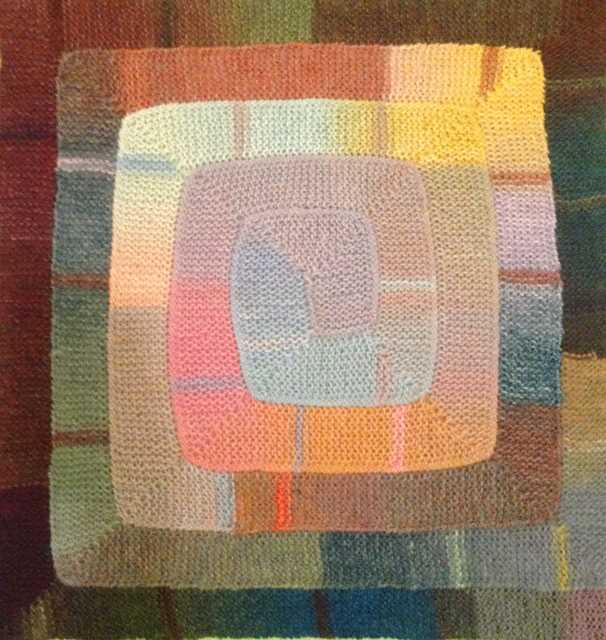
Changing colors and adding texture
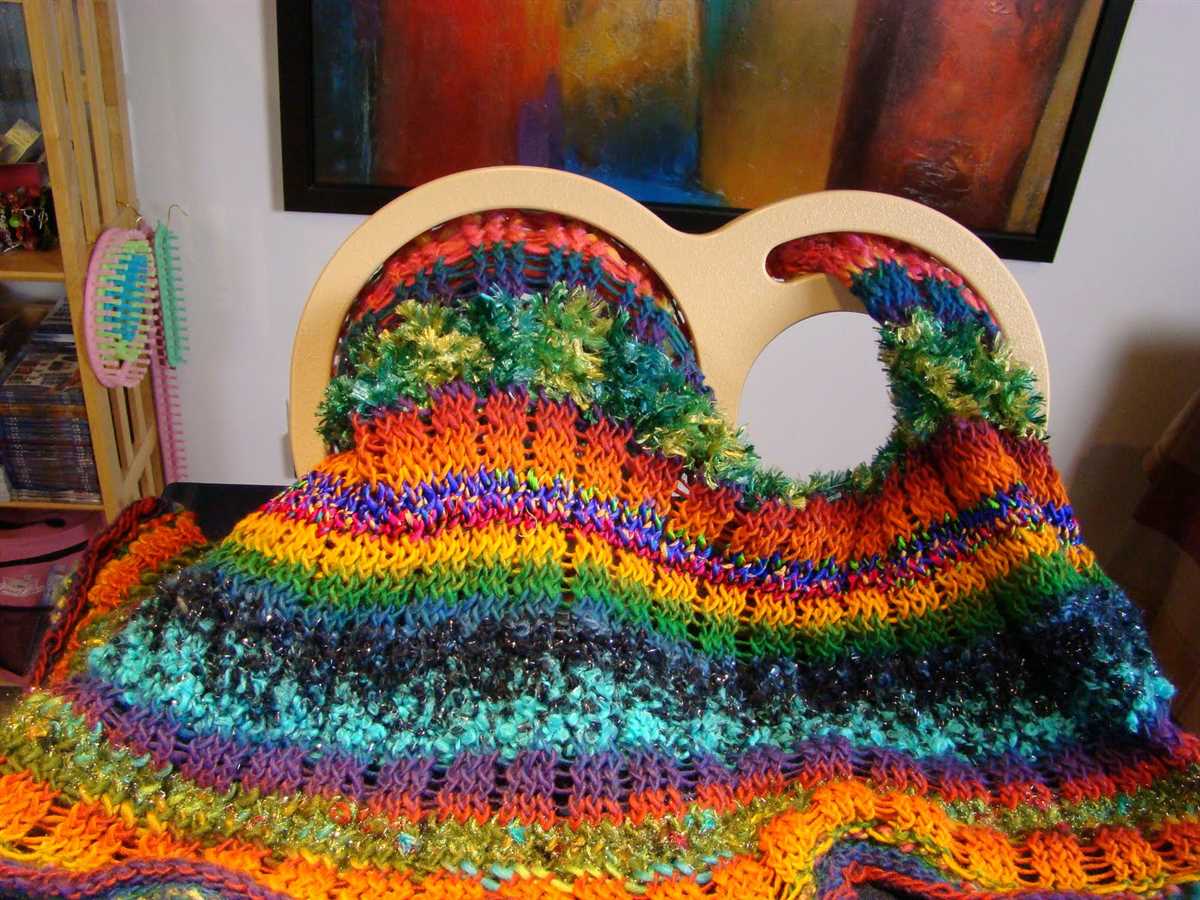
When creating a loom knit blanket, one of the most exciting aspects is the ability to change colors and add texture to your project. By using different colored yarns, you can create beautiful patterns and designs that truly make your blanket stand out. Whether you choose to create a striped pattern, a geometric design, or even a personalized picture, the possibilities are endless when it comes to incorporating different colors into your blanket.
Adding texture to your loom knit blanket can provide an extra layer of visual interest and tactile experience. You can achieve texture by using different stitch techniques, such as the cable stitch or the popcorn stitch. These stitches create raised patterns on the surface of the blanket, giving it a unique and textured look. You can also experiment with different yarn weights and textures, such as using a bulky yarn for a chunky and cozy blanket or incorporating fuzzy yarns for a soft and fluffy texture.
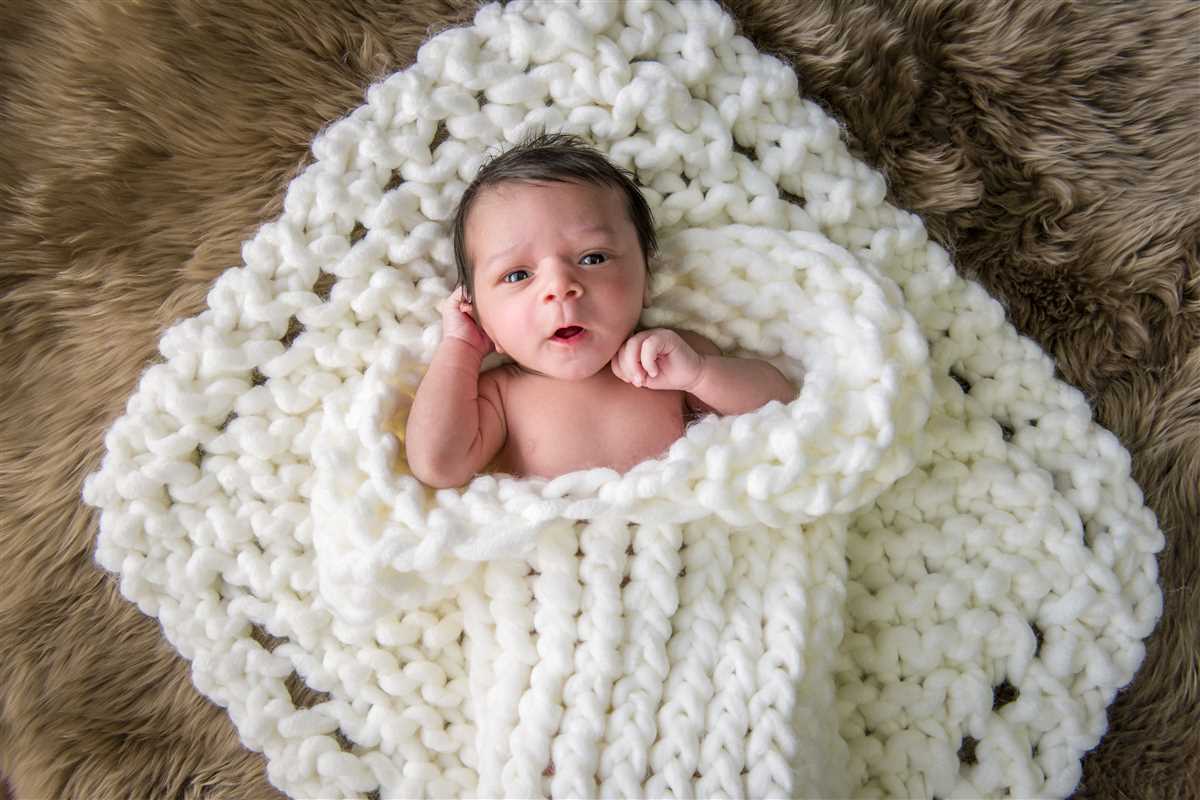
When changing colors and adding texture to your loom knit blanket, it’s important to consider the overall aesthetic you want to achieve. Think about the color palette you want to use and how the different colors will complement each other. Additionally, consider the purpose of the blanket – is it for a baby, as a decorative throw, or for everyday use? These factors will help guide your color choices and texture decisions.
A helpful tip when changing colors is to join the new color yarn at the beginning of the row to create a seamless transition. This can be done by simply knotting the old and new yarns together and continuing the pattern with the new color. If you prefer a cleaner look, you can also weave in the loose ends of the yarn as you go.
Incorporating different colors and textures into your loom knit blanket can be a fun and creative process. It allows you to customize your project and make it truly unique. So don’t be afraid to experiment, have fun, and let your creative juices flow!
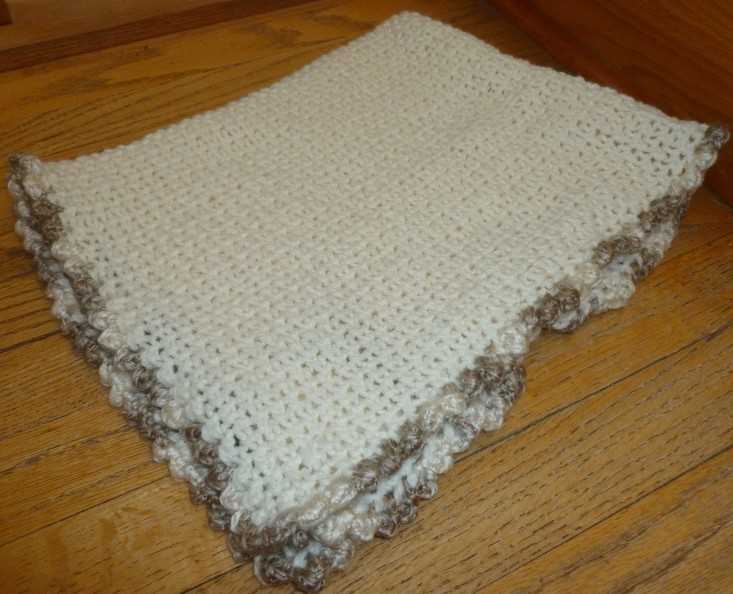
Finishing off the blanket
Once you have completed all the rows of your loom knit blanket, it’s time to finish it off to give it a polished look. There are a few different techniques you can use to finish off the edges of your blanket, depending on the look you want to achieve and your skill level.
1. Binding off
One common method for finishing off the blanket is to bind off the stitches. This involves knitting two stitches, then pulling the first stitch over the second stitch and off the loom. Repeat this process until you have one stitch left, then cut the working yarn, leaving a long tail. Thread the tail through the last stitch and pull tight to secure. This will create a neat edge along the top of your blanket.
2. Fringe
If you want to add some decorative flair to your blanket, you can add fringe to the edges. To do this, cut several strands of yarn that are twice the desired length of your fringe. Fold each strand in half and use a crochet hook to pull the folded end through a stitch along the edge of your blanket. Pull the loose ends of the strand through the folded end to create a loop, then tighten to secure. Repeat this process along the entire edge of your blanket, spacing the fringes evenly.
3. Crocheted border
If you have basic crochet skills, you can add a crocheted border to your blanket for a more finished look. Start by creating a slip knot on your crochet hook and then insert the hook into a stitch along the edge of your blanket. Yarn over and pull through the stitch, then yarn over again and pull through both loops on the hook. Continue this process, working single crochet stitches along the edge of your blanket. You can experiment with different crochet stitches and patterns to create a unique border.
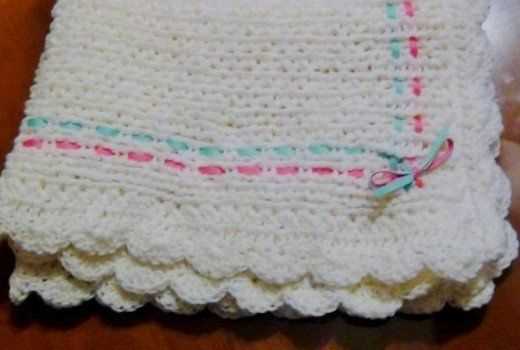
Adding decorative elements
When creating a loom knit blanket, adding decorative elements can elevate the overall look and make it more visually appealing. There are several ways to incorporate decorative elements into your blanket, ranging from simple stitches to more complex patterns.
1. Stripes and color blocks: One way to add decorative elements is by incorporating stripes or color blocks into your blanket. You can use different colored yarns or even experiment with variegated yarn to create interesting patterns and visual interest. This simple technique can transform an ordinary blanket into a stunning piece.
2. Lace stitches: Another way to add decorative elements is by using lace stitches. These intricate patterns create a delicate and feminine look and can be achieved by using specific knitting techniques. Lace stitches can be added to certain sections of the blanket or used throughout for a more intricate design.
3. Cables: For a more textured look, incorporating cables into your loom knit blanket can add depth and visual interest. Cables are created by crossing stitches over each other, creating a braided effect. This technique adds dimension and can create a cozy and warm look to your blanket.
4. Embellishments: If you want to take your decorative elements to the next level, consider adding embellishments to your loom knit blanket. This can include items such as buttons, bows, pom-poms, or even embroidery. These elements can be strategically placed to create a unique and personalized touch to your blanket.
Remember, when adding decorative elements to your loom knit blanket, it’s important to consider the overall design and ensure that the elements complement each other. Whether you choose to incorporate simple stripes or intricate lace stitches, adding these decorative elements can turn your blanket into a one-of-a-kind creation.
Care Instructions for the Finished Blanket
After completing your loom knit blanket, it’s important to properly care for it to ensure its longevity and to keep it looking its best. Follow these care instructions to maintain your blanket’s quality:
1. Washing Instructions:
- Machine wash on a gentle cycle using cold water.
- Use a mild detergent that is suitable for delicate fabrics.
- Avoid using bleach or harsh chemicals that can damage the fibers.
- Do not wring, twist, or rub the blanket vigorously.
- Instead, gently squeeze out excess water and lay it flat to dry.
2. Drying Instructions:
- Avoid using a dryer, as the heat can cause the blanket to shrink or lose its shape.
- Instead, hang the blanket to air dry or lay it flat on a clean, dry surface.
- Ensure that the blanket is completely dry before storing or using it again to prevent mold or mildew growth.
3. Storage Instructions:
- Before storing the blanket, make sure it is clean and completely dry to prevent odor or damage.
- Fold the blanket neatly and store it in a cool, dry place away from direct sunlight.
- Avoid storing the blanket in plastic bags or containers, as it needs to breathe.
- If possible, wrap the blanket in a clean cotton or linen fabric to protect it from dust.
By following these care instructions, you can ensure that your loom knit blanket stays beautiful and cozy for years to come. Enjoy the warmth and comfort it provides!
Q&A:
What is a loom knit blanket pattern?
A loom knit blanket pattern is a set of instructions or a template that guides you in creating a blanket using a knitting loom. It includes step-by-step instructions on how to cast on, knit, and bind off stitches to create a specific design or pattern.
How do I choose a loom knit blanket pattern?
When choosing a loom knit blanket pattern, consider the size of the blanket you want to make, the level of difficulty you’re comfortable with, and the design or pattern you prefer. Look for patterns that include clear instructions and visuals to help you along the way.
Can I use any loom for a knit blanket pattern?
Most loom knit blanket patterns are designed for specific loom sizes, such as round or rectangular looms. It’s important to choose a loom that matches the size and gauge specified in the pattern to ensure your blanket turns out the right size and has the desired texture.
Are loom knit blanket patterns suitable for beginners?
Loom knit blanket patterns can vary in difficulty, but there are many patterns available that are suitable for beginners. Look for patterns labeled as “beginner-friendly” or those with simple stitch patterns and clear instructions. Start with smaller projects and gradually work your way up to more complex designs.
Where can I find loom knit blanket patterns?
Loom knit blanket patterns can be found in knitting books, online knitting communities, and on various crafting websites. There are also specific loom knitting pattern books available that focus solely on blanket designs. Additionally, you can find free patterns on blogs or video tutorials on platforms like YouTube.
What is a loom knit blanket pattern?
A loom knit blanket pattern is a set of instructions that guides you on how to knit a blanket using a loom. It usually includes the type of loom, the yarn and needles, and the step-by-step process to create the blanket.
Can beginners use a loom knit blanket pattern?
Yes, beginners can definitely use a loom knit blanket pattern. Loom knitting is a great option for beginners as it is easier and less complicated than traditional knitting. The patterns usually provide detailed instructions and illustrations to make it easier for beginners to follow along.