Knit a Buzzworthy Bumble Bee Hat with this Pattern

If you’re looking for a fun and cute knitting project, look no further than the bumble bee hat knitting pattern. This adorable hat is perfect for keeping little ones warm and stylish during the colder months.
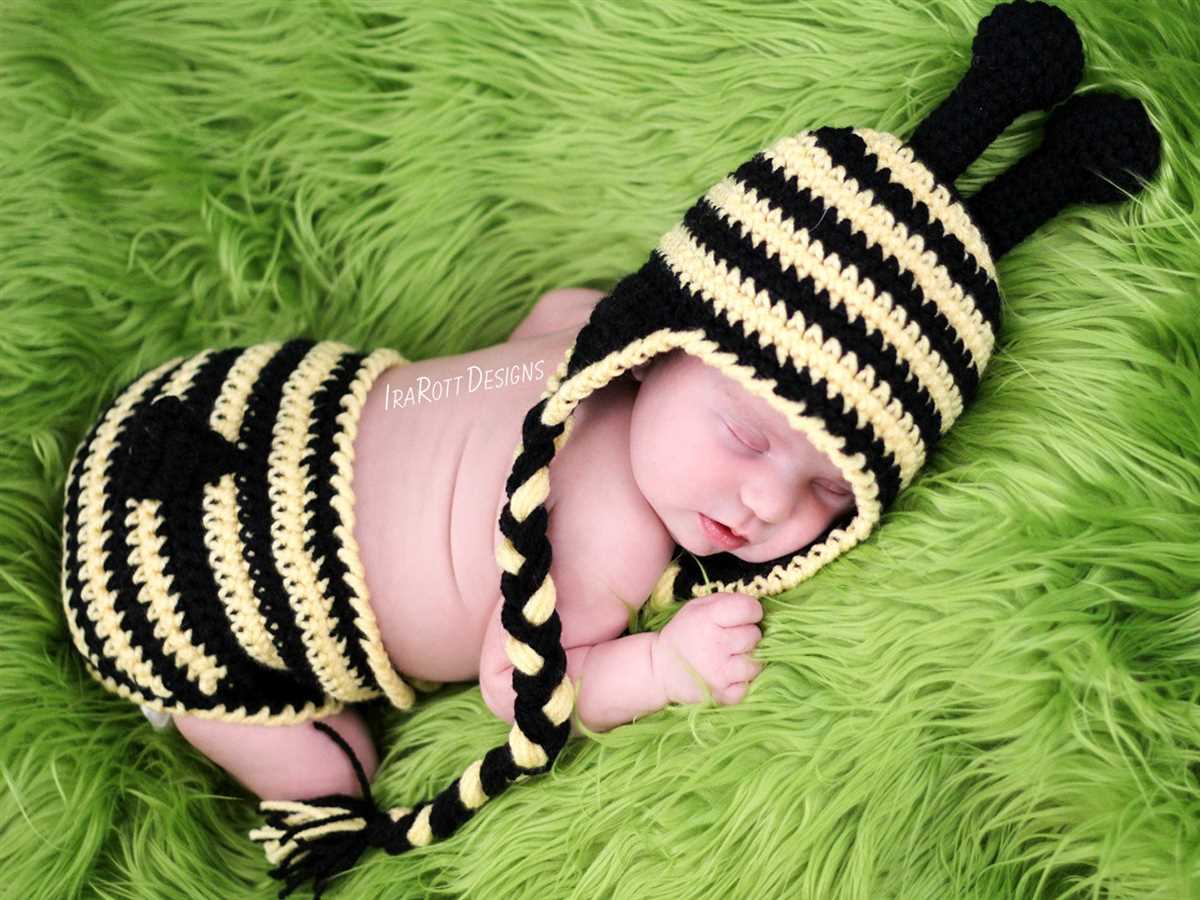
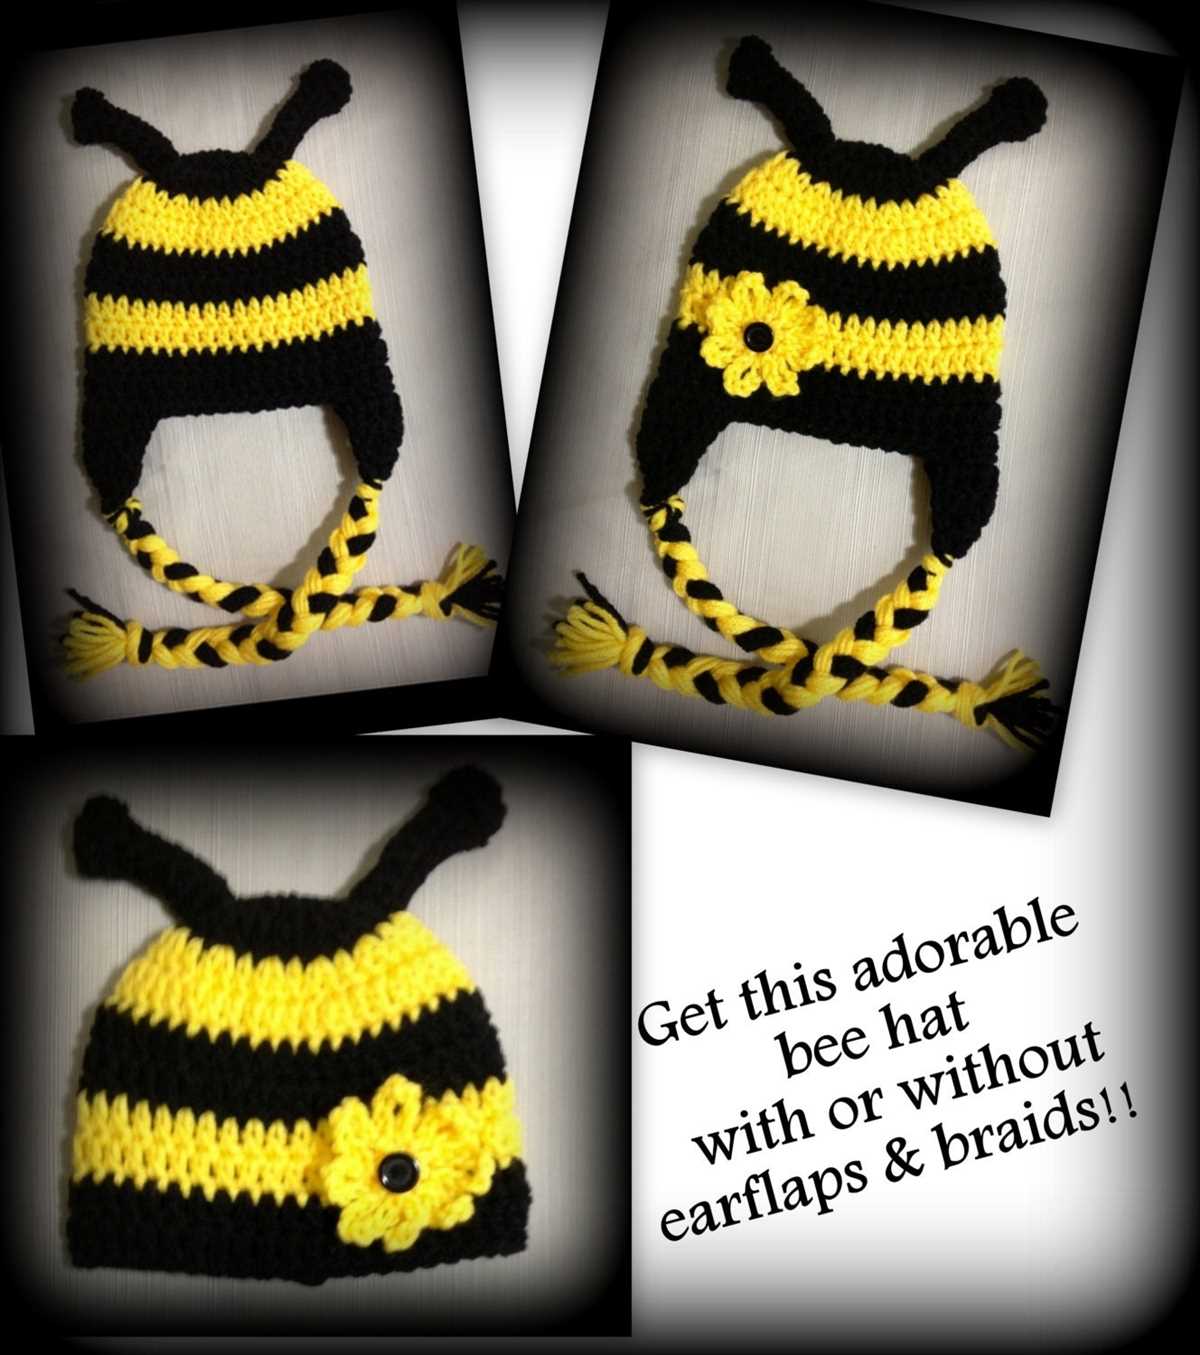
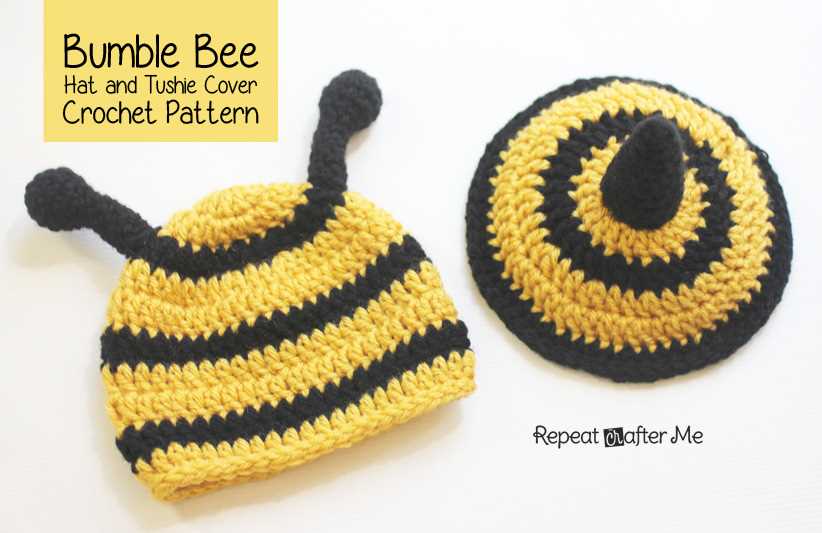
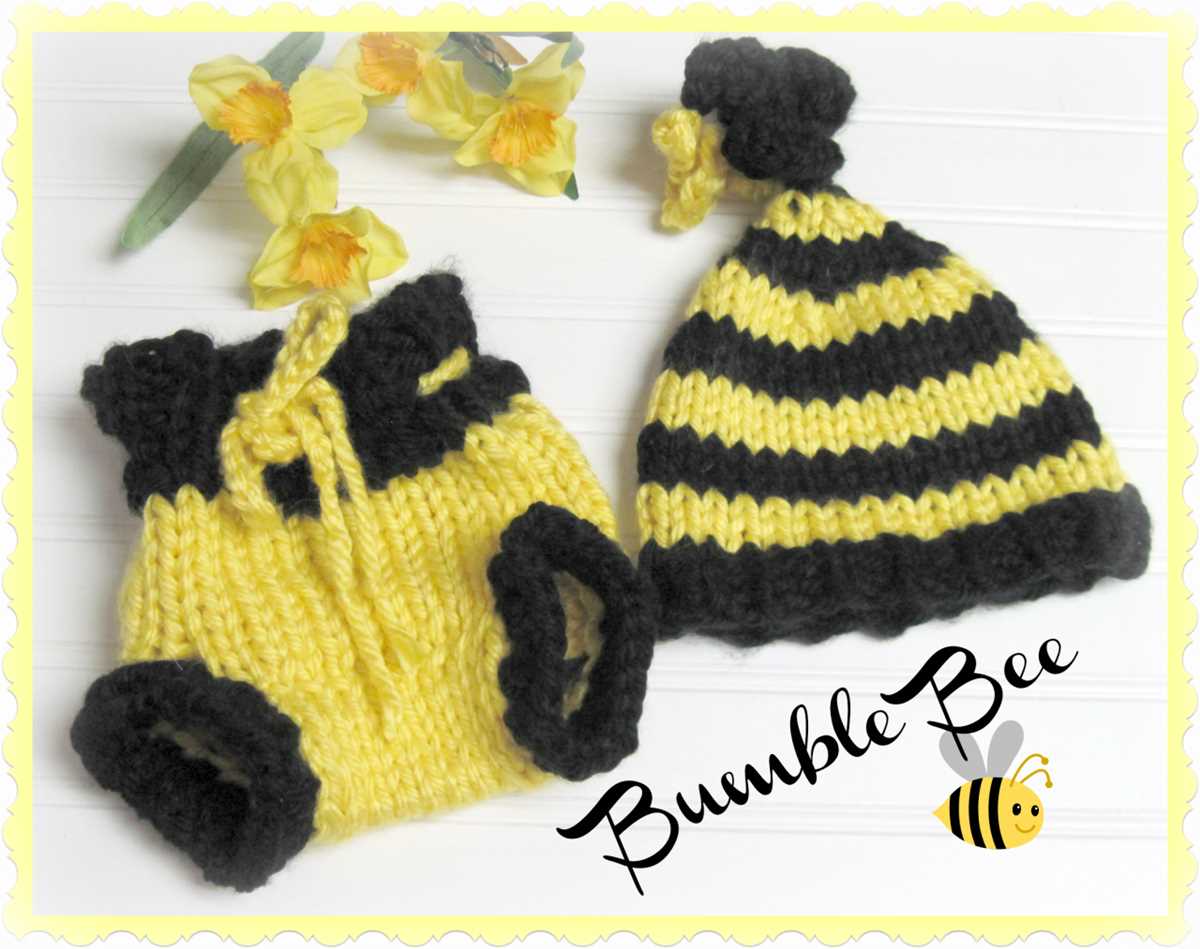
Made with super soft and cozy yarn, this hat features a lovely black and yellow striped design, just like a real bumble bee. The pattern is easy to follow, making it suitable for knitters of all skill levels.
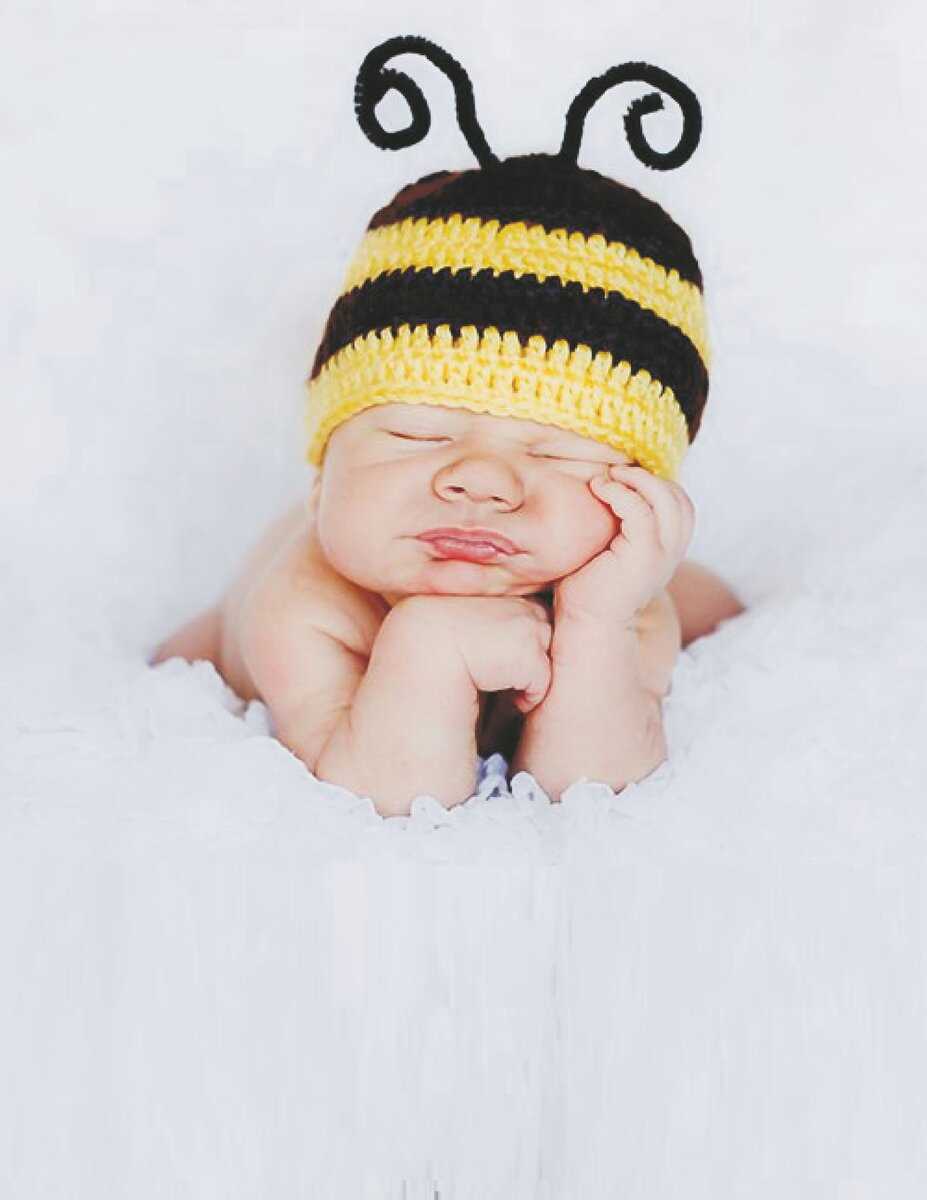
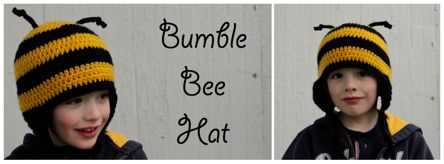
Not only is this bumble bee hat cute, but it’s also functional. The snug fit ensures that it will stay put on your little one’s head, while the soft yarn provides warmth and comfort. The bee-inspired design will surely make your little one the talk of the town.
With the bumble bee hat knitting pattern, you can create a one-of-a-kind accessory that will keep your little one warm and stylish. Whether you’re a seasoned knitter or just starting out, this pattern is sure to bring a smile to your face as you see your little one buzzing around in their new favorite hat.
Materials
When knitting a bumble bee hat, you will need a few essential materials to get started. Here is a list of items you will need:
- Yarn: Choose black and yellow yarn to represent the colors of a bumble bee. You will need approximately 100 grams of each color.
- Knitting needles: Use a pair of size 8 (5mm) knitting needles. These are suitable for most yarn weights.
- Tapestry needle: This is used for weaving in loose ends and sewing any required seams.
- Stitch markers: Stitch markers are handy for marking specific points in your knitting, such as the beginning of the round or pattern repeats.
- Scissors: A small pair of scissors is useful for cutting yarn and trimming any excess.
- Measuring tape: A measuring tape or ruler can help you check gauge and ensure your hat is the right size.
- Pom-pom maker (optional): If you want to add a fluffy pom-pom to the top of your bumble bee hat, a pom-pom maker can make the process easier.
With these materials in hand, you will be ready to start knitting your bumble bee hat. Make sure to have enough yarn and all the necessary tools before you begin, so you can fully enjoy the process without any interruptions.
Gauge
Gauge is an important factor in knitting patterns, as it determines the size and fit of the finished project. It refers to the number of stitches and rows per inch in a knitted fabric. To achieve the proper gauge, it is crucial to match the recommended needle size and yarn weight provided in the pattern.
Needle size: The needle size specified in the pattern indicates the size of the knitting needle needed to achieve the desired gauge. Using a different needle size may result in a different gauge, which can lead to a smaller or larger finished project. It is recommended to check your gauge before starting the project and adjust the needle size accordingly.
Yarn weight: The yarn weight specified in the pattern refers to the thickness of the yarn. Different yarn weights produce different gauge results. It is essential to use the recommended yarn weight to achieve the intended gauge. If you use a heavier or lighter yarn weight, the stitches and rows per inch may vary, affecting the size and fit of the finished project.
In order to ensure accurate gauge, it is important to make a gauge swatch before starting the project. A swatch is a small sample of knitting worked in the pattern stitch using the recommended needle size and yarn weight. It allows you to measure the stitches and rows per inch and make any necessary adjustments to achieve the correct gauge. Remember to block your swatch before measuring, as blocking can affect the final gauge. If your swatch does not match the pattern’s gauge, you may need to try a different needle size or yarn weight until you achieve the desired results.
Gauge is not only important for achieving the correct size and fit, but it also affects the overall appearance and drape of the knitted fabric. It is worth taking the time to ensure that your gauge matches the pattern’s specifications to create a beautiful and well-fitting finished project.
Size

The size of the bumble bee hat is important to ensure a proper fit. The pattern provides instructions for different sizes, allowing you to choose the size that best suits your needs.
The pattern includes sizes for infants, toddlers, children, and adults, making it versatile for the whole family. To determine the correct size, measure the circumference of the head for which the hat is intended. This can be done by wrapping a measuring tape around the widest part of the head, just above the ears. Refer to the sizing chart provided in the pattern to select the corresponding size.
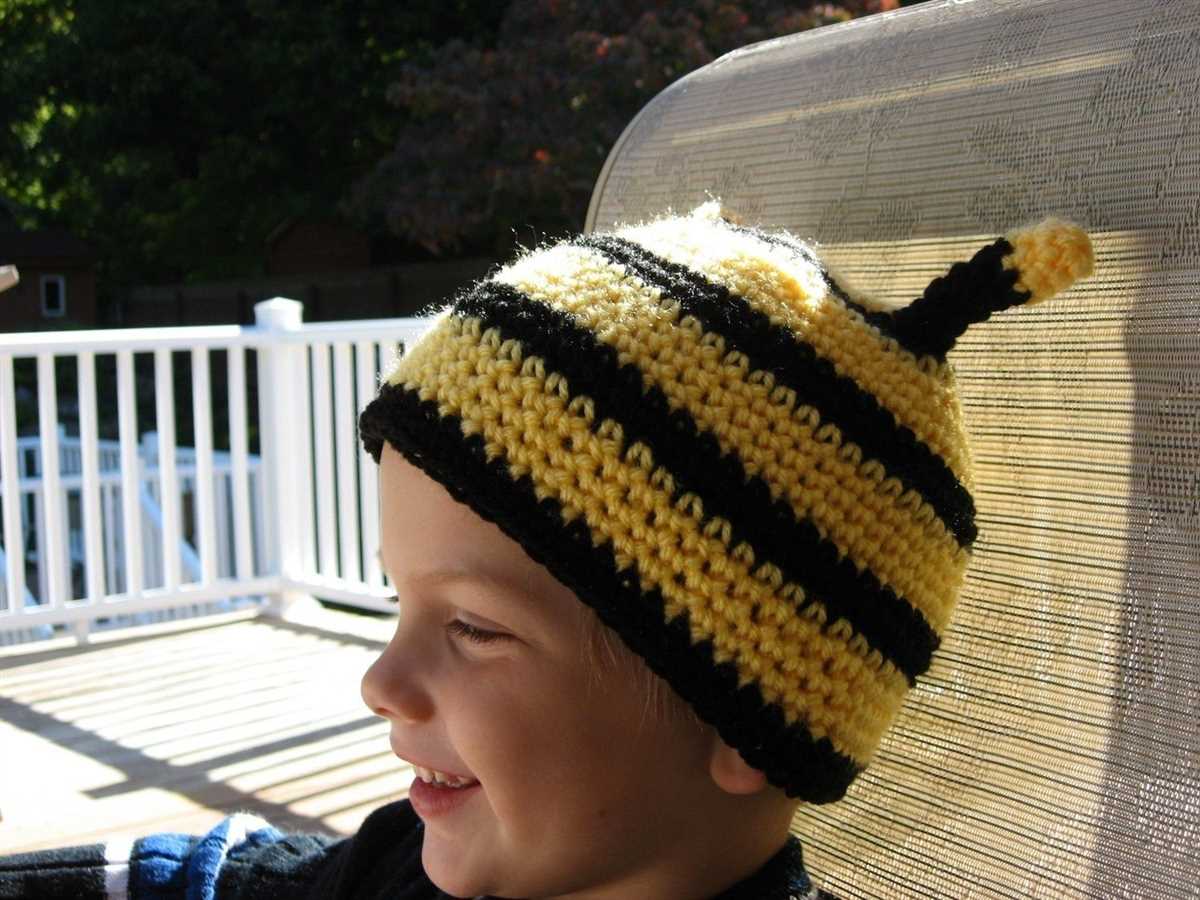
The bumble bee hat should fit snugly but comfortably on the head. The brim should sit just above the eyebrows, and the hat should cover the entire head, including the ears. If the hat feels too tight or too loose, you can adjust the size by changing the needle size or adjusting the number of stitches in the pattern.
Remember to take into account any additional ease you may prefer. Some individuals may prefer a tighter fit, while others may prefer a looser fit. It’s important to consider personal comfort and style when selecting the size for your bumble bee hat. By following the sizing instructions and making any necessary adjustments, you can ensure a hat that fits perfectly and looks adorable.
Abbreviations
In knitting patterns, there are many abbreviations used to make the instructions more concise. These abbreviations make it easier for experienced knitters to understand the pattern quickly. However, for beginners, these abbreviations can be confusing and may require some research or explanation. Here are some common abbreviations you may come across when knitting the bumble bee hat:
- K: Knit
- P: Purl
- St(s): Stitch(es)
- Rep: Repeat
- Inc: Increase
- Dec: Decrease
- K2tog: Knit two stitches together
- P2tog: Purl two stitches together
- Yo: Yarn over
These abbreviations are commonly used in knitting patterns and understanding them will make it easier for you to follow the instructions. If you come across any other abbreviations that are not listed here, refer to a knitting abbreviation guide or ask for help from experienced knitters.
Instructions
To create a bumble bee hat using this knitting pattern, follow the steps below:
Materials
- Worsted weight yarn in black and yellow
- Size US 7 (4.5mm) circular knitting needles
- Set of US 7 (4.5mm) double-pointed needles
- Tapestry needle
- Stitch markers
Step 1: Cast On
Using the black yarn and circular needles, cast on 88 stitches.
Step 2: Ribbing
Row 1: *K2, P2* – repeat this pattern across the row.
Continue working in K2, P2 ribbing for a total of 1 inch.
Step 3: Main Body
Switch to the yellow yarn.
Row 1: Knit all stitches.
Rows 2-4: *K2, P2* – repeat this pattern across the row.
Repeat Rows 1-4 for a total of 4 times.
Step 4: Decrease Rows
Switch back to the black yarn.
Start by working in the round with the double-pointed needles.
Decrease Round 1: *K2, K2tog* – repeat this pattern across the round (66 stitches remaining).
Decrease Round 2: Knit all stitches.
Decrease Round 3: *K1, K2tog* – repeat this pattern across the round (44 stitches remaining).
Decrease Round 4: Knit all stitches.
Decrease Round 5: *K1, K2tog* – repeat this pattern across the round (30 stitches remaining).
Step 5: Finish
Switch to the double-pointed needles as necessary.
Knit the remaining stitches in the round until the hat measures approximately 6 inches from the cast on edge.
Bind off all stitches, leaving a long tail for sewing.
Weave in any loose ends and sew the top of the hat closed using the tapestry needle.
The bumble bee hat is now complete and ready to be worn!
Body
The body of the bumble bee hat is knitted in a combination of stockinette stitch and ribbing. The stockinette stitch creates a smooth and even texture, while the ribbing adds elasticity and helps the hat fit snugly on the head. The body of the hat is worked in the round on circular needles, starting from the brim and working upwards towards the crown.
To begin knitting the body of the hat, cast on the required number of stitches as indicated in the pattern. Join the round, being careful not to twist the stitches, and place a stitch marker to mark the beginning of the round. Knit the first round in a rib stitch pattern, alternating between knit and purl stitches. This will create the ribbed brim of the hat.
Continue knitting the body of the hat in the stockinette stitch pattern, working all stitches in knit stitch. Knit every round until the hat reaches the desired length, as specified in the pattern. This length may vary depending on the size of the hat and the desired fit.
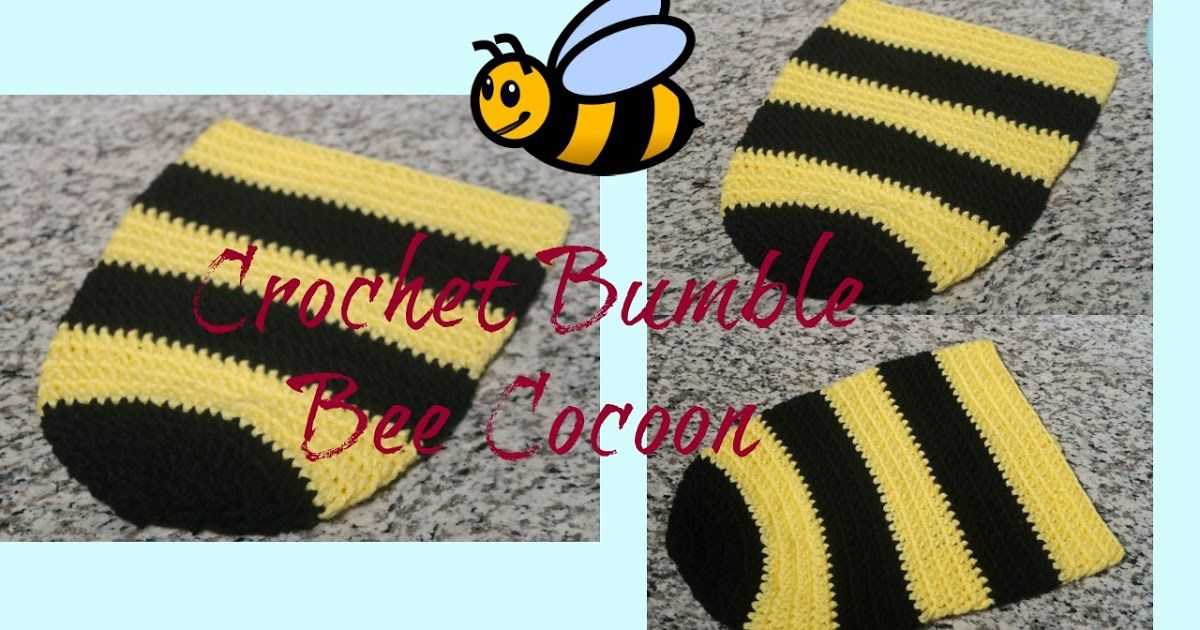
Striped Band
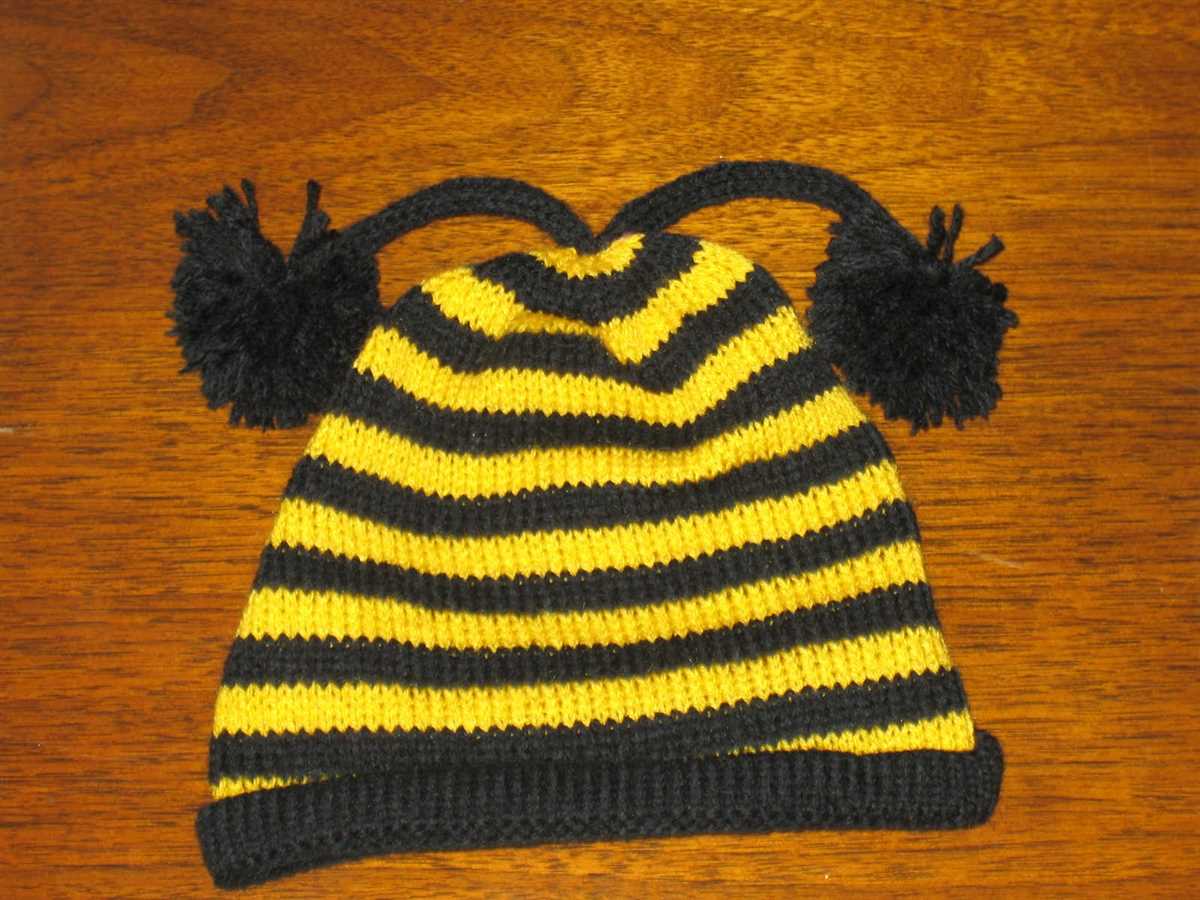
The striped band is an important part of the bumble bee hat knitting pattern. It adds a pop of color and a fun design element to the hat. To create the striped band, you will need two different colors of yarn. You can choose colors that complement each other or go for a more contrasting look.
To start the striped band, cast on the desired number of stitches using the first color of yarn. This will be the base color for the band. Then, switch to the second color of yarn and knit a row. Continue alternating between the two colors for the desired length of the band. Remember to carry the yarn not in use along the back of the work to prevent long floats.
There are several ways to create stripes in the band. You can knit each stripe in a set number of rows or you can knit a set number of stitches with each color before switching. You can also play around with different widths and patterns for the stripes.
The striped band is a great opportunity to get creative and add your own personal touch to the bumble bee hat. You can experiment with different color combinations and stripe patterns to make each hat unique. Have fun with it and enjoy the process of creating a stylish and fun accessory!
Bumble Bee Embellishments
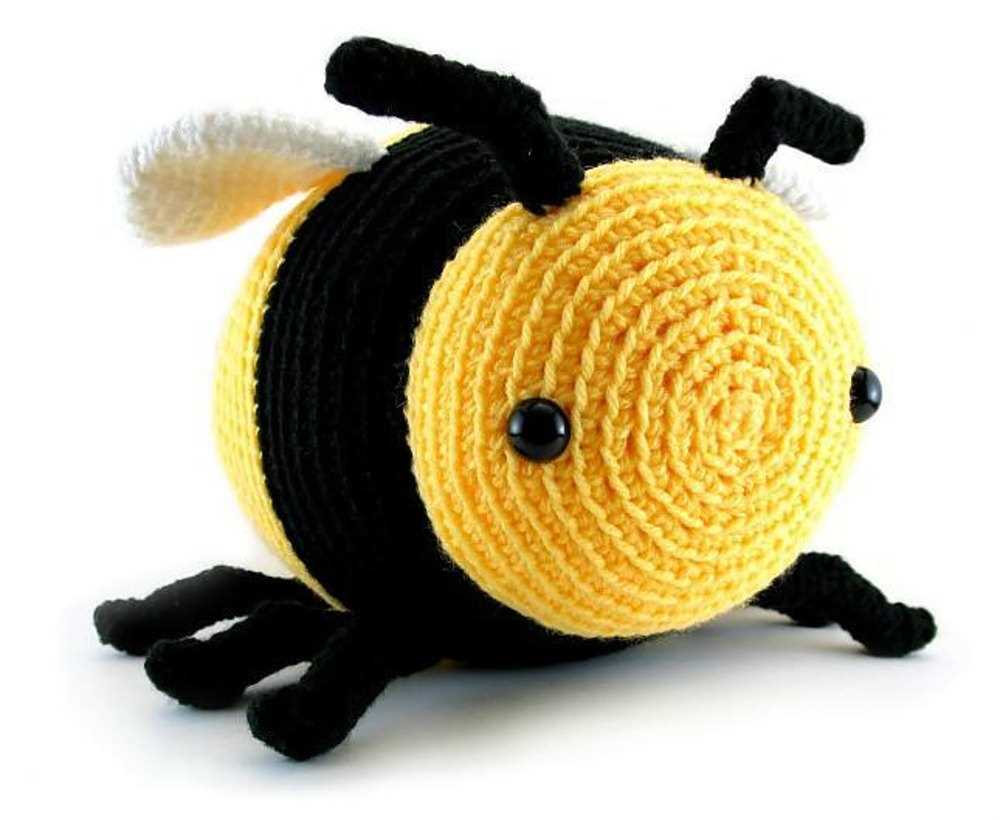
Bumble bee embellishments are a fun and whimsical way to add some buzz to your knitting projects. Whether you’re knitting a bumble bee hat or simply looking to incorporate a pop of yellow and black into your design, these adorable little bees are sure to make a statement.
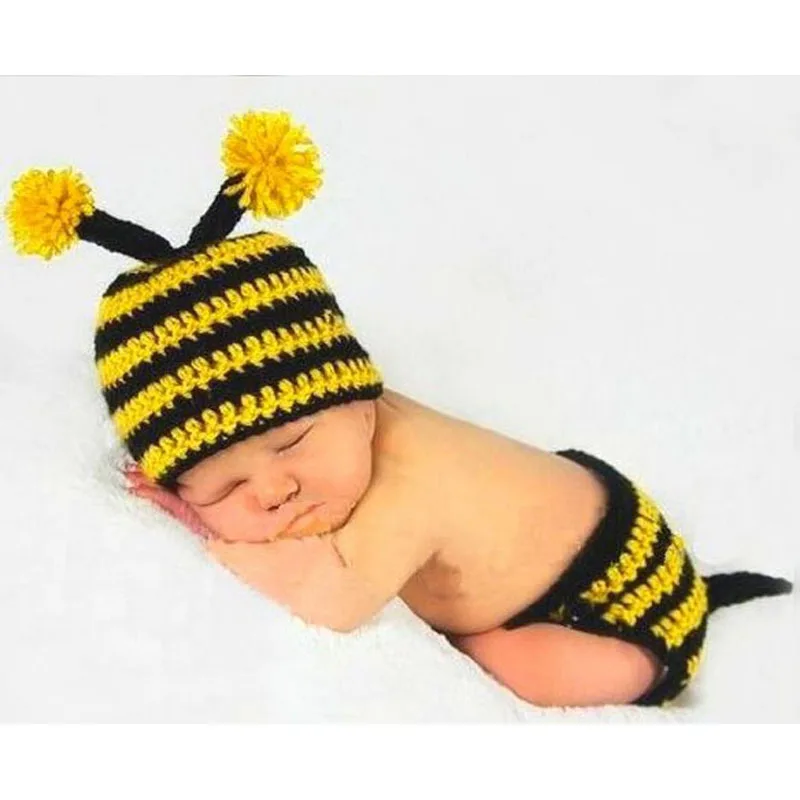
There are many ways to create bumble bee embellishments, but one popular method is to use pom-poms. By making two small pom-poms – one black and one yellow – you can easily attach them to your knitting using a needle and thread. Simply sew the black pom-pom onto the yellow one, and then attach the whole bumble bee to your project. This method creates a three-dimensional effect and adds a playful touch to your knitting.
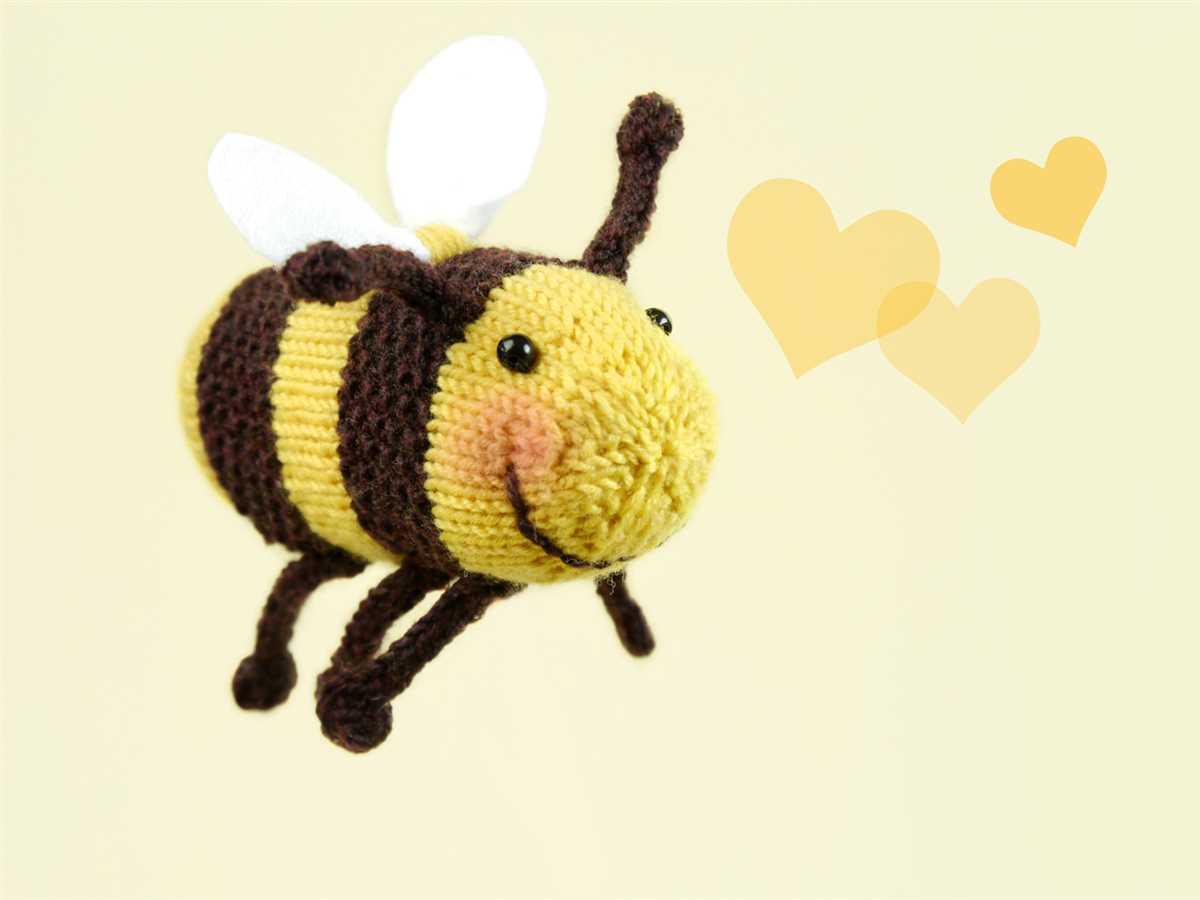
If you prefer a flatter embellishment, you can also try using felt to create bumble bee shapes. Cut out a yellow oval for the body and black stripes for the abdomen. You can then use fabric glue or hand stitch the stripes onto the body. To finish off your bumble bee, add some white wings made of felt or paper and attach them to the back of the body. This method is great for adding bumble bees to items like scarves or blankets.
If you’re feeling adventurous, you can even try knitting your bumble bee embellishments. There are many bumble bee knitting patterns available online that provide detailed instructions on how to create these charming insects. From tiny bees to larger ones, you can choose the size that best fits your project. Knitted bumble bees can be attached using a needle and thread or sewn directly onto your knitting, depending on your preference.
Whether you choose pom-poms, felt, or knitted bees, adding bumble bee embellishments to your knitting project is a fun and creative way to bring a touch of nature-inspired whimsy to your designs. So why not give it a try and let your creativity take flight?
Wings
When it comes to a bumble bee costume, one of the most essential elements is the wings. The wings not only complete the look but also give the costume a sense of movement and realism. Whether you are knitting a bumble bee hat or creating a full costume, the wings are an important part of the overall design.
There are many different ways to create bumble bee wings. One option is to knit or crochet them using black and yellow yarn. Knitting or crocheting the wings allows for flexibility in size and shape, whether you prefer small and delicate wings or larger wings that make a statement. You can also add details such as stripes or polka dots to make the wings even more visually interesting.
If you prefer a quicker and easier option, you can also make wings using foam or cardboard. Cut out the desired wing shape and cover it with black and yellow fabric or paint it in the appropriate colors. Attach elastic or ribbon to the wings so they can be easily worn. This option is ideal for those who want a simple and cost-effective solution.
Regardless of the method you choose, the wings should be attachable to the costume in a secure and comfortable way. This can be achieved using safety pins, Velcro, or even sewing them directly onto the garment. It’s important to ensure that the wings are firmly attached so they don’t come off during wear, especially if they are being worn by children.
Finishing
Once you have completed knitting the bumble bee hat, it’s time to finish it off with some important steps.
Blocking: Before wearing or gifting the hat, it’s recommended to block it to ensure that the stitches are even and the hat takes its desired shape. To block the hat, simply soak it in tepid water with a gentle detergent, then squeeze out the excess water. Lay the hat flat on a clean towel and gently shape it to your desired size. Let it dry completely before wearing or storing.
Weaving in ends: After knitting, you may have some loose ends of yarn from changing colors or finishing off rows. Take a yarn needle and weave in these ends on the inside of the hat to secure them and prevent any unraveling.
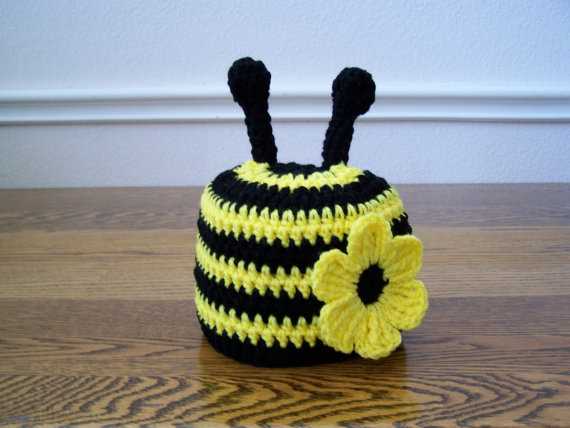
Adding embellishments (optional): If you want to make your bumble bee hat even more adorable, you can add some additional embellishments. This could include sewing on two small black buttons for the bee’s eyes, or attaching a small crochet flower to one side of the hat. Get creative and add your own personal touch!
Enjoy your bumble bee hat: Once you have completed all the finishing steps, your bumble bee hat is ready to be worn or gifted. Enjoy the cozy warmth and cute style of this unique accessory!