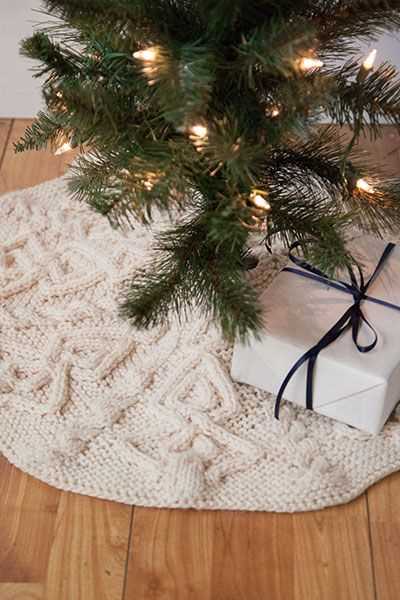
Unique Knitting Pattern for a Festive Christmas Tree Skirt

Christmas is a wonderful time of year when we decorate our homes with beautiful ornaments and trimmings. One of the most iconic symbols of Christmas is the Christmas tree, and what better way to enhance its beauty than with a festive tree skirt?
If you’re a knitting enthusiast looking for a fun and rewarding project, a Christmas tree skirt is the perfect choice. Not only will it add a cozy touch to your holiday decor, but it also gives you an opportunity to showcase your knitting skills and create a unique piece that will be treasured for years to come.
Creating your own Christmas tree skirt allows you to customize the design, size, and colors to match your personal style and home decor. Whether you prefer traditional red and green or a more modern color palette, the possibilities are endless. Plus, knitting allows you to experiment with different stitch patterns and techniques to create a textured and visually appealing tree skirt.
In this article, we will provide you with a Christmas tree skirt knitting pattern that will guide you step-by-step through the process of creating your own beautiful and festive tree skirt. We will cover everything from selecting the right yarn and needles to knitting the base and adding decorative embellishments. So grab your knitting needles, cozy up by the fire, and let’s get started on this holiday project!
Christmas Tree Skirt Knitting Pattern
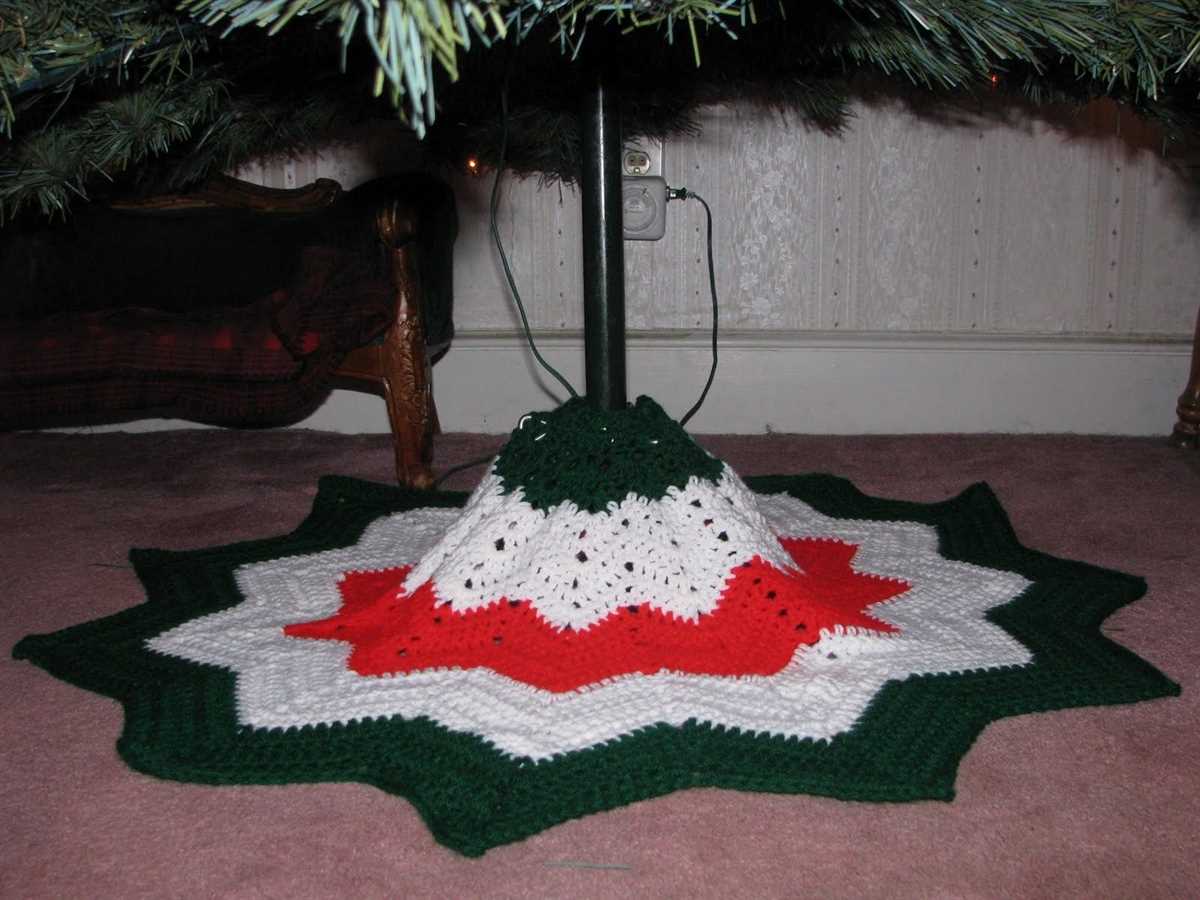
When it comes to decorating a Christmas tree, one important accessory that often gets overlooked is the tree skirt. A tree skirt not only adds a finishing touch to the overall look of the tree, but it also helps to protect your floors from any fallen needles or water spills. If you’re a knitting enthusiast or looking to add a personal touch to your holiday decor, why not try knitting your own Christmas tree skirt?
To create a Christmas tree skirt, you’ll need a knitting pattern to follow. There are various patterns available online and in knitting books, but finding a pattern that matches your skill level and desired design is key. Consider the size of your tree and the aesthetic you’re aiming for, whether it be a classic pattern with reindeer motifs or a modern design with geometric shapes.
Once you have chosen a pattern, gather all the necessary materials, including the appropriate yarn weight, knitting needles, and any additional decorations such as beads or ribbon. Following the instructions in the pattern, cast on the required number of stitches and begin knitting. Make sure to check your gauge to ensure that the skirt will fit properly around the base of your tree.
As you progress through the pattern, you may encounter different knitting techniques such as colorwork or lace stitches. Take your time and follow the instructions carefully to achieve the desired effect. Feel free to add your own personal touches, such as changing colors or adding embellishments, to make your tree skirt truly unique.
Once you have completed the knitting portion, it’s time to finish off the tree skirt. This may involve seaming the edges together, adding a border, or blocking the skirt to give it a polished look. Follow the pattern’s instructions for finishing, and voila – you have a beautiful handmade Christmas tree skirt to showcase your knitting skills and add an extra special touch to your holiday decorations.
Choosing the Right Yarn and Needles
When it comes to knitting a Christmas tree skirt, choosing the right yarn and needles is essential to achieve the desired result. The yarn you select will determine the overall appearance and texture of the skirt, while the needles you use will determine the gauge and tension of your stitches.
Yarn: When choosing yarn for your Christmas tree skirt, consider the desired thickness and durability. A thick or bulky yarn will create a cozy and warm skirt, while a thinner yarn will result in a lighter and more delicate look. Additionally, consider the fiber content of the yarn. Wool and acrylic blends are popular choices as they are both soft and durable. It’s also worth considering how the yarn will hold up over time, especially if you plan to use the tree skirt year after year.
Needles: The size of needles you use will depend on the thickness of your yarn and the desired tension of your stitches. Typically, a size 8 or 9 knitting needle works well with medium-weight yarn. However, if you’re using a bulkier yarn, you may need larger needles to achieve the desired gauge. Keep in mind that the size of your needles will affect the overall size of your stitches. If you want a tighter, denser fabric, use smaller needles. If you prefer a looser, more open weave, opt for larger needles.
- Consider the thickness and durability of the yarn.
- Choose a yarn with the right fiber content.
- Think about how the yarn will hold up over time.
- Select the appropriate needle size based on the thickness of your yarn.
- Experiment with different needle sizes to achieve the desired gauge and tension.
By carefully selecting the right yarn and needles for your Christmas tree skirt, you can ensure that your project turns out beautifully and lasts for many holiday seasons to come.
Christmas Tree Skirt Knitting Pattern: Casting On and Setting up the Pattern

When starting to knit a Christmas tree skirt, it’s important to cast on the desired number of stitches to set up the pattern. The number of stitches will depend on the size of the tree skirt you want to create and the gauge of your knitting needles. It’s recommended to use circular needles to accommodate the larger number of stitches required for the tree skirt.
Casting On: To cast on, hold the knitting needle with the slipknot in your right hand (if you’re right-handed) or left hand (if you’re left-handed) and the working yarn in your other hand. Insert the needle through the loop of the slipknot and bring the yarn over the needle from back to front. Pull the loop of yarn through the slipknot, forming a new stitch. Repeat this process until you have cast on the desired number of stitches.
Once you have cast on the necessary number of stitches, you can start setting up the pattern for the Christmas tree skirt. This may involve knitting a few rows in a specific stitch pattern or following a written chart if you’re using a more complex design. Be sure to read the pattern instructions carefully and make any necessary stitch markers to keep track of important sections.
Setting up the Pattern: If the pattern calls for a specific stitch pattern for the body of the tree skirt, such as a ribbing or lace pattern, you will start by working the specified stitches in the correct order. This may involve knitting certain stitches, purling others, or doing yarn overs and decreases for lace. Follow the pattern instructions row by row to create the desired pattern.
If there is no specific stitch pattern and you’re working with a simple stockinette or garter stitch, you can simply alternate between knitting and purling rows to create the desired texture. Remember to place stitch markers if indicated in the pattern to mark important sections such as increases or decreases.
- Continue following the pattern instructions, working the specified stitch pattern and making any necessary increases or decreases as required.
- When necessary, switch to double-pointed needles or another appropriate method for knitting in the round.
- Always check your gauge as you go to ensure that the tree skirt will fit properly.
By casting on the correct number of stitches and setting up the pattern as instructed, you’ll be on your way to creating a beautiful Christmas tree skirt that will add a festive touch to your holiday decor.
Knitting the Center Circle
When knitting a Christmas tree skirt, the center circle is an important element that sets the foundation for the rest of the design. It is where all the branches and decorations will be placed, so it needs to be knit with care and precision.
To start knitting the center circle, you will need to cast on your desired number of stitches. This will depend on the size of your tree skirt and the yarn you are using. It is best to follow a pattern or calculate the number of stitches based on the circumference of your tree trunk.
Once you have cast on, you can begin knitting in the round. This means that you will knit every stitch on every row without turning your work. This creates a seamless circle that will form the base of your tree skirt.
As you knit, make sure to check your gauge. This is important to ensure that your center circle is the correct size. If your gauge is too tight, you may need to use larger needles or adjust the number of stitches. If your gauge is too loose, you may need to use smaller needles or add more stitches.
When you have reached the desired size for your center circle, you can begin shaping the outer edge. This can be done through various knitting techniques, such as increasing or decreasing stitches, to create a decorative border or a smooth transition to the next section of your tree skirt.
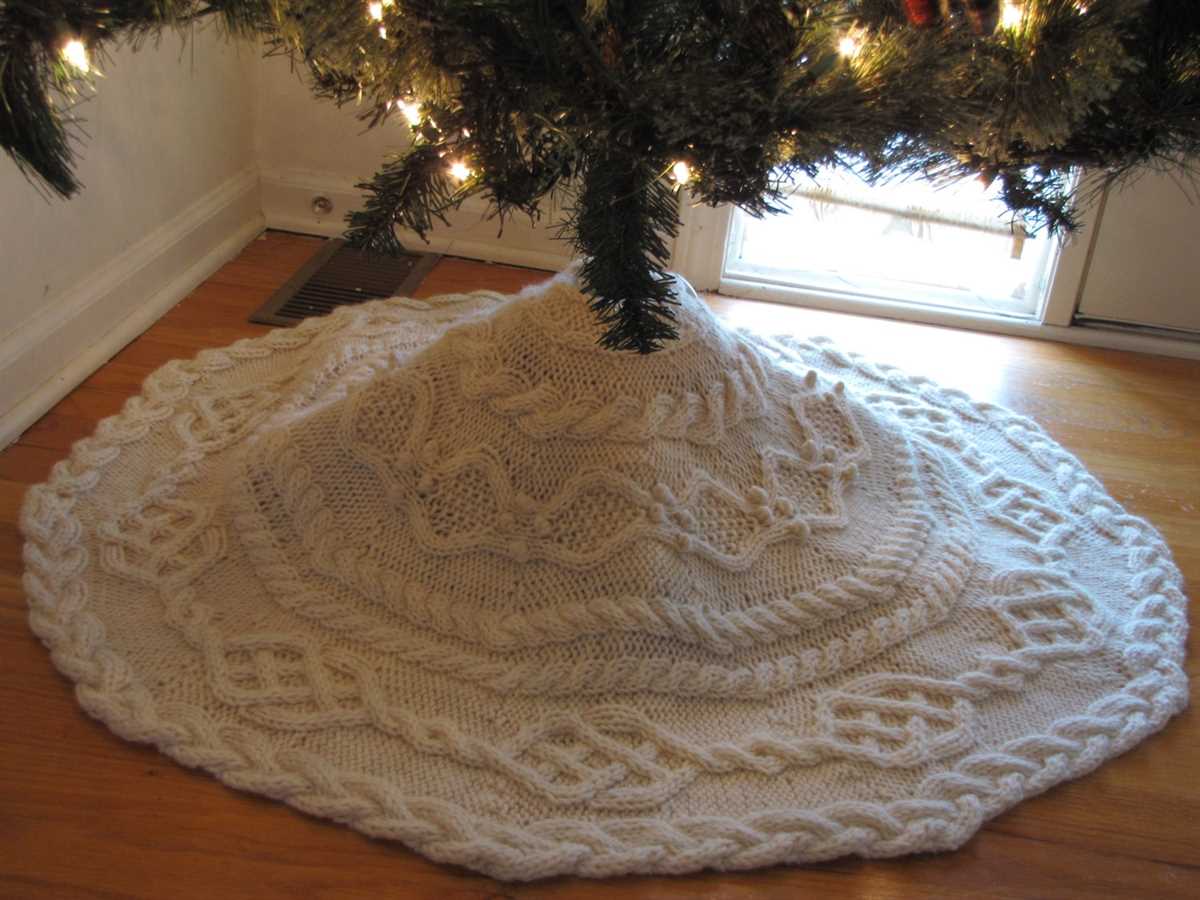
Adding Decorative Patterns
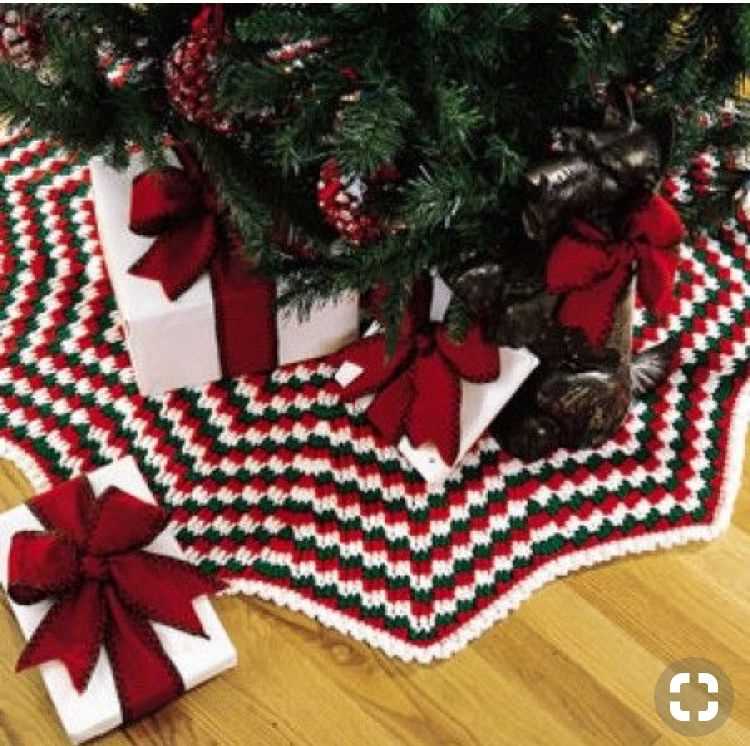
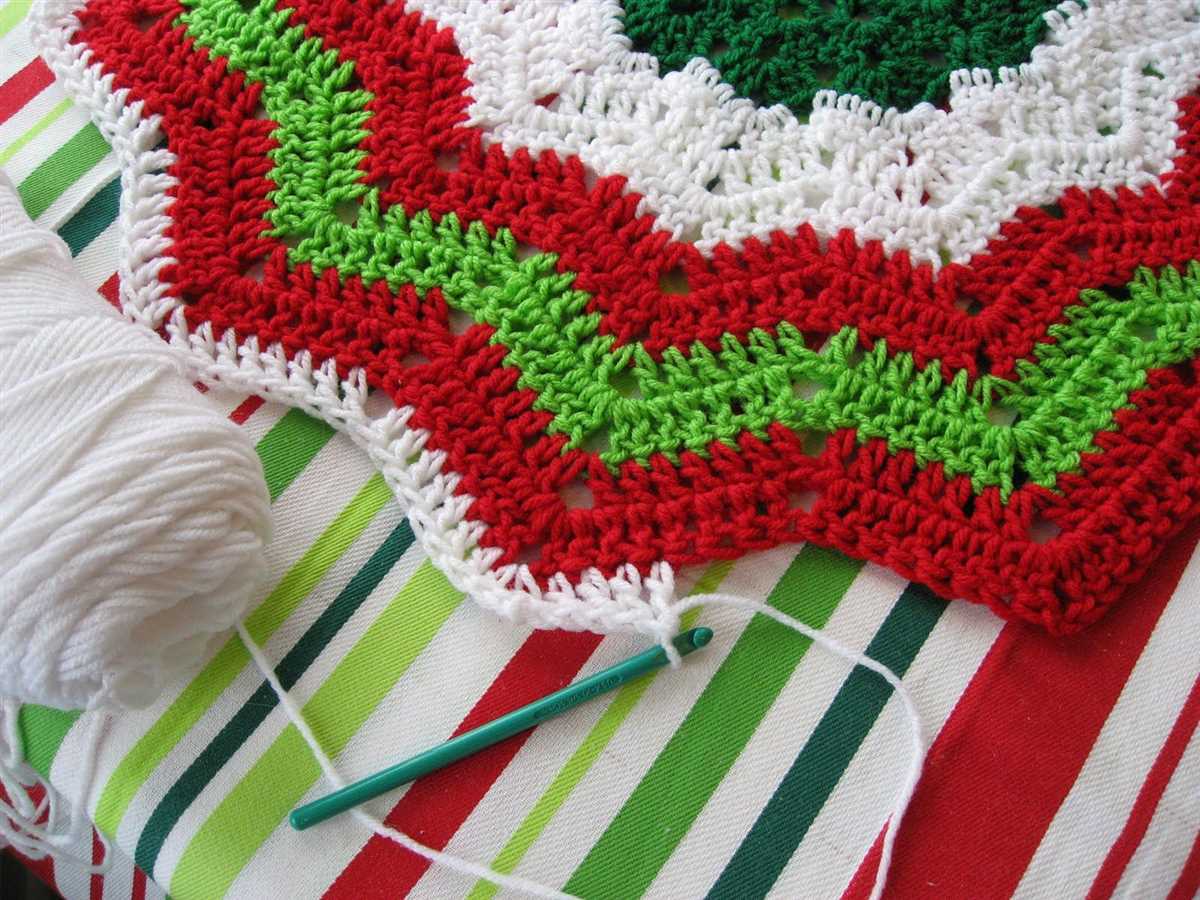
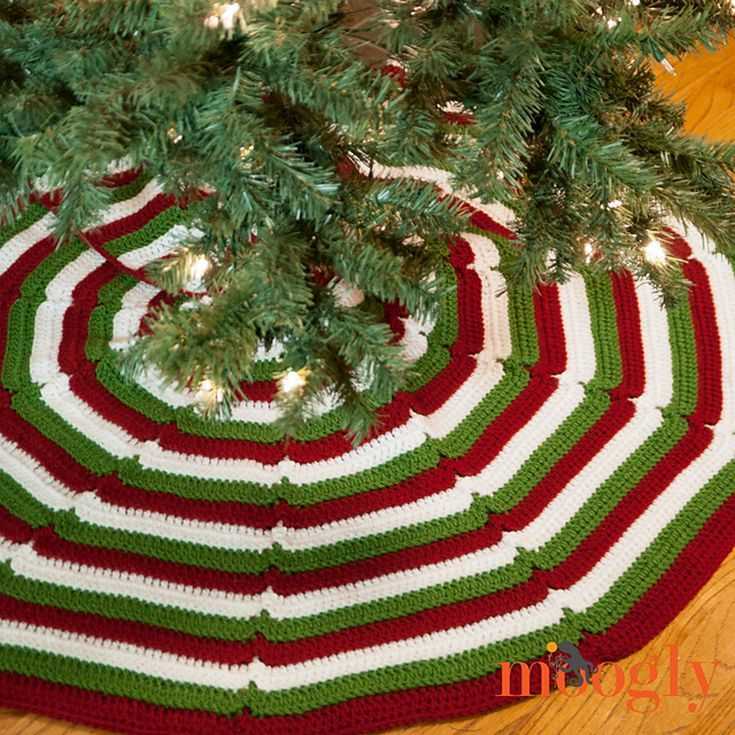
Adding decorative patterns to your knitted Christmas tree skirt is a great way to personalize your design and make it unique. There are various techniques you can use to create beautiful patterns, such as stranded colorwork, lace, and cables.
Stranded colorwork: This technique involves knitting with two or more colors in each row to create intricate patterns. You can use different colors to represent different elements of your design, such as snowflakes, stars, or Christmas motifs. Stranded colorwork can be a bit challenging for beginners, but with practice, you can create stunning and eye-catching patterns.
Lace: Lace patterns are delicate and feminine, perfect for adding an elegant touch to your Christmas tree skirt. You can incorporate lace panels or create an all-over lace pattern for a more intricate design. Knitting lace requires attention to detail and patience, as it often involves yarnovers and decreases to create the openwork patterns.
Tip: When knitting lace, it’s essential to use a thinner yarn and smaller needles to achieve the desired drape and definition of the lace stitches.
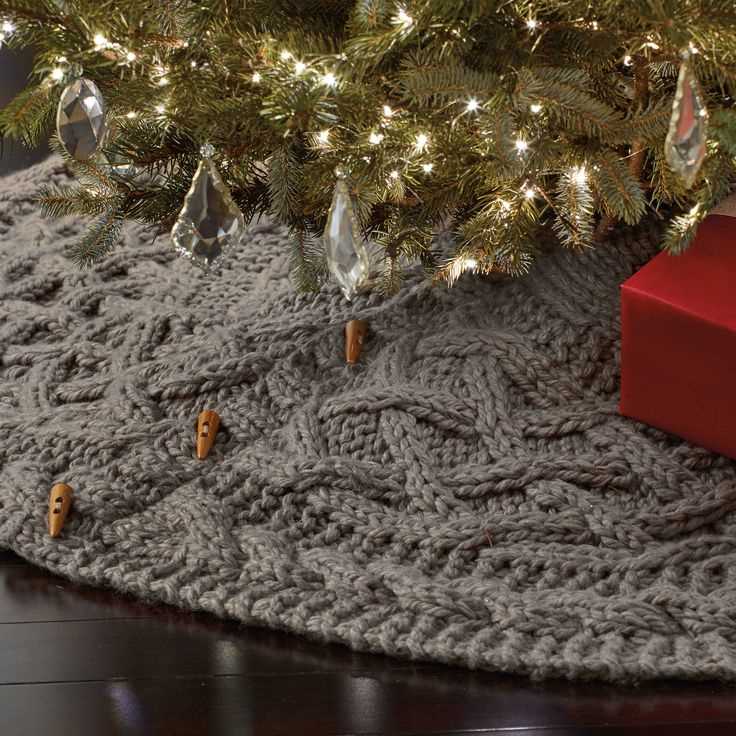
Cables: If you want to add texture and dimension to your Christmas tree skirt, cables are an excellent choice. Cables are created by crossing stitches over each other, creating braided or twisted patterns. You can incorporate simple cable panels or create more complex cable motifs like Christmas trees or reindeers.
Tip: To make your cables stand out even more, consider using a yarn with good stitch definition, such as a wool blend or a yarn with a cable twist.
Experimenting with different decorative patterns can truly transform your knitted Christmas tree skirt and make it a focal point of your holiday decorations. Whether you choose to use stranded colorwork, lace, or cables, the possibilities are endless. Have fun exploring different patterns and techniques, and enjoy the process of creating a unique and beautiful Christmas tree skirt.
Working the Increase Rounds
Once you have completed the setup rounds, it’s time to start working the increase rounds for your Christmas tree skirt. The increase rounds will help the skirt gradually widen and create a full, flared shape.
Round 1: Begin the first increase round by knitting two stitches, then making an increase by knitting into the front and back of the next stitch. Repeat this pattern all the way around the skirt, ending with two knit stitches to maintain a consistent stitch count. This increase round will add stitches to the skirt and create a slight flare.
Round 2: For the second increase round, knit two stitches, then make an increase by knitting into the front and back of the next stitch. Repeat this pattern all the way around the skirt, ending with two knit stitches. This round will continue to add stitches and increase the flared shape of the skirt.
Continue working the increase rounds in this pattern until you reach the desired width for your tree skirt. Keep in mind that you may need to adjust the number of increase rounds based on your gauge and the size of your knitting needles. It’s also a good idea to periodically measure your skirt to ensure it’s the right size.
- Knit 2 stitches
- Increase by knitting into the front and back of the next stitch
- Repeat this pattern all the way around the skirt
- End with 2 knit stitches
By working the increase rounds, you’ll be able to create a beautiful and full Christmas tree skirt that will add an extra touch of elegance to your holiday decor.
Ending the Increase Rounds and Creating the Border
After completing the desired number of increase rounds for your Christmas tree skirt, it’s time to end the increases and start creating the border. To do this, you will need to switch to a smaller needle size if you haven’t already.
To end the increase rounds, simply knit one round without any increases. This will give you a straight edge for the border. Continue working in your chosen stitch pattern for a few more rounds, maintaining the established pattern.
Once you have finished the additional rounds in your stitch pattern, you can move on to creating the border. There are several options for the border, depending on the look you want to achieve. One simple option is to continue knitting in your chosen stitch pattern, but with smaller needles, to create a narrower border.
Another option is to switch to a different stitch pattern for the border. This can add visual interest and create a distinct edge for your Christmas tree skirt. You can choose a stitch pattern that complements the main body of the skirt or provides a contrasting texture.
If you prefer a more finished look, you can also add a ribbed or garter stitch border. This will help prevent curling and give the skirt a polished appearance.
Whichever option you choose, make sure to maintain a consistent tension and gauge throughout the border section. This will ensure that the border lies flat and blends seamlessly with the rest of the skirt.
Creating Openings for the Tree and Ties
Once you’ve finished knitting the main portion of the Christmas tree skirt, it’s time to create the necessary openings for the tree and ties. These openings will allow you to easily place the skirt around the tree and secure it in place.
To create the opening for the tree, you will need to pick up stitches along one edge of the skirt. Using a knitting needle, insert it into the stitches along the edge and knit the desired number of stitches. This will create a row of new stitches that will form the opening. Repeat this process on the opposite edge of the skirt to create a matching opening.
Next, you will need to work a few rows of knitting on the stitches you just picked up. This will create a border around the opening and provide stability. You can choose to knit these rows in a contrasting color or stick with the same color as the rest of the skirt. After completing the desired number of rows, bind off the stitches and weave in any loose ends.
To create ties for the skirt, you can either knit them separately and attach them later, or you can pick up stitches along the top edge of the skirt and knit them directly onto the skirt. If you choose to knit them separately, simply cast on the desired number of stitches and work in your chosen stitch pattern until the ties reach the desired length. Then, attach them to the skirt by sewing them securely in place. If you choose to knit them directly onto the skirt, pick up stitches along the top edge and knit the ties as you go. This method eliminates the need for sewing, but requires careful attention to ensure the ties are evenly spaced and positioned.
With the openings for the tree and ties completed, your knitted Christmas tree skirt is almost finished. All that’s left to do is block the skirt to ensure the stitches lay flat and the skirt has a polished look. Simply wet the skirt, gently squeeze out any excess water, and lay it flat on a towel to dry. Once dry, your Christmas tree skirt is ready to be displayed and enjoyed during the holiday season.
Finishing Touches: Blocking and Weaving in Ends
Once you have finished knitting your Christmas tree skirt, there are a few important steps to take to give your project a polished and professional look. One of these steps is blocking, which is the process of shaping and smoothing out the knitted fabric to ensure that it looks its best. Blocking can help even out any uneven stitches, open up lace patterns, and ensure that your project lays flat.
To block your Christmas tree skirt, start by filling a basin with lukewarm water and adding a mild detergent. Gently submerge the skirt in the water, making sure it is fully saturated. Let it soak for about 10-15 minutes, then carefully remove it from the water. Do not wring or squeeze the skirt, as this can cause it to lose its shape. Instead, gently press out any excess water using a towel.
Next, you will need to shape the skirt. Lay it out on a clean, flat surface and use blocking pins to pin it into the desired shape and size. Pay attention to any lace or pattern details, and make sure they are properly aligned. Allow the skirt to dry completely before removing the pins.
After blocking, it’s time to weave in the ends. This involves using a yarn needle to securely fasten the loose ends of yarn from your knitting. Start by threading the needle with the yarn end, then carefully insert it into the edge of the fabric, following the path of the yarn. Weave in and out of the stitches for a few inches, making sure the end is securely hidden. Trim any excess yarn.
By blocking your Christmas tree skirt and neatly weaving in the ends, you will give your project a professional and finished appearance. These final touches can make a big difference in the overall look of your knitted item and ensure that it stands out beautifully on your Christmas tree.
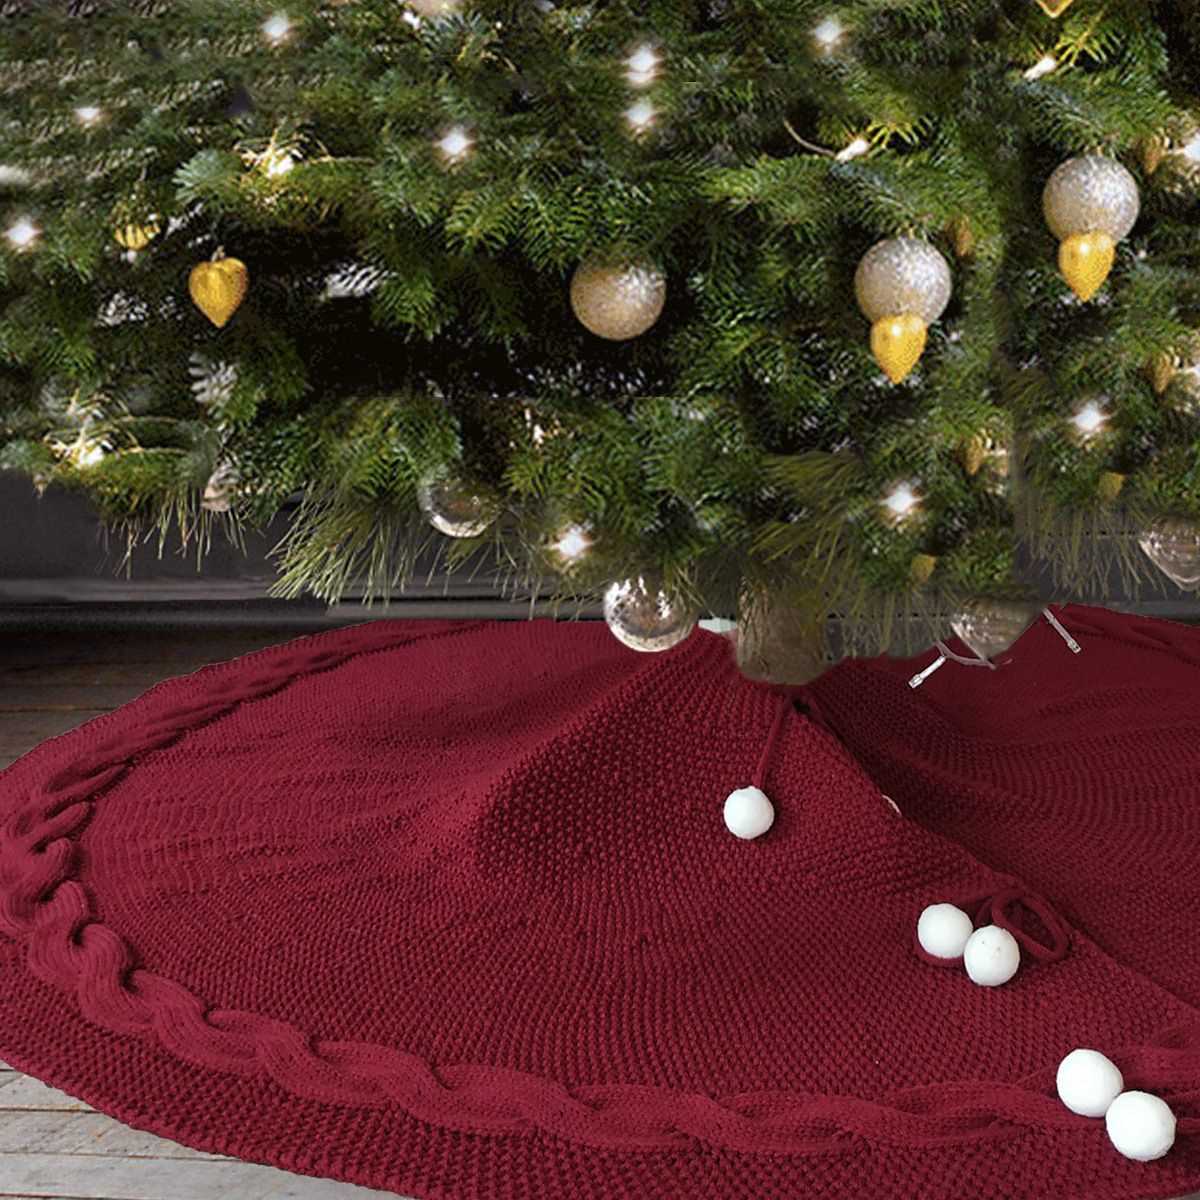
Adding Personalized Embellishments
Once you have finished knitting your Christmas tree skirt, you can add personalized embellishments to make it even more unique and special. Here are some ideas:
- Embroidery: Use colorful thread to embroider festive designs on the surface of the tree skirt. You can create intricate patterns such as snowflakes, Christmas trees, reindeer, or even personalized messages.
- Beading: Attach small beads or sequins to the knitted fabric using a needle and thread. This will add a touch of sparkle and glamour to your tree skirt.
- Ribbons and bows: Attach ribbons and bows to the edges or corners of the tree skirt. You can use different colors and textures to complement your Christmas decorations.
- Pom-poms: Make small pom-poms using yarn and attach them randomly or in a pattern on the surface of the tree skirt. This will add a playful and fun element to your design.
- Personalized ornaments: Attach special Christmas ornaments to the tree skirt. This could be ornaments that hold sentimental value or ones that have been handmade by family members or loved ones.
By adding personalized embellishments, you can create a Christmas tree skirt that reflects your style and adds a festive touch to your holiday decorations. It will become a cherished part of your holiday traditions and bring joy year after year.