Uncover the Beauty in Double Moss Stitch Knitting

If you’re a knitting enthusiast looking to expand your repertoire, the double moss stitch is a great pattern to add to your skillset. Also known as the double seed stitch, this versatile stitch creates a beautifully textured fabric that is perfect for a variety of projects.
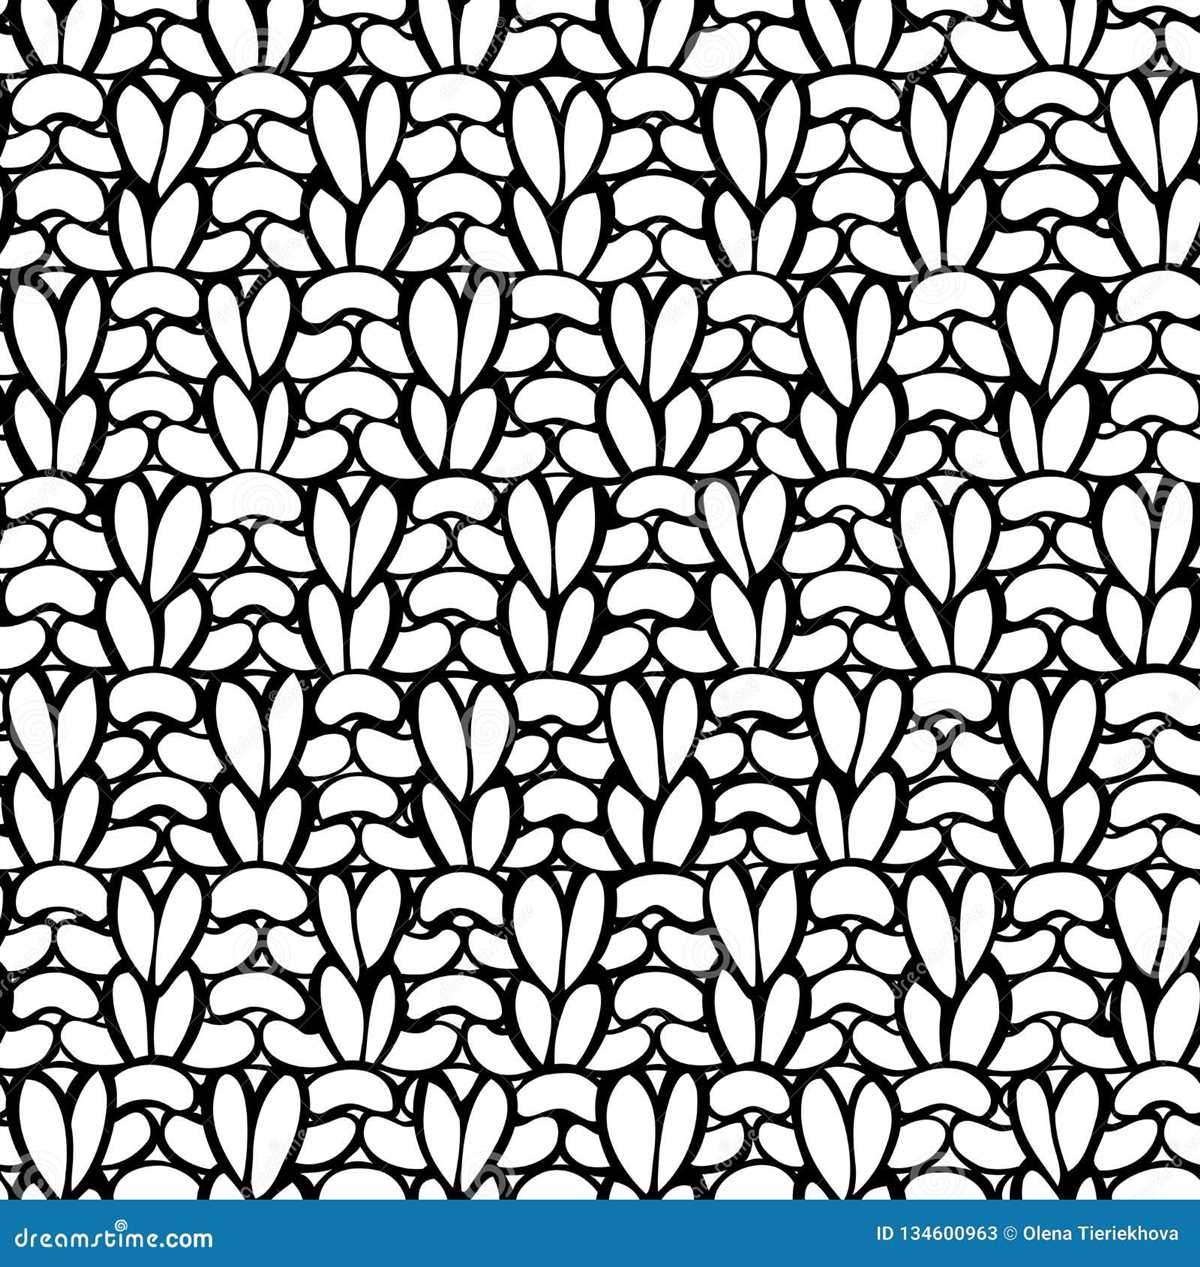
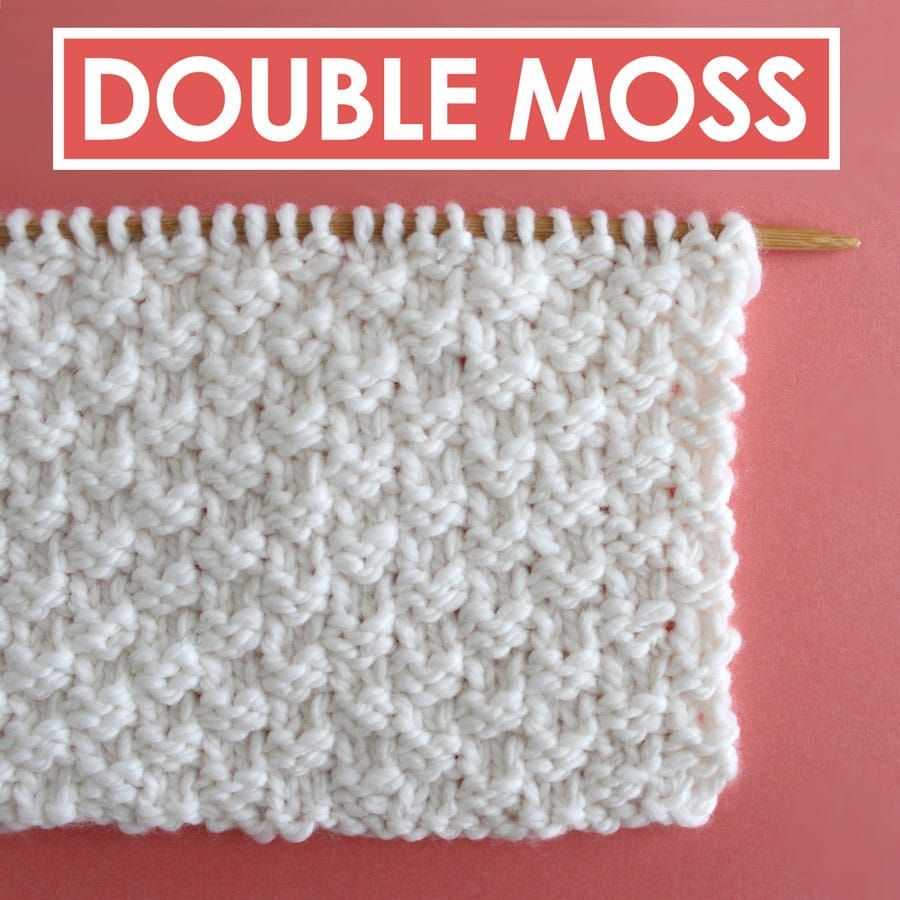
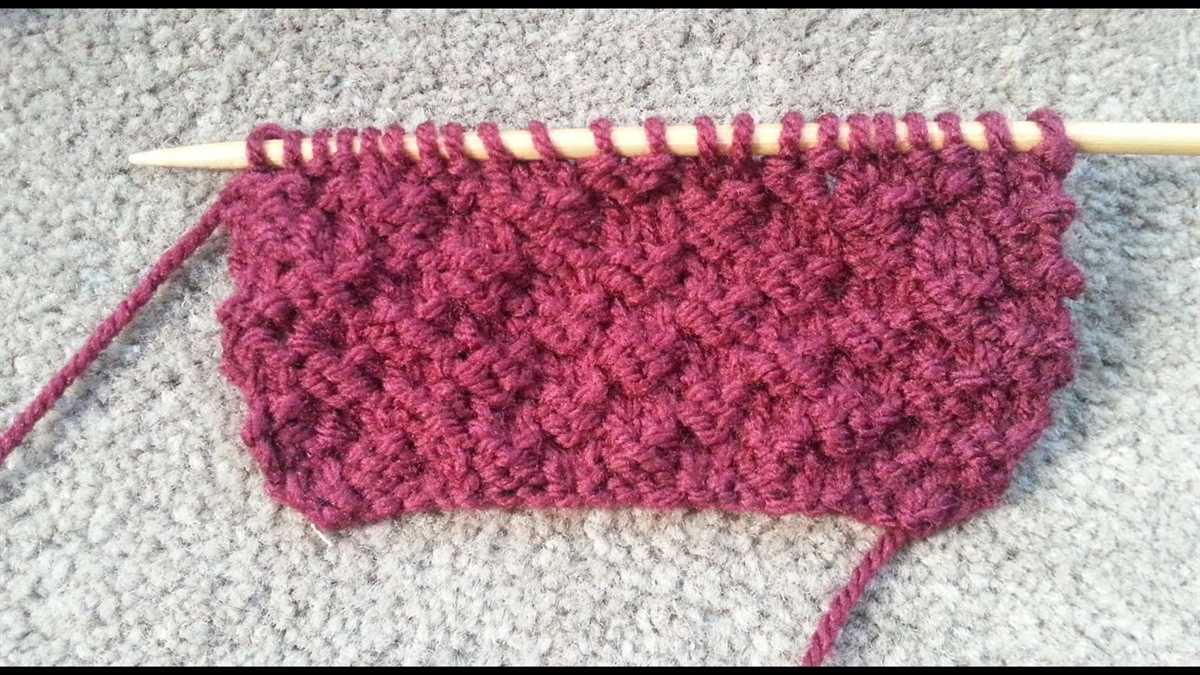
The double moss stitch is created by alternating knit and purl stitches in a specific pattern. It involves knitting two stitches and then purling two stitches in a repeating pattern. This gives the fabric a bumpy texture, similar to the seed stitch. The double moss stitch is reversible, making it ideal for scarves, shawls, and blankets where both sides might be visible.
One of the great things about the double moss stitch is its simplicity. It is a beginner-friendly pattern that is easy to learn, yet it creates an impressive finished product. With just a basic understanding of knit and purl stitches, you can easily create the double moss stitch and add a touch of elegance and sophistication to your knitting projects.
The double moss stitch is not only easy to do, but it is also highly adaptable. You can easily adjust the size and scale of the pattern to suit your needs. Whether you’re knitting a small accessory or a large garment, you can use the double moss stitch to create a unique texture that adds interest to your finished piece. So grab your needles and give the double moss stitch a try!
What is double moss stitch?

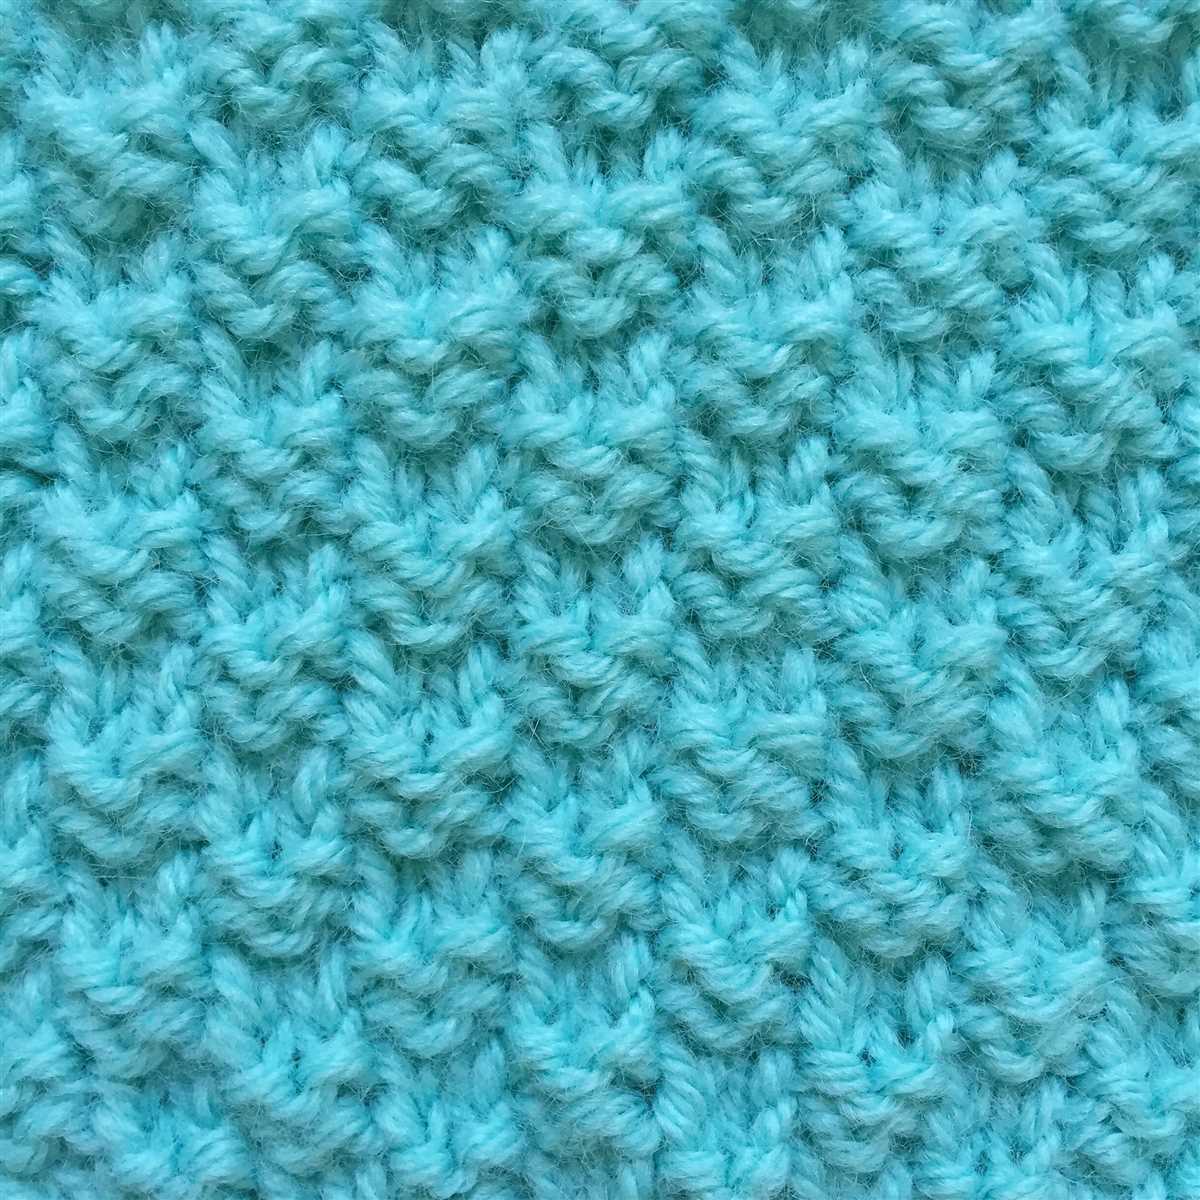
Double moss stitch is a popular knitting pattern that creates a textured fabric with a raised diamond pattern. It is also known as the double seed stitch or double Irish moss stitch. This stitch pattern is achieved by alternating rows of knit and purl stitches in a specific sequence, resulting in a repeating pattern.
The double moss stitch pattern is created by knitting two consecutive rows of knit stitches followed by two rows of purl stitches. The resulting fabric has a bumpy texture, similar to that of moss or seeds. This stitch pattern is reversible, meaning that both sides of the fabric look identical, making it ideal for scarves, blankets, and other items where both sides will be visible.
How to knit the double moss stitch:
- Start with an odd number of stitches on your needle.
- Row 1: Knit all stitches.
- Row 2: Purl all stitches.
- Repeat rows 1 and 2 for the desired length.
- To finish, bind off all stitches in the pattern.
The double moss stitch is a versatile pattern that can be used in a variety of knitting projects. It adds texture and visual interest to garments and accessories, making it a popular choice for both beginner and experienced knitters. So, whether you’re knitting a cozy sweater or a decorative pillow cover, consider using the double moss stitch to create a unique and beautiful fabric.
Materials needed for double moss stitch
In order to knit the double moss stitch pattern, you will need a few essential materials. These include:
- Yarn: Choose a yarn that is suitable for your desired project. The weight and fiber content of the yarn can vary depending on the final product you are making.
- Knitting needles: Select knitting needles that are appropriate for the yarn you have chosen. The size of the needles will affect the gauge and overall appearance of the double moss stitch.
- Tapestry needle: This needle is used for weaving in ends and finishing off your project.
- Scissors: A pair of sharp scissors is essential for cutting yarn and trimming any loose ends.
- Stitch markers (optional): Stitch markers can be helpful for marking specific sections or repeats in the pattern.
Before starting your project, make sure you have all the necessary materials on hand. It’s also a good idea to read through the double moss stitch pattern and familiarize yourself with the instructions before beginning.
How to cast on for double moss stitch

When learning to knit the double moss stitch pattern, it is important to first know how to cast on the stitches correctly. The cast on is the foundation of your knitting project and determines the width of your work. Follow these steps to cast on for double moss stitch:
1. Choose your method of casting on
There are many different methods of casting on in knitting, but for double moss stitch, it is recommended to use the long tail cast on. This method creates a neat and flexible edge that is perfect for the moss stitch pattern.
2. Measure the yarn
To start the cast on, you will need to measure the amount of yarn needed. The general rule of thumb is to measure about 3 times the width of your desired finished piece. This will ensure that you have enough yarn to comfortably cast on all the stitches.
3. Create a slipknot
Create a slipknot at the beginning of your yarn. To do this, make a loop with the yarn and pull the end through the loop. Tighten the knot slightly, but not too tightly, as you will need to slide the loop onto the knitting needle.
4. Hold the needles
Hold the knitting needle with the slipknot in your right hand and the other empty needle in your left hand. Make sure the needle with the slipknot is at the back and the empty needle is at the front.
5. Insert the needle
Insert the tip of the empty needle into the slipknot from left to right, leaving a small loop on the right needle.
6. Tighten the loop
Pull the right needle upwards to tighten the loop around the left needle. This creates the first stitch of your cast on.
7. Repeat
Repeat steps 5 and 6 until you have cast on the desired number of stitches for your double moss stitch pattern. Make sure to keep the tension of the stitches even, neither too loose nor too tight.
Now that you have successfully cast on your stitches, you are ready to start knitting the double moss stitch pattern. Enjoy the process and create beautiful textured fabric with this versatile stitch!
Double Moss Stitch Pattern
The double moss stitch is a popular knitting pattern that creates a richly textured fabric with a repetitive pattern of knit and purl stitches. It is also known as the double seed stitch or the Irish moss stitch. This pattern is an excellent choice for a wide range of knitting projects, including scarves, hats, blankets, and sweaters.
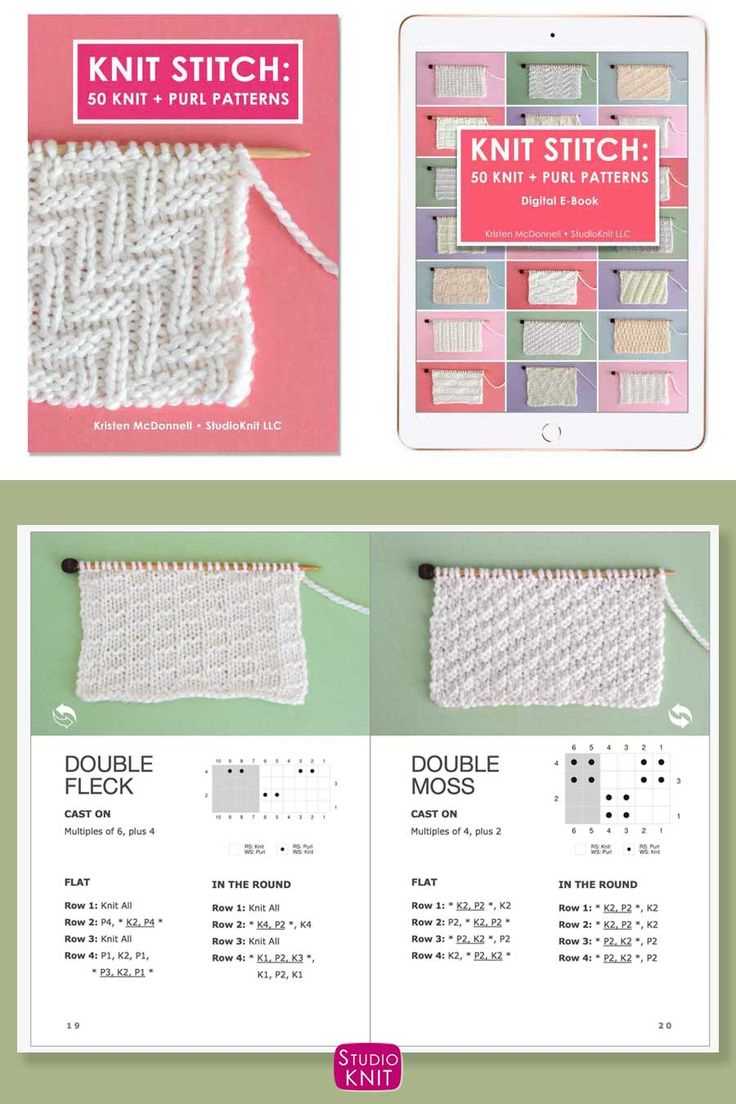
To create the double moss stitch pattern, you will need to alternate between knitting and purling stitches in a specific pattern. The pattern typically consists of a four-row repeat, and the stitches are worked in multiples of two. The double moss stitch creates a fabric that is reversible, making it an ideal choice for items such as scarves that will be seen from both sides.
To begin the double moss stitch pattern, cast on an even number of stitches. The first row is worked as follows: *K1, P1; repeat from * to the end of the row. Repeat this pattern for the second row. The third row is worked as follows: *P1, K1; repeat from * to the end of the row. Repeat this pattern for the fourth row. Continue repeating these four rows until you have reached the desired length of your project.
Double Moss Stitch Variations
The double moss stitch pattern can be easily modified to create different variations and effects. For example, you can alternate between two different colors of yarn to create a striped effect. You can also experiment with different yarn weights to create a more textured or delicate fabric.
Another variation of the double moss stitch is the half double moss stitch, in which you work the pattern over an odd number of stitches. To create the half double moss stitch, the first row is worked as follows: *K1, P1; repeat from * to the last stitch, K1. Repeat this pattern for the second row. The third row is worked as follows: *P1, K1; repeat from * to the last stitch, P1. Repeat this pattern for the fourth row. Continue repeating these four rows until you have reached the desired length of your project.
Overall, the double moss stitch pattern is a versatile and timeless knitting pattern that can add depth and texture to your projects. Whether you are a beginner or an experienced knitter, this pattern is sure to enhance your skills and create beautiful finished pieces.
How to knit the double moss stitch
The double moss stitch is a beautiful and textured knitting pattern that adds depth and interest to any project. It is created by alternating between knit and purl stitches, making it a great pattern for beginner knitters. Here is a step-by-step guide on how to knit the double moss stitch.
Materials:
- Yarn of your choice
- Knitting needles in the appropriate size for your yarn
- Scissors
Instructions:
- Start by casting on an even number of stitches. The double moss stitch pattern works best with an odd number of repeats, so make sure to cast on an appropriate number of stitches to achieve this.
- Row 1: Knit the first stitch, then purl the next stitch. Repeat this pattern of knit one, purl one until the end of the row.
- Row 2: Purl the first stitch, then knit the next stitch. Repeat this pattern of purl one, knit one until the end of the row.
- Continue repeating Rows 1 and 2 until your project reaches the desired length.
- When you are ready to finish your project, bind off all the stitches in pattern.
The double moss stitch creates a dense and textured fabric that is perfect for scarves, hats, and blankets. Experiment with different yarn weights and colors to create unique and personalized pieces. Happy knitting!
Adding variation to the double moss stitch pattern
The double moss stitch pattern is a versatile knitting pattern that creates a textured fabric with a combination of knit and purl stitches. While the traditional double moss stitch pattern is beautiful as it is, adding variations can make your knitting even more interesting and unique.
One way to add variation to the double moss stitch pattern is by incorporating different stitch patterns within the pattern itself. For example, you can alternate rows of the double moss stitch with rows of a different stitch pattern, such as a cable or lace pattern. This creates a contrast in textures and adds visual interest to your knitting.
- Cable variation: To incorporate a cable stitch variation, you can choose to work a few rows of the double moss stitch pattern, and then add a cable motif in the next row. This creates an intricate design that stands out against the moss stitch background.
- Lace variation: Another option is to switch between the double moss stitch pattern and a lace stitch pattern. This creates an interplay of solid and openwork sections in your knitting, resulting in a delicate and airy fabric.
Another way to add variation is by changing the size of the moss stitch pattern. Instead of using the traditional 2×2 double moss stitch, you can experiment with different combinations of knit and purl stitches. For example, you can try a 1×1 moss stitch pattern where you alternate between one knit stitch and one purl stitch. This creates a smaller, more intricate texture.
Additionally, you can also introduce color variation to the double moss stitch pattern. By using multiple colors of yarn, you can create stripes or other colorwork designs within the pattern. This adds visual interest and allows you to customize the pattern to suit your personal style.
In conclusion, the double moss stitch pattern is a versatile knitting pattern that can be modified in various ways to create unique and eye-catching designs. By incorporating different stitch patterns, changing the size of the moss stitch, or introducing color variation, you can add your own personal touch to this classic pattern.
How to Cast Off Double Moss Stitch
Double moss stitch is a popular knitting pattern that creates a textured fabric with alternating rows of knit and purl stitches. When it comes time to cast off your double moss stitch project, there are a few steps you’ll need to follow to ensure a clean and finished edge.
1. Start by knitting the first two stitches in the double moss stitch pattern. If the first stitch is a knit stitch, knit it as usual. If the first stitch is a purl stitch, purl it instead. Then, knit or purl the second stitch according to the pattern.
2. With the yarn in back, insert the left needle into the first stitch on the right needle. Lift this stitch over and off the right needle, effectively casting it off.
3. Knit or purl the next stitch in the pattern, depending on whether it is a knit or purl stitch. Then, insert the left needle into the first stitch on the right needle, lift it over and off the right needle, and cast it off.
4. Repeat step 3 until all stitches have been cast off and only one stitch remains on the right needle.
5. Cut the yarn, leaving a tail of several inches. Thread the tail through the last stitch and pull tight to secure.
By following these steps, you can successfully cast off your double moss stitch project and create a neat and tidy edge. This technique can be used for a variety of double moss stitch patterns, so you can confidently complete your knitting projects.
Double Moss Stitch for Different Projects
Double moss stitch is a versatile knitting pattern that can be used for a variety of projects. Whether you’re knitting a scarf, hat, or even a blanket, this stitch adds texture and interest to your work.
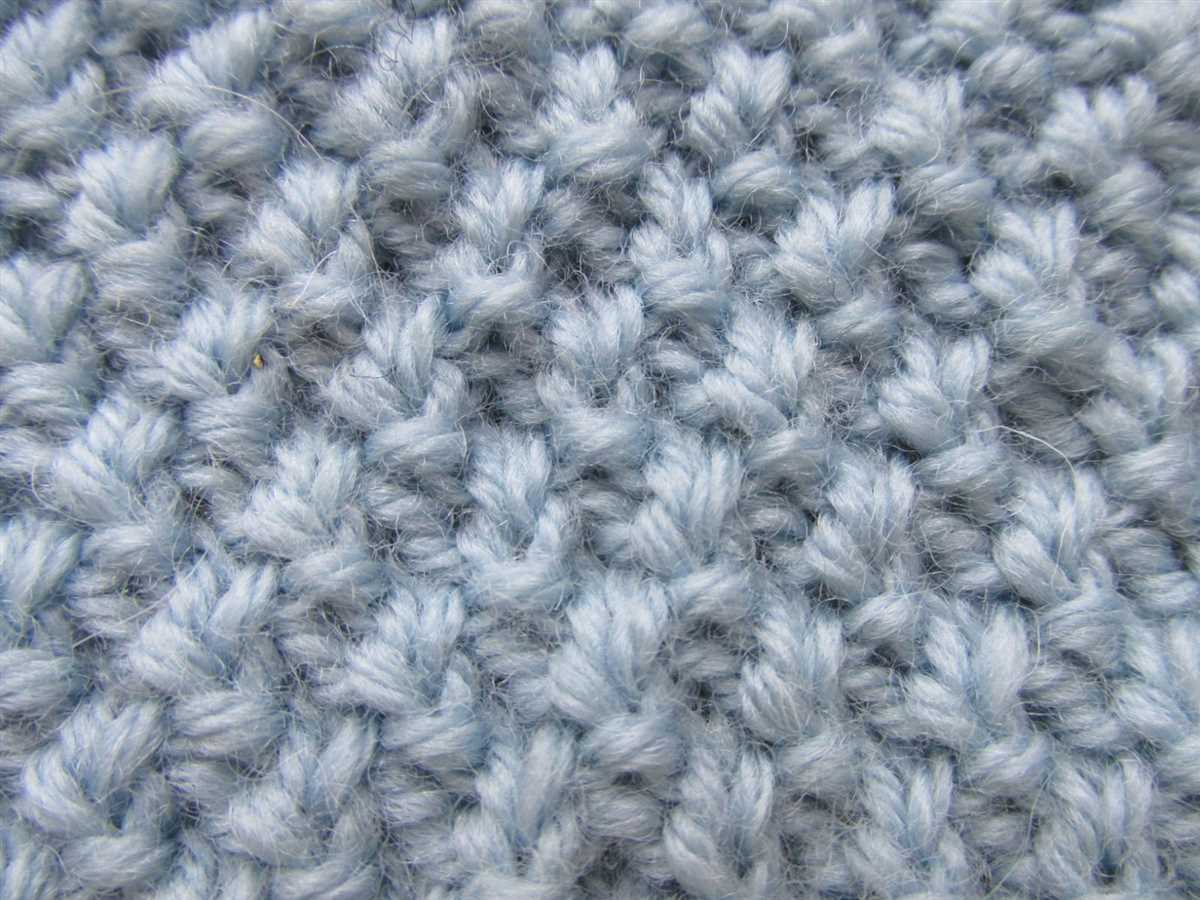
One of the great things about double moss stitch is its simplicity. It is created by alternating knit and purl stitches in a specific pattern, making it an excellent choice for beginners. The resulting fabric has a beautiful texture, with a dense, slightly bumpy appearance.
To create a double moss stitch pattern, you can use any type of yarn and needles. The stitch works well with both solid and variegated yarns, allowing you to experiment with different colors and textures. This makes it a great choice for a wide range of projects, from cozy scarves to stylish sweaters.
When knitting a scarf or cowl, the double moss stitch creates a beautiful reversible fabric, making it perfect for wrapping around your neck or draping over your shoulders. The texture also provides extra warmth, making it an ideal stitch for cold weather accessories.
If you’re looking to add some texture to a baby blanket or a throw, the double moss stitch is a great option. The dense fabric holds its shape well and provides a cozy feel, perfect for snuggling up with on a chilly evening.
Whether you’re a beginner or an experienced knitter, the double moss stitch is a versatile pattern that can be used for a variety of projects. With its simple yet beautiful texture, it adds interest and depth to your knitting, making your finished piece truly unique.
Tips and tricks for knitting the double moss stitch

Knitting the double moss stitch can be a fun and rewarding project. Whether you’re a beginner or an experienced knitter, these tips and tricks will help you achieve great results.
Here are some tips and tricks to keep in mind while knitting the double moss stitch:
- Use stitch markers: Placing stitch markers at the beginning and end of each pattern repeat can help you keep track of your stitches and prevent mistakes.
- Count your stitches: Double moss stitch can be a bit tricky to keep track of, so counting your stitches regularly can help you catch any mistakes early on.
- Pay attention to your tension: Consistent tension is important in achieving an even and professional-looking fabric. Make sure to check your tension regularly and adjust as needed.
- Practice the pattern: If you’re new to the double moss stitch, it can be helpful to practice the pattern on a small swatch before starting your project. This will allow you to familiarize yourself with the stitch and make any necessary adjustments before diving into your project.
- Block your finished piece: Blocking can help even out your stitches and give your finished piece a polished look. Follow the instructions for blocking your specific yarn and project to achieve the best results.
Overall, knitting the double moss stitch can be a fun and rewarding project. With these tips and tricks, you’ll be able to create beautiful and unique pieces using this versatile stitch pattern. Happy knitting!