Simple Knitting Patterns for Beginners

Knitting is a wonderful hobby that allows you to create beautiful, handmade items for yourself or as gifts. If you’re just starting out with knitting, it’s important to choose patterns that are easy and beginner-friendly. These patterns are usually simple, using basic stitches and techniques that are easy to learn.
One of the easiest knitting patterns for beginners is the scarf. Scarves are great because they are not only practical, but also offer a lot of room for creativity. You can choose from a variety of patterns and yarns to create a scarf that matches your personal style. With just basic knitting stitches like the knit and purl, you can create a beautiful scarf in no time.
Hats are another great beginner knitting project. They are small, quick to make, and perfect for practicing basic knitting techniques. Patterns for hats usually involve simple stitching techniques like knitting in the round or adding ribbing for a snug fit. With a little practice, you’ll be able to knit hats for yourself and your loved ones, keeping them warm and stylish during the colder months.
Why knitting is a great hobby for beginners

Knitting is a versatile and rewarding hobby that is suitable for beginners. It offers a range of benefits and can be a great way to relax and express your creativity. One of the reasons why knitting is a great hobby for beginners is that it is relatively easy to learn. With just a few essential knitting techniques, beginners can create beautiful and practical items.
Another reason why knitting is an ideal hobby for beginners is that it requires minimal supplies. All you need to start knitting is a pair of knitting needles and some yarn. This makes knitting a budget-friendly hobby that can be enjoyed by anyone. Plus, knitting supplies are widely available, so you can easily find everything you need to get started.
Knitting also provides a sense of accomplishment and satisfaction. As a beginner, you can start with simple patterns and gradually work your way up to more complex projects. Seeing your progress and the finished products you create can boost your confidence and give you a sense of pride.
Furthermore, knitting can be a therapeutic activity that promotes relaxation and stress relief. The repetitive motions of knitting can have a calming effect on the mind and help alleviate anxiety. It can also be a meditative practice that allows you to focus on the present moment and let go of worries.
Lastly, knitting is a social activity that can help you connect with others who share the same hobby. Joining a knitting group or taking part in community knitting events can provide opportunities to meet new people, learn from experienced knitters, and exchange ideas and tips.
- In conclusion, knitting is an excellent hobby for beginners because it is easy to learn, requires minimal supplies, provides a sense of accomplishment, promotes relaxation, and offers social opportunities. Whether you want to create warm scarves, cozy blankets, or stylish sweaters, knitting allows you to unleash your creativity and make something beautiful with your own hands.
Choosing the right knitting needles and yarn
Knitting is a popular craft that involves creating fabric by interlocking loops of yarn with knitting needles. One of the first steps in starting a knitting project is choosing the right knitting needles and yarn. This decision is important because different needles and yarns are suitable for different projects and lead to different outcomes.
When it comes to choosing knitting needles, there are a few factors to consider. The most common types of knitting needles are straight, circular, and double-pointed. Straight needles are the traditional choice, and they are typically used for flat knitting such as scarves or blankets. Circular needles have a flexible cable connecting two needle tips, and they are great for knitting in the round or for larger projects that require more stitches. Double-pointed needles have points on both ends, and they are commonly used for making items like socks or hats.
Next, it is essential to select the right yarn for the project. Yarn comes in various weights, ranging from super fine to super bulky. The weight of the yarn determines how thick or thin the final fabric will be. Bulky yarn is great for quick projects, while lighter-weight yarns are better suited for garments with more delicate drape. Additionally, the fiber content of the yarn affects the texture, warmth, and ease of care. Common yarn fibers include wool, cotton, acrylic, and blends of different fibers.
Overall, when choosing knitting needles and yarn, it is important to consider the project’s requirements in terms of stitch size, pattern complexity, and desired final result. Experimenting with different needle materials and yarn fibers can also lead to new and exciting knitting experiences and outcomes. Whether you are a beginner or an experienced knitter, selecting the right tools and materials is an essential part of the knitting process.
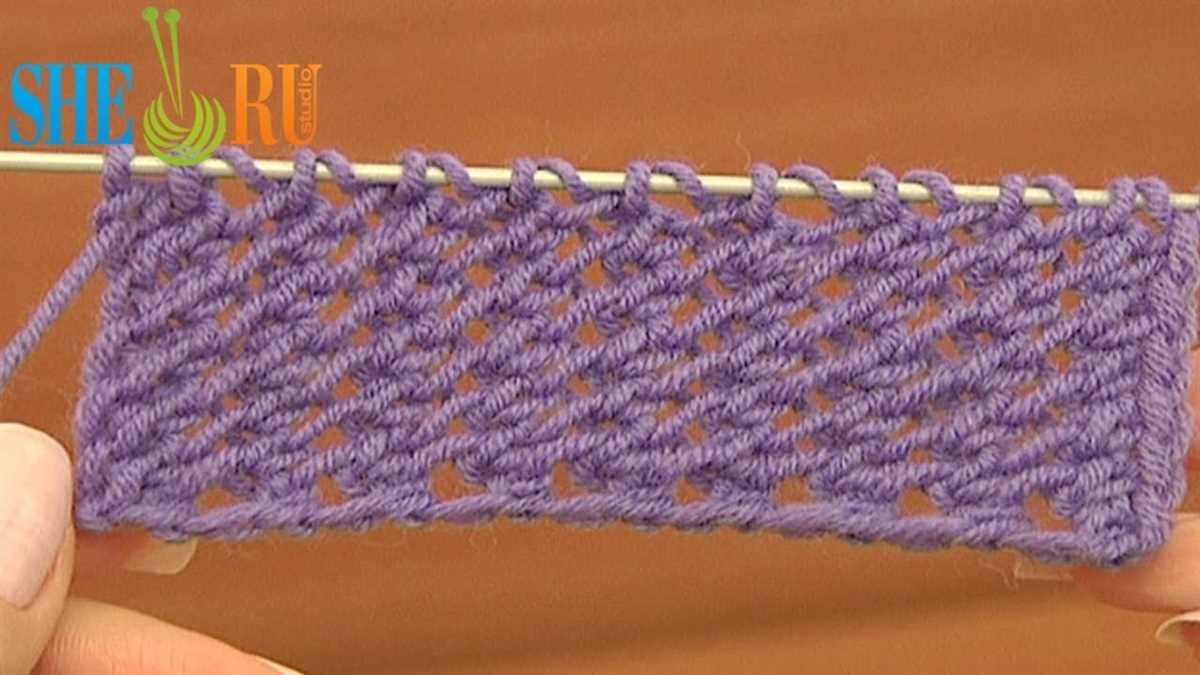
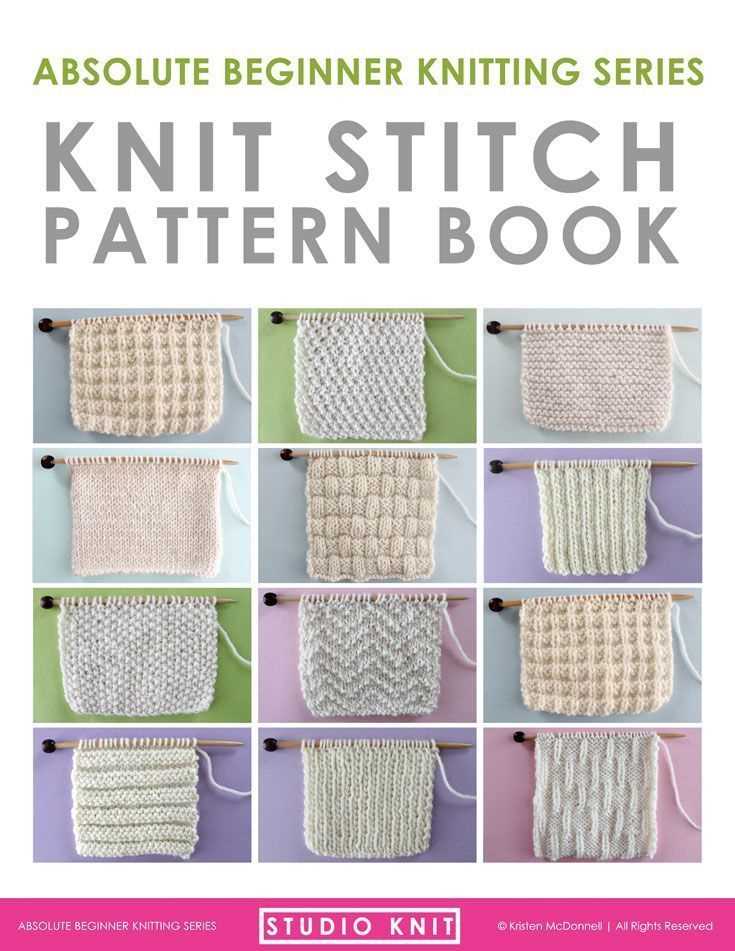
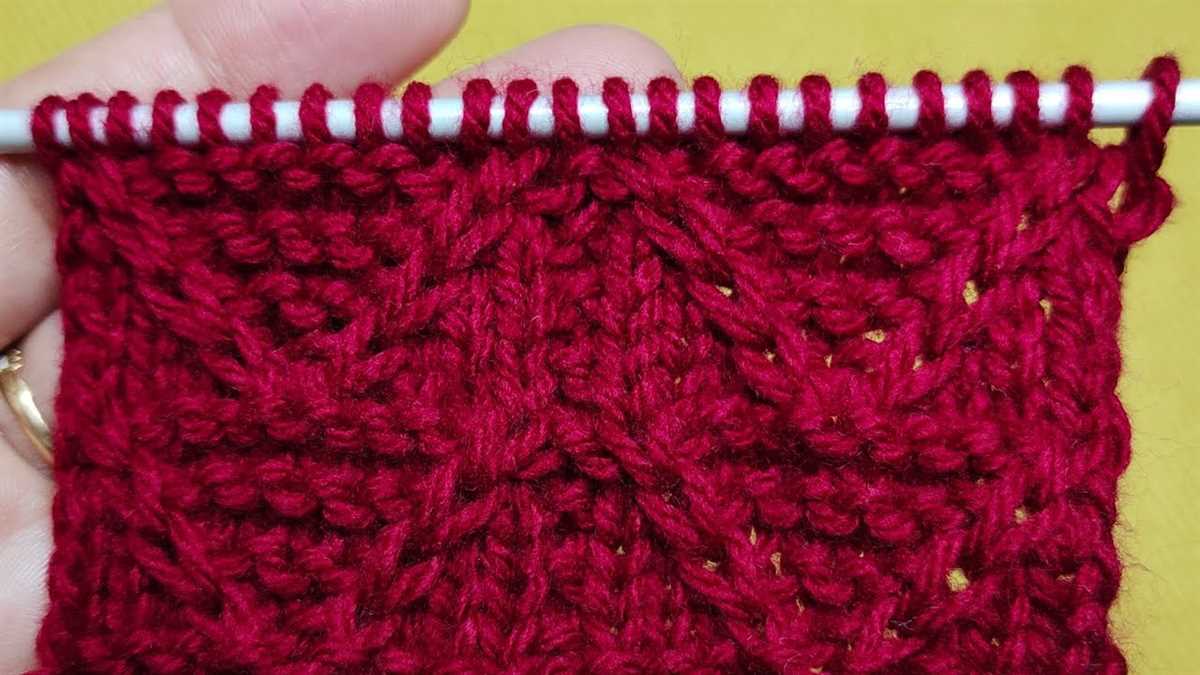
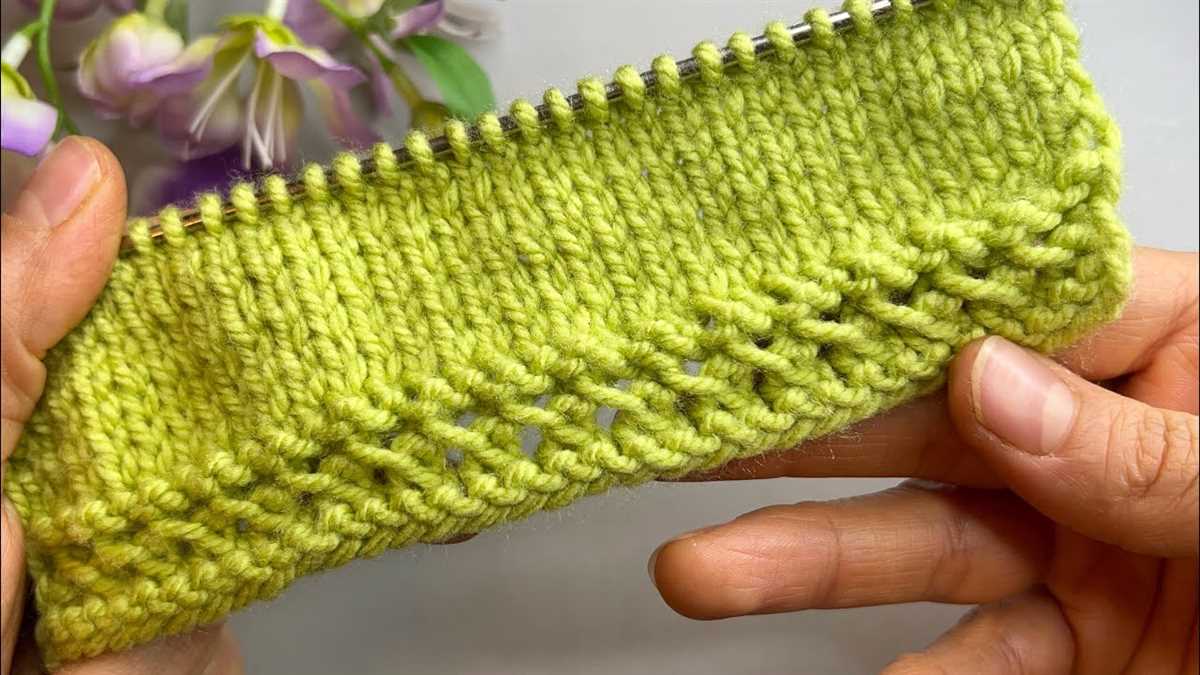
Basic knitting stitches every beginner should know

Learning the basic knitting stitches is an essential foundation for anyone starting their knitting journey. These stitches form the building blocks of most knitting projects, and mastering them will allow you to create a variety of beautiful and functional items.
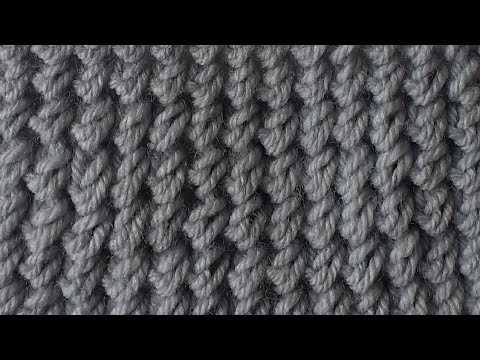
Garter stitch: The garter stitch is the simplest and most beginner-friendly knitting stitch. It is achieved by knitting every row, resulting in a cozy, textured fabric. Perfect for scarves, dishcloths, and even blankets, garter stitch is a great stitch to start with.
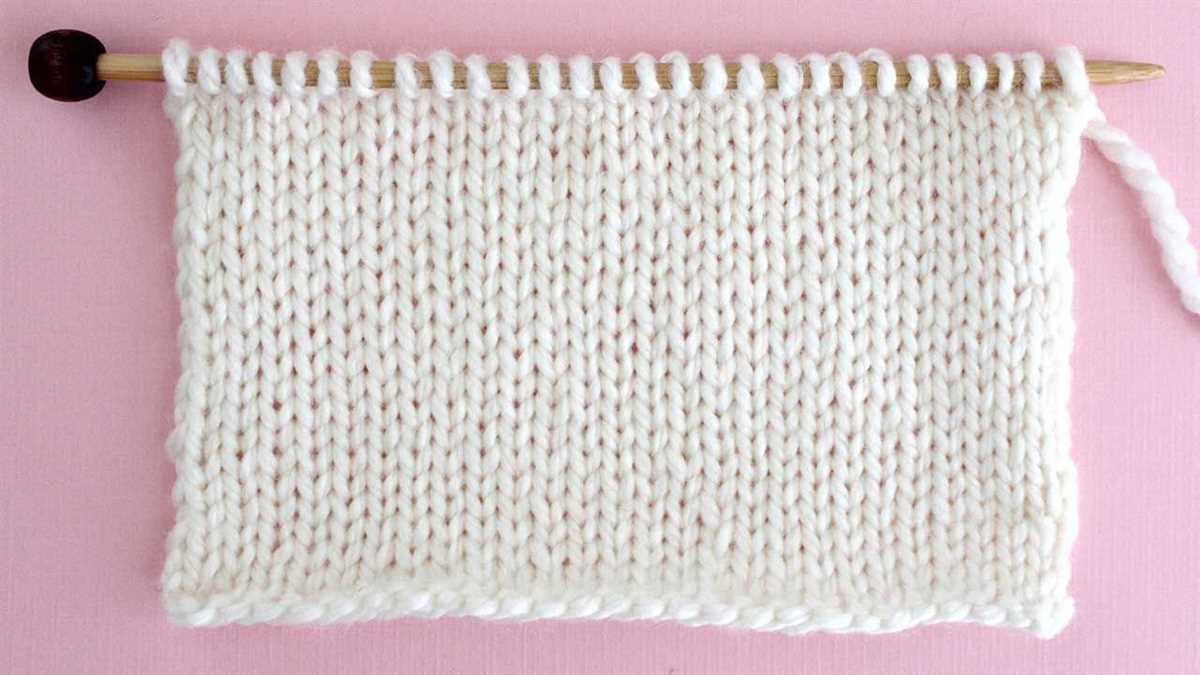
Stockinette stitch: The stockinette stitch is another fundamental stitch in knitting. It creates a smooth and flat fabric with a distinct “v” pattern on one side and a purl texture on the other side. Knitting one row and purling the next, this stitch is commonly used in sweaters, hats, and other garments.
Rib stitch: Rib stitch is a versatile stitch that is commonly used for cuffs, collars, and edges. It creates a stretchy and elastic fabric by alternating knit and purl stitches in a specific pattern. The most common rib stitch patterns are 1×1 rib (alternating knit and purl stitches), 2×2 rib (knitting two stitches and purling two stitches), and 3×1 rib (knitting three stitches and purling one stitch).
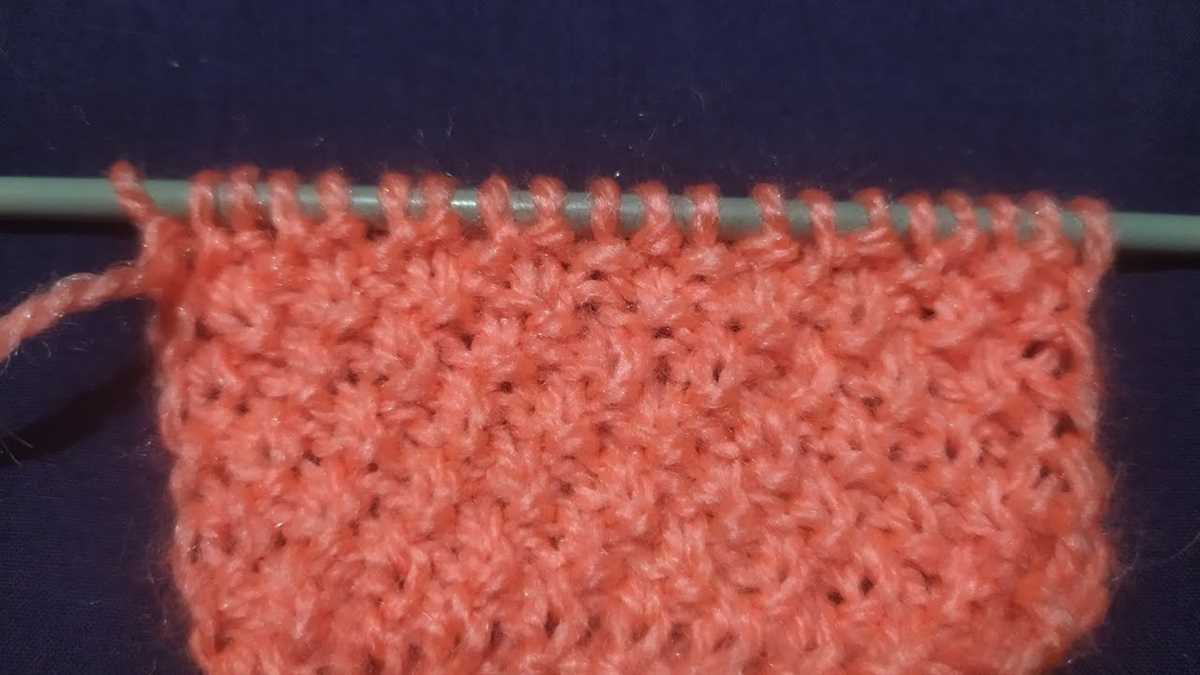
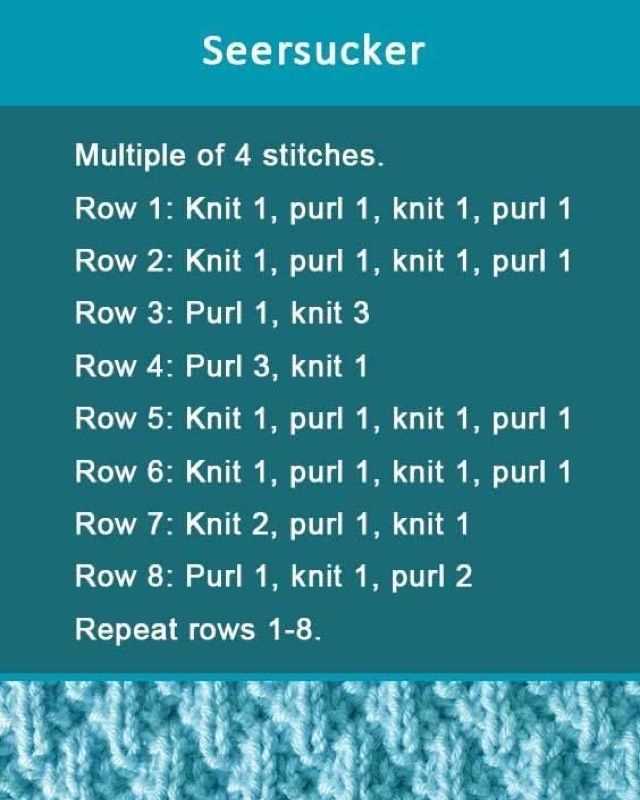
Seed stitch: The seed stitch is a simple and decorative stitch that creates a textured fabric resembling scattered seeds. It is achieved by alternating knit and purl stitches within the same row, creating a rich texture. Seed stitch is often used for borders, edgings, and detailing in various knitting projects.
Cable stitch: While cable stitches may seem intimidating to beginners, they can add beautiful and intricate designs to your knitting. Cable stitches involve crossing stitches over each other to create a twisted effect. With practice, you can easily master cable stitches and use them to create stunning patterns on sweaters, hats, and scarves.
By learning and practicing these basic knitting stitches, you will gain confidence in your knitting skills and be ready to tackle more complex patterns. Remember, practice makes perfect, so don’t be afraid to experiment and try new stitches and patterns as you progress in your knitting journey.
How to Read Knitting Patterns and Abbreviations
Knitting patterns can sometimes seem overwhelming with their various abbreviations and symbols. However, once you understand how to read them, you’ll be able to follow any pattern with ease. Here are some tips to help you decipher knitting patterns and understand their abbreviations.
1. Understanding the Basic Abbreviations: Knitting patterns often use abbreviations to save space and make directions clearer. Common abbreviations include “k” for knit, “p” for purl, “st” for stitch, “rep” for repeat, and “sl” for slip. Familiarize yourself with these basic abbreviations to understand the overall structure of the pattern.
2. comprehending Pattern Symbols: In addition to abbreviations, knitting patterns may use symbols to indicate specific knitting techniques. For example, a vertical line with a dot above it could indicate a yarn over, while a diagonal line with a downward arrow may signify a decrease. Look for a key or legend in the pattern to help you decipher these symbols or consult a knitting resource book for guidance.
3. Reading pattern charts: Many knitting patterns include charts, which are visual representations of the pattern using symbols instead of written instructions. To read a chart, start at the bottom right corner and read each row from right to left. Pay attention to the symbols and their corresponding explanations in the chart key. By following the chart, you’ll be able to see the pattern’s design unfold.
4. Taking Note of Pattern-specific Abbreviations: Some knitting patterns may include unique abbreviations specific to that pattern. Before starting the project, carefully read through the pattern’s introduction or notes to ensure you understand any specific abbreviations used. This will help you avoid confusion or mistakes as you work on the project.
5. Keeping Track of Rows and Repeats: Knitting patterns often include instructions for repeating certain sections of stitches or rows. Pay attention to these repeats and use stitch markers or a row counter to keep track of where you are in the pattern. This will help you maintain consistency and ensure your finished project looks as intended.
Overall, reading knitting patterns and understanding their abbreviations takes practice and familiarity. Don’t be discouraged if it feels overwhelming at first. With time and experience, you’ll become more comfortable deciphering patterns and creating beautiful knitted items.
Simple scarf knitting pattern for beginners

Knitting a scarf is a great way for beginners to learn the basics of knitting. It’s a simple and practical project that can be completed relatively quickly. With just a few basic stitches, you can create a beautiful and cozy accessory that will keep you warm during the colder months.
To get started, you will need:
- Yarn of your choice
- Knitting needles (size depends on the yarn you choose)
- A pair of scissors
Instructions:
- Start by casting on stitches. The number of stitches you cast on will depend on how wide you want your scarf to be. As a beginner, it’s recommended to start with around 20-30 stitches.
- Once you have cast on your stitches, you can begin knitting your scarf. The most basic stitch is the knit stitch. Simply insert your right-hand needle into the first stitch on your left-hand needle, wrap the yarn around the right-hand needle, and pull it through the stitch. Repeat this process for each stitch until you reach the end of the row.
- Continue knitting rows of the knit stitch until your scarf reaches the desired length. You can choose to knit all rows in the same stitch for a simple and uniform look, or you can experiment with different stitch patterns for added texture.
- When you have reached the desired length, it’s time to finish off your scarf. Cut the yarn, leaving a long tail. Thread the tail through the last stitch and pull it tight to secure.
- Finally, weave in any loose ends and block your scarf if needed. Blocking involves gently washing or steaming your finished scarf to help it relax and take its final shape.
Remember, practice makes perfect! Don’t be discouraged if your first scarf doesn’t turn out exactly as you envisioned. The more you practice, the more confident you will become in your knitting skills. And once you’ve mastered the basics, you can move on to more advanced patterns and techniques. Happy knitting!
Easy Hat Knitting Pattern for Beginners
Are you a beginner knitter looking for an easy project to start with? Look no further! This easy hat knitting pattern is perfect for beginners who want to try their hand at knitting clothing items.
With this pattern, you’ll be able to create a cozy and stylish hat that will keep you warm during the colder months. The pattern is simple to follow and doesn’t require any advanced knitting techniques, making it ideal for beginners.
Here’s what you’ll need to get started:
- Size 8 knitting needles
- Worsted weight yarn in your desired color
- Yarn needle for weaving in ends
To begin, cast on 80 stitches using the long tail cast-on method. Once your stitches are cast on, join in the round and place a stitch marker to mark the beginning of your round.
Next, start knitting in the round using the stockinette stitch. Knit every stitch for every round until your hat measures about 8 inches from the cast-on edge.
When your hat reaches the desired length, it’s time to start decreasing. Switch to double-pointed needles when there are too few stitches to comfortably fit on your circular needles.
Continue decreasing until you have a few stitches left. Cut the yarn, leaving a long tail, and thread it through the remaining stitches. Pull tight to close the top of the hat and secure the yarn.
Lastly, weave in any loose ends with a yarn needle, and your hat is complete! This easy hat knitting pattern is a great way for beginners to practice their knitting skills and create a functional and stylish accessory.
So grab your knitting needles, choose your favorite yarn, and get started on this easy hat knitting pattern for beginners. Happy knitting!
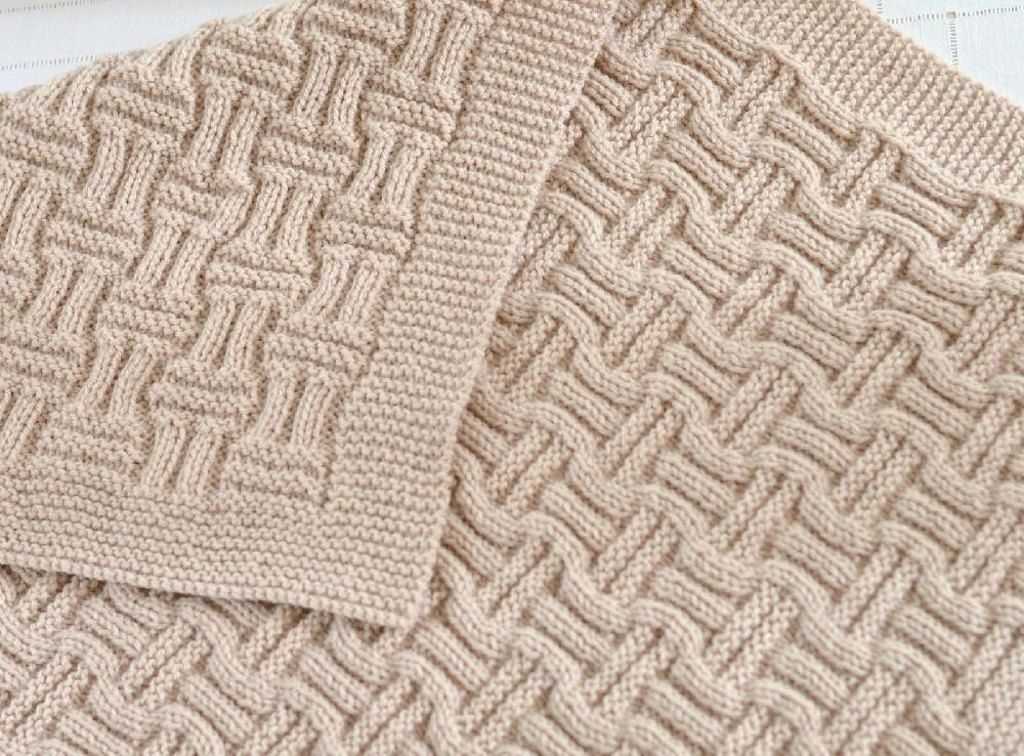
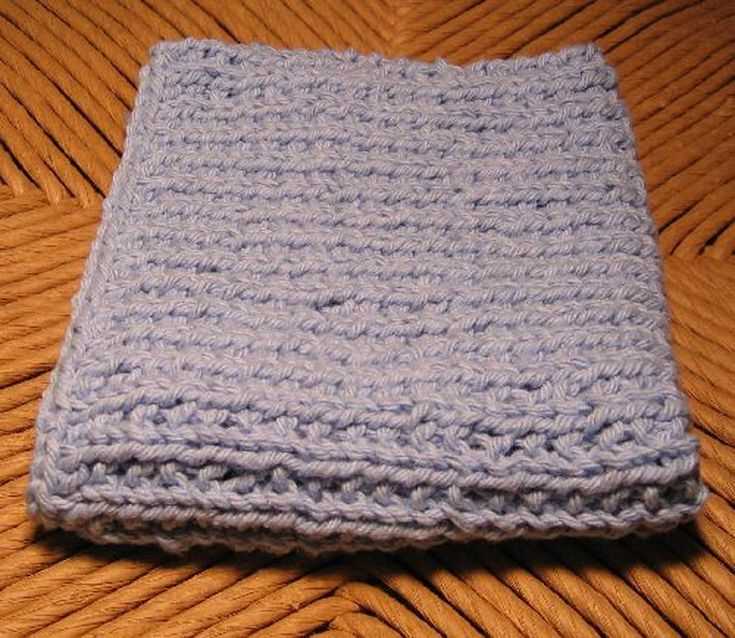
Beginner-friendly blanket knitting pattern
If you are a beginner knitter looking to tackle your first blanket project, we have an easy and beginner-friendly pattern just for you! This pattern is perfect for those who are new to knitting and want to create a cozy and warm blanket for themselves or as a gift.
Materials:
- Size 10 knitting needles
- Approximately 1000 yards of worsted weight yarn
- Tapestry needle
Instructions:
- Cast on 120 stitches.
- Knit every row until the blanket reaches your desired length.
- Bind off and weave in any loose ends.
This pattern uses the most basic knitting stitch, the garter stitch, which means you knit every row. This makes it perfect for beginners who may still be getting the hang of different knitting techniques. The garter stitch creates a beautiful and timeless texture that looks great in any color or yarn.
For the best results, choose a soft and warm worsted weight yarn for your blanket. The size 10 knitting needles are also beginner-friendly, as they are thicker and easier to handle than smaller needles.
This blanket pattern is versatile and customizable. You can easily adjust the size of the blanket by casting on more or fewer stitches. You can also experiment with different color combinations or add stripes or other stitch patterns to make it your own.
Once you finish your beginner-friendly blanket, you will have a cozy and comforting piece that you can enjoy or give as a heartfelt gift. This project is a great way to practice your knitting skills and create something beautiful at the same time.
Knitting a basic dishcloth: a perfect first project
For beginners looking to dip their toes into the world of knitting, a basic dishcloth is the perfect project to start with. Not only is it relatively quick and easy to make, but it also serves as a practical item that you can use in your everyday life. With just a few basic knitting stitches, you’ll be able to create a functional and beautiful dishcloth that you can be proud of.
One of the great things about knitting a dishcloth as a beginner is that it allows you to practice the fundamental stitches that form the foundation of most knitting projects. A dishcloth typically involves using basic knit and purl stitches, which are essential skills to master. With each row, you’ll have the opportunity to perfect your tension and evenness, ensuring that your stitches are consistent throughout the project.
To get started on your dishcloth, you’ll need:
- Worsted weight cotton yarn for its durability and absorbency
- Knitting needles in a size appropriate for your yarn (usually US size 7 or 8)
- A yarn needle for weaving in ends
- A pair of scissors
Here’s a simple pattern to follow:
- Cast on 40 stitches
- Row 1: Knit across
- Row 2: Knit 2, purl to last 2 stitches, knit 2
- Repeat rows 1 and 2 until your dishcloth measures about 8 inches in length
- Bind off all stitches
- Weave in any loose ends
As you work through the pattern, you’ll start to develop a rhythm and feel more confident in your knitting abilities. Don’t be discouraged if your first dishcloth isn’t perfect – it’s all part of the learning process. With each project, you’ll become more skilled and comfortable with the techniques involved.
So why wait? Grab your knitting needles and start on your very first dishcloth. It’s a great way to learn the basics of knitting while creating something useful and beautiful at the same time. Happy knitting!
Knitting a Pair of Cozy Socks for Beginners

Knitting a pair of cozy socks can be a great project for beginners who are looking to improve their knitting skills and create something warm and functional. Socks are relatively small and quick to knit, making them ideal for those who are just starting out in the world of knitting.
Choosing the Right Yarn and Needles:
When knitting socks, it’s important to choose a yarn that is soft, warm, and durable. Look for a yarn that is specifically labeled for sock knitting, as these tend to have the right amount of stretch and durability to withstand regular wear. For beginners, it’s recommended to use a medium weight (worsted) yarn, as it is easier to work with than fine or bulky yarns.
Getting Started:
Before beginning your sock knitting project, it’s important to familiarize yourself with basic knitting techniques such as casting on, knitting, purling, and decreasing. There are numerous online tutorials and knitting resources available that can help beginners learn these techniques. Once you have a solid understanding of the basics, you can start knitting your socks.
Following a Pattern:
For beginners, it’s best to start with a simple sock pattern that includes clear instructions and minimal shaping. Look for patterns that use basic stitches and have step-by-step instructions, including measurements and gauge information. It’s important to carefully read through the pattern before starting to ensure you understand the instructions and have all the necessary materials and tools.
Finishing the Socks:
Once you’ve completed knitting the main body of the sock, it’s time to finish off the project by sewing the toe seam and adding any desired embellishments, such as ribbing or a decorative cuff. Take your time and use a strong needle and matching yarn to ensure a secure and professional-looking finish. After finishing, try on your new cozy socks and enjoy the satisfaction of a job well done!
Creating a beginner-friendly knitted toy
Knitting toys can be a fun and rewarding project for beginners. Not only do they provide an opportunity to practice basic knitting skills, but they also result in adorable creations that make great gifts or decorations for the home.
When choosing a pattern for a beginner-friendly knitted toy, it’s important to look for designs that are simple and easy to follow. Opting for patterns that use basic stitches, such as garter stitch or stockinette stitch, will make it easier for beginners to achieve consistent and even results. Additionally, patterns that require minimal seaming or shaping will help build confidence and keep the project manageable for beginners.
Here are a few tips to keep in mind when creating a beginner-friendly knitted toy:
- Start with a small project: Beginning with a small toy, such as a stuffed animal or a knitted ball, allows beginners to practice the necessary techniques without feeling overwhelmed by a large project.
- Choose the right yarn: Opt for a soft and pliable yarn that is easy to work with. Bulky or chunky yarns can be excellent choices for beginners, as they knit up quickly and result in a plush finished product.
- Use simple shaping techniques: Incorporating basic shaping techniques, such as increases and decreases, can add dimension and interest to a knitted toy. However, it’s important to choose patterns that use straightforward and easy-to-understand instructions for shaping.
- Consider safety: If the knitted toy is intended for a child, be mindful of safety concerns. Avoid using small buttons or beads that could present a choking hazard, and ensure that any other embellishments are securely attached.
- Have fun with colors: Knitting toys allows for creativity and experimentation with color. Beginners can choose to work with a single color or incorporate multiple colors to add personality and charm to their creations.
Overall, creating a beginner-friendly knitted toy is an enjoyable way to learn and practice knitting skills. With the right pattern, yarn, and techniques, beginners can successfully complete their first knitted toy and feel a sense of accomplishment.
Finishing touches and tips for beginner knitters
As a beginner knitter, there are a few finishing touches and tips that can help you enhance the quality of your knitted projects:
Blocking
Blocking is the process of shaping and sizing your knitted piece. It helps to even out stitches, open up lace patterns, and give your finished project a more polished look. To block your knitting, you can pin it to a blocking mat or place it on a towel and mist it with water. Allow it to dry completely before removing the pins or towel.
Seaming
Seaming is the process of joining knitted pieces together. It can be a bit intimidating for beginners, but with practice, it becomes easier. There are different seaming techniques, such as whip stitch, mattress stitch, and grafting. You can choose the one that suits your project and learn how to seam using online tutorials or knitting books.
Weaving in ends
Weaving in ends is an essential step in finishing your knitting project. When you finish knitting a piece, you are left with loose yarn ends that need to be secured. To weave in ends, use a yarn needle, and guide the loose ends through the stitches on the wrong side of your work. This ensures that they are hidden and won’t come undone.
Choosing the right yarn and needles
When starting out, it’s important to choose the right yarn and needles for your project. Opt for yarn that is labeled as “beginner-friendly” or “easy care,” as these tend to be more forgiving. Additionally, choose needles that are comfortable for you to work with. Circular needles are often recommended as they distribute the weight of your project more evenly.
Practice makes perfect
Like any skill, knitting takes practice. Don’t be discouraged if your early projects don’t turn out perfect. Keep practicing, try new techniques, and don’t be afraid to make mistakes. The more you knit, the better you’ll become.
By following these finishing touches and tips, you’ll be well on your way to creating beautiful knitted projects as a beginner. Remember to be patient with yourself, enjoy the process, and have fun exploring the world of knitting!