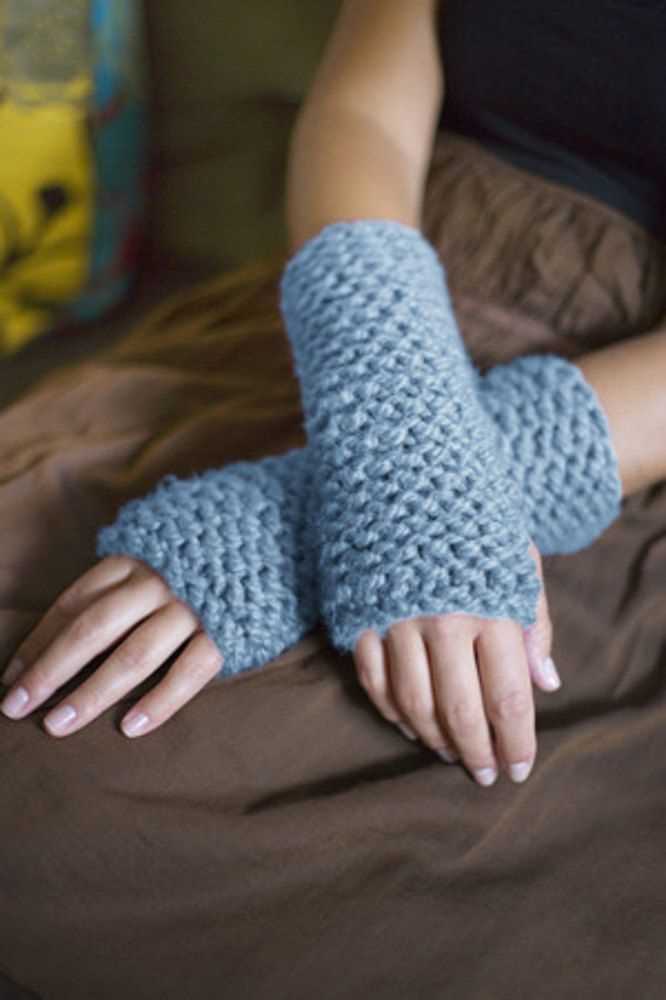
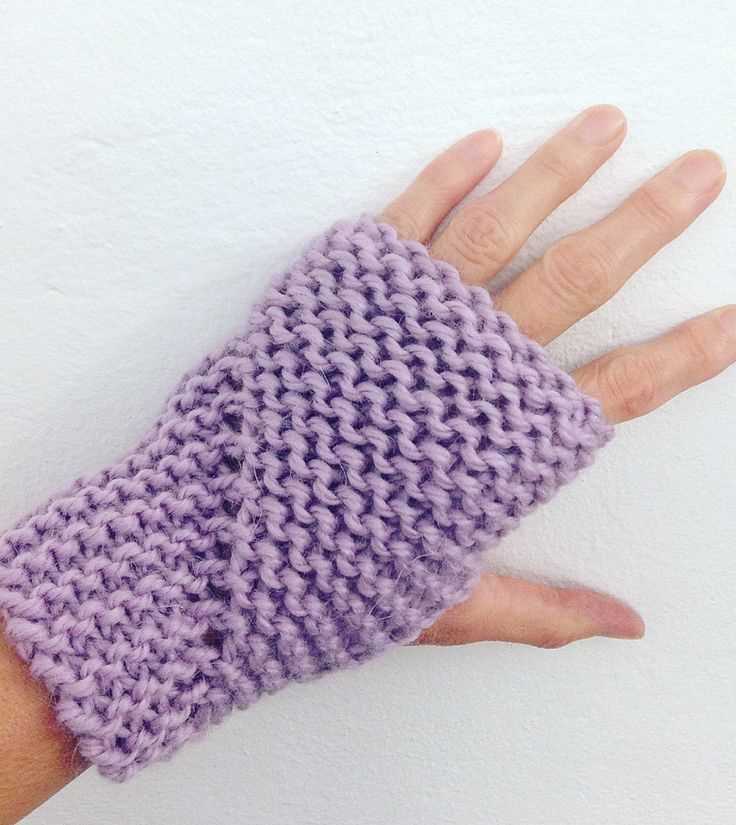
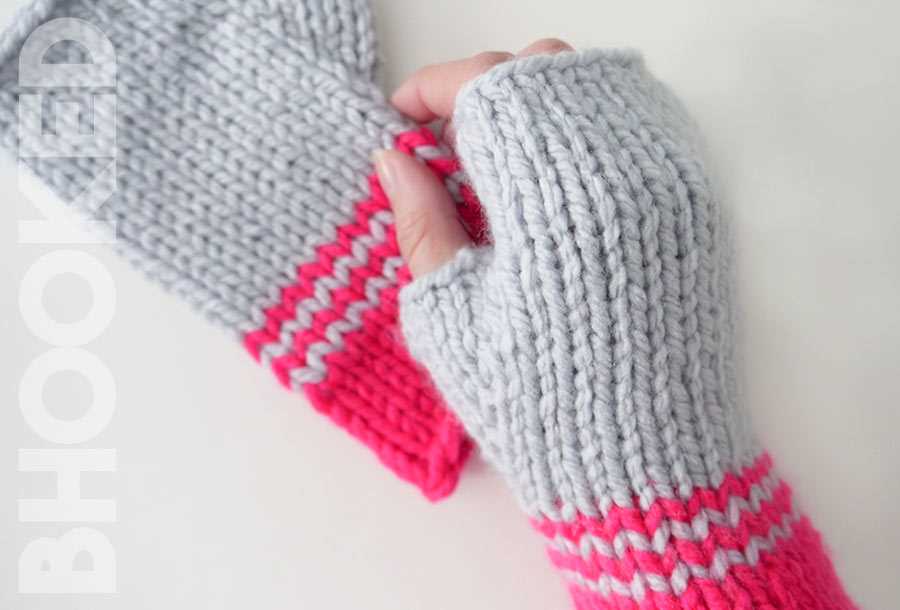
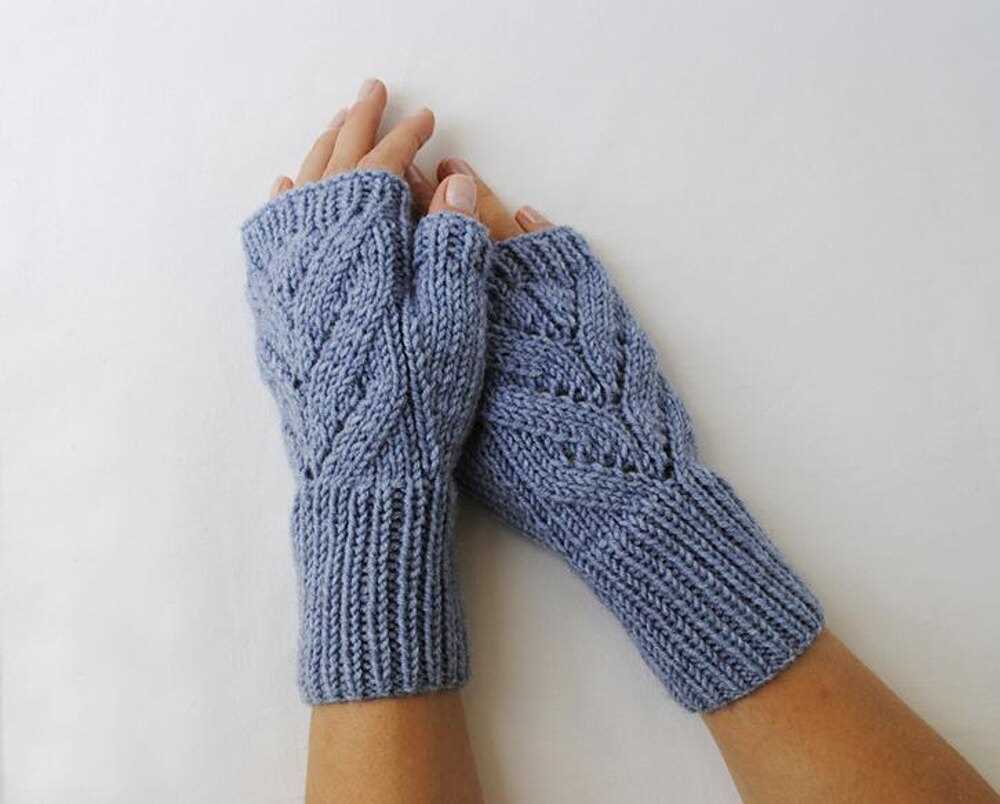
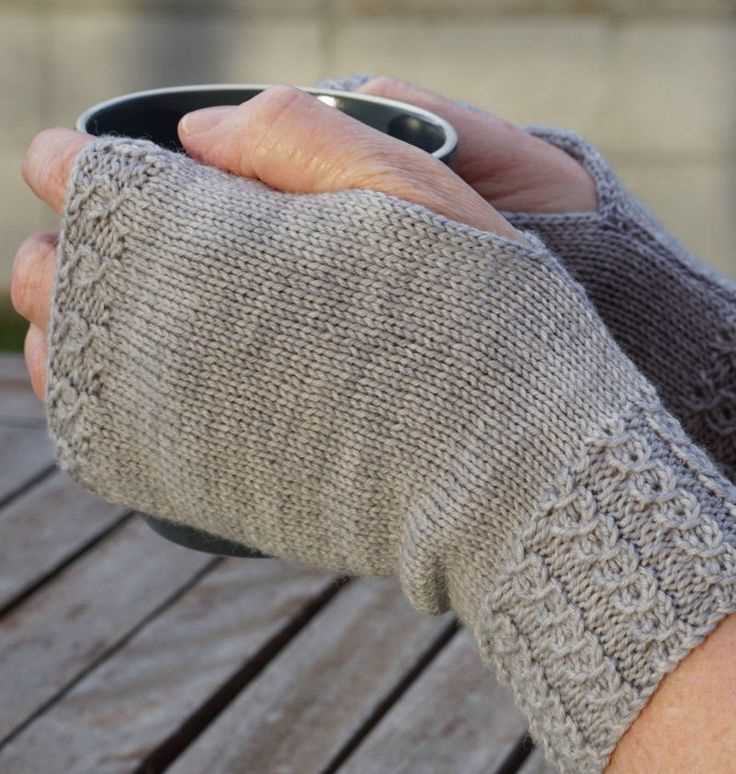
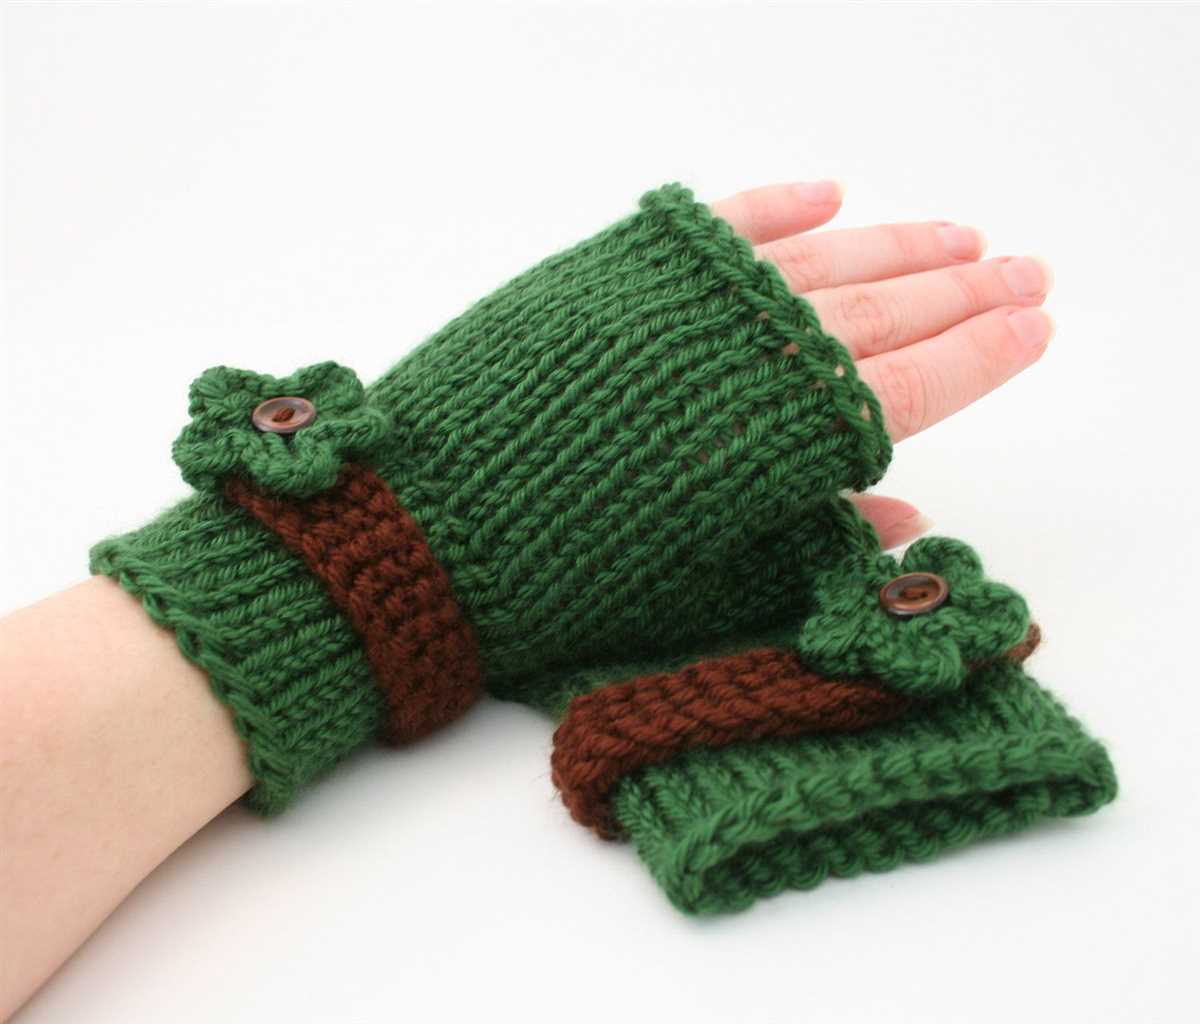
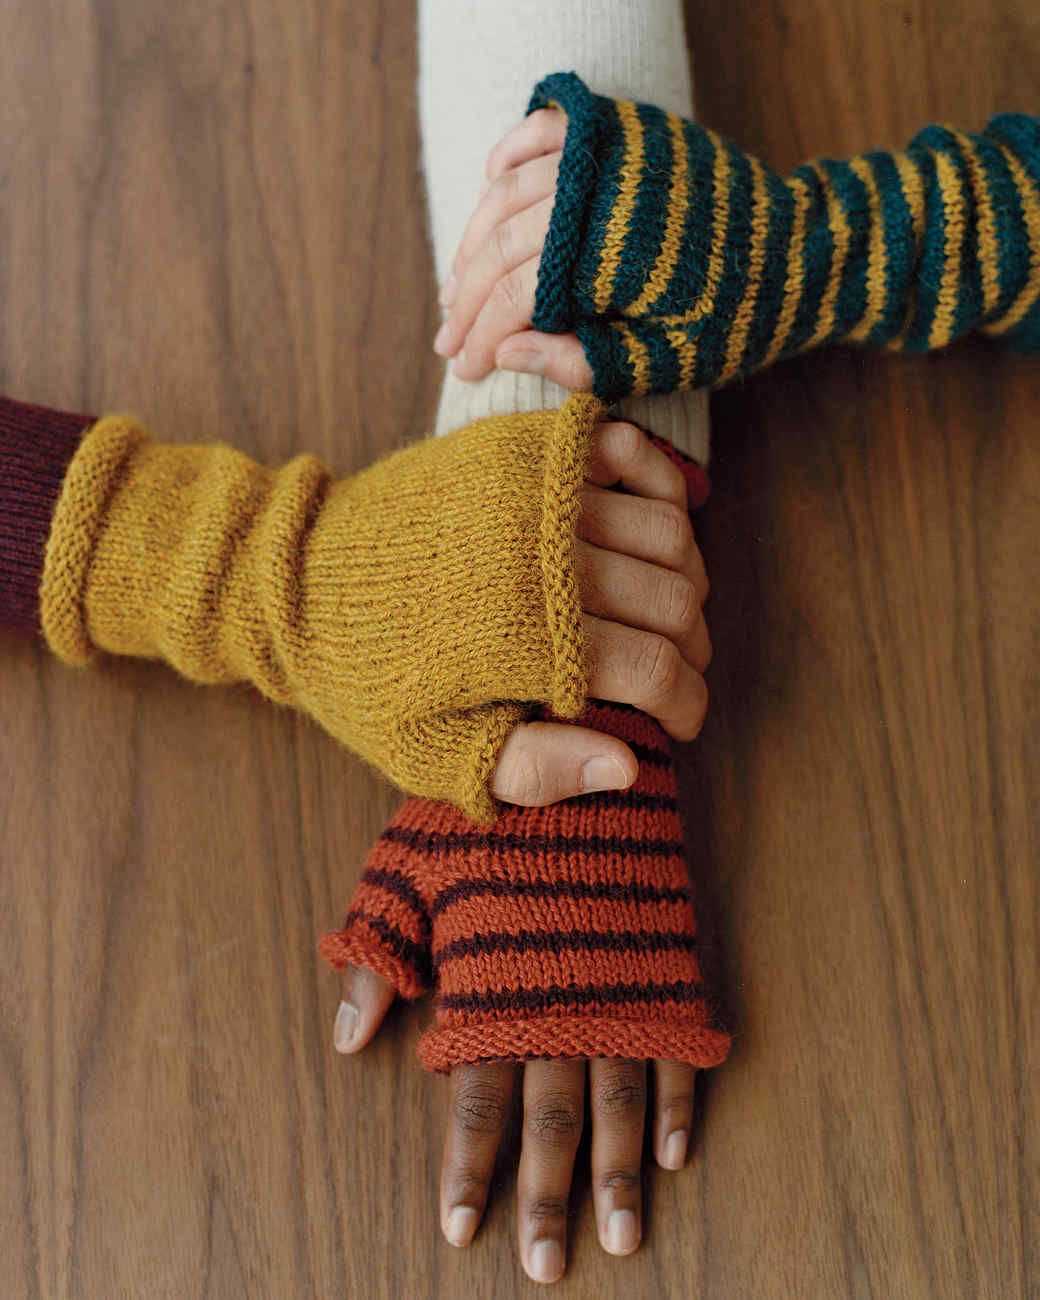
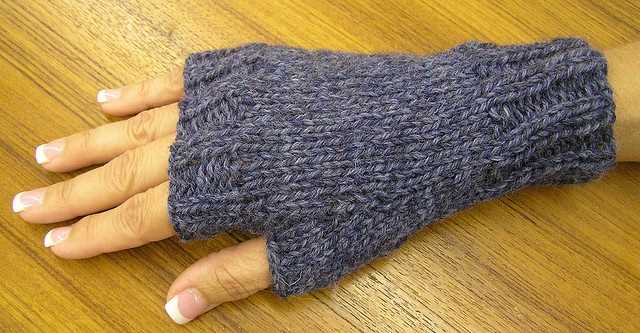
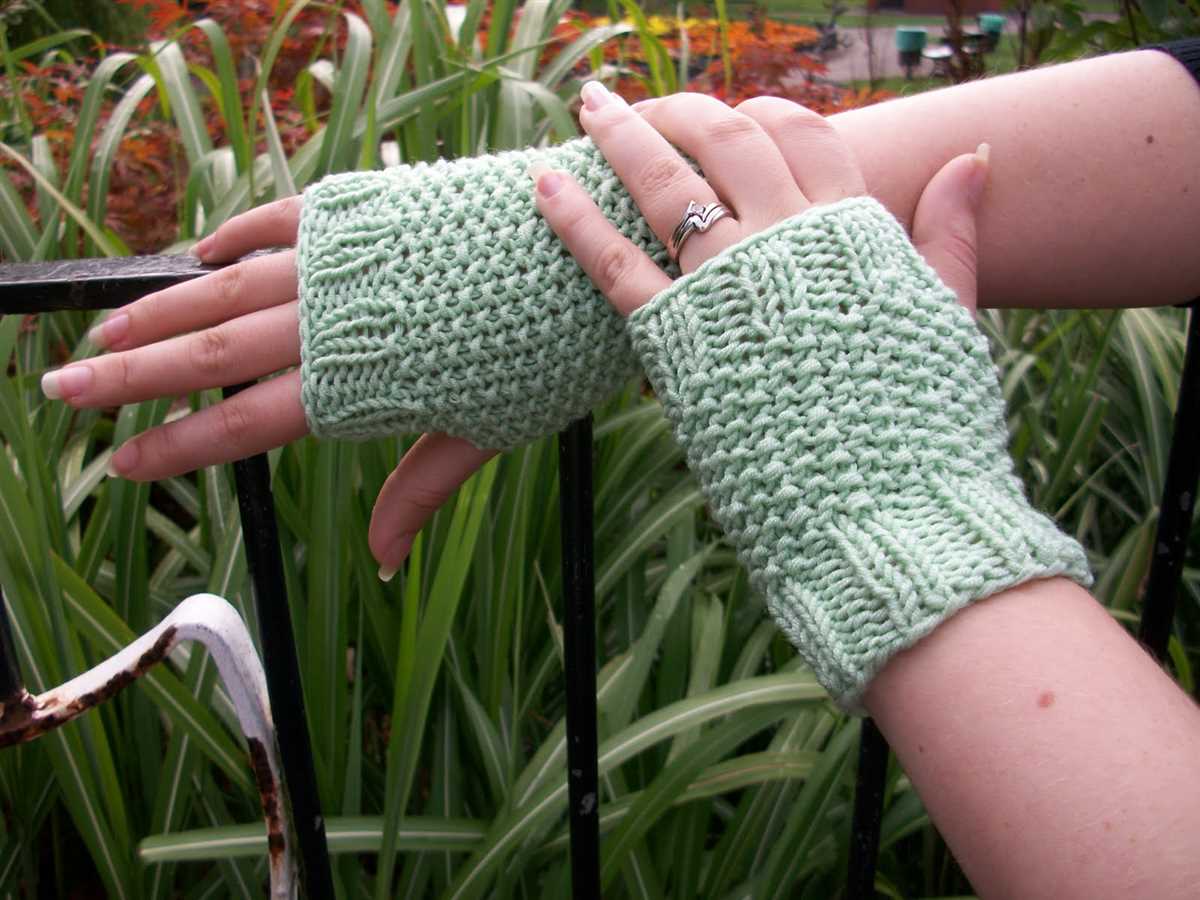
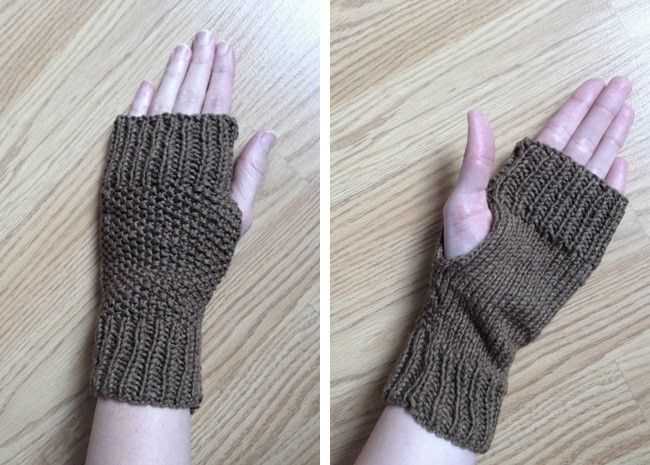
Simple and Stylish Fingerless Gloves Knitting Pattern

Knitting fingerless gloves is a great way to keep your hands warm while allowing your fingers to remain free. Whether you’re a beginner or an experienced knitter, this easy fingerless gloves knitting pattern is perfect for you. With just a few simple stitches, you’ll have a cozy pair of gloves in no time.
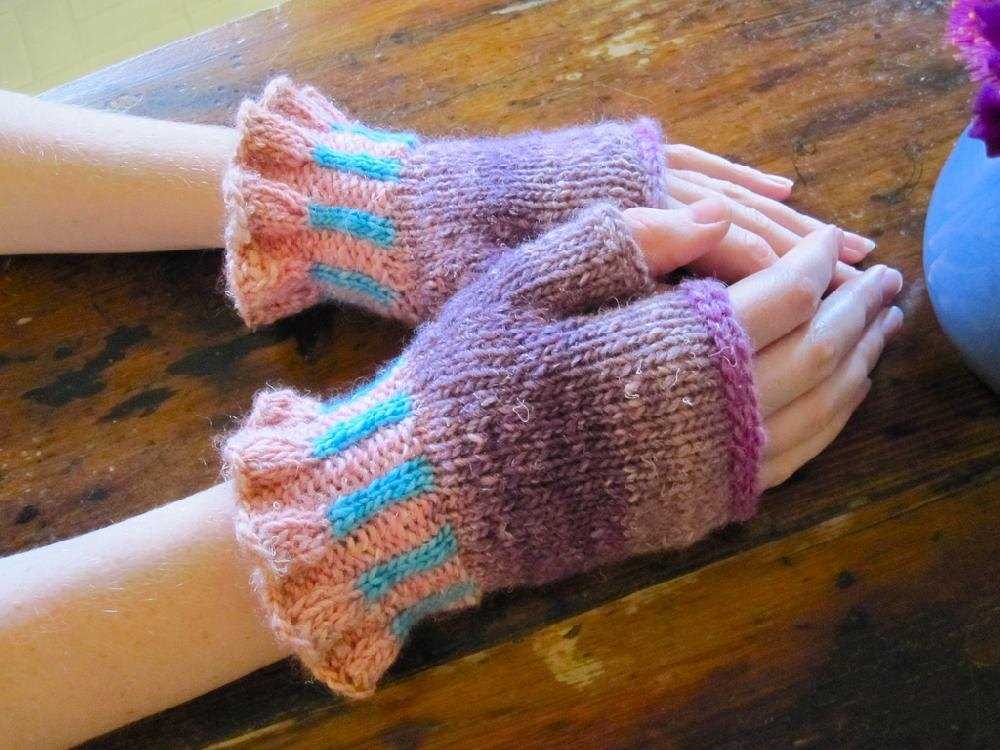
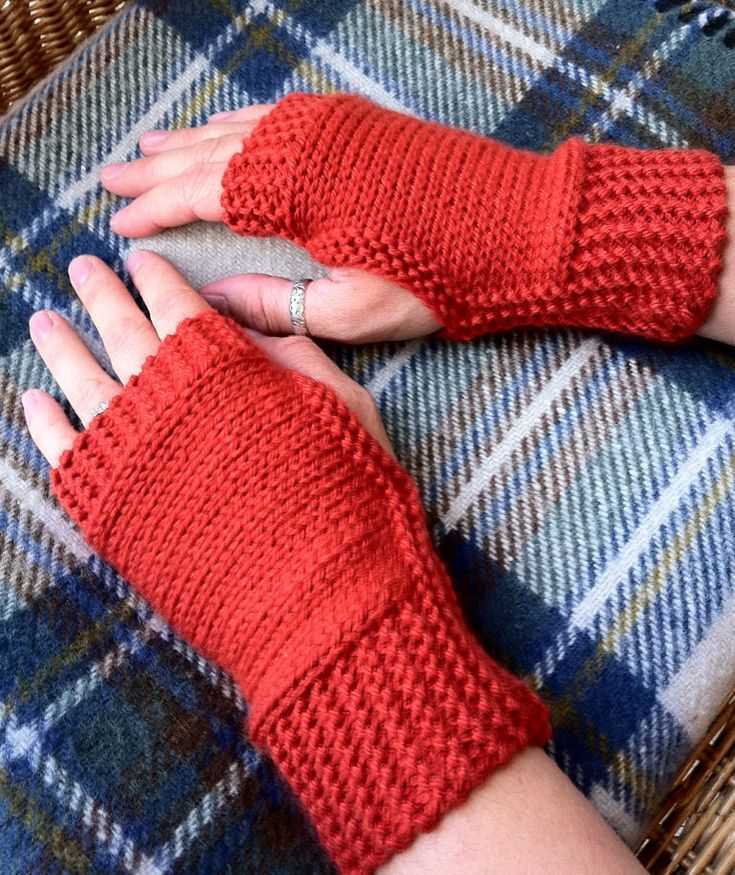
One of the best things about fingerless gloves is that they’re not only practical, but also stylish. They can add a touch of warmth and charm to any outfit. Plus, knitting them yourself allows you to choose the color and texture of yarn that you love the most.
With this easy knitting pattern, you’ll be able to create a pair of fingerless gloves that are perfect for everyday wear. They’re great for keeping your hands warm during chilly mornings or for adding a pop of color to your winter wardrobe. So grab your knitting needles and get ready to create a cozy pair of fingerless gloves!
Choosing the right yarn and needles
When knitting fingerless gloves, it’s important to choose the right yarn and needles to ensure a comfortable and well-fitting final product. The type of yarn you choose will greatly impact the warmth, texture, and durability of the gloves.
One important factor to consider when selecting yarn is its weight or thickness. Fingerless gloves typically require a lightweight yarn such as fingering or sport weight, as these will provide the right amount of warmth without being too bulky. Additionally, a soft and smooth yarn will ensure that the gloves are comfortable to wear and won’t irritate the skin.
In terms of fibers, wool is a popular choice for fingerless gloves due to its natural warmth and moisture-wicking properties. However, if you have sensitive skin or prefer a vegan option, there are plenty of synthetic or plant-based yarns available that can provide warmth and comfort.
When it comes to needles, the right size will depend on the gauge of the yarn you’ve chosen and your personal tension. To determine the correct needle size, it’s always recommended to make a gauge swatch and measure the number of stitches per inch. This will ensure that your gloves fit properly and match the pattern’s measurements.
Some knitters also prefer to use double-pointed needles (DPNs) or circular needles for fingerless gloves, as these allow for seamless knitting in the round. DPNs are commonly used for smaller projects like gloves, providing a snug fit and preventing the need for excessive seaming. Circular needles can also be used for knitting gloves in the round, and they offer the added benefit of a longer cord that can hold more stitches.
Ultimately, the choice of yarn and needles for your fingerless gloves will depend on your personal preferences and the specific requirements of your project. It’s always a good idea to experiment with different combinations to find what works best for you. Happy knitting!
Casting on stitches

When starting a fingerless gloves knitting project, the first step is to cast on the required number of stitches. Casting on is the process of creating the foundation row of stitches onto the knitting needles. There are several methods for casting on stitches, and the choice of method will depend on personal preference and the desired outcome. The most common method used for fingerless gloves is the long-tail cast on.
The long-tail cast on is a versatile method that creates a neat and stretchy edge. To begin, measure a length of yarn approximately three times the width of your finished project. Make a slipknot at the end of the yarn, leaving a long tail. Insert the right-hand needle through the slipknot and use it to catch the yarn tail. Bring the needle over the yarn tail, creating a loop. Then, insert the needle into the loop, and pull the yarn tail to tighten the loop onto the needle.
The long-tail cast on is repeated for each stitch required for the pattern. It is important to maintain an even tension as you cast on each stitch to ensure consistent sizing. Once all the stitches are cast on, you can proceed to the next step of the pattern, which may involve joining in the round or working flat. The cast on edge will serve as the foundation for the fingerless gloves, and it is crucial to start with a strong and even cast on to set the tone for the rest of the knitting project.
Ribbing stitch
The ribbing stitch is a popular knitting technique that is commonly used in various projects, including fingerless gloves. It creates a stretchy and textured fabric that is perfect for cuffs, collars, and borders. The ribbing stitch is achieved by alternating knit and purl stitches in a specific pattern. This creates columns of raised knit stitches and recessed purl stitches, giving the fabric its distinctive ribbed appearance.
To create the ribbing stitch, you will need to have a basic understanding of how to knit and purl stitches. The most common ribbing stitch pattern is the 1×1 rib, which consists of alternating one knit stitch and one purl stitch. This pattern is often used for cuffs and can be found in many fingerless glove knitting patterns.
Another popular ribbing stitch pattern is the 2×2 rib, which consists of alternating two knit stitches and two purl stitches. This pattern creates a wider ribbing and is often used for thicker fabric or larger projects such as scarves or sweaters. The 2×2 ribbing stitch provides extra elasticity and can help the fabric retain its shape.
The ribbing stitch is not only decorative but also functional. It allows the fabric to stretch, making it more comfortable to wear and ensuring a snug fit. Additionally, the ribbing stitch helps prevent the edges of the fabric from curling, giving the finished project a polished look. Whether you’re a beginner or an experienced knitter, mastering the ribbing stitch will open up a world of possibilities for creating beautiful and practical fingerless gloves.
Creating the thumb hole
When knitting fingerless gloves, one of the most important steps is creating the thumb hole. This opening allows for the freedom of movement and functionality that fingerless gloves provide, while still keeping the rest of the hand warm and protected.
To create the thumb hole, you will typically need to stop knitting in the round and work back and forth in rows for a portion of the glove, leaving an opening for the thumb.
To start, you can use stitch markers to mark the beginning and end of the thumb hole section. This will help you keep track of where to switch from knitting in the round to working back and forth.
In some patterns, the thumb hole is created by binding off a certain number of stitches in the center of the glove, where the thumb will be. This creates a gap that can be easily seamed or stitched up later. Alternatively, you may create an opening by simply not knitting a certain number of stitches, allowing the gap to form naturally.
Once the thumb hole section is complete, you can resume knitting in the round to finish the glove. The thumb hole can be reinforced or finished off later with a border or edging, depending on the desired look and style of the gloves.
Creating the thumb hole is an important step in knitting fingerless gloves, and it allows for flexibility and functionality in the finished product. With careful attention to detail, you can create a well-fitting and comfortable thumb hole that will enhance the overall design and usefulness of the gloves.
Knitting the body of the glove
Once you have cast on the desired number of stitches, you can begin knitting the body of the fingerless glove. This section will cover the steps to follow for creating the main section of the glove, which will cover the back of your hand and extend down to the wrist.
1. Knit in the round: To create a seamless glove, you will need to knit in the round. This can be done using double-pointed needles or circular needles, depending on your preference. Make sure that all of your stitches are evenly distributed across your needles before you begin.
2. Continue knitting in the desired pattern: The body of the glove can be knit in a variety of stitch patterns, depending on the design you choose. Some popular options include ribbing, stockinette stitch, or a textured pattern. Follow the knitting pattern instructions to continue working in the desired stitch pattern until the glove reaches the desired length.
3. Shape the thumb gusset: As you knit the body of the glove, you will also need to shape the thumb gusset. This is done by increasing stitches along the side of the glove to create a space for the thumb. Refer to the knitting pattern instructions for the specific number of stitches to increase on each round and the required placement of these increases.
4. Create the desired wrist shaping: Once you have reached the desired length for the body of the glove, you can begin shaping the wrist. This can be done by decreasing stitches gradually to create a tapered effect. Again, consult the knitting pattern instructions for the specific decreases to use and the required placement of these decreases.
By following these steps and carefully following the knitting pattern instructions, you will be able to successfully knit the body of your fingerless glove. Remember to take your time and enjoy the process of creating a unique and cozy accessory!
Shaping the thumb gusset
One of the essential steps in knitting fingerless gloves is shaping the thumb gusset. The thumb gusset is an area of increased stitches that allows for movement and flexibility in the thumb region. It is typically located on the side of the glove where the thumb will be placed. Shaping the thumb gusset involves gradually increasing stitches to create a triangular-shaped opening for the thumb.
To shape the thumb gusset, you will need to follow the knitting pattern instructions and carefully work the specified increase stitches. These increases are often made by knitting or purling into the front and back of a stitch or by using other increase techniques like the make one (M1) stitch. The number of stitches to increase and the frequency of the increases will depend on the specific pattern you are following and the desired size of the thumb opening.
Some fingerless glove patterns may also include instructions for creating a gusset stitch marker. This marker is placed before the thumb gusset increases to help keep track of the stitch count and ensure accurate shaping. It is important to pay attention to the pattern instructions and place the gusset stitch marker in the correct location.
Once you have successfully shaped the thumb gusset by increasing stitches, you can continue knitting the rest of the fingerless gloves pattern. The thumb gusset will create a comfortable and functional opening for the thumb, allowing for ease of movement while keeping the rest of the hand warm. With practice and attention to detail, you can easily master shaping the thumb gusset in fingerless gloves knitting patterns.
Knitting the Thumb
Once you have completed knitting the main body of the fingerless gloves, it’s time to move on to knitting the thumb. The thumb is an important part of the gloves as it allows for easy movement and flexibility of the hand. Follow these steps to knit the thumb:
Step 1: Provisional Cast On
To begin knitting the thumb, you will first need to create a provisional cast on. This will allow you to easily remove the waste yarn later and pick up stitches for the thumb. Use a contrasting yarn to cast on the required number of stitches, making sure to leave a long tail for later use.
Step 2: Knit in the Round
Once you have the provisional cast on, join the round and begin knitting in the round using the main yarn. Continue knitting until the thumb measures the desired length, keeping in mind that it should cover the thumb comfortably without being too tight.
Step 3: Shaping the Thumb
To shape the thumb, you will need to decrease stitches gradually. This can be done by knitting two stitches together at regular intervals, or by following a specific thumb shaping pattern provided in the knitting pattern. Continue decreasing until the desired thumb width is achieved.
Step 4: Finishing
Once you have finished shaping the thumb, it’s time to complete the thumb section. Cut the main yarn, leaving a long tail for seaming. Thread the tail through a tapestry needle and weave it through the remaining stitches, pulling tight to close the top of the thumb. Secure the yarn and weave in any remaining loose ends.
Joining the thumb to the glove
When it comes to fingerless gloves, one of the most important steps is joining the thumb to the glove. This step not only adds functionality to the gloves but also completes the look. Here’s a simple guide on how to join the thumb to the glove.
1. To start, locate the thumb hole on the glove. This is usually an opening left in the knitting pattern specifically for the thumb. It is generally situated on the side of the glove, closer to the palm.
2. Take the yarn you are working with and thread it through a tapestry needle. This will allow you to easily sew the thumb to the glove.
3. Begin sewing the thumb to the glove by starting at the bottom edge of the thumb hole on the glove. Insert the needle through the first stitch of the thumb, ensuring that it is securely attached to the glove.
4. Continue sewing using a whipstitch or a similar technique, working your way around the thumb hole. Make sure to keep the tension even, so the thumb is not too loose or too tight.
5. Once you have sewn all the way around the thumb hole, secure the yarn by weaving it in and cutting off any excess.
By following these steps, you can easily join the thumb to your fingerless gloves and have a finished product that is both functional and stylish. Remember to take your time and sew with care to ensure a professional-looking result.
Knitting the fingers

When it comes to knitting fingerless gloves, one of the most important steps is knitting the fingers. This is the part that will provide warmth and mobility to your hands while still allowing your fingers to be free. There are a few different methods for knitting the fingers, so you can choose the one that works best for you.
The first method is to knit each finger separately. This means casting on the desired number of stitches for each finger and working each one individually. You can use double-pointed needles or a small circular needle for this method. Start by knitting the desired length for each finger, and then decrease to shape the tip. This method allows for a close fit and gives you more control over the shaping of each finger.
Another method is to pick up stitches along the top of the glove. This is a quicker method that doesn’t require knitting each finger separately. Instead, you’ll pick up stitches along the top edge of the glove where the fingers will be. Then, you can either knit all the fingers at the same time using a small circular needle, or you can use double-pointed needles and knit each finger individually. This method is great if you’re looking for an easy and efficient way to knit the fingers.
Once you’ve finished knitting the fingers, you can add any desired embellishments. This could be buttons, beads, or even a small cable pattern. You can also experiment with different stitch patterns or colorwork to make your fingerless gloves unique. Don’t be afraid to get creative and make the gloves your own!
So whether you choose to knit each finger separately or pick up stitches along the top of the glove, knitting the fingers is an important step in making fingerless gloves. Take your time, follow the pattern instructions, and enjoy the process of creating a cozy and stylish accessory for your hands.
Bind off stitches
When knitting fingerless gloves, it’s important to know how to bind off stitches to finish your project. Binding off, also known as casting off, is the process of securing the stitches and creating a finished edge. Here are the steps to bind off stitches:
Step 1: Knit the first 2 stitches
To begin the bind-off process, knit the first 2 stitches as you normally would.
Step 2: Insert the left needle into the first stitch
Insert the left needle into the first stitch on the right needle, from left to right.
Step 3: Lift the first stitch over the second stitch
Using the left needle, lift the first stitch over the second stitch and off the needle. This leaves one stitch on the right needle.
Step 4: Knit the next stitch

Knit the next stitch on the left needle as usual.
Step 5: Repeat steps 2-4
Continue inserting the left needle into the next stitch, lifting the previous stitch over, and knitting the next stitch until all stitches have been bound off.
Binding off creates a neat and finished edge for your fingerless gloves. Once you have bound off all stitches, cut the yarn, leaving a tail to weave in later. Your gloves are now ready to be worn or gifted!
Finishing touches
After completing the main body of the fingerless gloves, it’s time to add some finishing touches to make them look polished and professional. Here are a few steps you can take to give your gloves that extra special touch:
1. Weaving in the ends: Start by weaving in any loose ends of yarn from your knitting. This involves using a yarn needle to thread the ends through the stitches of the gloves, ensuring they are secure and hidden from view. This step not only gives your gloves a neater appearance but also prevents the ends from coming loose during wear.
2. Blocking: If you want your fingerless gloves to have a more uniform shape and fit, consider blocking them. Blocking involves soaking the gloves in water, gently reshaping them to the desired size, and then allowing them to dry flat. This can help to even out any uneven stitches and give your gloves a more professional finish.
3. Adding embellishments: To personalize your fingerless gloves, consider adding embellishments such as buttons, beads, or embroidery. You can sew buttons onto the cuffs or add decorative stitching along the edges. Be creative and choose embellishments that complement the colors and style of your gloves.
4. Creating a thumb opening: If your fingerless gloves don’t have a thumb opening, you can create one by cutting a small slit in the appropriate spot and then securing the edges with a few stitches. This will make your gloves more comfortable to wear and allow for greater dexterity.
5. Final inspection: Before considering your fingerless gloves complete, take a few moments to inspect them for any loose stitches, missed rows, or other imperfections. Fix any issues you find to ensure your gloves are of the highest quality.
By following these finishing touches, you can turn a simple fingerless gloves knitting pattern into a stylish and professional accessory. Don’t be afraid to experiment and add your own personal touch to make the gloves truly unique!
Caring for Your Fingerless Gloves and Tips on Blocking
Now that you have completed knitting your fingerless gloves, it is important to take care of them properly to ensure their longevity. Proper care involves cleaning and blocking your gloves to maintain their shape and keep them in good condition.
Caring for your fingerless gloves is quite simple. You can either hand wash them or use a delicate cycle in your washing machine. However, it is recommended to wash them by hand to minimize any potential damage. Use mild detergent and lukewarm water, and gently squeeze out excess water without wringing or twisting the gloves. Lay them flat to dry, away from direct sunlight or heat sources.
Blocking your Fingerless Gloves
Blocking is a technique used to reshape and set the knitting stitches of your gloves. It is especially useful if your gloves have a lace or cable pattern that needs to be opened up or if the size needs adjustment.
Here are some steps to help you block your fingerless gloves:
- Fill a basin or sink with lukewarm water and add a small amount of wool wash or mild soap.
- Gently immerse the gloves in the water, ensuring they are fully submerged.
- Leave the gloves to soak for about 15-20 minutes, or until they are fully saturated.
- Remove the gloves from the water and gently squeeze out excess water, being careful not to wring or twist them.
- Place the gloves on a clean towel and roll the towel, pressing gently to remove even more moisture.
- Take another clean towel or blocking mats lined with plastic, and lay the gloves flat on top, spreading them out to their desired shape.
- Use rust-proof pins to secure the gloves in place, being careful not to distort the stitches.
- Leave the gloves to dry completely, usually overnight or until they are fully dry.
- Once dry, carefully remove the pins and enjoy your beautifully blocked fingerless gloves!
With proper care and blocking, your fingerless gloves will remain soft, comfortable, and keep their shape for a long time. Remember to always refer to the yarn label for specific care instructions, as different types of yarn may have different requirements.
So, go ahead and wear your stylish and cozy fingerless gloves with pride, knowing that you have the knowledge and skills to care for them properly!
And that wraps up our easy fingerless gloves knitting pattern guide. We hope you enjoy making these gloves and find them useful in keeping your hands warm while still allowing your fingers to be free. Happy knitting!