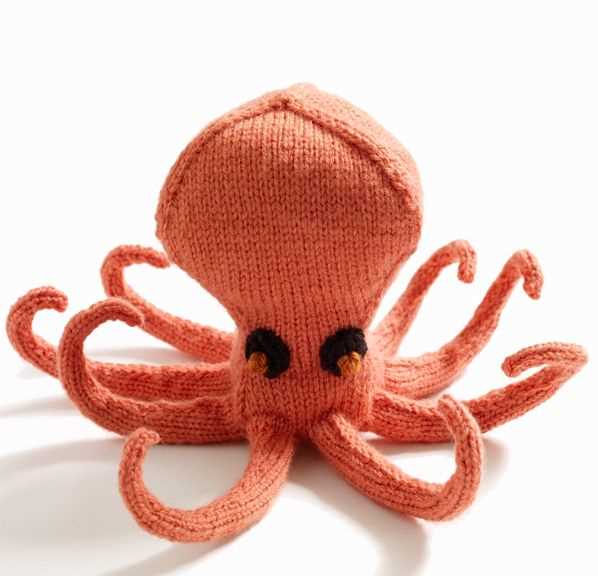
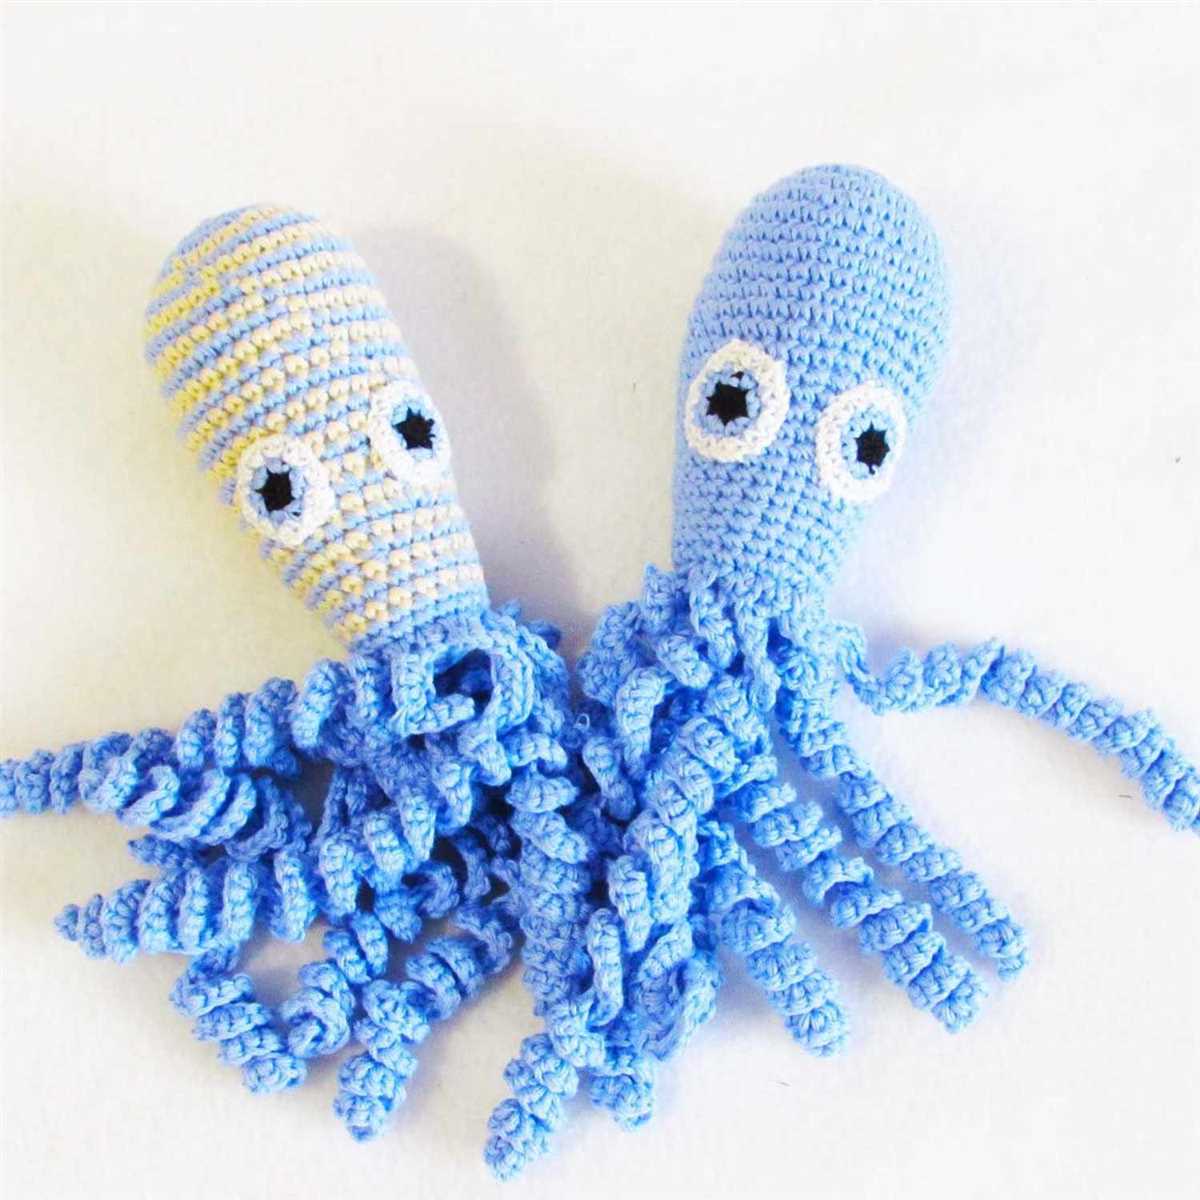
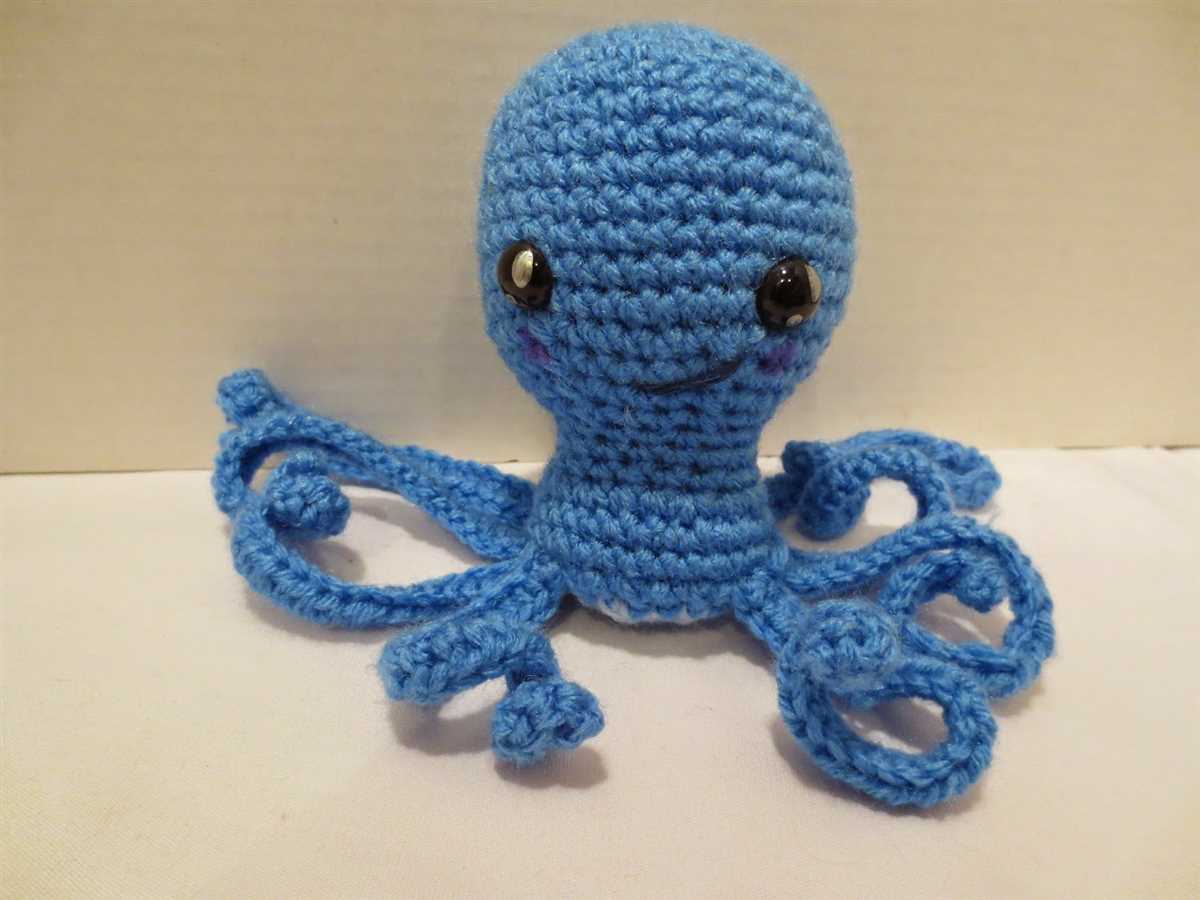
Simple Knitting Pattern for an Octopus Toy

Are you looking for a fun and adorable knitting project? Look no further than this easy octopus knitting pattern! The octopus has become a popular design in recent years, and it’s no wonder why. With its cute tentacles and cuddly body, it’s sure to bring a smile to anyone’s face.
This knitting pattern is perfect for both beginners and experienced knitters. The instructions are simple to follow, and the end result is a charming octopus toy that will be loved by children and adults alike. Whether you’re looking to make a gift for a loved one or simply want to add to your collection of knitted toys, this pattern is a great choice.
With its basic shape and few details, this octopus pattern is a great way to practice your knitting skills. You’ll learn how to work with circular and double-pointed needles, as well as basic increases and decreases. Plus, this pattern is a great opportunity to experiment with different yarns and colors to create a unique octopus that reflects your personal style.
Easy Octopus Knitting Pattern

Knitting is a popular hobby that allows you to create your own handmade items. If you’re looking for a fun and easy project, why not try knitting an octopus? With this easy octopus knitting pattern, you can create a cute and cuddly toy in no time.
The pattern is designed for beginners and uses basic knitting techniques. All you need is some yarn, knitting needles, and a few basic supplies. The pattern includes step-by-step instructions and helpful tips to guide you along the way. Whether you’re a seasoned knitter or just starting out, this easy octopus knitting pattern is perfect for you.
To get started, gather your supplies. You’ll need a set of knitting needles, size 4.5mm, and some soft, chunky yarn in your choice of color. You’ll also need a yarn needle for sewing the pieces together and stuffing for the head and tentacles.
The pattern begins by knitting the head in a spiral, using a combination of knit and purl stitches. Once the head is complete, you’ll move on to the tentacles, which are made with simple increases and decreases. After knitting all the tentacles, you’ll sew them to the head and stuff the toy to give it a soft and squishy feel.
This easy octopus knitting pattern is a great project for all skill levels. Whether you’re a beginner or an experienced knitter, you’ll enjoy creating this cute and cuddly toy. So gather your supplies and get knitting!
Materials for knitting an octopus
When it comes to knitting an octopus, there are a few essential materials that you will need to get started. These materials will allow you to create a soft and cuddly octopus toy that you can cherish or gift to someone special.
Yarn: The first and most important material you will need is yarn. It is recommended to use a soft and lightweight yarn for knitting an octopus. Acrylic or cotton yarn is commonly used for this project, as they provide the perfect combination of softness and durability.
Knitting Needles: You will also need a pair of knitting needles to work with the yarn. The needle size will depend on the thickness of the yarn you choose. It is best to use knitting needles that are suitable for the yarn weight you have selected.
Stuffing: To give your knitted octopus a nice shape and make it plush and cuddly, you will need stuffing. You can use polyester fiberfill or any other soft and hypoallergenic filling material. Make sure the stuffing is lightweight and easily washable, as this will ensure the longevity of the toy.
Embroidery Thread: To add facial features to your octopus, you will need embroidery thread in contrasting colors. This thread will be used to embroider the eyes, mouth, and any other details you want to add.
Scissors and Tapestry Needle: Finally, don’t forget to have a pair of sharp scissors for cutting the yarn and a tapestry needle for sewing the pieces together. These tools are essential for finishing touches and giving your octopus its final form.
By gathering these materials, you will have everything you need to start knitting your own adorable octopus toy. Whether you are a knitting enthusiast or a beginner, this project is perfect for unleashing your creativity and producing a unique and lovable toy.
Step by step instructions for knitting an easy octopus
Knitting an octopus can be a fun and rewarding project for knitters of all skill levels. With this easy octopus knitting pattern, you’ll be able to create a cute and cuddly toy in no time. Follow the step by step instructions below to get started on your octopus knitting adventure.
Gather your materials

- Knitting needles (size will depend on the yarn you choose)
- Yarn in the color of your choice
- Tapestry needle for sewing
- Fiberfill stuffing
- Scissors
Cast on and knit the body
- Begin by casting on a multiple of 8 stitches.
- Knit in the round until the body of the octopus is the desired length. This will form the base of the octopus.
Create the tentacles
- Divide the stitches evenly onto double-pointed needles.
- Knit each tentacle separately using the stockinette stitch (knit one row, purl one row) until they reach the desired length. You can make the tentacles as long or short as you like.
Finish the octopus
- Cut the yarn, leaving a long tail.
- Thread the tail through the tapestry needle and slip the needle through the remaining stitches to remove them from the knitting needles.
- Pull the tail tight to close the top of the octopus.
- Stuff the body of the octopus with fiberfill until it is firm and holds its shape.
- Use the tapestry needle to sew the tentacles onto the base of the octopus.
And there you have it! You’ve successfully knitted a cute octopus toy using this easy pattern. Feel free to experiment with different colors and sizes to create your own unique octopus creatures. Happy knitting!
Choosing the right yarn
When it comes to knitting a project like an octopus, it is important to choose the right yarn. The texture, weight, and durability of the yarn can greatly affect the final result of your knitted toy. It is crucial to consider these factors to ensure that your octopus turns out just the way you want it to be.
Texture: The texture of the yarn can play a big role in the appearance and feel of your knitted octopus. If you want a smooth and soft result, consider using a yarn with a smooth texture, such as acrylic or cotton. Alternatively, if you want a more textured look, opt for a yarn with a bit of fuzziness or a bulky weight yarn.
Weight: The weight of the yarn will determine the size and thickness of your octopus. If you want a smaller and more delicate toy, choose a lighter weight yarn, such as a fingering or sport weight yarn. On the other hand, if you want a larger and more substantial octopus, go for a heavier weight yarn, like a worsted or chunky weight yarn.
Durability: Since the octopus will likely be handled and played with, it is important to choose a yarn that is durable and will withstand some wear and tear. Consider using a yarn that is machine washable and suitable for everyday use. Acrylic and cotton yarns are often good options in terms of durability.
Overall, the choice of yarn for your octopus project depends on your personal preferences and the desired outcome. Take into consideration the texture, weight, and durability of the yarn to ensure that your knitted octopus turns out just the way you envision it.
How to knit the head of the octopus
Knitting the head of the octopus is a crucial step in creating this adorable toy. To begin, gather your materials, including yarn in your desired color, knitting needles, and a yarn needle for finishing touches. Using a 4mm knitting needle, cast on 50 stitches to create a base for the head.
Once you have cast on, it’s time to start knitting the head. Use a simple knit stitch throughout the entire head portion to create a smooth and uniform texture. Knit each row until the head reaches your desired size, keeping in mind that the head should be large enough to stuff later on. You can measure the size of the head by comparing it to the size of the body portion you have already knitted.
Note: When knitting the head, take care to avoid any increases or decreases in stitches. The head should be a simple rectangular shape to allow for stuffing later on.
Once you have reached your desired size for the head, it’s time to finish off your knitting. To do this, bind off all stitches on your needle. Cut the yarn, leaving a long tail to use for seaming up the head later on.
Tip: To give your octopus’s head some personality, experiment with different yarn colors or add small embellishments like buttons for eyes.
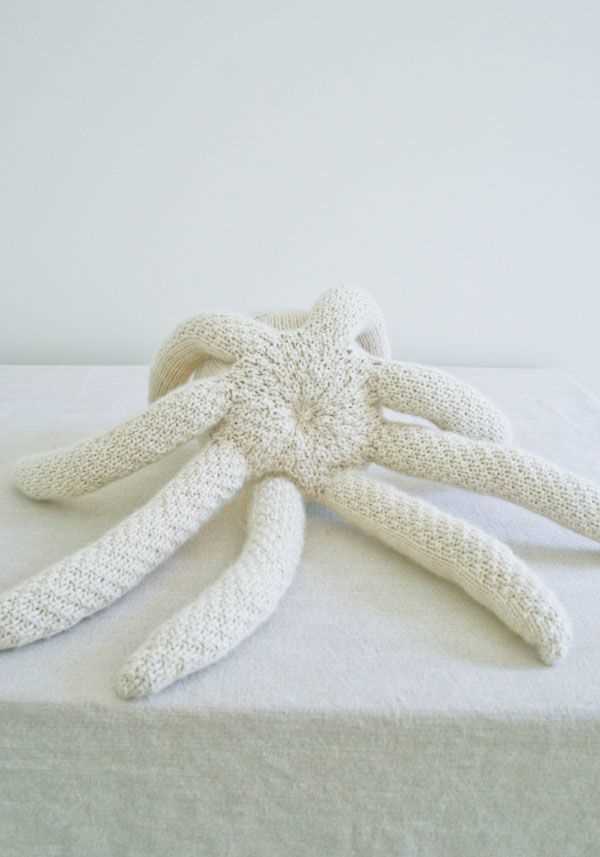
Knitting the body and tentacles
When knitting an octopus, the first step is to knit the body. Start by casting on the required number of stitches, which would usually be around 40-50 stitches, depending on your preferred size and the thickness of the yarn you are using. Use a circular needle to ensure that you have enough room to comfortably knit all the stitches.
Once you have cast on, start knitting in the round using the desired stitch pattern. You can choose to knit the body in stockinette stitch for a smooth finish or use a ribbing pattern for some texture. Continue knitting until the body reaches the desired length, which would typically be around 4-6 inches.
Tentacles: To knit the tentacles, you will need to use double-pointed needles. Start by dividing the total number of stitches evenly among the needles, with around 10-12 stitches on each needle. This will allow you to work on multiple tentacles simultaneously.
Option 1: To create the tentacles, you can simply knit them in the round using the same stitch pattern as the body. Knit each tentacle to the desired length, usually around 8-10 inches, and then bind off all the stitches.
Option 2: For a more realistic look, you can add some texture to the tentacles by knitting them in a different stitch pattern. One popular option is to use a twisted rib stitch, which creates a fun spiraled effect. To achieve this, alternate between knitting through the back loop and purling on each round of the tentacle. Continue knitting until the tentacle reaches the desired length, and then bind off all the stitches.
Repeat these steps for all the remaining tentacles until you have completed your octopus. Once your octopus is finished, you can stuff it with fiberfill and sew any remaining openings closed. Feel free to get creative with colors and embellishments to make your octopus unique and personalized.
Stuffing the octopus

Once you have completed knitting your octopus, it’s time to stuff it to give it a nice plush and cuddly feel. Here are some easy steps to follow:
1. Gather your materials
Before you start stuffing, make sure you have all the necessary materials. You will need polyester fiberfill or stuffing, a small crochet hook or a knitting needle to help push the stuffing into the tentacles, and a pair of scissors to trim any excess yarn.
2. Start with the head

Begin by inserting a small amount of stuffing into the head of the octopus. Use the crochet hook or knitting needle to push the stuffing all the way to the tip of the tentacles. Be careful not to overstuff the head, as you want it to be soft and squishy.
3. Stuff the tentacles
Continue by stuffing each of the tentacles individually. Take small amounts of stuffing and carefully push it into each tentacle. Ensure that the stuffing reaches all the way to the tip for a consistent feel. Use the crochet hook or knitting needle to distribute the stuffing evenly.
4. Stuff the body
Once you have stuffed all the tentacles, move on to the body of the octopus. Take larger amounts of stuffing and fill the body cavity, ensuring that it is evenly distributed. Use the crochet hook or knitting needle to push the stuffing into all the nooks and crannies to give the body a round and plump shape.
5. Final adjustments
After you have stuffed the entire octopus, take a moment to check for any lumps or uneven areas. Adjust the stuffing as necessary to achieve a smooth and uniform shape. Trim any excess yarn if needed. Your octopus is now ready to be enjoyed or gifted!
Attaching the eyes and mouth
Once you have finished knitting the body of the octopus and stuffing it, it’s time to attach the eyes and mouth to give it that adorable look.
First, choose the size and style of the eyes you want to use for your octopus. You can use plastic safety eyes or sew-on buttons, depending on the look you want to achieve. If you’re using safety eyes, make sure they are secure and won’t come off when the octopus is being played with or washed.
Next, decide on the placement of the eyes. Typically, they are positioned slightly above the center of the body, on either side of the head. Make sure they are evenly spaced and level with each other. Use a yarn needle and black embroidery thread or yarn to sew them in place.
For the mouth, you can use a small piece of black felt or embroidery thread to create a smile or frown. Cut out a small crescent shape from the felt or use a backstitch to embroider the shape directly onto the face. If you prefer a more neutral expression, you can skip the mouth altogether.
Once you have attached the eyes and mouth, take a step back and admire your cute little octopus. Adding these final touches really brings the toy to life and adds personality. Your octopus is now ready to be enjoyed or given as a gift to someone special!
Adding Finishing Touches
Once you have finished knitting your octopus, it’s time to add the finishing touches to bring it to life. These final steps will give your octopus personality and make it even more adorable.
Eyes: Start by attaching the eyes to your octopus. You can use small black buttons, safety eyes, or even embroider the eyes directly onto the head. Make sure to place them symmetrically to give your octopus a cute and balanced expression.
Mouth: To create the mouth, you can use embroidery thread or yarn in a contrasting color. Sew a small curved line starting from the center of the face and outward to give your octopus a friendly smile.
Tentacles: Finally, it’s time to give your octopus its signature tentacles. Cut several strands of yarn in your desired length and attach them to the bottom of the octopus. You can secure them by tying a knot or using a crochet hook to pull the strands through the stitches and create a fringe effect.
Detailing: If you want to add extra details to your octopus, you can use embroidery techniques to create patterns, stitches, or even tiny embellishments. Be creative and experiment with different techniques to make your octopus truly unique.
And that’s it! With these finishing touches, your knitted octopus is ready to be loved and cherished. Whether you make it as a gift or keep it for yourself, this adorable creature will surely bring a smile to everyone’s face.
Starting a new hobby like knitting can be both exciting and overwhelming for beginners. However, with the right tips and tricks, you can easily navigate through the process and create beautiful knitted projects.
Tips for choosing your first knitting project:
- Start with simple patterns: As a beginner, it is best to choose patterns that are labeled as “beginner-friendly” or “easy”. These patterns often have fewer stitches and simple instructions, making them perfect for learning the basics.
- Consider your skill level: While it is important to challenge yourself, it is equally important to choose a project that matches your current skill level. Starting with a project that is too complex may lead to frustration and disappointment.
- Choose the right yarn: Opt for yarn that is labeled as suitable for beginners or beginners. These types of yarn are usually soft, easy to work with, and forgiving of mistakes.
- Start with small projects: Starting with smaller projects, such as scarves or dishcloths, allows you to practice your skills without feeling overwhelmed. It also gives you a sense of accomplishment when you finish a project.
Tips for improving your knitting skills:

- Practice regularly: Like any skill, knitting requires practice. Set aside regular time to practice and you will gradually see improvement in your skills.
- Learn from others: Joining a knitting group or taking a class can be a great way to learn from experienced knitters. They can offer tips and advice, and you can also learn from watching them knit.
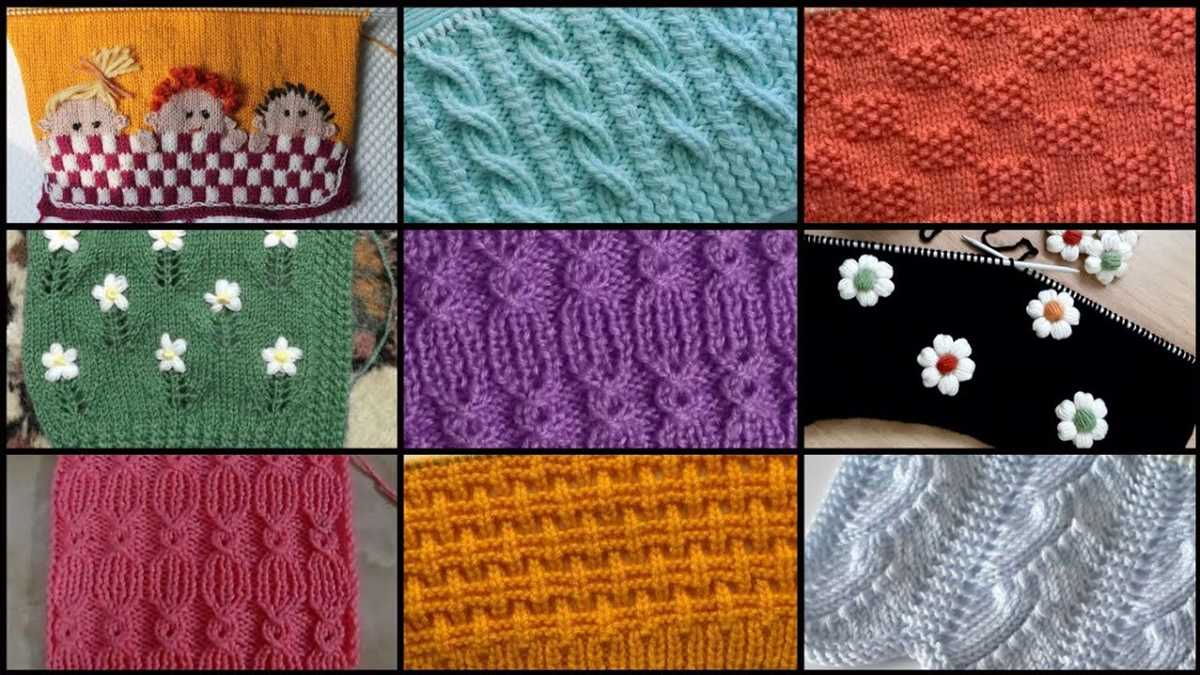
- Experiment with different stitches: Once you have mastered the basics, try branching out and learning new stitches. You can find tutorials online or in knitting books.
- Mistakes happen, embrace them: It is normal to make mistakes when knitting, especially as a beginner. Rather than getting frustrated, view mistakes as an opportunity to learn and improve your skills.
Remember, knitting is a creative and enjoyable hobby. Take your time, have patience, and most importantly, have fun!
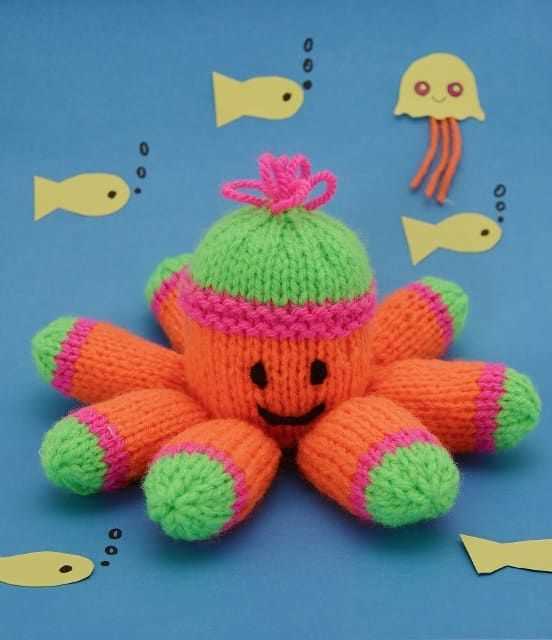
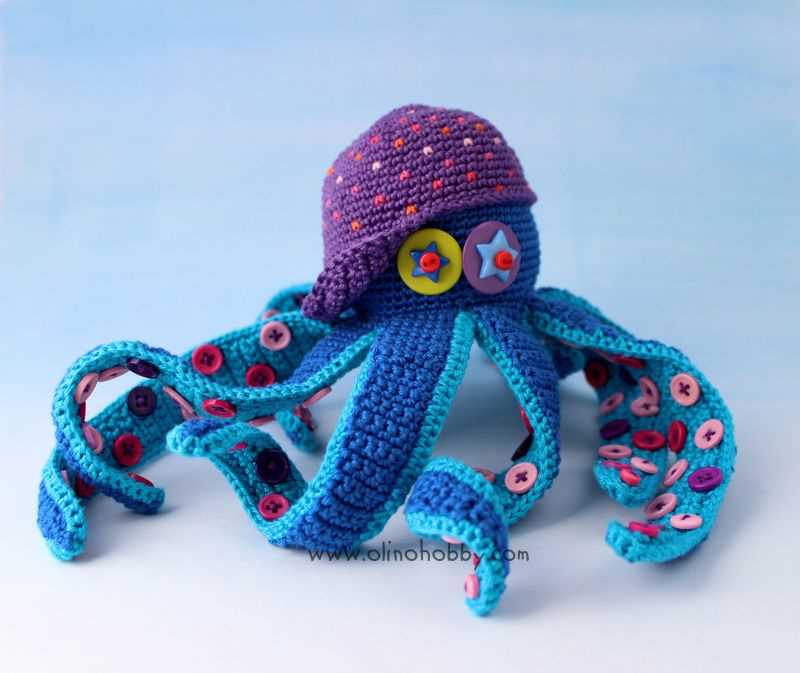
Variations and customization options

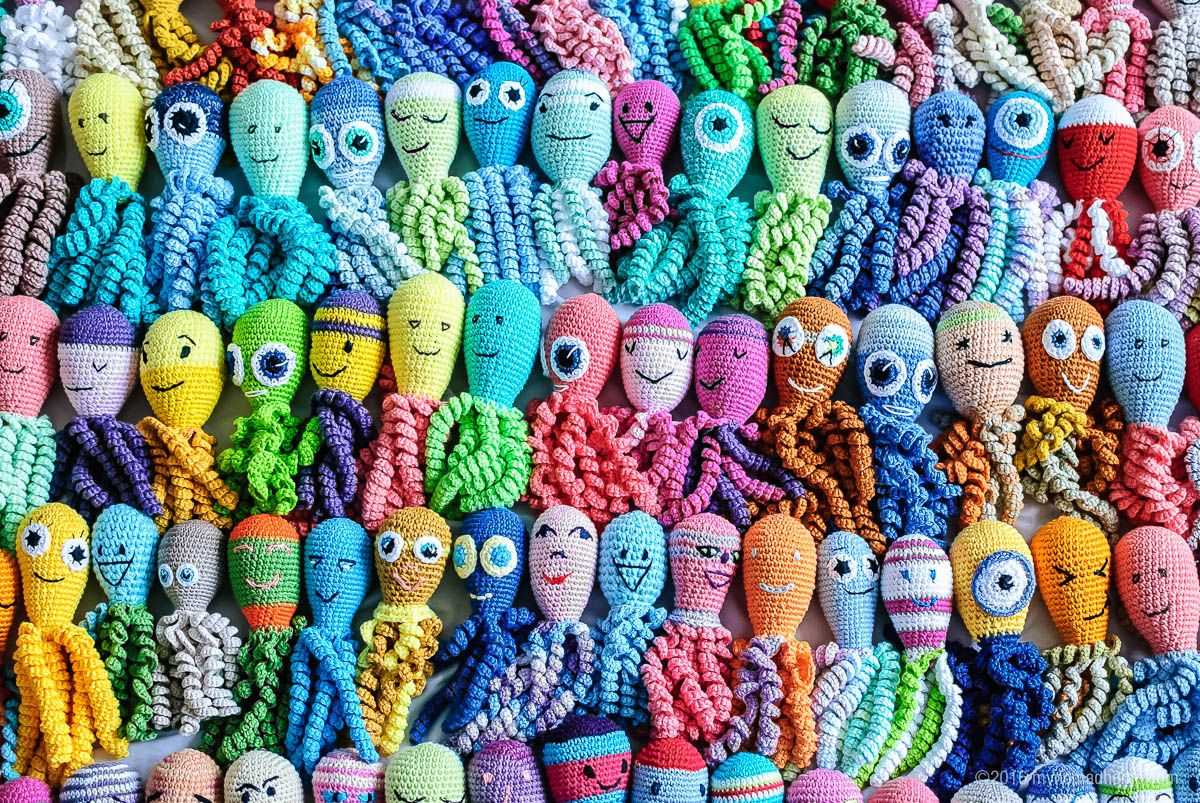
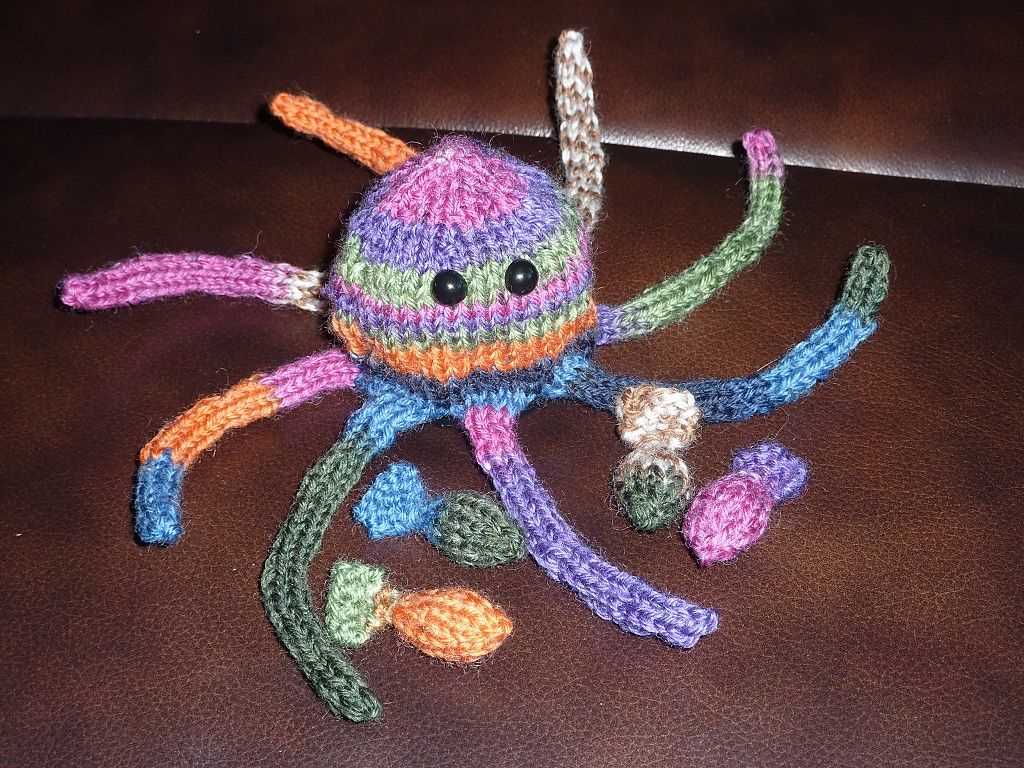
If you’re looking to put your own spin on the easy octopus knitting pattern, there are endless variations and customization options to choose from. One option is to play around with the color scheme. You can create an octopus in a single solid color, or you can experiment with stripes, dots, or even ombre effects. This allows you to personalize the octopus and make it match your style or the preferences of the person you’re making it for.
Another way to customize the octopus is by adding accessories. You can knit a tiny hat, bow, or scarf to give the octopus a little extra flair. These accessories can be knit separately and then sewn onto the octopus, or you can incorporate them into the knitting pattern itself. Adding accessories can make the octopus even more fun and unique.
If you’re feeling adventurous, you can also try modifying the size of the octopus. The easy octopus knitting pattern can be easily adjusted to create a larger or smaller octopus, depending on your preference. This allows you to make a miniature octopus keychain or a giant cuddly octopus toy. The possibilities are endless when it comes to sizing.
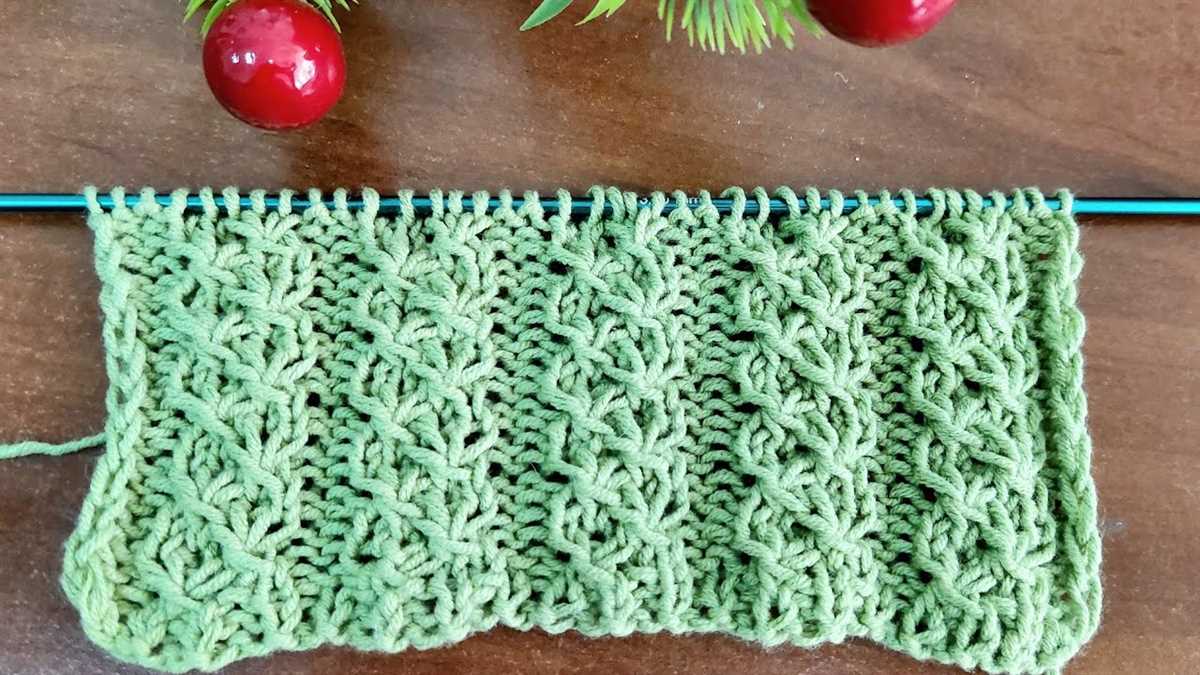
For those who want to get really creative, you can experiment with different stitch patterns. The basic octopus pattern uses simple stockinette stitch, but you can try incorporating other stitch patterns like ribbing, cables, or lace to add texture and visual interest to the octopus. This can take the simple pattern to a whole new level and create a truly unique octopus.
Overall, the easy octopus knitting pattern is a great starting point for customization and personalization. Whether you choose to play around with colors, add accessories, adjust the size, or experiment with different stitch patterns, you can create a one-of-a-kind octopus that is truly yours.
Frequently Asked Questions about Knitting Octopuses
In this section, we will answer some common questions that people have about knitting octopuses. If you have any other questions, feel free to reach out and we’ll be happy to help!
1. Can I use any type of yarn for knitting an octopus?

Answer: It is recommended to use 100% cotton yarn for knitting octopuses. This type of yarn is soft, durable, and safe for babies. Avoid using wool or acrylic yarn as they may cause irritation to sensitive skin.
2. Do I need to use specific knitting needles?
Answer: You can use any knitting needles that you feel comfortable with. It is recommended to use smaller needles, such as size 2.75mm or 3mm, to ensure tight stitches and prevent stuffing from coming out.
3. Can I wash the knitted octopus?

Answer: Yes, you can wash the knitted octopus. It is best to hand wash it with mild soap and lukewarm water. Avoid using strong detergents or bleach as they may damage the yarn and colors.
4. How long does it take to knit an octopus?
Answer: The time required to knit an octopus can vary depending on your knitting skills and the complexity of the pattern. On average, it can take anywhere from a few hours to a couple of days to complete a knitted octopus.
5. Can I sell the knitted octopuses?

Answer: Yes, you can sell the knitted octopuses. However, it is important to check the copyright or licensing rules of the pattern you are using. Some patterns may have restrictions on selling the finished products.
Now that you have all the information you need, it’s time to start knitting your own adorable octopuses! Remember to have fun and enjoy the process of creating these cute creatures.