Simple One-Piece Sweater Pattern for Knitting Beginners

Are you looking for a knitting project that is both stylish and easy to make? Look no further than the knit one piece sweater pattern. This pattern is perfect for beginners who want to tackle their first sweater project or experienced knitters looking for a quick and satisfying project.
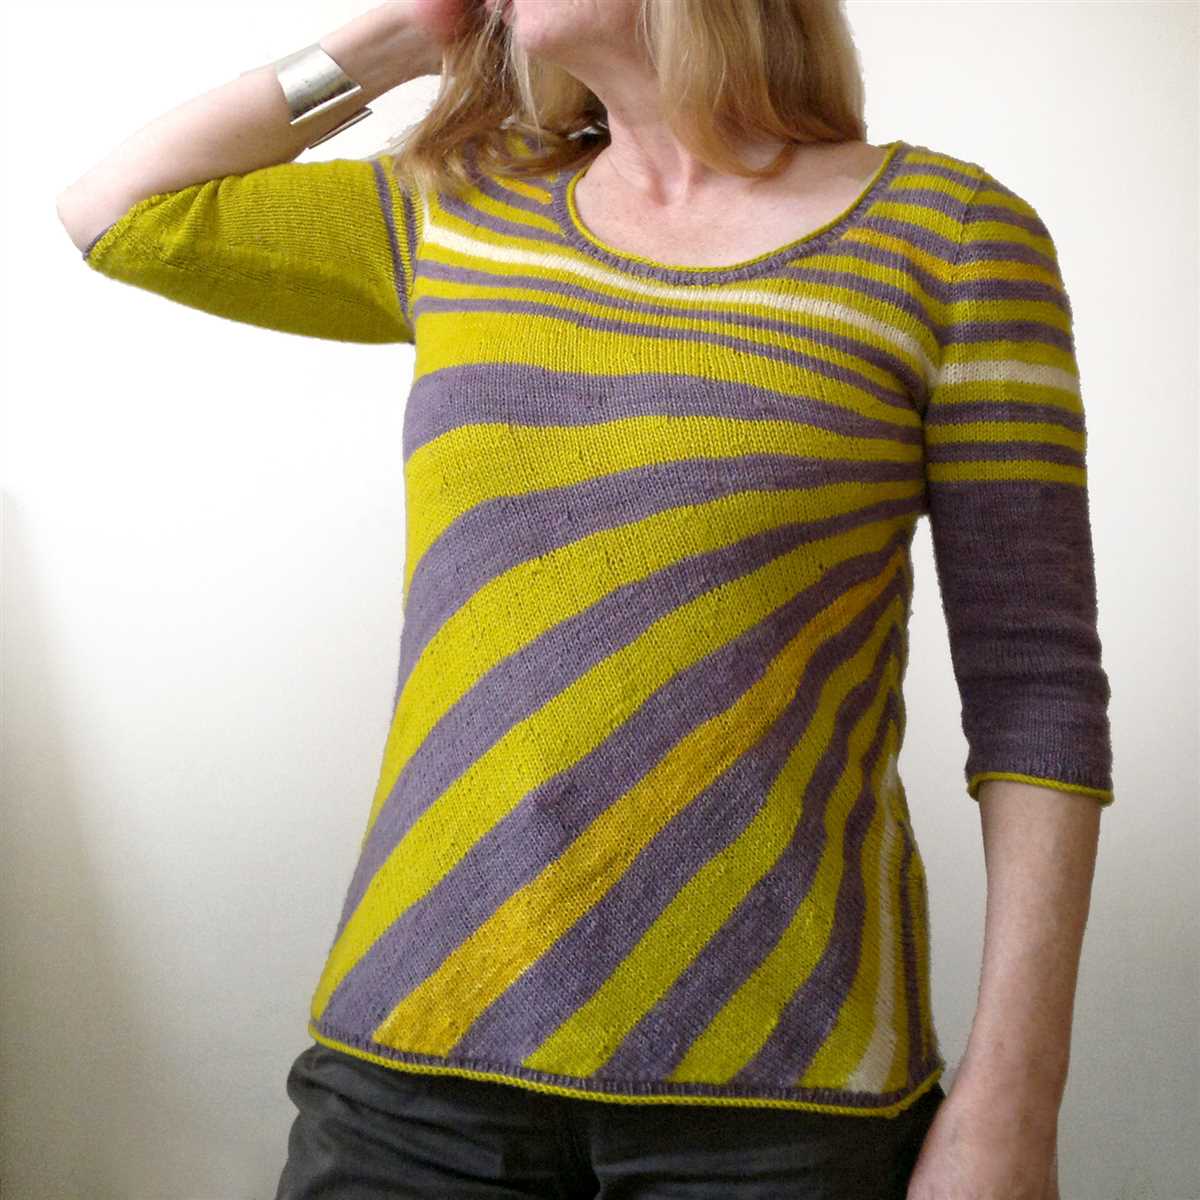
The one piece sweater pattern eliminates the need for seaming, making it a seamless and smooth project from start to finish. The pattern starts at the neckline and works its way down, shaping the body and sleeves as you go. With only basic knitting stitches required, this pattern is accessible to knitters of all skill levels.
Not only is the knit one piece sweater pattern easy to follow, but it also offers endless possibilities for customization. You can choose to knit it in a solid color or experiment with different stitch patterns and color combinations. Adding a cowl neck or switching up the sleeve length are just a few ways to make this sweater pattern uniquely yours.
So why wait? Grab your knitting needles and get started on the knit one piece sweater pattern. You’ll have a cozy and fashionable sweater to wear in no time!
What is a knit one piece sweater pattern?

Knitting a sweater is a popular and satisfying project for many knitting enthusiasts. A knit one piece sweater pattern is a specific type of knitting pattern where the entire sweater is knit in one piece, without any seams. This means that once the knitting is complete, there is no need for any additional stitching or sewing to assemble the sweater.
A knit one piece sweater pattern typically includes detailed instructions for knitting the sweater from start to finish. It will specify the type of yarn and needle size needed, as well as the gauge or tension to achieve the desired size and fit. The pattern will also provide step-by-step instructions for the stitches and techniques required to create the sweater.
In addition to the main body of the sweater, the pattern will also include instructions for the sleeves, collar, and any other details such as pockets or ribbing. It may also include guidance on how to customize the sweater to fit individual preferences, such as adjusting the length or adding extra shaping.
Knitting a sweater using a one piece pattern can be a more efficient and time-saving method compared to knitting individual pieces and then seaming them together. It can also result in a seamless and streamlined finished product that has a clean and polished look. However, following a one piece pattern does require careful attention to detail and accuracy, as any mistakes or inconsistencies may be more difficult to correct.
- A knit one piece sweater pattern is a knitting pattern that allows you to knit an entire sweater without any seams.
- The pattern includes instructions for the main body, sleeves, collar, and any additional details.
- It provides guidance on yarn, needle size, gauge, and techniques required.
- Knitting a sweater using a one piece pattern can be efficient and result in a polished finished product.
Knitting a one piece sweater: All you need to know
Knitting a one piece sweater can be a rewarding project for knitters of all skill levels. Whether you are a beginner looking for a simple pattern or an experienced knitter looking for a challenge, knitting a one piece sweater can be a fun and fulfilling knitting project.
When it comes to knitting a one piece sweater, there are a few key things to keep in mind. First, make sure you choose a pattern that matches your skill level. If you are a beginner, look for a pattern that uses basic stitches and techniques. If you are more advanced, you can choose a pattern that incorporates more complex techniques, such as cables or lace.
Choosing the right yarn and needles
Once you have chosen a pattern, it is important to select the right yarn and needles for your project. The yarn you choose will depend on the desired drape, texture, and warmth of the finished sweater. It is recommended to use a yarn that is specifically labeled for knitting sweaters to ensure that it has the right amount of stretch and durability.
When it comes to needles, you will need to use the size recommended in the pattern to achieve the correct gauge. Make sure to check your gauge before starting the sweater to ensure that it will fit correctly. If your gauge is off, you may need to use a different size needle to achieve the correct tension.
Knitting the sweater
Once you have your pattern, yarn, and needles, it’s time to start knitting the sweater. Follow the pattern instructions carefully, making sure to keep track of any stitch counts or pattern repeats. It can be helpful to use stitch markers to mark the beginning and end of each pattern repeat.
As you work on the sweater, make sure to try it on periodically to check the fit. This will help you make any necessary adjustments before you finish the entire sweater. You can also refer to the pattern for guidance on shaping the neckline, sleeves, and hem.
Once you have finished knitting the sweater, weave in any loose ends and block the sweater to give it a professional finish. Blocking involves wetting the sweater and laying it flat to dry, allowing the stitches to relax and the fabric to settle into its final shape.
Overall, knitting a one piece sweater can be a challenging yet rewarding project. By choosing the right pattern, yarn, and needles, and following the instructions carefully, you can create a beautiful sweater that you will be proud to wear.
Choosing the right yarn and knitting needles
One of the key factors in creating a successful knit one piece sweater is choosing the right yarn and knitting needles. The yarn you choose will determine the overall look and feel of your sweater, while the needles will affect the fabric’s drape and tension.
Yarn selection
When selecting yarn for your sweater, it’s important to consider the fiber content, weight, and color. The fiber content will determine the warmth, softness, and durability of the sweater. Natural fibers like wool, alpaca, and cotton are popular choices for sweaters as they offer excellent insulation and breathability. Synthetic fibers like acrylic and nylon are also commonly used for their affordability and easy care.
The weight of the yarn will determine the thickness of the finished sweater. Bulky yarns will create a chunky, cozy sweater, while fingering weight yarns will result in a lightweight, dainty garment. Consider the season and climate when choosing the weight of the yarn to ensure your sweater is suitable for the intended use. Additionally, choose a color that complements your personal style and flatters your complexion.
Needle selection
After choosing the yarn, you’ll need to select the appropriate knitting needles. The size and type of needles will affect your gauge and the overall appearance of the fabric. For a tighter, denser fabric, choose smaller needles, while larger needles will create a looser, more open fabric.
Most knit one piece sweaters are worked in either circular or straight needles. Circular needles are recommended for seamless sweaters as they allow you to knit in the round without any seams. Straight needles, on the other hand, are used for sweaters that require seams, offering more stability and structure. Consider the pattern instructions and your personal preference when choosing between circular and straight needles.
In conclusion, the yarn and knitting needles you choose for your knit one piece sweater pattern play a crucial role in the final outcome. Take the time to carefully select yarn with the desired fiber content, weight, and color. Similarly, consider the size and type of knitting needles that will best achieve your desired fabric drape and tension. With the right materials, you’ll be one step closer to creating a beautiful and cozy sweater.
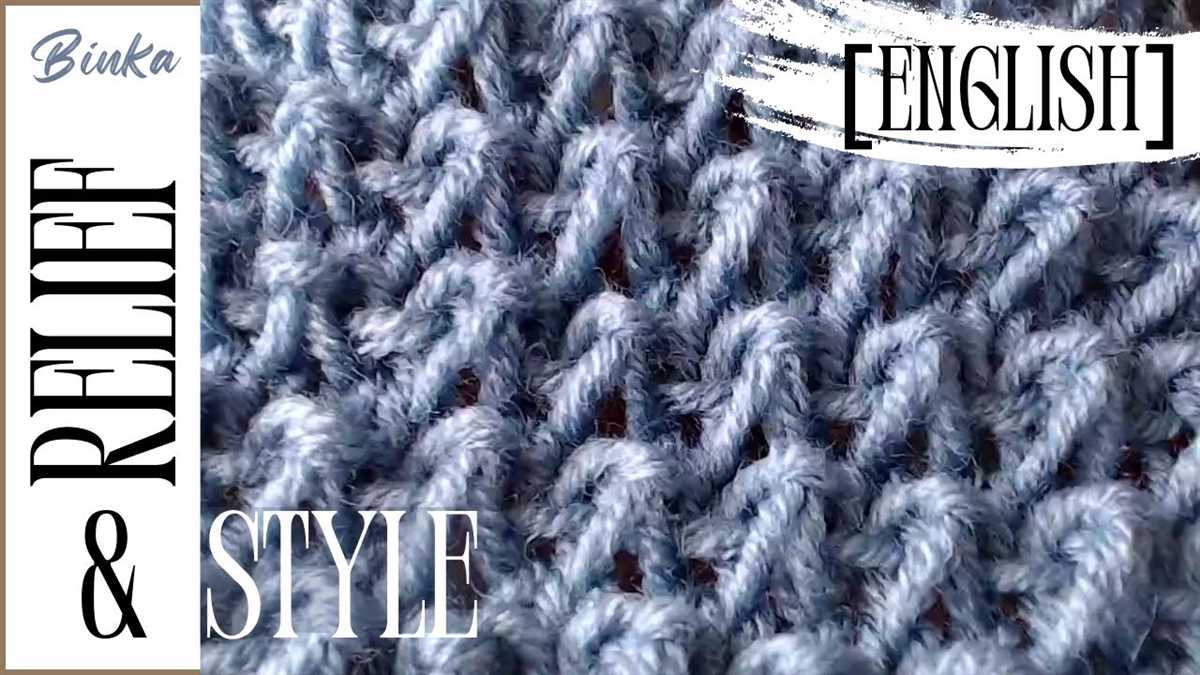
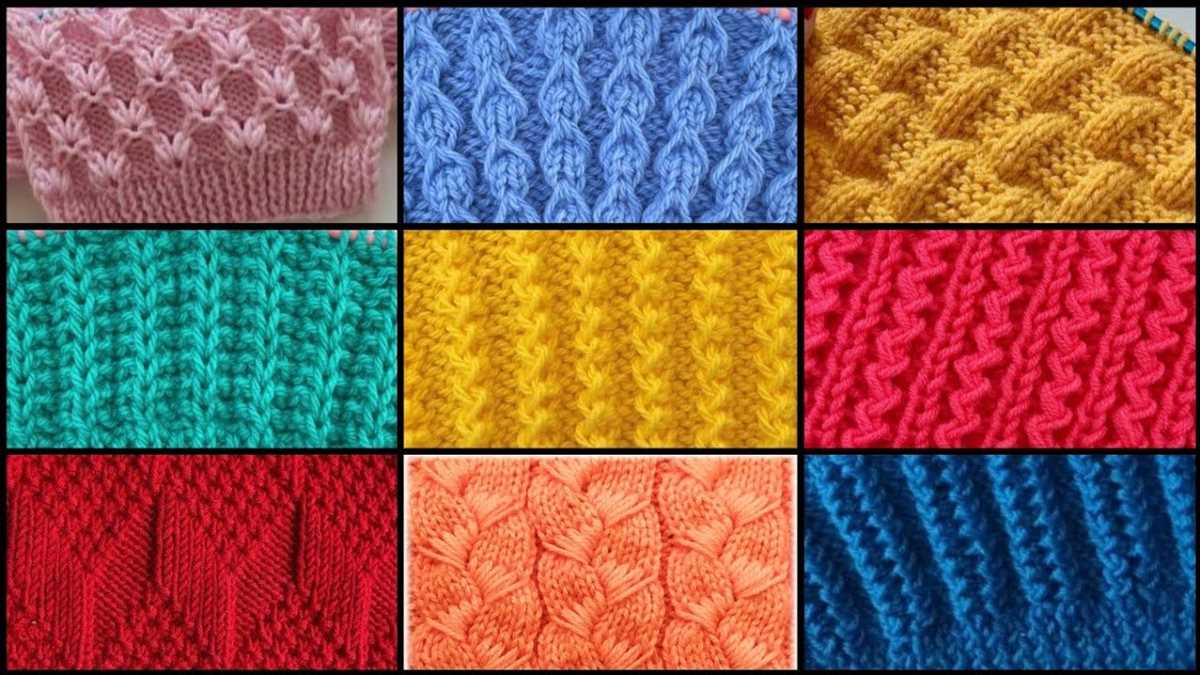
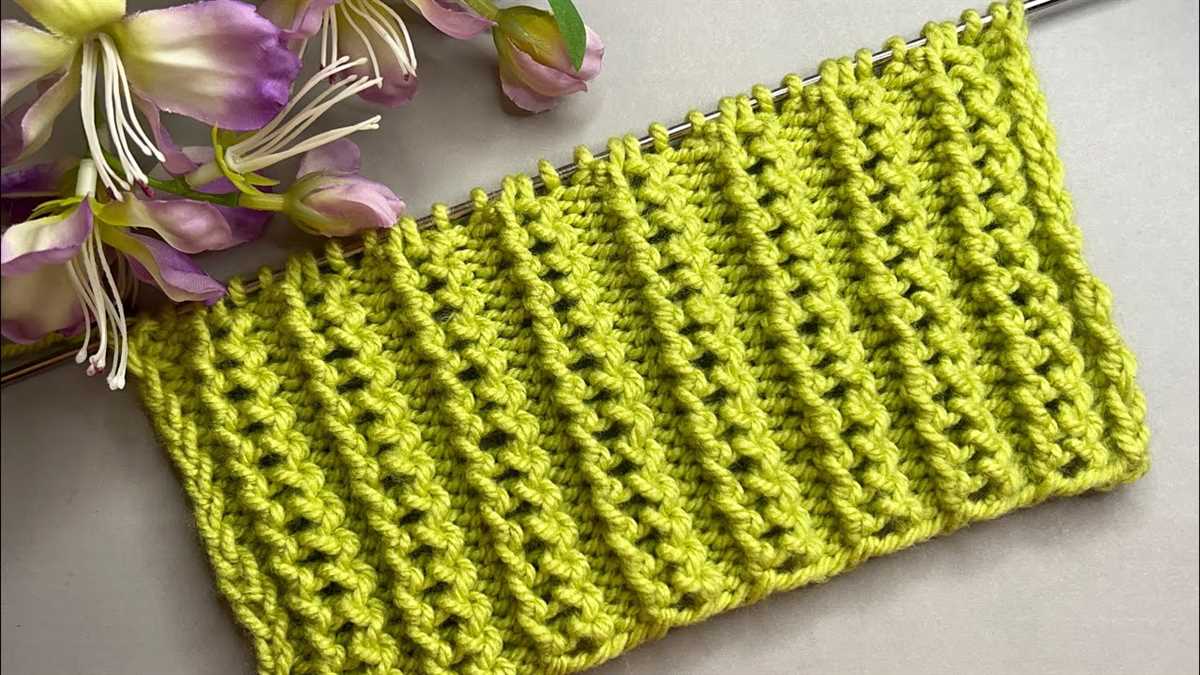
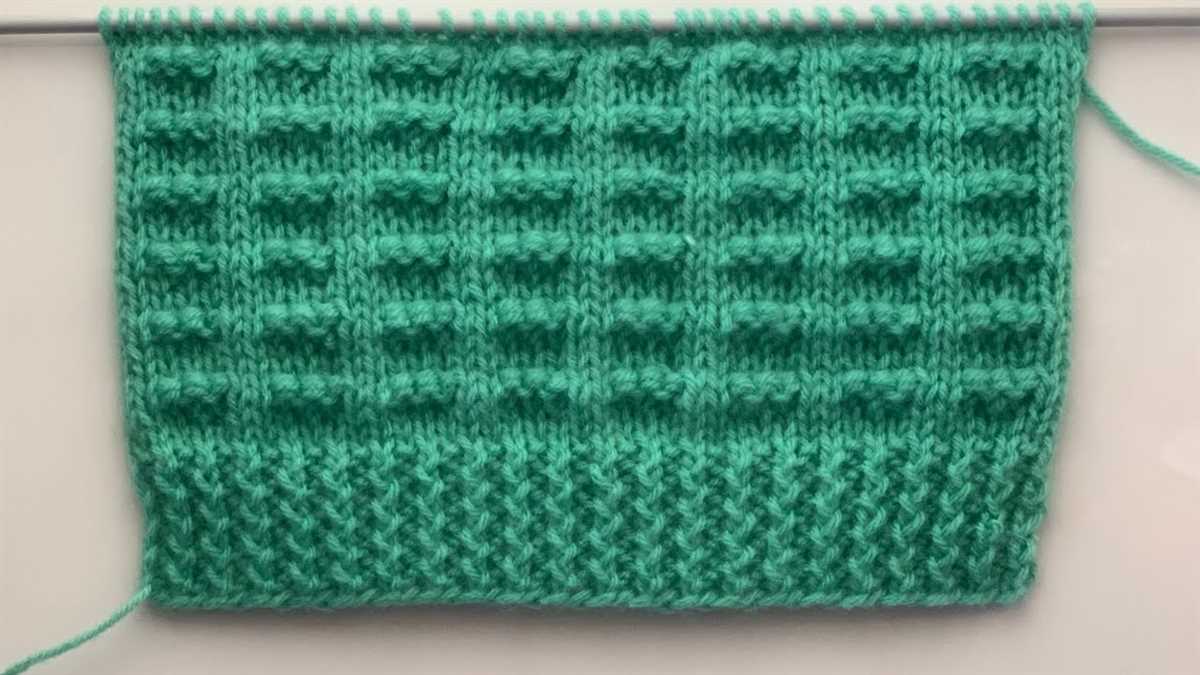
Understanding the basic knitting stitches
Introduction

Knitting is a popular craft that involves creating fabric by interlocking yarn loops with two knitting needles. To create different patterns and designs, it is necessary to understand the basic knitting stitches. These stitches form the foundation of any knitting project and knowing how to execute them correctly is key to creating beautiful and well-fitting garments.
In this article, we will explore some of the most fundamental knitting stitches: knit stitch, purl stitch, and stockinette stitch. Understanding and practicing these stitches will provide you with a solid foundation for more advanced knitting techniques and patterns.
1. Knit Stitch

The knit stitch is the most basic and commonly used knitting stitch. It creates a smooth, flat fabric and is often used for the right side of a project. To execute the knit stitch, insert the right needle into the first stitch on the left needle from front to back, wrap the yarn around the right needle counterclockwise, and draw it through the stitch, sliding the stitch off the left needle.
2. Purl Stitch
The purl stitch is the reverse of the knit stitch and creates a bumpy texture on the fabric. It is often used for the wrong side of a project or to create ribbing. To execute the purl stitch, insert the right needle into the first stitch on the left needle from back to front, wrap the yarn around the right needle clockwise, and draw it through the stitch, sliding the stitch off the left needle.
3. Stockinette Stitch

The stockinette stitch is created by alternating rows of knit stitches and purl stitches. This stitch pattern creates a smooth fabric on one side (the right side) and a bumpy fabric on the other side (the wrong side). To create stockinette stitch, knit one row, then purl the next row, repeating these two rows.
Mastering these basic knitting stitches will open up a world of possibilities for your knitting projects. Once you have a solid understanding of these stitches, you can experiment with different patterns, textures, and yarns to create unique and beautiful garments.
Casting on and starting the sweater
Before you can start knitting your one-piece sweater, you will need to cast on the stitches. The number of stitches you need to cast on will depend on your gauge and the size of the sweater you are making. Make sure to check the pattern for the specific number of stitches required.
To cast on, you can use any method you are comfortable with, such as the long-tail cast on or the knitted cast on. It’s important to cast on loosely to create a flexible edge for your sweater.
Step 1: Hold the yarn in your right hand and make a slipknot at the end of the yarn, leaving a tail of about 6 inches.
Step 2: Insert the needle into the slipknot and tighten it by pulling the yarn tail.
Step 3: With the yarn in your right hand, hold the needle and slip it under the yarn on your left thumb, creating a loop.
Step 4: Insert the needle into the loop from left to right and pull the yarn through, creating a new stitch on the needle.
Step 5: Repeat steps 3 and 4 until you have cast on the required number of stitches.
Once you have cast on all the stitches, you can begin working on the body of the sweater. Follow the pattern instructions for the specific stitch pattern and shaping details. Ensure that you are working on the correct size, as indicated by the pattern.
Following the pattern instructions
When knitting a one piece sweater, it is important to carefully follow the pattern instructions to ensure the final garment turns out as desired. The pattern will usually provide step-by-step instructions for each section of the sweater, including the body, sleeves, and neckline.
Materials needed:
- Knitting needles
- Yarn
- Tape measure
- Stitch markers
- Darning needle
Before starting the pattern, gather all the necessary materials and make sure you have the correct yarn weight and gauge. The pattern will typically specify the type of yarn and needle size to use. It is important to knit a gauge swatch before beginning to ensure your tension matches the pattern’s requirements.
Step-by-step instructions:
- Start by casting on the required number of stitches for the size you are making.
- Follow the pattern’s instructions for the body of the sweater, working the specified stitch pattern and shaping as indicated.
- Once the body is complete, move on to the sleeves, following the pattern for the stitch pattern and shaping.
- After the sleeves are finished, join them to the body of the sweater, using stitch markers to keep track of the placement.
- Continue knitting the yoke or neckline as instructed, shaping the collar or neckline as indicated in the pattern.
- Finally, bind off all stitches and weave in any loose ends using a darning needle.
It is important to read through the entire pattern before starting to ensure you understand all the instructions. Pay attention to any special techniques or stitches used in the pattern, and if necessary, practice them on a swatch before incorporating them into the sweater. Take your time and enjoy the process, following the pattern instructions will help you create a beautiful one piece sweater.
Shaping the Sweater: Increases and Decreases
When knitting a one-piece sweater, shaping is an essential step to achieve the desired fit. Increases and decreases are the primary techniques used to shape the different sections of the sweater, such as the neckline, armholes, waist, and sleeves.
Decreases: Knitting decreases are used to shape the neckline and armholes. Depending on the pattern, different decrease techniques can be employed, such as the knit two stitches together (k2tog) or the slip, knit, pass (skp) decrease. These techniques help to gradually narrow the stitches, creating a contoured and fitted look.
Increases: To shape the waist and sleeves of the sweater, increases are used to add fabric and create a more voluminous shape. Common increase techniques include the knit front and back (kfb) increase, the make one (m1) increase, and the yarn over (yo) increase. These techniques allow you to add stitches and gradually create a wider section.
It is important to carefully follow the specific increases and decreases indicated in the pattern to maintain the intended shape of the sweater. Keep in mind that increases and decreases should be evenly distributed throughout the knitting to ensure a balanced and symmetrical finished garment.
Neckline Shaping:
- To shape the neckline, decreases are usually made at the center front using the k2tog or skp techniques.
- The decreases are worked over several rows or rounds, gradually reducing the number of stitches until the desired neckline width is achieved.
Armhole Shaping:
- Armhole shaping typically involves decreases at the beginning and end of the rows or rounds.
- The decreases are worked over several rows or rounds until the desired armhole depth is reached.
Waist and Sleeve Shaping:
- To shape the waist or sleeves, increases are usually worked at specific intervals.
- These increases can be made by using techniques such as the kfb, m1, or yo.
- The increases are worked over several rows or rounds, gradually adding stitches to create a wider section.
By utilizing increases and decreases strategically throughout the knitting process, it is possible to achieve a well-fitted and customized one-piece sweater. Understanding the different techniques and following the instructions in the pattern will help ensure that the shaping is done correctly, resulting in a beautiful and flattering finished garment.
Knitting sleeves and neckband
When knitting a one piece sweater, the next step after completing the body is to work on the sleeves and neckband. These elements will add the finishing touches to your sweater and give it a polished look.
Sleeves: Start by picking up the stitches around the armhole. This can be done by inserting the needle into the stitch on the edge of the armhole, yarn over and pull through. Repeat this process until you have all the required stitches on your needle. Next, you will need to work the desired sleeve length in your chosen stitch pattern. This can be a simple stockinette stitch or a more intricate pattern, depending on your preference. Finally, finish off the sleeve by binding off the stitches and weaving in any loose ends.
Neckband: To create the neckband, you will start by picking up stitches along the neckline. This can be done by inserting the needle into the stitch on the edge of the neckline, yarn over and pull through. Repeat this process until you have all the required stitches on your needle. Next, you will need to work the desired neckband width in your chosen stitch pattern. This can be a ribbed pattern, garter stitch, or any other stitch pattern that complements your sweater. Finally, finish off the neckband by binding off the stitches and weaving in any loose ends.
Remember to measure and adjust the length and width of the sleeves and neckband to ensure a proper fit. The sleeves should be long enough to reach your wrists comfortably, and the neckband should be snug but not too tight. Take your time and enjoy the process of knitting these final components of your one piece sweater.
Finishing touches: blocking and adding buttons or other embellishments
After completing the knitting part of your one-piece sweater, it’s time to give it the finishing touches to make it look even more polished and professional. Two important steps in this process are blocking the sweater and adding buttons or other embellishments.
Blocking is a technique that involves shaping and stretching the knitted fabric to its final measurements. It helps even out the stitches and gives the sweater a more uniform appearance. To block your one-piece sweater, you will need to wash it gently in cold water and lay it flat to dry. Once it’s dry, you can use pins and blocking mats to carefully stretch the fabric and shape it to the desired dimensions. This step is especially important for ensuring that the sweater maintains its shape and fit after it’s been worn and washed several times.
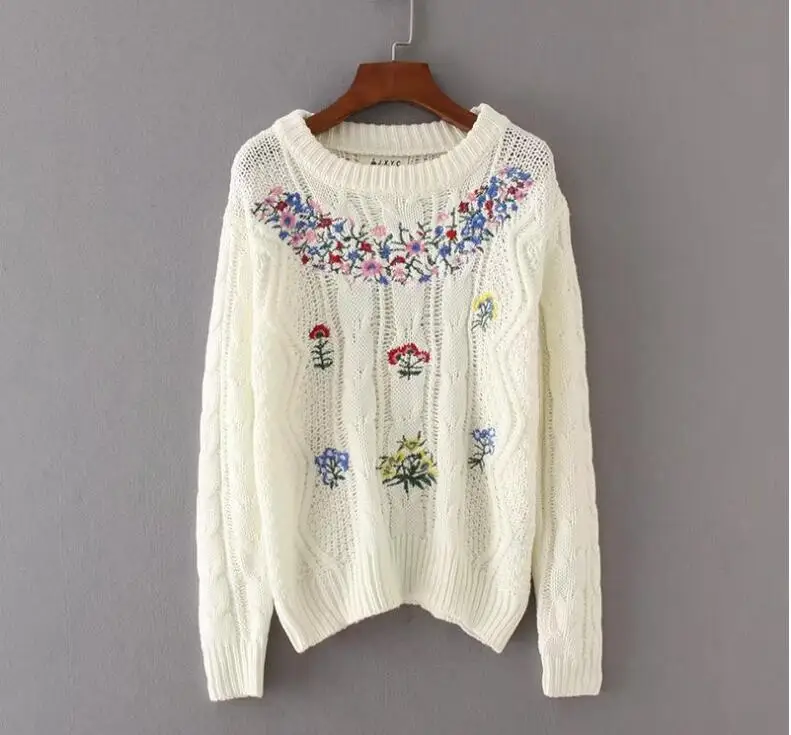
Once your sweater is blocked and dry, you can move on to adding buttons or other embellishments. This is where you can get creative and customize your sweater to your liking. Choose buttons that complement the color and style of your sweater. You can opt for traditional buttons, or explore more unique options like wooden, metal, or fabric-covered buttons. Sew the buttons onto the front placket of the sweater, making sure they are evenly spaced and securely attached.
If you prefer a more minimalist look, you can skip the buttons and add other embellishments instead. For example, you can sew on decorative patches, appliques, or embroidery to create a personalized design. Just make sure to choose embellishments that are appropriate for the type of yarn and fabric you used for your sweater.
Finishing touches like blocking and adding buttons or other embellishments can significantly enhance the overall look of your one-piece sweater. Take your time with these steps to ensure a professional and polished finish that you’ll be proud to wear or gift to someone special.
Tips and Tricks for Knitting a One Piece Sweater
Knitting a one piece sweater can be a rewarding and satisfying project. It eliminates the need for sewing pieces together and creates a seamless finished product. Here are some tips and tricks to help you successfully complete your one piece sweater.
1. Choose the Right Yarn
When knitting a one piece sweater, it’s important to choose the right yarn. Look for a yarn that has good stitch definition and is suitable for the desired drape of the finished garment. Consider the fiber content and weight of the yarn to ensure it will provide the desired warmth and comfort.
2. Use Stitch Markers
Stitch markers can be invaluable when knitting a one piece sweater. They can help you keep track of different sections and markers placed at the beginning and end of each row can help you avoid mistakes or dropped stitches. Use stitch markers to mark the beginning of each section, such as the sleeves, body, or neckline.
3. Follow a Clear Pattern
Knitting a one piece sweater can be complex, so it’s important to follow a clear and detailed pattern. Make sure to read through the pattern carefully before starting and familiarize yourself with any special techniques or stitches required. Take the time to understand the construction and shaping of the sweater to ensure a successful outcome.
4. Take Accurate Measurements
Accurate measurements are crucial for knitting a well-fitting one piece sweater. Take the time to measure yourself or the intended recipient carefully, paying attention to the bust, waist, and hip measurements. Use these measurements to select the appropriate size and adjust the pattern if necessary.
5. Block and Finish Carefully
Once you have completed knitting your one piece sweater, it’s important to block and finish it carefully. Blocking can help to shape the sweater and even out the stitches. Follow the instructions provided by the yarn manufacturer or the pattern to properly block your sweater.
By following these tips and tricks, you’ll be well-equipped to knit a beautiful and well-fitting one piece sweater. Don’t be afraid to take your time and ask for help if needed. Happy knitting!
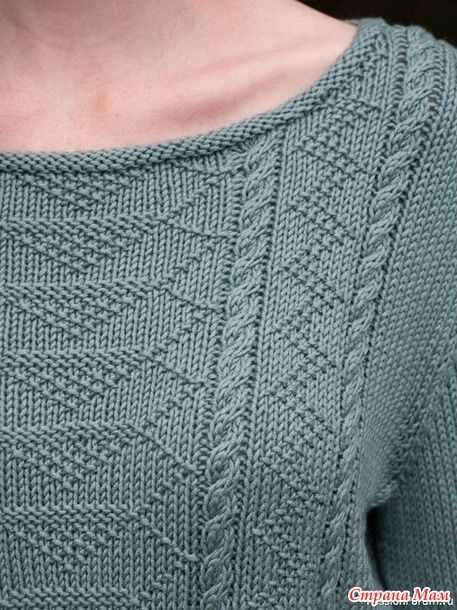
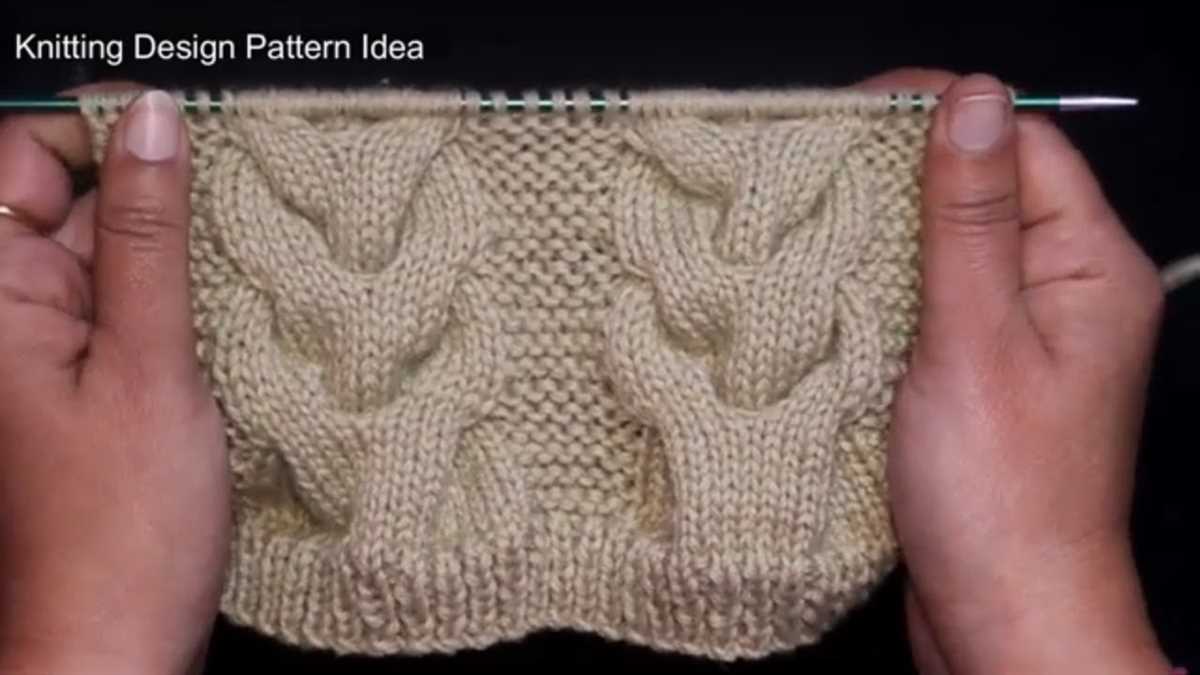
Cable Knit One Piece Sweater Pattern
If you’re looking for a challenging and rewarding knitting project, a cable knit one piece sweater pattern might be just what you need. Cable knitting involves creating intricate patterns using a combination of stitches that twist and cross over each other, resulting in a beautifully textured fabric. Knitting a cable knit one piece sweater is a great way to showcase your knitting skills and create a unique and stylish garment.
One of the advantages of knitting a one piece sweater is that there are no seams to sew together at the end. This means that once you’ve finished knitting the pieces, all you need to do is add the finishing touches like the neckband and cuffs. This not only saves time, but also gives the sweater a more polished and professional look.
To get started with a cable knit one piece sweater pattern, you will need a set of knitting needles in the appropriate size for your chosen yarn, as well as cable needles. The cable needles are used to hold the stitches in place while you work on the cable patterns. The pattern will specify the type and size of cable needle you will need.
When following a cable knit one piece sweater pattern, it’s important to pay close attention to the instructions and charts. Cable knitting can be quite complex, so it’s essential to read through the pattern carefully before you begin and make sure you understand each step. It’s also a good idea to practice the cable stitches on a swatch before you start the sweater, as this will help you become more comfortable with the technique.
Once you’ve completed your cable knit one piece sweater, you’ll have a beautiful and unique garment that is sure to be admired. Whether you choose a classic all-over cable pattern or a more intricate design, your sweater will be a testament to your knitting skills and creativity. So gather your supplies, pick a pattern, and get ready to create a stunning cable knit one piece sweater!
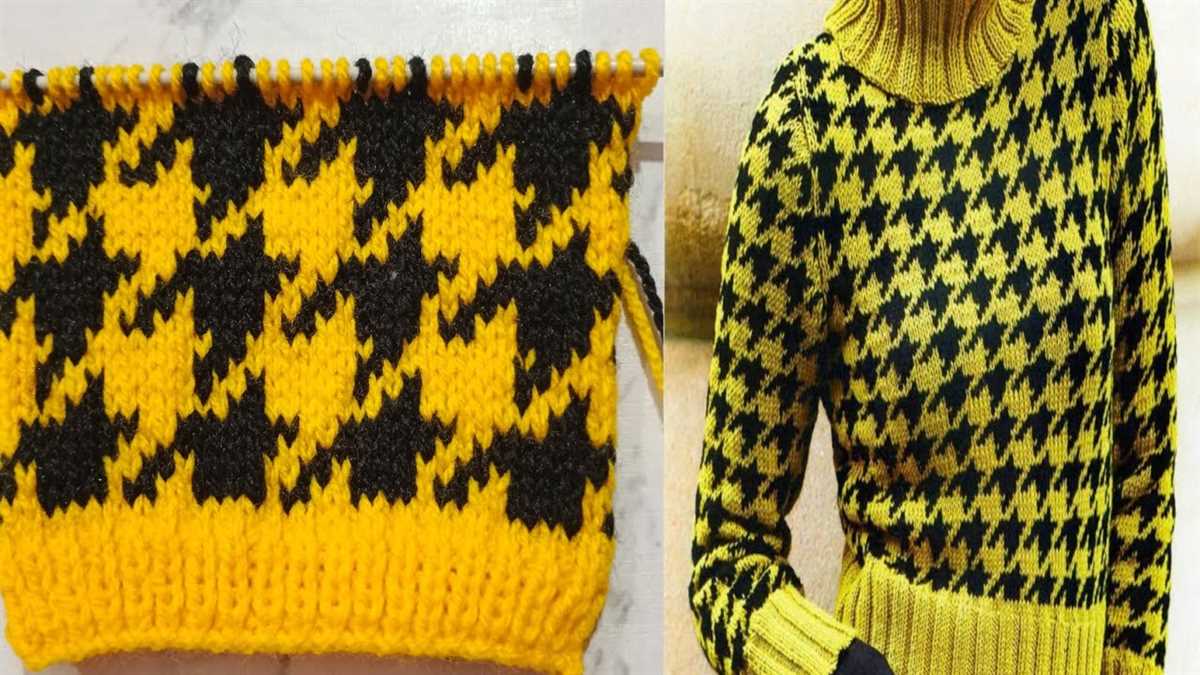
Conclusion
In conclusion, knitting a fair isle one piece sweater can be a challenging but rewarding project. The intricate colorwork and seamless construction make it a unique and stylish piece of clothing.
By following the pattern and utilizing techniques such as stranded knitting and carrying floats, you can create a beautiful fair isle sweater with ease. Remember to choose high-quality yarns that are soft and comfortable to wear.
Whether you’re a beginner or an experienced knitter, this pattern is a great opportunity to practice and improve your knitting skills. With a little patience and dedication, you can create a beautiful fair isle knit one piece sweater that will be cherished for years to come.
So grab your needles, choose your favorite colors, and start knitting your own fair isle one piece sweater today!