Simple Bucket Hat Knitting Pattern

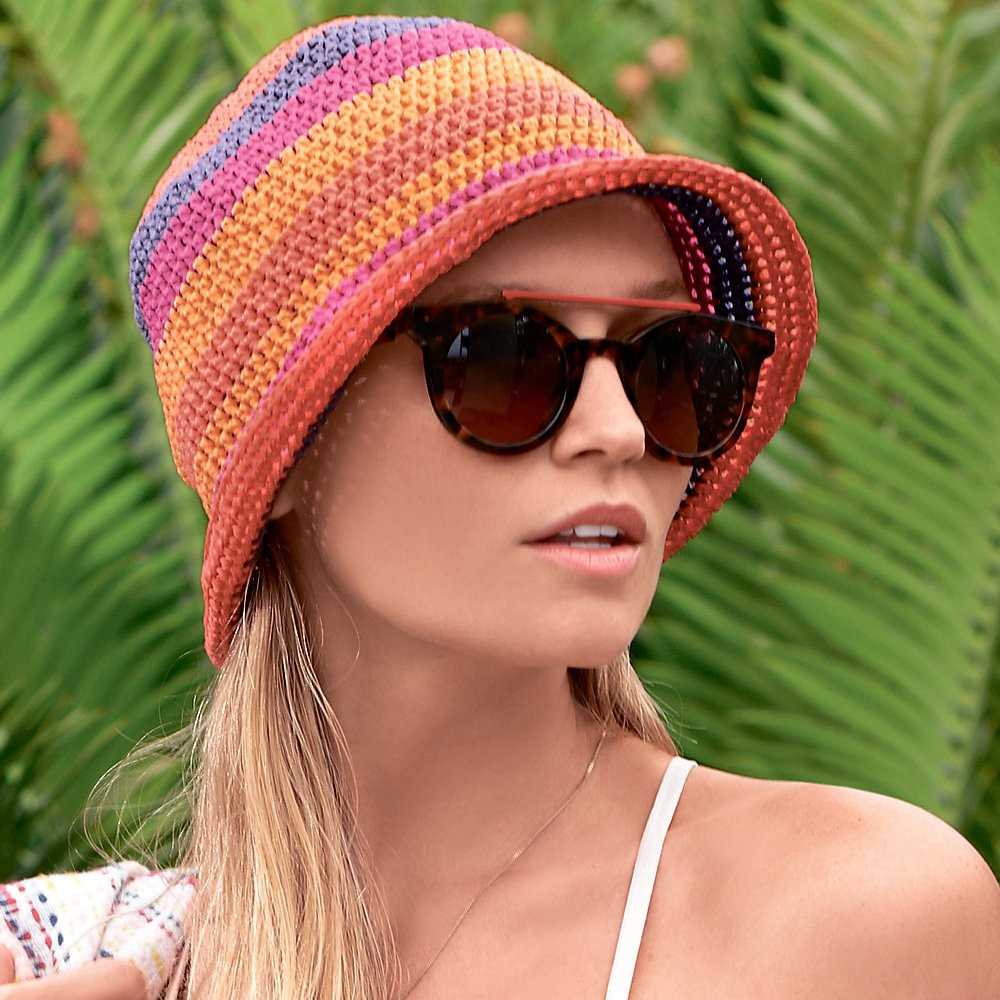
If you are a fan of fashion and love to channel your inner trendsetter, then you’ve probably noticed that the bucket hat has made a major comeback in recent years. This versatile hat style is not only practical for protecting you from the sun, but it also adds a trendy and stylish touch to any outfit. If you’re interested in adding this cool accessory to your wardrobe, why not try a knitted bucket hat? With its unique texture and cozy warmth, a knitted bucket hat is a perfect project for both beginners and experienced knitters. Plus, by making your own hat, you have the freedom to choose your favorite colors and customize it to perfectly suit your style.
Knitting your own bucket hat may sound like a daunting task, but fear not! With the right pattern and a bit of practice, you’ll be able to create a beautiful hat in no time. There are countless knitting patterns available online, ranging from simple designs for beginners to more intricate patterns for advanced knitters. Whether you prefer a solid color or want to experiment with different stitch patterns, you’re sure to find a pattern that suits your skill level and personal style.
One of the great things about knitting a bucket hat is that it allows you to incorporate various techniques and stitches, making it a fun and challenging project. Depending on the pattern you choose, you may have the opportunity to learn new skills, such as knitting in the round or creating intricate colorwork. Knitting a bucket hat is not only a way to expand your knitting repertoire, but it’s also a great opportunity to relax and unwind. Set aside some time for yourself, grab your favorite yarn and needles, and enjoy the soothing process of creating something beautiful with your own two hands.
What is a bucket hat?
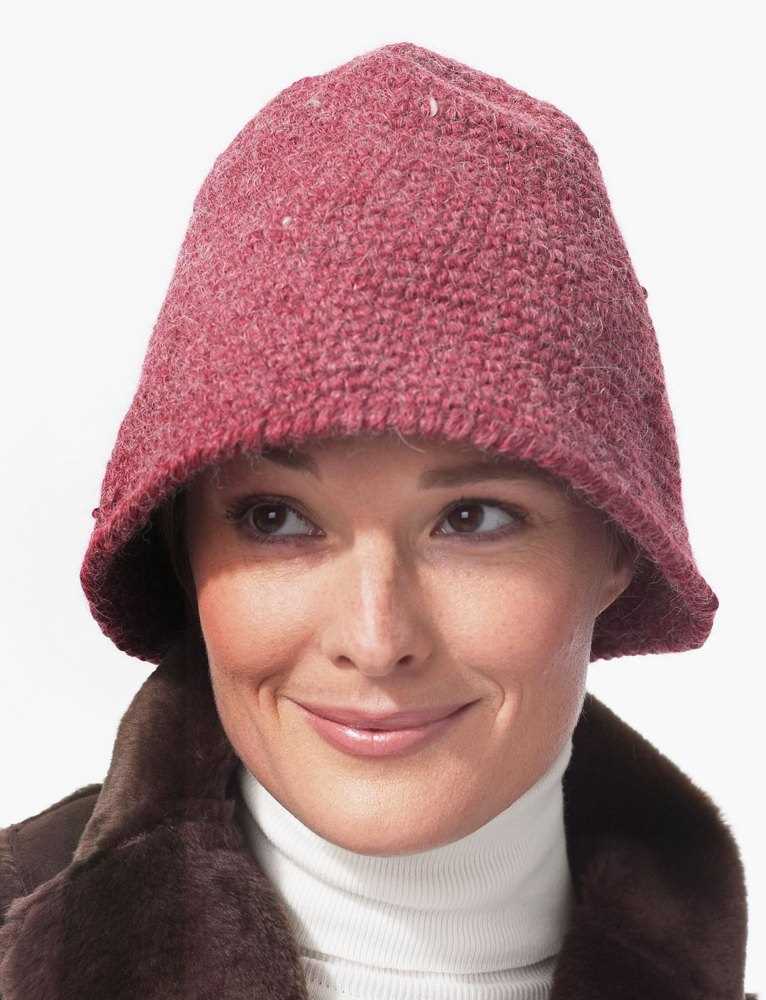
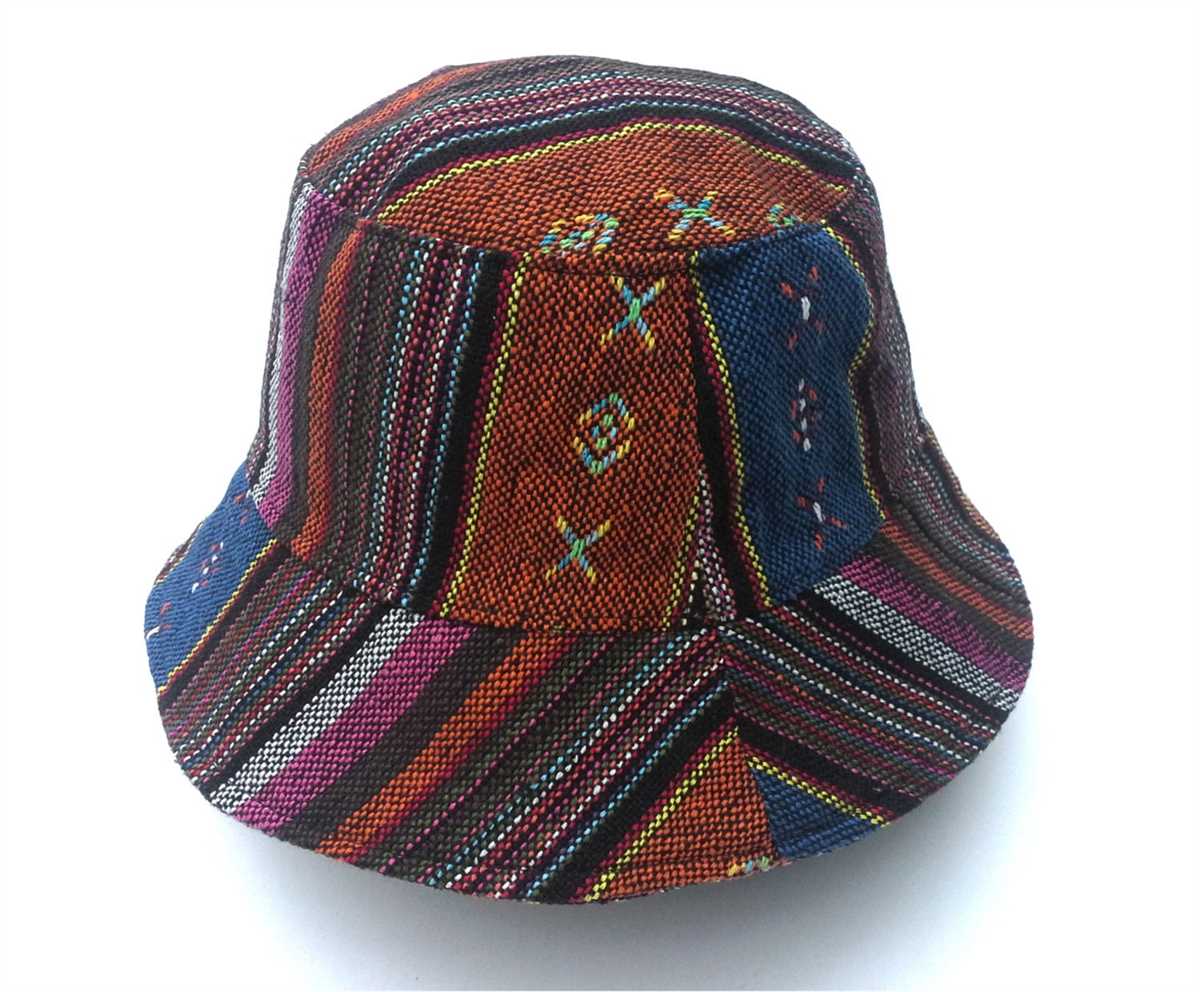
A bucket hat is a type of hat that has a wide and downward-sloping brim. It is typically made from soft and lightweight fabric, such as cotton or nylon, and is known for its relaxed and casual style. The hat gets its name from its shape, which resembles a bucket or a bowl. It is also referred to as a fishing hat or a sun hat, as it provides protection from the sun due to its wide brim.
The bucket hat originated as a practical accessory for outdoor activities, particularly for fishing and hiking. Its wide brim helps shield the face and neck from harmful UV rays and keeps the sun out of the eyes. The hat is often worn by anglers, as it provides both protection and comfort during long hours spent in the sun.
The bucket hat gained popularity in the 1960s and 1970s as a fashion statement. It became associated with the counterculture and the hippie movement, and was often worn by musicians, artists, and bohemian individuals. Since then, the bucket hat has remained a popular fashion accessory, favored by both men and women for its casual and laid-back style.
Why knit a bucket hat?
Knitting a bucket hat can be a fun and rewarding project for several reasons. Firstly, bucket hats are a stylish and trendy accessory that can add a unique touch to any outfit. By knitting your own bucket hat, you have the opportunity to customize the design, color, and pattern to suit your personal style and preferences.
Another reason to knit a bucket hat is that it allows you to showcase your knitting skills and creativity. Knitting involves various techniques and stitches, and creating a hat requires both skill and precision. By taking on the challenge of knitting a bucket hat, you can demonstrate your abilities and create a one-of-a-kind accessory that reflects your talent.
When you knit your own bucket hat, you also have the advantage of using high-quality materials. You can choose the type of yarn you prefer, whether it be soft and cozy for winter or lightweight and breathable for summer. Additionally, knitting allows you to control the fit and size of the hat, ensuring it is comfortable and fits perfectly.
Furthermore, knitting is a relaxing and therapeutic activity that can help reduce stress and promote mindfulness. The repetitive motions of knitting can have a calming effect on the mind, allowing you to focus on the present moment and create something beautiful with your own hands. Knitting a bucket hat provides an opportunity to unwind and engage in a creative process.
In conclusion, knitting a bucket hat offers the chance to express your personal style, showcase your skills, and enjoy the benefits of a handmade accessory. Whether you are a seasoned knitter or a beginner, the process of knitting a bucket hat can be both enjoyable and fulfilling.
Choosing the right yarn

When knitting a bucket hat, it is important to choose the right yarn that will give you the desired look and feel for your project.
One key factor to consider when selecting yarn for a bucket hat is the fiber content. Wool, for example, is a popular choice for its warmth and durability, making it suitable for hats that will be worn in colder climates. Acrylic yarns, on the other hand, are often chosen for their affordability and easy care. Cotton yarns can be a great option for lightweight and breathable hat, while alpaca yarns offer a luxurious softness and warmth.
Another important aspect to consider is the weight or thickness of the yarn.
- Fingering weight yarns are thin and delicate, creating a lightweight hat that is perfect for spring or summer.
- Sport weight yarns are slightly thicker and can create a hat with more structure and warmth.
- Worsted weight yarns are a popular choice for bucket hats as they provide a good balance between warmth and weight.
- Bulky yarns are thicker and can create a chunky and cozy hat, but may be too heavy for some wearers.
It is also important to consider the gauge and recommended needle size for the yarn.
Before beginning your project, it is recommended to make a gauge swatch to ensure that you are using the correct needle size to achieve the desired gauge. This will help ensure a proper fit and prevent the hat from being too tight or too loose.
Ultimately, the choice of yarn for your bucket hat will depend on your personal preferences and the desired final product. Consider the season, climate, and occasion for which the hat will be worn, as well as any specific texture or color preferences you may have. By carefully considering these factors, you can select the perfect yarn for your project and create a beautiful and functional knitted bucket hat.
Selecting the correct tools
When it comes to knitting a bucket hat, having the right tools is essential to ensure a successful outcome. Here are some key factors to consider when selecting the tools for your project:
Yarn:
Choosing the right yarn is crucial for achieving the desired look and feel of your bucket hat. Look for a soft and lightweight yarn in a fiber blend that has good stitch definition. It’s important to consider the season you plan to wear the hat in and choose a yarn that is suitable for that climate.
Needles:
The size and type of needles you use will also impact the outcome of your bucket hat. Circular needles are typically recommended for hat projects as they allow you to easily knit in the round. Make sure to choose the correct needle size according to the gauge specified in the pattern or adjust it to achieve the desired fit.
Stitch markers:
Stitch markers are small, circular or locking clips that can be placed on your knitting needle to mark specific points in your pattern. These markers are especially helpful when knitting in the round and can help you keep track of increases, decreases, or changes in stitch patterns.
Tape measure:
A tape measure is an essential tool for checking your gauge and measuring the circumference and length of your hat as you progress. It is important to match the gauge specified in the pattern to ensure that your hat fits properly.
- Row counter: Keeping track of your rows is important for maintaining a consistent stitch pattern and ensuring your hat turns out the correct size. A row counter can be a physical device or a digital app on your phone or tablet.
- Darning needle: A darning needle, also known as a tapestry needle, is used for weaving in loose ends and finishing your knitting project. Make sure to choose a needle with a large enough eye to accommodate the yarn you’re using.
- Blocking tools: Depending on the type of yarn you use and your personal preferences, you may also need blocking tools such as blocking mats, pins, and spray bottles. Blocking helps to shape and even out your finished hat.
Understanding the pattern
When it comes to knitting a bucket hat, understanding the pattern is crucial. The pattern provides detailed instructions on how to create the hat, from casting on the stitches to shaping the crown. It is important to carefully read and follow each step of the pattern to ensure a successful outcome.
The first step in understanding the pattern is to familiarize yourself with the abbreviations used. The pattern will often use abbreviations such as K for knit, P for purl, and M1 for make one stitch. These abbreviations are commonly used in knitting patterns and understanding them will make it easier to follow the instructions.
Once you have familiarized yourself with the abbreviations, it’s important to read through the entire pattern before starting. This will give you an overview of the construction of the hat and help you understand the sequence of steps. Take note of any special techniques or stitches that are required and make sure you are comfortable with them before starting the project.
The pattern will also provide information on the materials and tools needed for the project. Make sure you have the correct yarn, needles, and any other supplies mentioned in the pattern. Gauge is another important aspect to consider – it ensures that your finished hat will be the correct size. The pattern will provide instructions on how to check your gauge and make any necessary adjustments.
In addition to the written instructions, many knitting patterns also include charts or diagrams. These visual representations can be helpful for understanding complex stitch patterns or shaping techniques. Take the time to study these charts and make sure you understand how they correspond to the written instructions.
Casting on
When starting a knitting project, the first step is to cast on. This is the process of creating the foundation row of stitches on your knitting needle. It is important to cast on the correct number of stitches specified in the pattern, as this will determine the size and shape of your knitted piece.
There are different methods of casting on, but one commonly used method is the long tail cast on. To do this, first, make a slip knot by forming a loop with the yarn. Slip the loop onto the knitting needle and tighten it. Hold the needle with the slip knot in your right hand and the long tail of the yarn in your left hand.
Next, bring the needle over the top of the yarn from right to left, forming a loop around the needle. This loop will be the first cast on stitch. Insert the needle into the loop from left to right, and then catch the yarn that is coming from the skein with the needle. Bring the yarn through the loop to create a new stitch on the needle.
Repeat this process for the required number of stitches, keeping the tension even on the yarn. Once all the stitches are cast on, you can begin knitting the first row according to the pattern instructions. The cast on stitches will form the foundation of your project and set the stage for the rest of your knitting journey.
Knitting the body of the hat
Once you have completed the brim of your bucket hat, it’s time to knit the body of the hat. This is where you will create the main section of the hat that covers the crown of your head.
To start, you will continue working in the round, using the same size needles and yarn that you used for the brim. Begin by placing a stitch marker to mark the beginning of the round. This will help you keep track of your progress as you knit.
Row 1: Knit all stitches in the round. This will create the first row of the body of the hat. Repeat this row until the hat measures approximately 4 inches in length.
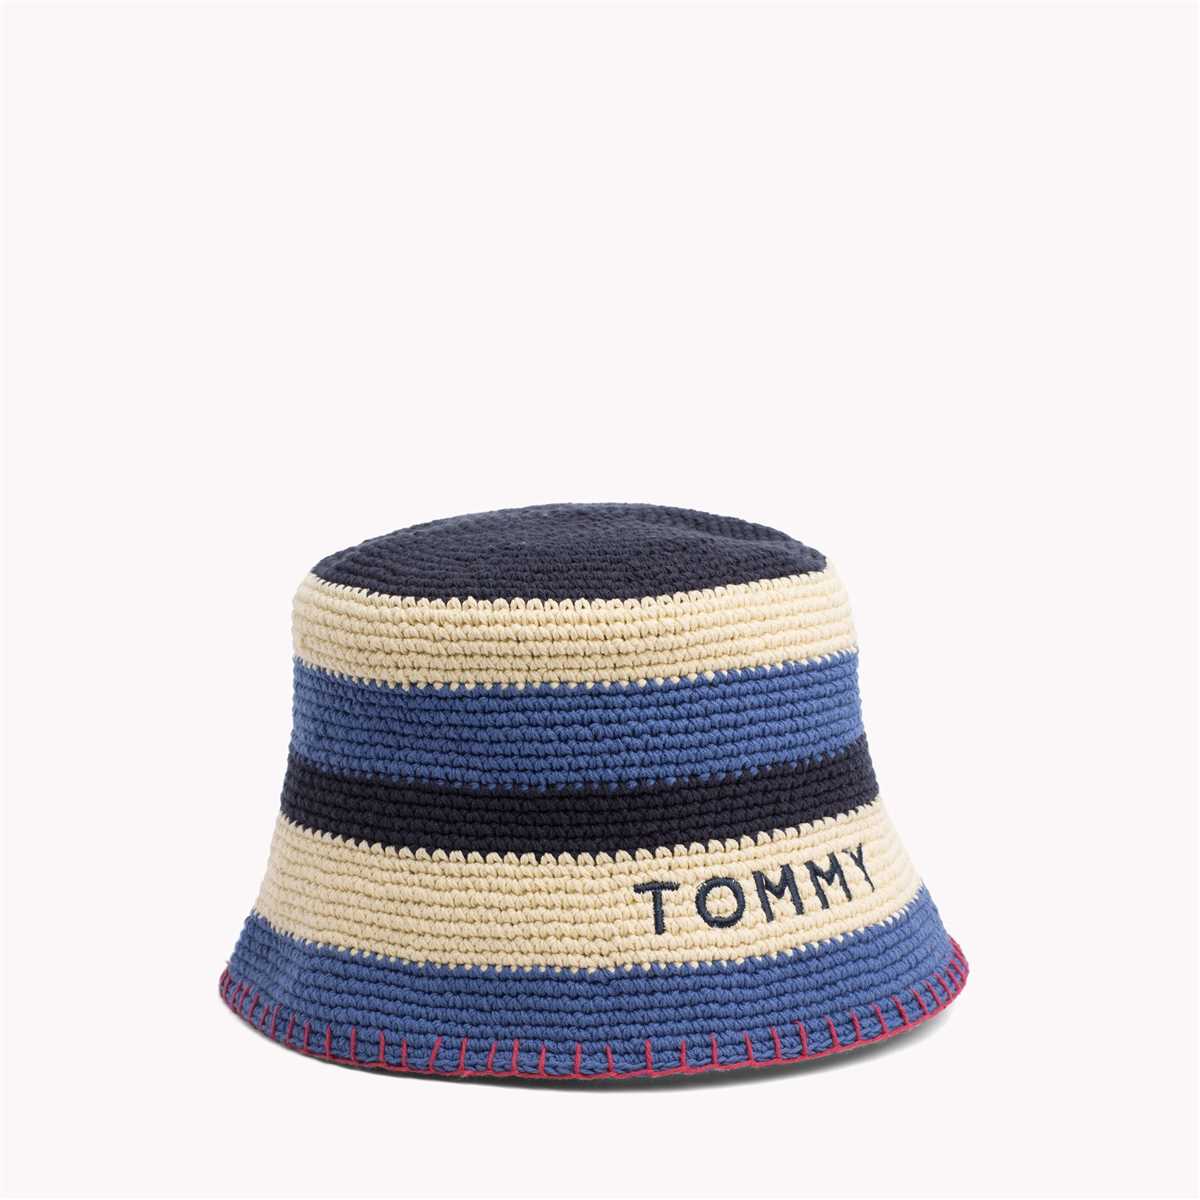
Row 2: Switch to a new color if desired. Knit all stitches in the round. This will create a contrasting stripe in the hat. Repeat this row until the stripe measures approximately 1 inch in width.
Note: If you prefer your hat to have a solid color, you can continue knitting all stitches in the same color until the desired length is reached.
Continue alternating between knitting all stitches in the round and switching colors to create stripes until the body of the hat reaches your desired length. Remember to periodically try on the hat to ensure it is fitting snugly but comfortably on your head.
Once the body of the hat is complete, you can proceed to knit the crown of the hat to finish it off. Instructions for knitting the crown can be found in the pattern you are following or can be improvised based on your own preferences.
Tip: If you are new to knitting in the round, it may be helpful to use circular needles instead of straight needles. Circular needles allow you to easily knit in a continuous round without needing to constantly turn your work.
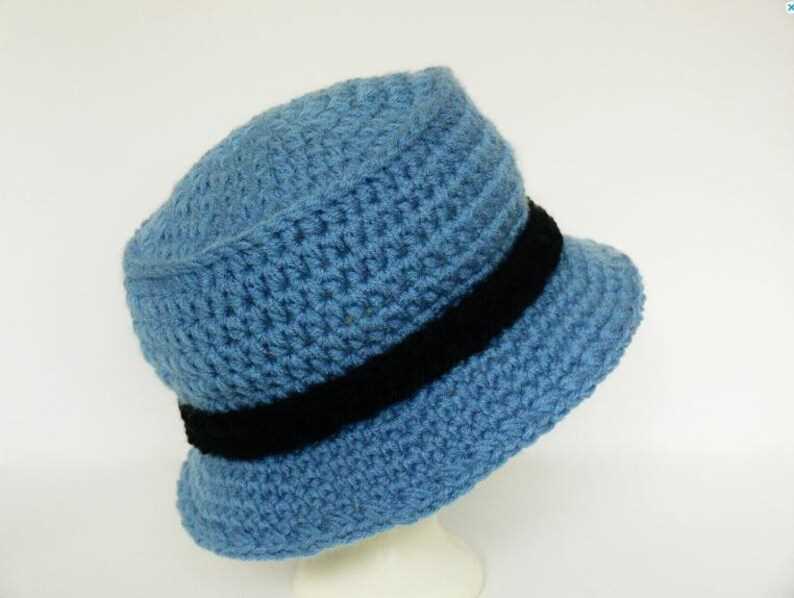
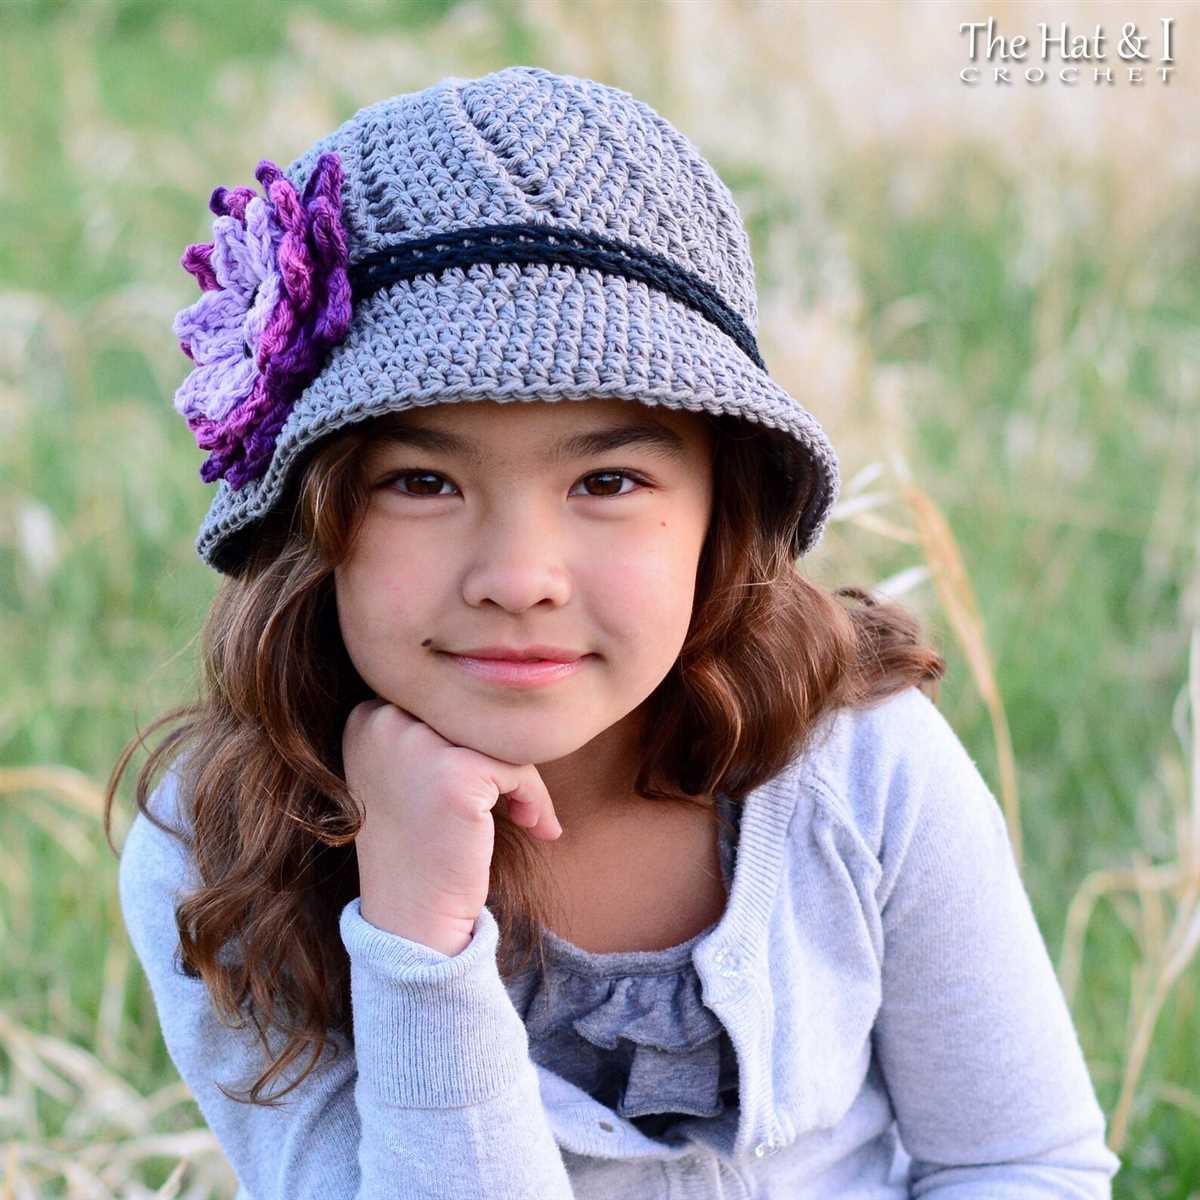
Creating the brim
Adding a brim to your knitted bucket hat not only gives it a unique look but also helps to provide some shade and protection from the sun. Here’s how you can create the brim for your hat:
Materials:
- Knitting needles
- Worsted weight yarn
Instructions:
- Start by picking up stitches along the bottom edge of the hat. Begin at the center front and evenly distribute the stitches around the circumference of the hat.
- Next, work a few rows in a ribbing pattern (such as k2, p2) to create a stretchy, snug brim. Make sure to maintain the same stitch pattern as used for the body of the hat.
- To create a wider brim, you can gradually increase the number of stitches by working increases evenly spaced throughout the ribbing pattern.
- Continue knitting the brim until it reaches your desired width. Keep in mind that the brim may fold up slightly when worn, so it’s best to make it slightly wider than you want the final result to be.
- Once the brim is the desired width, bind off the stitches and weave in any loose ends.
- You can choose to leave the brim as is or add a decorative edging, such as a picot bind off or a simple crochet edge.
With these steps, you can easily create a stylish and functional brim for your knitted bucket hat. Customize it with different stitch patterns or colors to make it uniquely yours!
Working in the round

When knitting a bucket hat in the round, you will be working in a continuous spiral, without turning your work. This technique eliminates the need to sew seams later on, resulting in a clean and seamless finished product. To work in the round, you will need either double-pointed needles or a circular needle, depending on your preference and the size of your project.
When using double-pointed needles, divide your stitches evenly onto three or four needles, depending on the number of stitches required for your pattern. Make sure that the stitches are not twisted and hold the needles parallel to each other. Begin knitting in the round by knitting the first stitch on the first needle. As you continue knitting, you will gradually shift stitches from one needle to another to maintain the circular shape.
If you prefer using a circular needle, select one with a cable that is long enough to comfortably accommodate your stitches. Before starting, cast on your required number of stitches onto the circular needle. Make sure the stitches are not twisted and arrange them evenly around the needle. To begin working in the round, knit the first stitch, ensuring that the working yarn is on the right-hand needle. Slide the stitches to the opposite end of the circular needle to continue knitting in the round.
Throughout your project, it is important to pay attention to the correct stitch count and any pattern instructions for shaping or design elements. When working in the round, you will continue knitting every round until you reach the desired length or complete the pattern instructions. Remember to use stitch markers to mark any important points in your pattern and to help keep track of your progress.
Shaping the crown
The shaping of the crown is an important step in the process of knitting a bucket hat. It determines the final shape and fit of the hat on the head. There are different methods and patterns available for shaping the crown, and it’s important to choose one that suits your preference and skill level.
One common method for shaping the crown is to decrease the number of stitches gradually as you knit towards the top of the hat. This can be done by evenly distributing the decreases throughout the crown, or by creating a pattern of decreases that adds a decorative element to the hat. Another option is to shape the crown using short rows, which involves knitting a partial row and then turning the work to create shaping without decreasing stitches.
Decreasing Stitches
To decrease stitches, you will typically work a series of knit or purl stitches together to reduce the number of stitches on your needles. The specific decreasing pattern will depend on the design of the hat and the desired shape of the crown. Common decreasing techniques include knit two together (k2tog), slip slip knit (ssk), and knit three together (k3tog).
- Knit two together (k2tog): Insert the right needle into the next two stitches on the left needle as if to knit, and then knit them together as one stitch.
- Slip slip knit (ssk): Slip the next two stitches individually knitwise from the left needle to the right needle. Insert the left needle into the front loops of the two slipped stitches, and knit them together.
- Knit three together (k3tog): Insert the right needle into the next three stitches on the left needle as if to knit, and then knit them together as one stitch.
Short Rows
Short rows are an alternative method for shaping the crown of a hat. They involve knitting a partial row and then turning the work to create shaping without decreasing stitches. This can be done by wrapping the yarn around the needle to prevent a gap from forming, or by using a specific technique such as German short rows or Japanese short rows.
- Wrap and turn (W&T): Knit or purl to the specified stitch, bring the yarn to the front of the work between the needles, slip the next stitch purlwise from the left needle to the right needle, bring the yarn to the back of the work between the needles, and turn the work to begin knitting or purling back in the opposite direction.
- German short rows: Knit or purl to the specified stitch, slip the next stitch purlwise with the yarn in front, bring the yarn to the back between the needles, slip the same stitch back to the left needle, and turn the work to begin knitting or purling back in the opposite direction.
- Japanese short rows: Knit or purl to the specified stitch, pull the working yarn over the right needle from back to front, slip the next stitch purlwise from the left needle to the right needle, pull the working yarn tight, and turn the work to begin knitting or purling back in the opposite direction.
These are just a few examples of the techniques that can be used to shape the crown of a knitted bucket hat. Experiment with different methods and find the one that works best for you and your project.
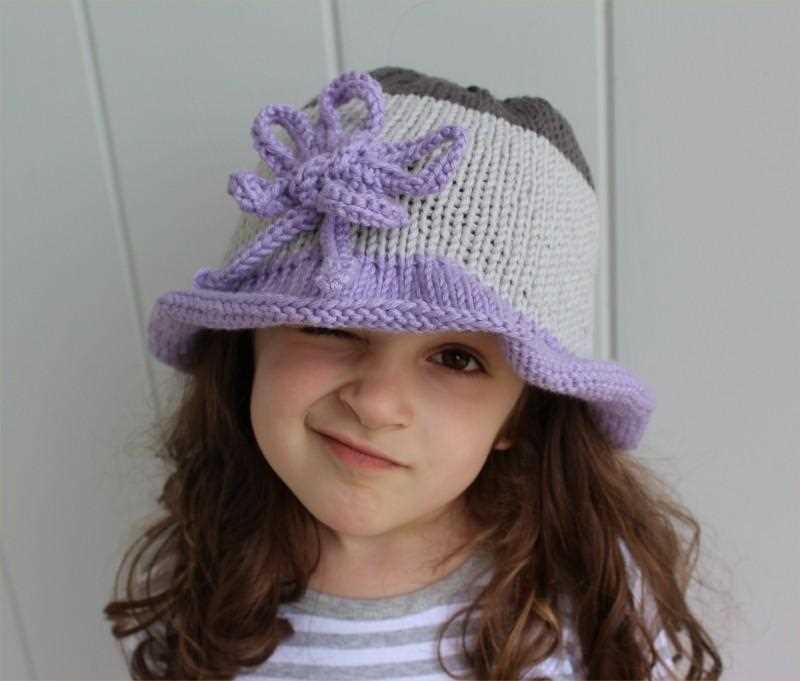
Finishing touches
Now that you have completed knitting your bucket hat, it’s time to add some finishing touches to make it look polished and professional. Here are a few steps you can follow to give your hat that extra bit of flair:
1. Blocking:
Before adding any embellishments, it is important to block your hat to ensure it retains its shape. This can be done by gently wetting the hat, shaping it to the desired size, and then allowing it to dry completely. Blocking will help the hat to look more even and neat.
2. Adding a brim:
If you want to give your bucket hat a more structured look, you can add a brim. This can be made by knitting a separate strip of fabric and attaching it to the bottom edge of the hat. You can choose to make the brim wider or narrower depending on your preference.
3. Embellishments:
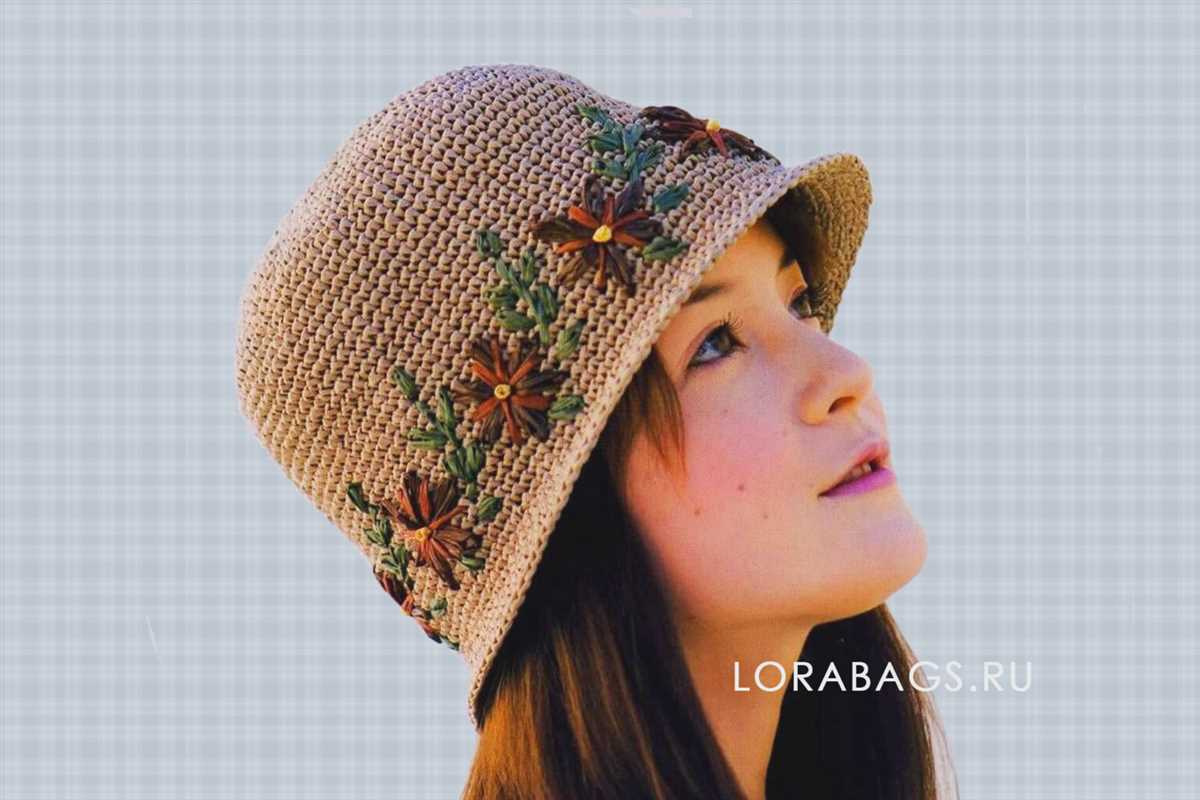
To make your hat truly unique, you can add various embellishments. You can sew on buttons, attach a decorative ribbon, or even embroider a design onto the hat. Be creative and choose embellishments that reflect your personal style.
4. Lining:
If you want your hat to be more comfortable and durable, you can consider adding a lining. This can be sewn into the inside of the hat and will help to protect your hair and prevent stretching over time. Choose a fabric that is lightweight and breathable.
By taking these finishing touches into consideration, you can transform your knitted bucket hat into a stylish accessory that you will be proud to wear. Have fun experimenting with different techniques and make your hat truly one-of-a-kind!
Blocking the Hat
Blocking is an essential final step in the process of making a knitted bucket hat. It helps to shape the hat and give it a professional finish. To block the hat, you will need some supplies such as a blocking mat, rustproof pins, and a steamer or spray bottle.
Start by wetting the hat with water until it is damp. Place the hat on the blocking mat and gently stretch it to the desired size and shape. Use pins to secure the hat in place, making sure to distribute them evenly around the brim and crown.
Note: You can use blocking wires if you have them, but they are not necessary.
Next, use a steamer or spray bottle to add steam or water to the hat. The moisture will help to set the shape and smooth out any wrinkles or creases. Be careful not to overdo it, as too much moisture can cause the hat to lose its shape or stretch excessively.
Allow the hat to dry completely before removing the pins. This can take anywhere from a few hours to overnight, depending on the humidity and temperature of your environment. Once the hat is dry, gently remove the pins and admire your beautifully blocked bucket hat!
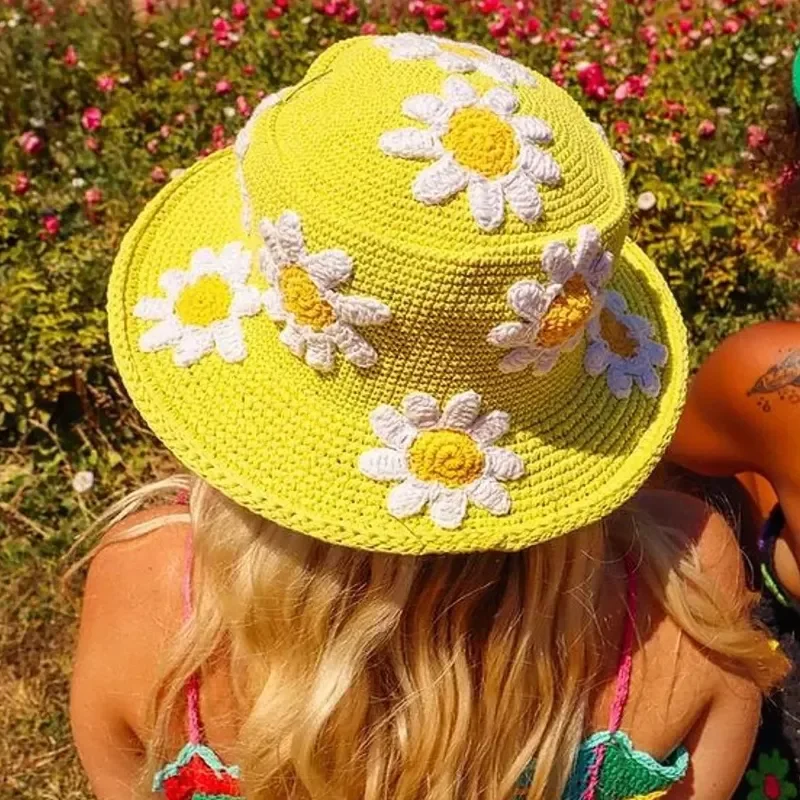
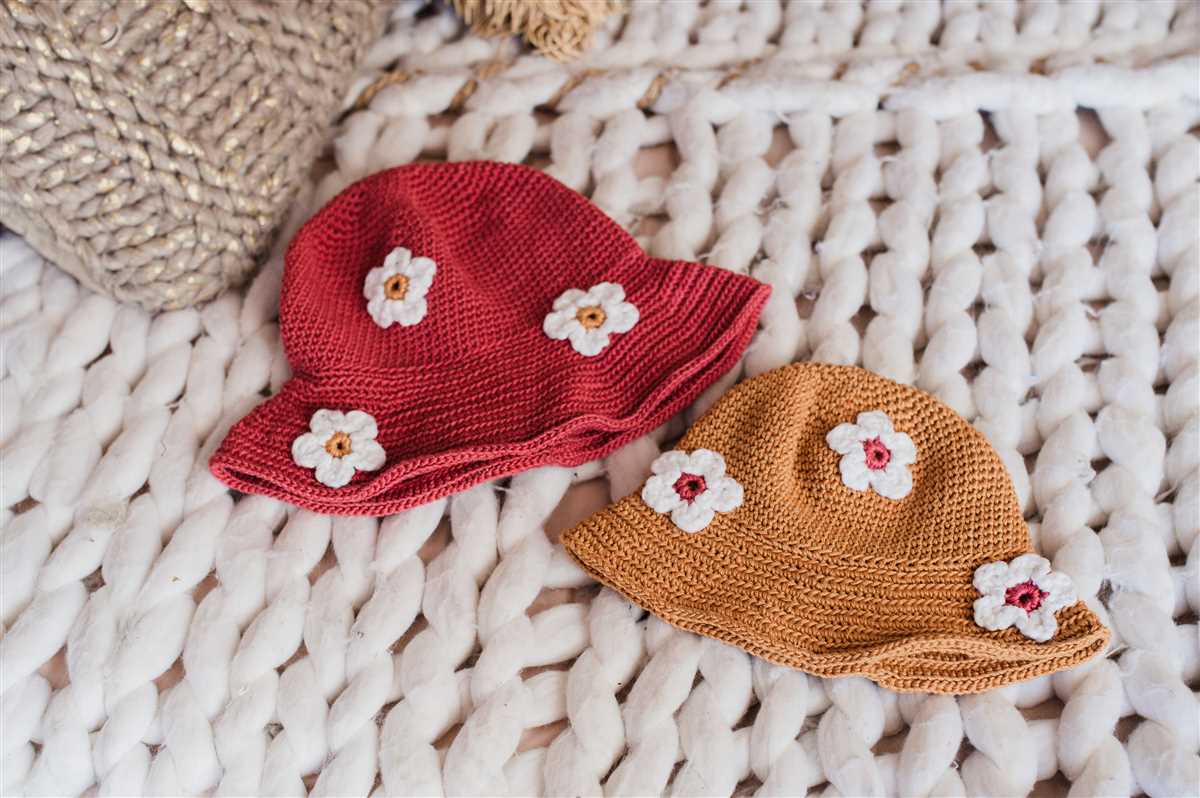
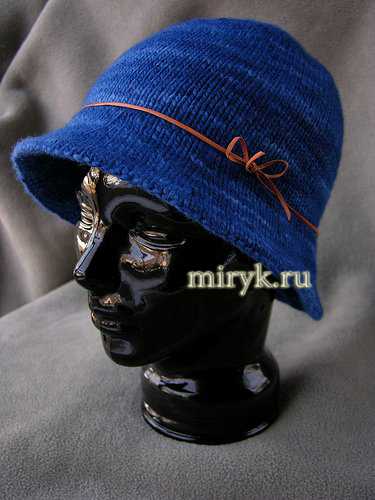
Adding Additional Embellishments
Once you have completed knitting your bucket hat, you can add additional embellishments to make it unique and personalized. Here are some ideas:
- Pom-Poms: Attach small pom-poms to the top of the hat for a fun and playful look.
- Buttons: Sew buttons of different sizes and colors onto the brim or sides of the hat for added visual interest.
- Flowers: Knit or crochet small flowers and attach them to the hat using a yarn needle. This will give your hat a feminine and whimsical touch.
- Ribbons: Weave ribbons through the knit stitches of the brim to create a decorative pattern. You can tie the ribbons into bows for a cute and girly look.
- Embroidery: Use embroidery thread to add intricate patterns, words, or initials to the hat. This technique allows for endless creative possibilities.
Remember to experiment and have fun with your embellishments. You can mix and match different ideas or come up with your own unique designs. Adding these additional touches will truly make your knitted bucket hat one-of-a-kind.