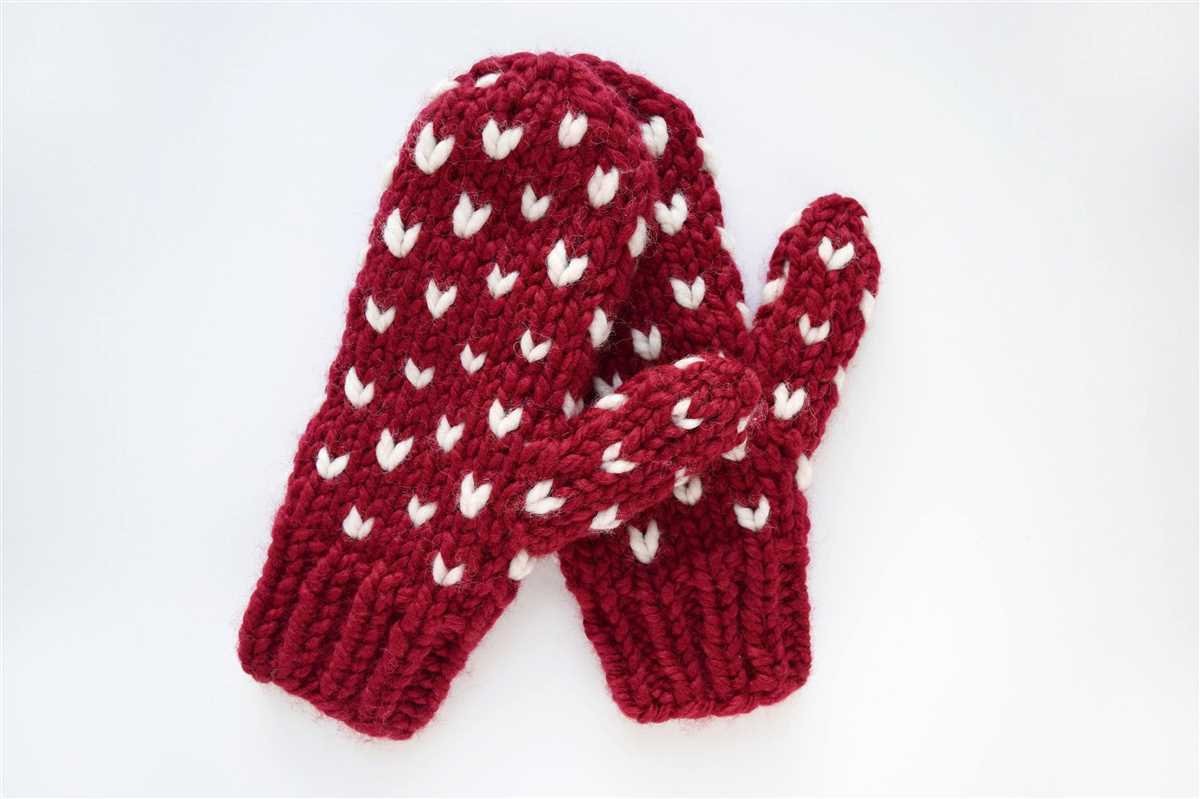
Step-by-step guide to knitting mittens for kids

Knitting is a wonderful hobby that not only allows you to create beautiful and unique items, but also provides a sense of relaxation and satisfaction. One item that is perfect for both beginner and experienced knitters to make is children’s mittens.
Children’s mittens are not only cute and practical, but they are also a great project for knitters of all skill levels. Whether you are just starting out or have been knitting for years, you can easily find a pattern that suits your needs and preferences. Plus, knitting children’s mittens allows you to experiment with different colors, textures, and stitch patterns to create a one-of-a-kind accessory.
In this article, we will provide you with a step-by-step knitting pattern for children’s mittens, complete with easy-to-follow instructions and helpful tips. Whether you are knitting for your own child, a family member, or to donate to a charity, this pattern will help you create a pair of mittens that are cozy, warm, and stylish.
How to Knit Children’s Mittens: A Step-by-Step Guide
Knitting children’s mittens can be a fun and rewarding project for both beginners and experienced knitters. With just a few basic knitting techniques, you can create cozy and adorable mittens that will keep your little ones warm during the winter months. Follow this step-by-step guide to learn how to knit children’s mittens.
Materials Needed
Before you get started, gather the following materials:
- Worsted weight yarn in your desired color
- Size 7 knitting needles
- Tapestry needle
- Stitch markers
- Scissors
Casting On
First, start by casting on the required number of stitches. This will depend on the size of the child’s hand and the gauge of your knitting. You can find a pattern online or use a mitten size chart to determine the number of stitches for your desired size. Use the long tail cast-on method for a neat and stretchy edge.
Once you have cast on the stitches, place a stitch marker to mark the beginning of the round. This will help you keep track of your progress as you knit in the round.
Knitting the Cuff
Next, you will knit the cuff of the mitten. The cuff can be knitted in different stitch patterns, such as ribbing or seed stitch, to add texture and stretch. Follow the pattern instructions to knit the desired length for the cuff.
If you’re using ribbing, you can knit in a K1, P1 or K2, P2 pattern. Repeat the pattern until you reach the desired cuff length, usually around 1 to 2 inches. This will provide a snug fit around the child’s wrist.
Once the cuff is complete, you can switch to stockinette stitch or continue with the stitch pattern of your choice for the hand of the mitten.
Knitting the Hand
Continue knitting in rounds until the mitten reaches the desired length for the child’s hand. You can measure the progress by trying the mitten on the child’s hand or referring to a mitten size guide. Remember to use stitch markers to indicate the start of each round, especially if you’re working with different stitch patterns.
If you want to add a thumb, you can place stitches on hold using stitch markers before continuing to knit the hand of the mitten. Follow the pattern instructions for shaping the thumb and continue knitting until the hand is complete.
Shaping the Top
To shape the top of the mitten, you will need to decrease the number of stitches gradually. This can be done by knitting two stitches together (K2tog) or using other decrease techniques. Follow the pattern instructions to shape the top of the mitten and create a rounded top.
Once you’ve completed the shaping, cut the yarn, leaving a long tail. Thread the tail through the tapestry needle and slip the needle through the remaining stitches, removing them from the knitting needle. Pull the yarn tight to close the top of the mitten and secure it with a knot.
Finally, weave in any loose ends and give the mitten a gentle blocking by dampening it and laying it flat to dry. Repeat the entire process to knit the second mitten, and soon your little one will have a pair of cozy mittens to keep their hands warm throughout the winter!
Choosing the Right Yarn and Needles
When choosing yarn for children’s mittens, it’s important to consider factors such as durability, warmth, and comfort. Opt for a yarn that is machine washable and preferably made from natural fibers such as wool or cotton. These fibers provide insulation and breathability, keeping little hands cozy and dry. Look for yarns specifically labeled as suitable for children or baby items, as they are often softer and gentler against sensitive skin.
Another important aspect to consider is the weight or thickness of the yarn. For mittens, a medium to bulky weight yarn is recommended as it provides better insulation and is quicker to knit with. Thicker yarns also make it easier to achieve a warmer and cozier fabric. However, keep in mind that using a thicker yarn will result in larger stitches, so you may need to use larger knitting needles to achieve the desired gauge.
Speaking of needles, choosing the right size is crucial for achieving the correct gauge and ensuring the mittens fit properly. Check the yarn label for the recommended needle size and use that as a starting point. If you tend to knit tightly, you may need to go up a needle size, while if you knit loosely, you may need to go down a size. It’s always a good idea to make a gauge swatch before starting the project to ensure that your mittens will turn out the correct size.
In summary, when choosing yarn for children’s mittens, opt for machine washable, natural fibers that are suitable for kids. Consider the weight of the yarn for warmth and ease of knitting, and select the appropriate size needles to achieve the desired gauge. Taking these factors into account will help you create a pair of mittens that are not only cute and fashionable but also functional and comfortable for little hands to wear.
Casting On Stitches
Before you begin knitting the children’s mittens, you will need to cast on the required number of stitches onto your knitting needle. This will create the foundation for your project and allow you to start working the pattern.
To cast on stitches, you can use the long tail cast on method, which is a common technique used in knitting. This method creates a neat and flexible edge for your mittens.
Here’s how to cast on stitches using the long tail cast on method:
- Hold the yarn in your right hand and make a slip knot, leaving a long tail of yarn.
- Insert the needle through the slip knot from left to right, holding the needle in your right hand.
- With your left hand, bring the yarn over the needle from back to front, forming a loop.
- Insert the needle into the loop on the left-hand needle and use your right hand to tighten the stitch.
- Repeat steps 3 and 4 until you have cast on the desired number of stitches.
Note: The number of stitches you need to cast on will depend on the size of the mittens and the knitting pattern you are following. Refer to the pattern for the specific instructions.
Once you have cast on all the stitches, you can proceed to the next steps of the knitting pattern to create the children’s mittens. Happy knitting!
Creating the Ribbing
Before starting the actual knitting of the children’s mittens, it is important to create the ribbing. The ribbing not only adds a nice decorative touch to the mittens, but also helps to create a snug fit around the wrists, preventing cold air from getting in.
To create the ribbing, cast on the desired number of stitches using the chosen color of yarn. For children’s mittens, it is recommended to cast on around 20-24 stitches to ensure a comfortable fit.
Once the stitches are cast on, begin the ribbing pattern. This can be done by alternating between knitting and purling stitches. For example, you can start by knitting two stitches, followed by purling two stitches, and then repeating this pattern until the desired length of ribbing is achieved.
It is important to maintain an even tension throughout the ribbing to ensure a neat and tidy look. You can use a stitch marker or a contrasting color of yarn to keep track of the pattern and avoid any mistakes.
Once the ribbing is complete, it is time to move on to the main part of the mittens. The ribbing will serve as a foundation for the rest of the knitting and will provide a comfortable and secure fit for the child’s hands.
Knitting the Hand of the Mitten
Once you have completed the cuff of the mitten, it’s time to start knitting the hand portion. This is where the mitten really starts to take shape and provide warmth and protection for little hands.
To begin, you will need to divide the stitches evenly onto three double-pointed needles. This will allow you to work in the round and create a seamless mitten. Make sure to place stitch markers on the first and last stitch of each needle to keep track of your rounds.
Row 1: Knit all stitches in the round.
Row 2: Purl all stitches in the round.
Repeat rows 1 and 2 until the hand portion of the mitten measures approximately 2 inches from the base of the thumb. At this point, you can start shaping the top of the mitten to create the rounded tip.
Row 3: *Knit 2 stitches together, knit the next stitch. Repeat from * to end of round.
Row 4: Purl all stitches in the round.
Continue repeating rows 3 and 4 until you have decreased enough stitches to close the top of the mitten. This will typically be around 8-10 stitches. Cut the yarn, leaving a long tail for sewing. Thread the tail through a yarn needle, and slip the needle through the remaining stitches to securely close the top of the mitten.
And there you have it! The hand portion of your children’s mitten is complete. Now you can move on to knitting the thumb or finish off the mitten completely. Keep following the pattern to create a cozy and adorable pair of mittens for your little ones!
Shaping the Thumb Gusset
One of the key elements in knitting children’s mittens is shaping the thumb gusset. The thumb gusset is the triangular section between the thumb and the rest of the mitten, allowing for flexibility and movement. Here is a step-by-step guide on how to shape the thumb gusset:
1. Increase Stitches: To create the thumb gusset, you will need to gradually increase stitches in the specified thumb area. This is usually done by working a set number of stitches in the thumb area, then increasing one stitch each round or row until the desired number of increased stitches is reached.
- Example: Work 10 stitches in the thumb area, then increase one stitch at the beginning and one stitch at the end of the next round. Repeat this increase every other round until you have a total of 16 thumb stitches.
2. Place Thumb Stitches on Hold: Once you have reached the desired number of thumb stitches, you will need to place these stitches on hold. This is typically done by transferring the stitches onto a stitch holder or a piece of waste yarn.
- Example: Slip the 16 thumb stitches onto a stitch holder or a piece of waste yarn, taking care not to twist or tangle the stitches.
3. Continue Knitting: After the thumb stitches are placed on hold, you will continue knitting the rest of the mitten as instructed in the pattern. Make sure to follow the specific instructions for knitting the hand and the top of the mitten.
By shaping the thumb gusset, you ensure a comfortable and well-fitting mitten for children. The gradual increase of stitches allows for the thumb to have enough space without compromising the overall fit of the mitten. With these steps, you’ll be able to successfully knit children’s mittens with a well-shaped thumb gusset.
Knitting the Thumb
When knitting children’s mittens, one of the most important sections to focus on is the thumb. The thumb is an essential part of the mitten that allows the child to have better control over their hands. This section provides guidance on how to knit the thumb in a step-by-step manner.
Step 1: Provisional Cast On
Start by using a provisional cast on method to create the thumb opening. This will create a temporary set of stitches that can be easily removed later. Follow the knitting pattern instructions to determine the number of stitches required for the thumb opening.
Step 2: Knitting the Thumb
Once the thumb opening is established, continue knitting the hand portion of the mitten according to the pattern. When you reach the section where the thumb should be, follow the pattern instructions for knitting the thumb stitches. This typically involves placing the provisional stitches onto the knitting needles and then knitting them in the desired pattern.
Step 3: Shaping the Thumb
To shape the thumb, the pattern will often instruct you to decrease the number of stitches gradually. This helps create a comfortable and snug fit around the thumb. Follow the pattern instructions for the specific decrease technique to be used, such as knit two together (K2tog) or slip-slip-knit (SSK).
Repeat the decrease rows as specified in the pattern until the desired number of thumb stitches is reached. This will vary depending on the size of the mitten and the desired fit. Be sure to check the gauge to ensure proper sizing.
Step 4: Finishing the Thumb
Once the desired number of thumb stitches is reached, continue knitting the thumb section according to the pattern instructions. This may involve knitting in the round or working back and forth in rows. Follow the pattern until the thumb reaches the desired length.
When the thumb section is complete, cut the yarn and securely fasten off the stitches. Remove the provisional cast-on stitches carefully to release the thumb opening. Weave in any loose ends to complete the mitten. Repeat the process for the second mitten, and you will have a pair of adorable children’s mittens with perfectly knitted thumbs.
Continuing with the Hand
In the last section, we discussed how to knit the thumb of the children’s mittens. Now, we will continue working on the hand section of the pattern.
To begin, follow the instructions for the appropriate size of the mittens. As the pattern progresses, you will shape the hand section to fit the child’s hand comfortably. Remember to check the gauge and adjust your knitting tension if necessary to ensure a proper fit.
Instructions:
- Continue knitting in the established pattern for the desired number of rounds. This will usually be indicated in the pattern and may vary depending on the size of the mittens.
- Next, you will need to decrease stitches to shape the top of the hand. Follow the pattern instructions for the specific decreases to make. This will help ensure a snug fit around the child’s hand.
- Repeat the decrease rounds as specified in the pattern until the required number of stitches remain. These decreases will shape the top of the mittens and create a tapered fit.
- Finally, continue knitting in the established pattern for a few more rounds to create the desired length for the hand section of the mittens. Again, this length will vary depending on the size and style of the mittens.
Once you have completed the hand section, you can move on to the final steps of the pattern, such as finishing the cuff and weaving in any loose ends. Always refer to the pattern instructions for specific details on these finishing steps.
Shaping the Top of the Mitten
Once you have completed the hand portion of the mitten, it’s time to shape the top to close it off and create a snug fit for the child’s hand.
To shape the top of the mitten, you’ll need to decrease the number of stitches gradually. You can do this by using a method called “decreasing” or “shaping.” There are several ways to shape the top of a mitten, but one common method is to use decreases every few rounds.
Start by dividing the stitches on your needles evenly between four or five double-pointed needles. This will make it easier to work the decreases evenly around the top of the mitten.
Next, begin the first round of decreases by knitting two stitches together. Knit one stitch, then knit two stitches together again. Repeat this pattern until you have completed the round. This will reduce the number of stitches on your needles.
Continue working in this pattern, decreasing every few rounds until you have the desired number of stitches remaining. This will depend on the size of the mitten and the child’s hand. Once you have finished the decreases, you can bind off the remaining stitches and weave in any loose ends.
Be sure to try the mitten on the child’s hand as you work to ensure a proper fit. Adjust the decreases as needed to make sure the mitten is snug but not too tight. Once you have completed shaping the top of the mitten, you can move on to adding any desired embellishments or finishing touches.
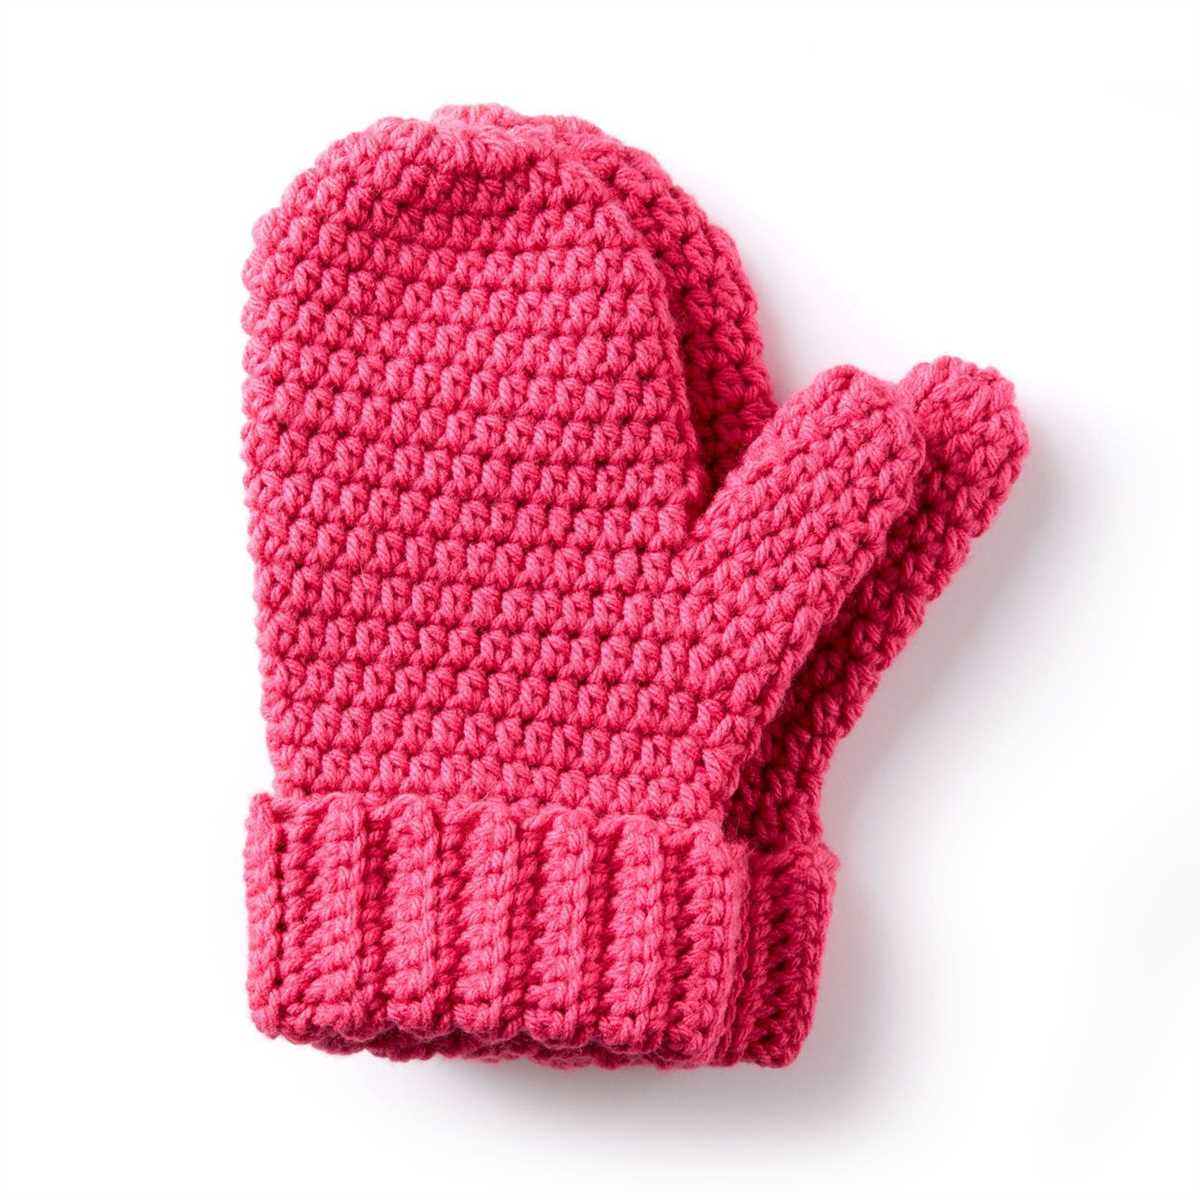
Binding Off Stitches
Binding off stitches is an essential step in completing a knitting project, as it gives a clean edge to your work. Whether you’re making children’s mittens or any other knitted item, binding off is a simple technique that you’ll use frequently.
To bind off stitches, start by knitting the first two stitches as you normally would. Then, insert the left needle tip into the first stitch you knitted and lift it up and over the second stitch, passing it over the top and off the right needle. This creates one bound off stitch.
Continue knitting one stitch and binding off the previous stitch until you have bound off all the stitches on your right needle. Remember to work the stitches loosely so that the bound off edge isn’t too tight. Once all the stitches are bound off, cut the yarn, leaving a tail that is long enough to weave in and secure.
Finishing Touches: Weaving in Ends
Once you have completed knitting the children’s mittens, it’s time for the finishing touches. One important step in finishing off your project is weaving in the loose ends of yarn. This not only gives your mittens a polished look, but also helps to secure the yarn and prevent it from unraveling over time.
To weave in the ends, start by threading the loose end of yarn onto a tapestry needle. Begin by inserting the needle into the back of the work, near where the yarn ends. Then, carefully weave the needle through the stitches, going back and forth in different directions, until the end is securely woven in. Be sure to avoid pulling the yarn too tightly, as this can distort the fabric.
Pro tip: To make sure the yarn end is completely hidden, you can weave it in along the same path multiple times. This will help to distribute the tension evenly and make it less likely for the end to work its way out.
Once all the loose ends are woven in, trim any excess yarn close to the fabric. Take care not to cut any of the stitches or the mittens themselves. A sharp pair of scissors can help make clean cuts.
Note: It’s important to weave in ends as you go, rather than waiting until the end of the project. This helps to keep your work tidy and prevents a large number of loose ends from accumulating.
By taking the time to properly weave in the ends of your children’s mittens, you’ll ensure that they not only look great, but also hold up well to wear and tear. With this finishing touch, your mittens will be ready for little hands to stay warm and cozy during the cold winter months.
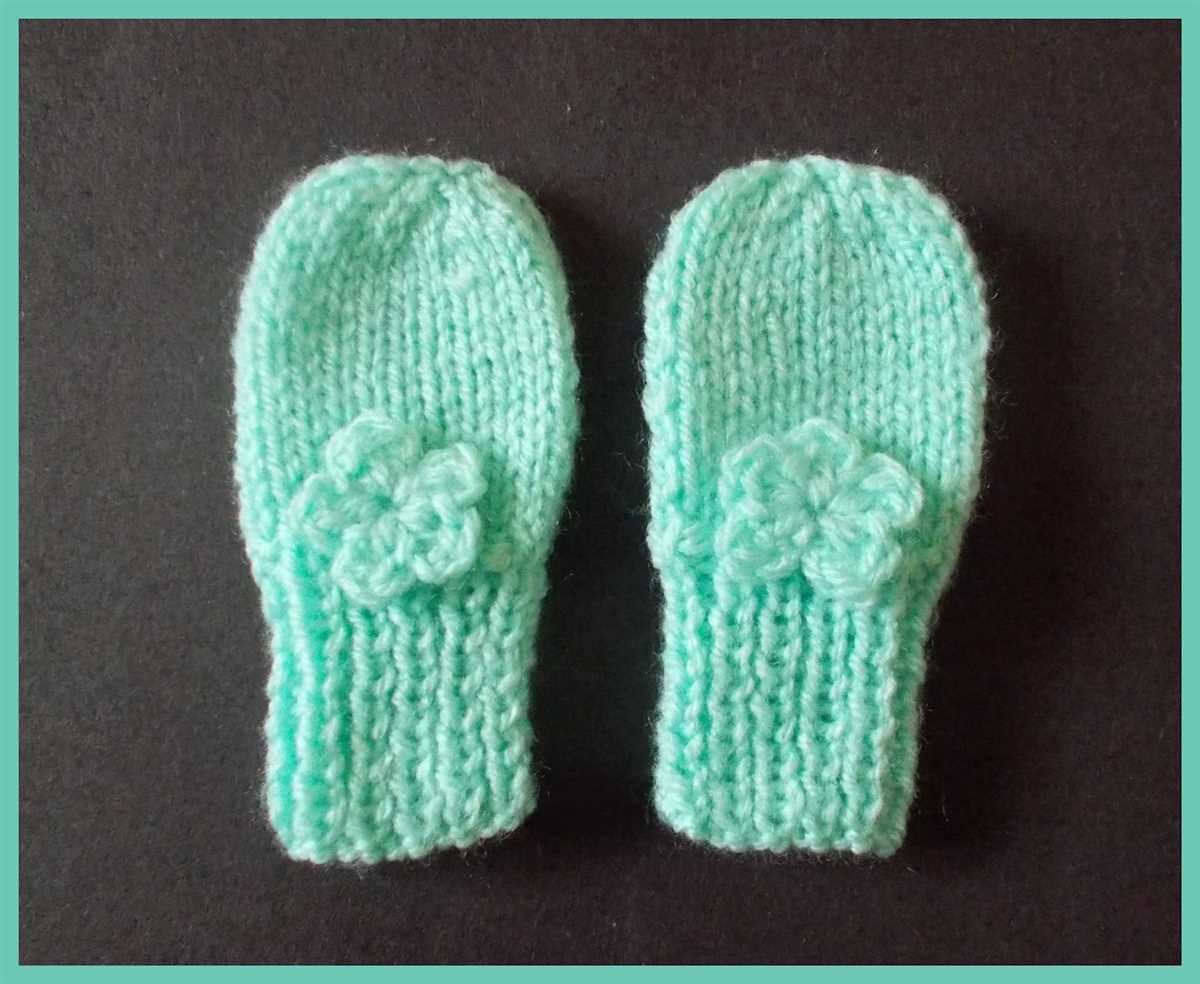
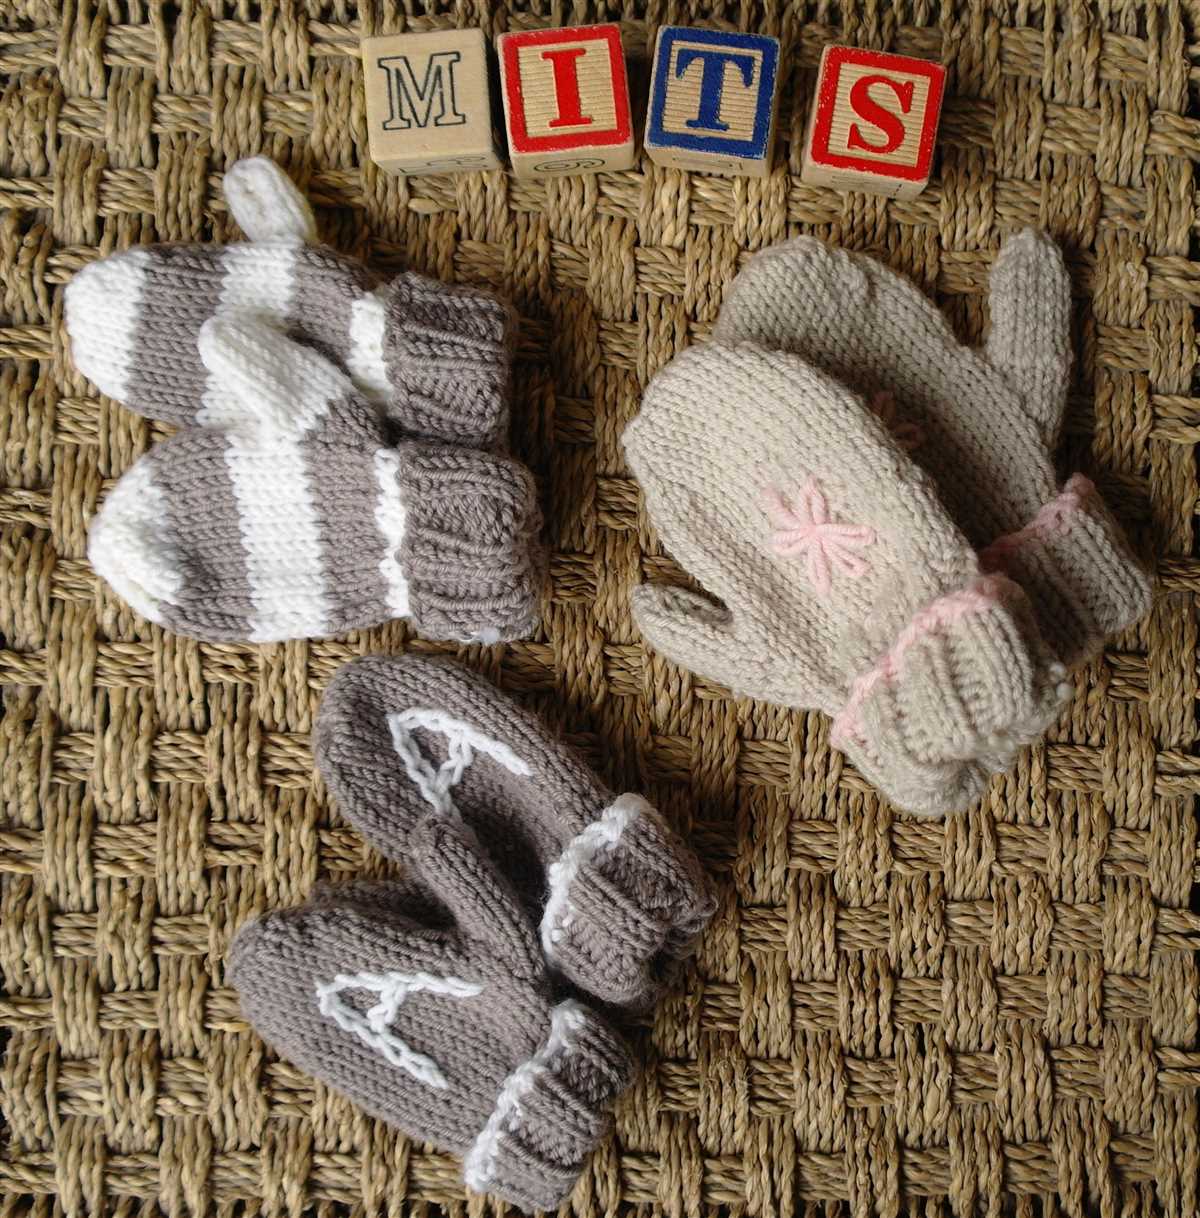
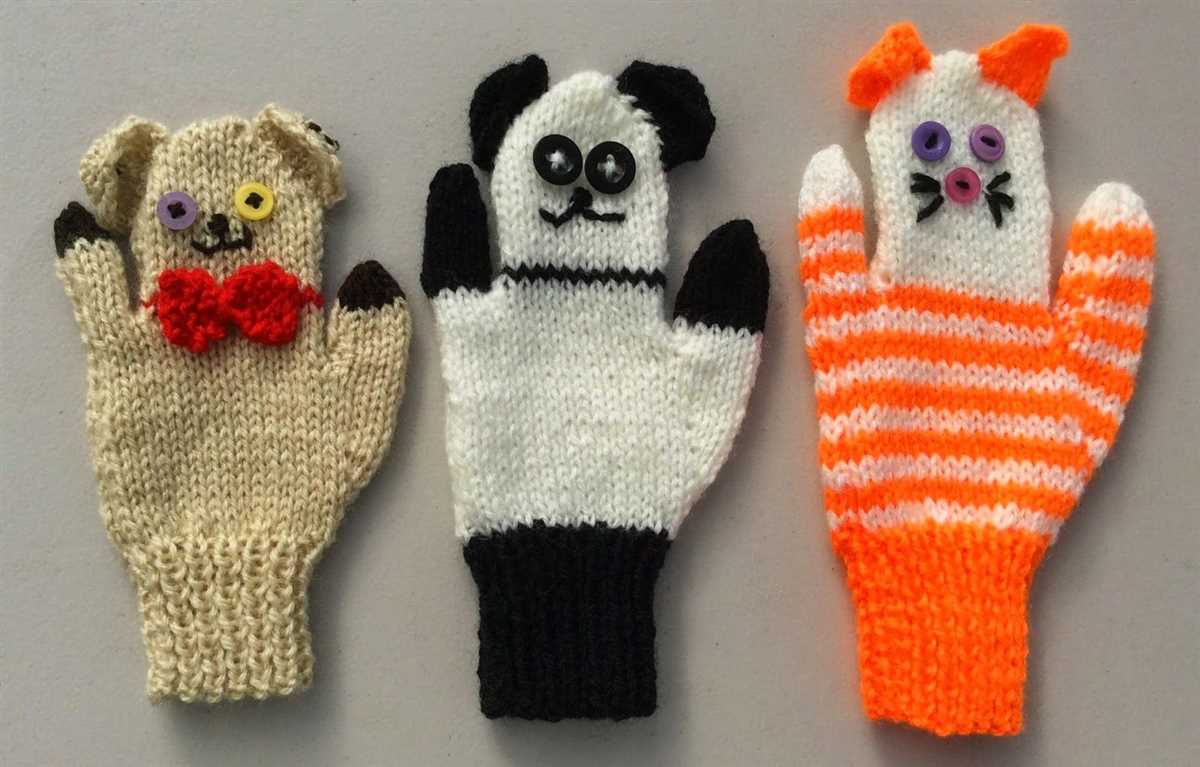
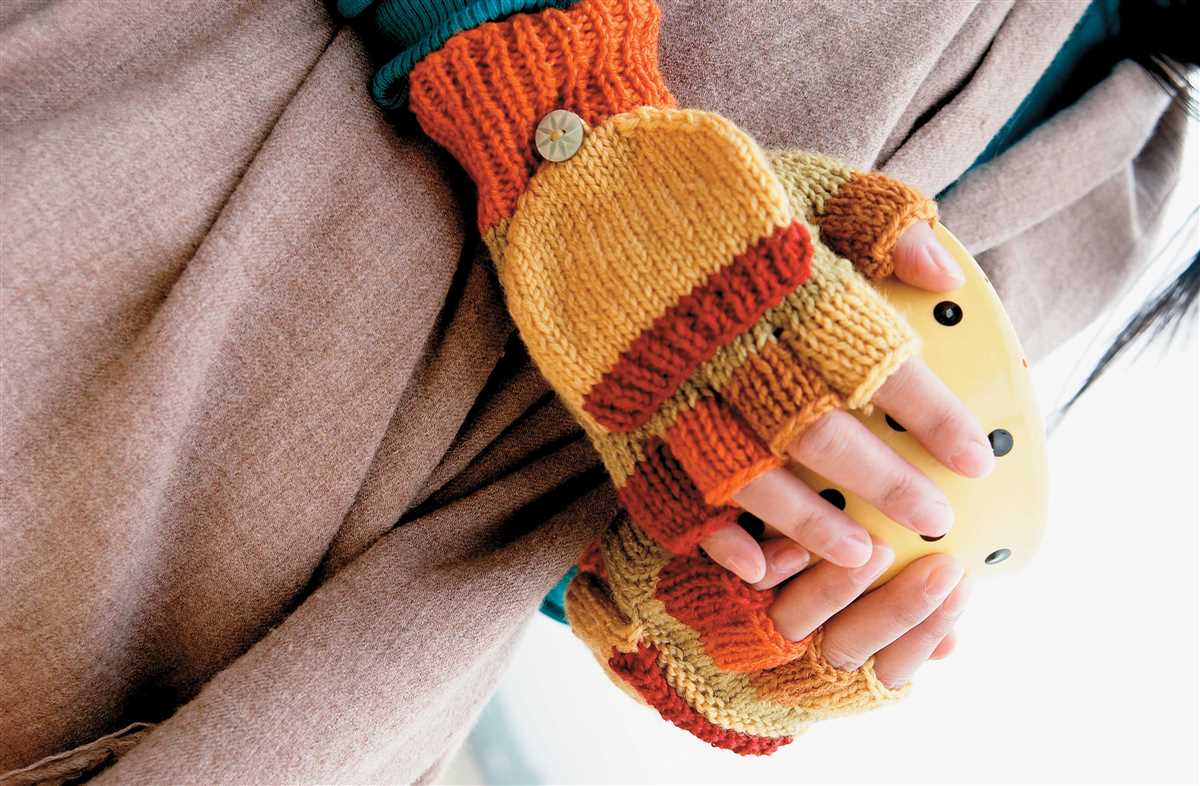
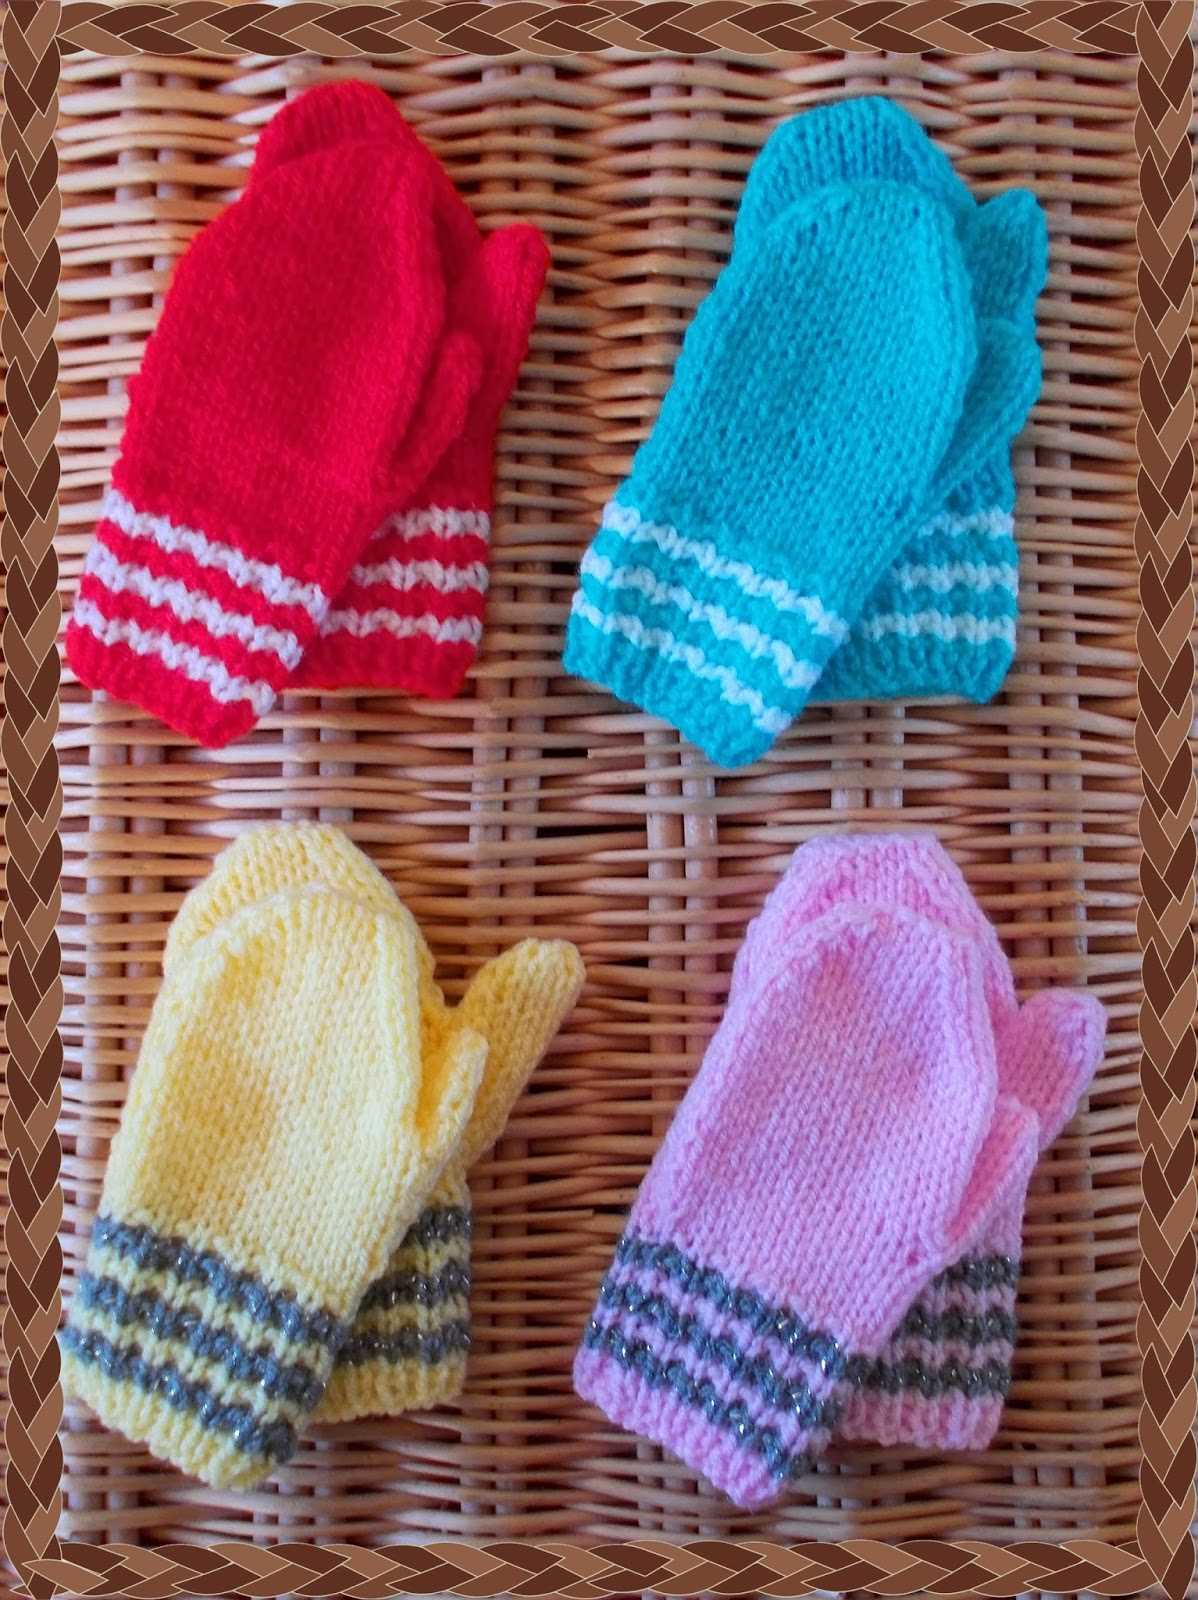
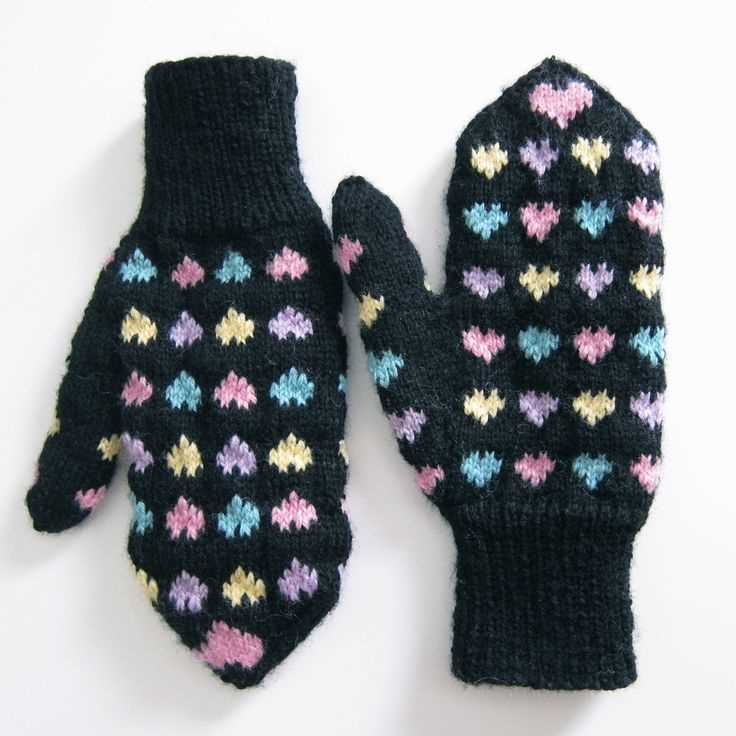
Customizing and Personalizing Your Mittens
In addition to following a knitting pattern, there are several ways you can customize and personalize your children’s mittens to make them extra special. Whether you want to add unique designs, colors, or embellishments, these tips will help you create one-of-a-kind mittens for your little ones.
1. Embroidery and Appliques
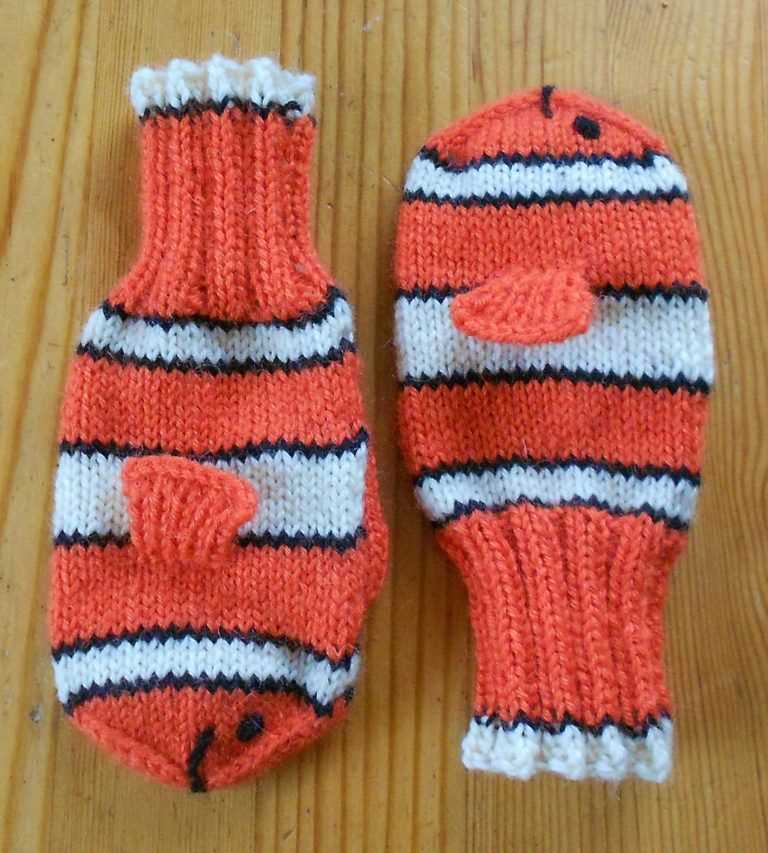
Add a personal touch to your mittens by incorporating embroidery or appliques. You can embroider your child’s initials, their favorite animal, or any other design that represents their interests. Similarly, appliques can be used to add fun shapes or characters to the mittens.
2. Colorful Yarns
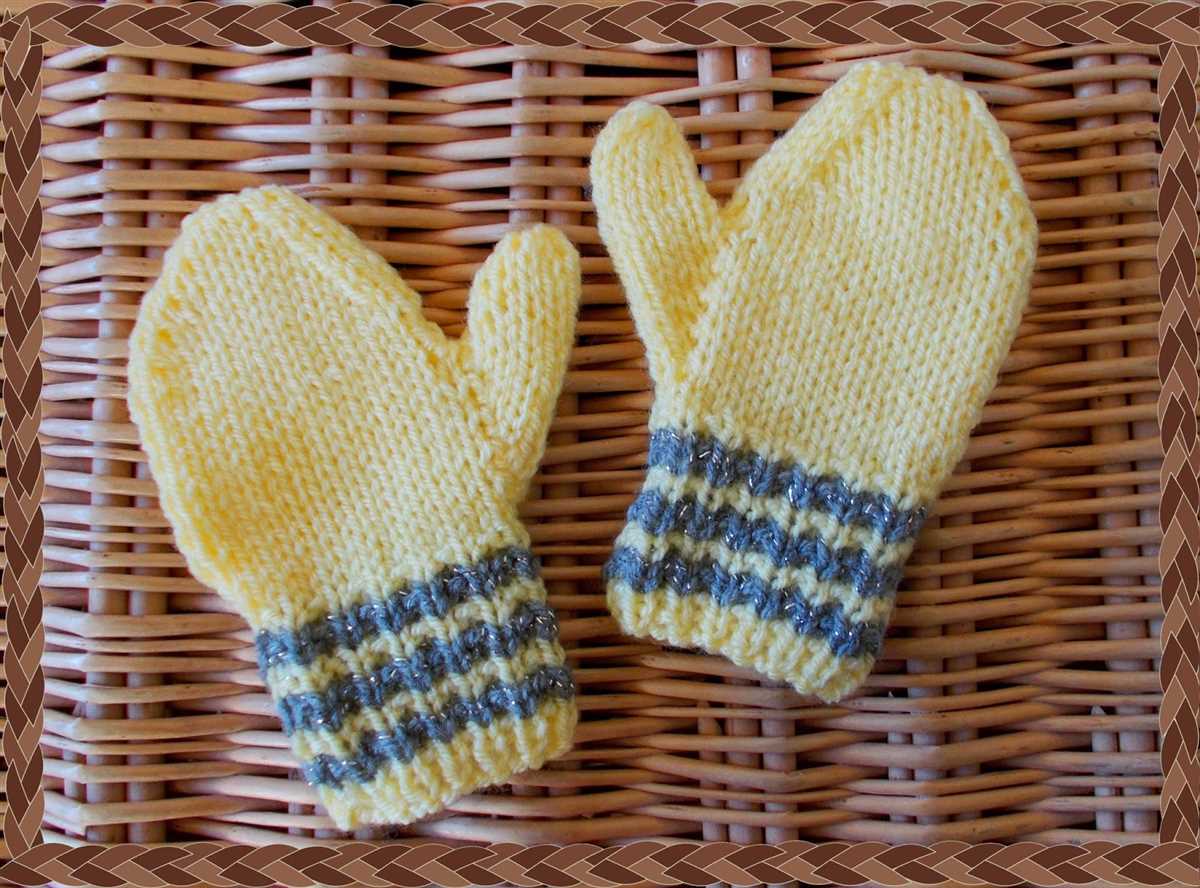
Instead of sticking to traditional colors, consider using colorful yarns to brighten up your children’s mittens. Opt for vibrant shades, variegated yarns, or even create your own gradient by combining different hues. This will not only make the mittens look more appealing but also add a touch of personalization.
3. Custom Sizing
Every child has unique hand sizes, so make sure to adjust the pattern accordingly to ensure the mittens fit perfectly. Measure your child’s hand circumference and length to create mittens that are comfortable and snug. Remember to account for ease and consider the type of yarn you’re using when customizing the sizing.
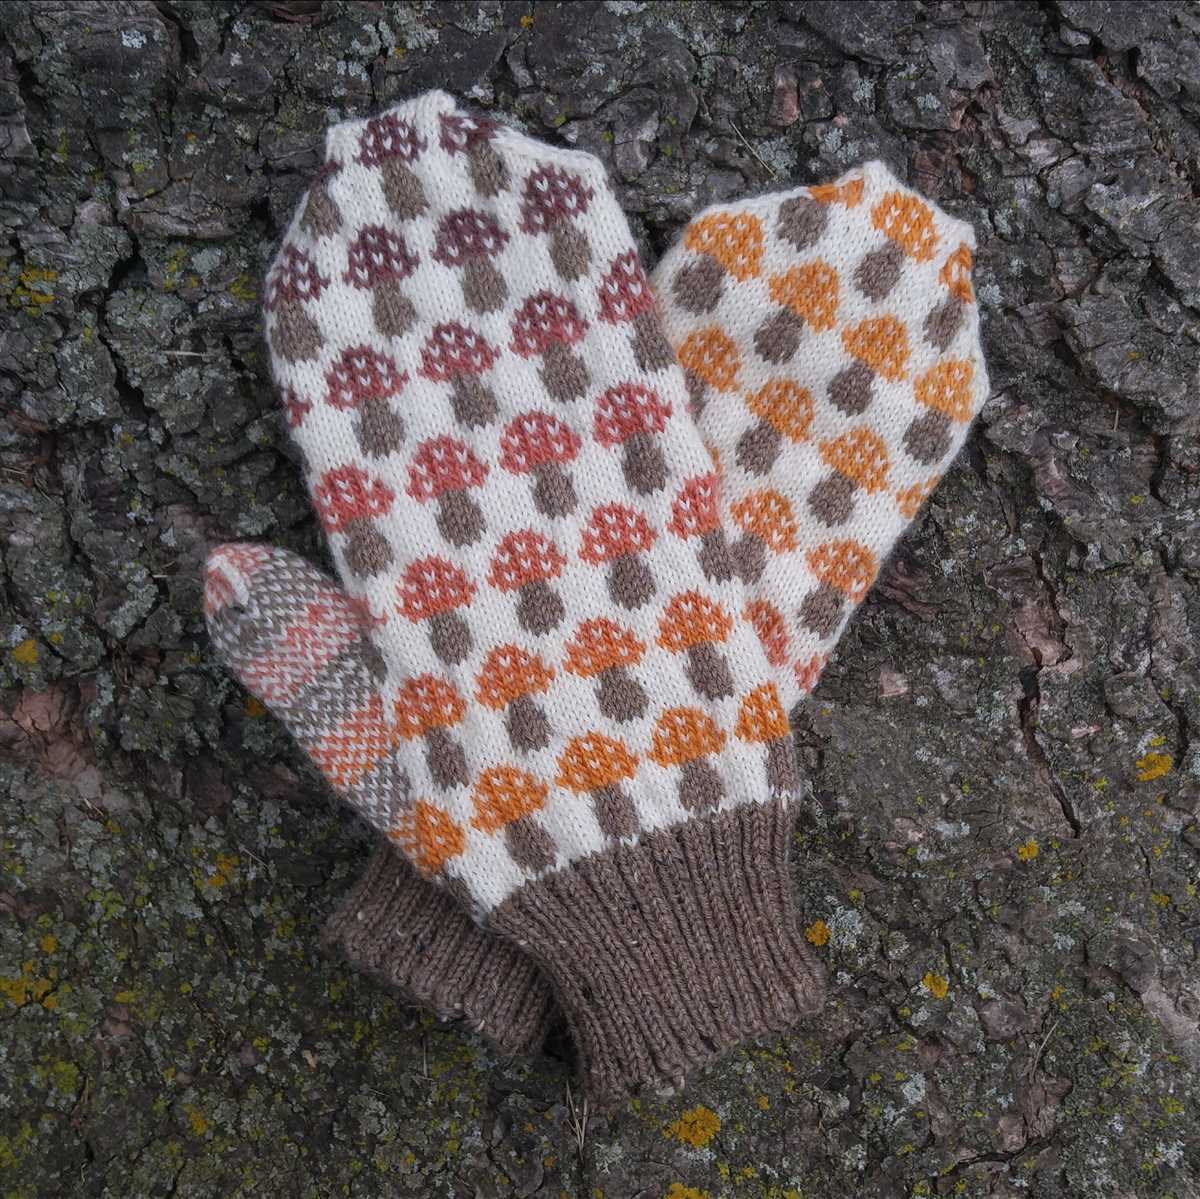
4. Unique Stitch Patterns
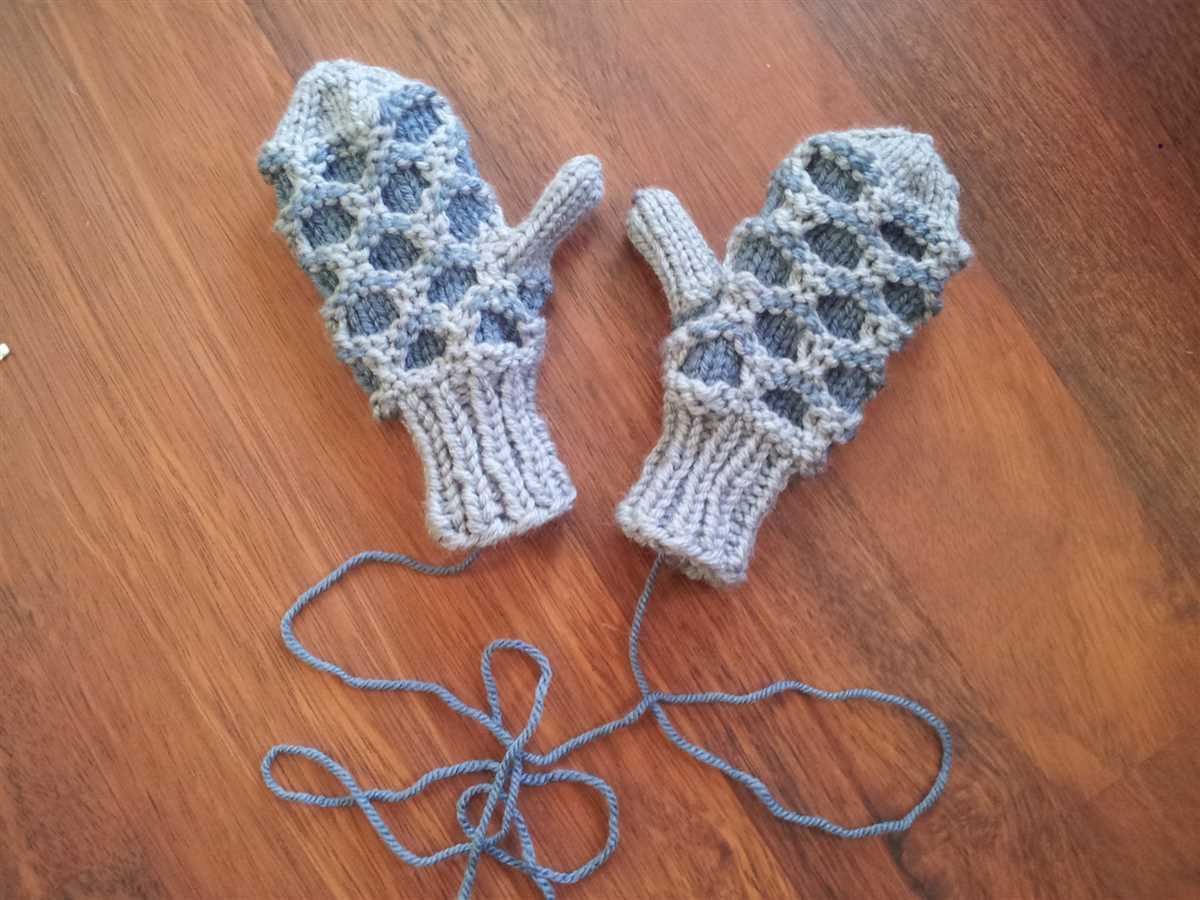
Experiment with different stitch patterns to give your mittens a distinctive look. You can incorporate lace patterns, cables, stripes, or even colorwork to add visual interest. Be creative and combine different stitches to create your own unique design.
5. Personalize with Labels
Add a personal touch by sewing labels or tags onto the mittens. You can use fabric labels with your child’s name or initials, or even create custom tags with a special message or symbol. This will make the mittens feel extra special and personalized.
By following these tips, you can create customized and personalized mittens for your children that they will cherish. Get creative, have fun, and enjoy the process of making something unique and special just for them!