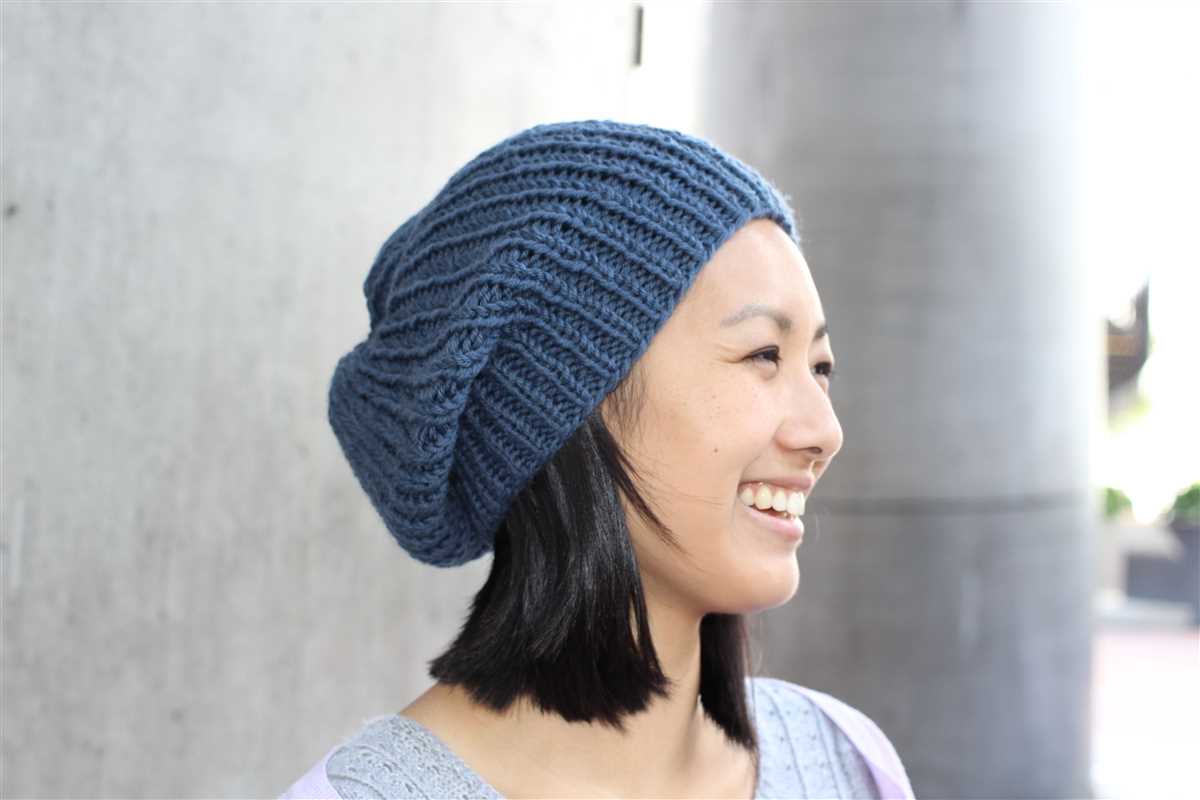
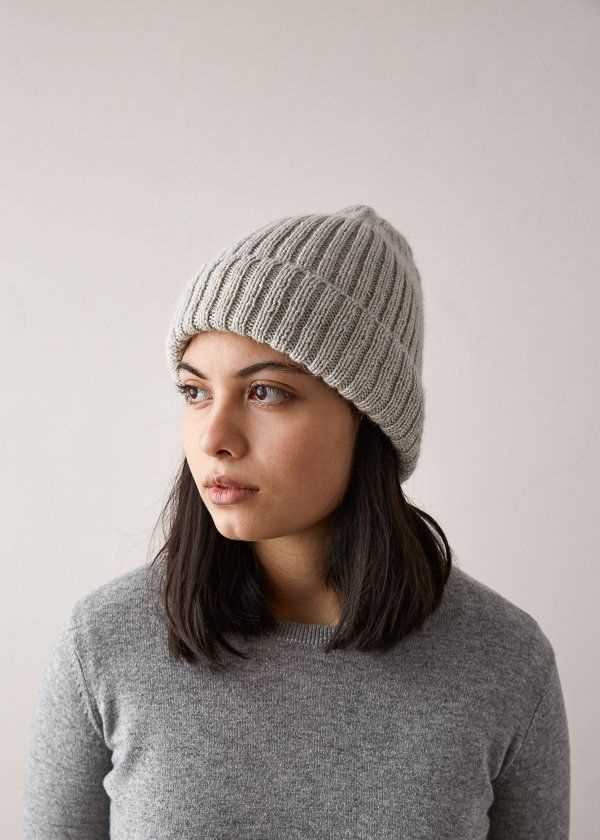
Cozy and Comfy: Knit a Loose Beanie with Ease

A beanie is a must-have accessory for the colder months, keeping you warm and stylish at the same time. If you’re looking for a beanie with a loose fit, then this knit pattern is perfect for you. The loose beanie knit pattern is a great way to showcase your knitting skills and create a cozy accessory that will keep you warm all winter long.
Knitting a loose beanie is not only a fun and rewarding project, but it’s also a great opportunity to experiment with different stitch patterns and textures. Whether you’re a beginner or an experienced knitter, this pattern will guide you through the process step by step, ensuring that you achieve a loose and comfortable fit for your beanie.
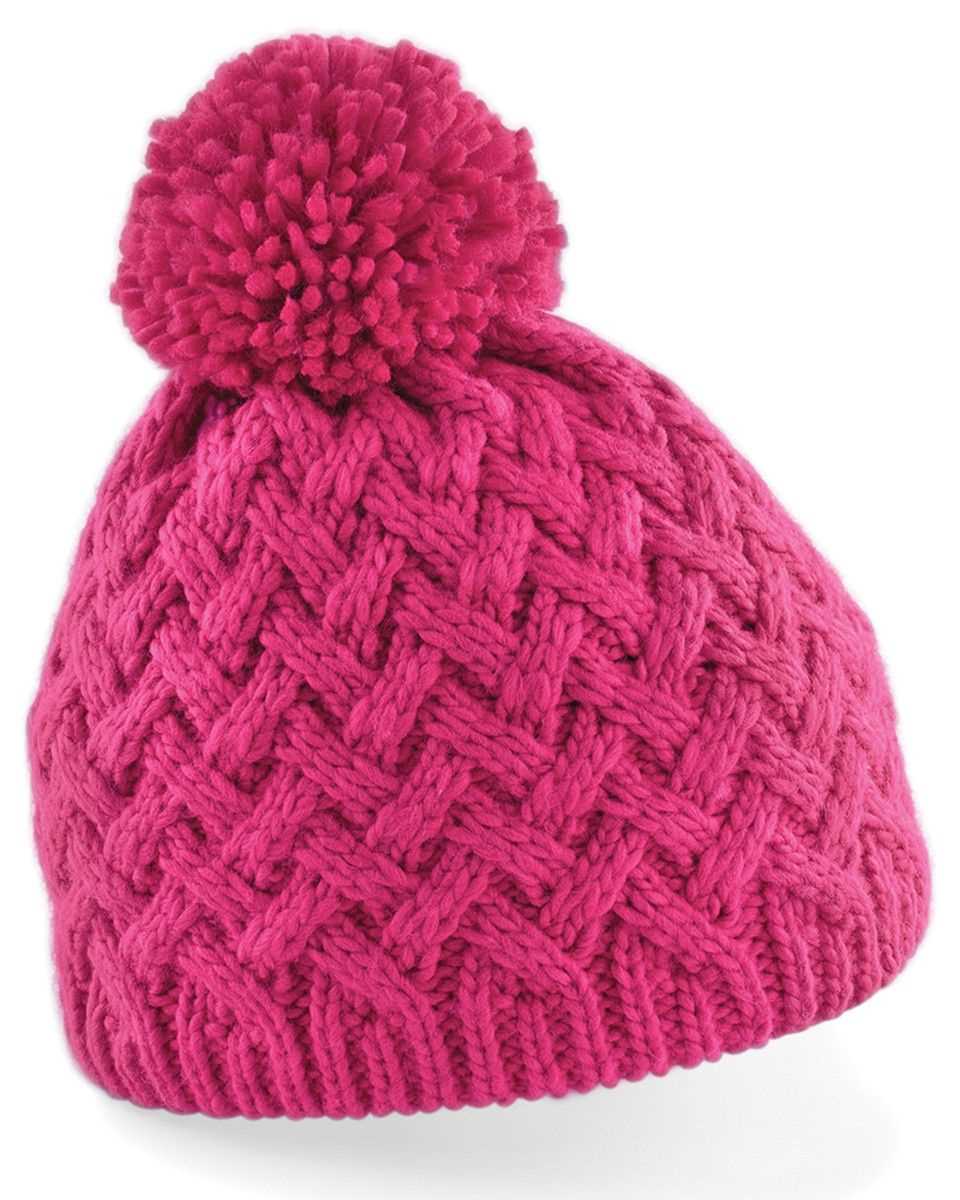
One of the great things about this pattern is that you can customize it to suit your style. You can choose different colors and yarns to create a unique beanie that reflects your personality. You can also add embellishments such as pom-poms or buttons to make your beanie even more special.
So, if you’re ready to take on a new knitting project and create a cozy beanie with a loose fit, then grab your knitting needles and yarn and let’s get started with this loose beanie knit pattern!
Loose Beanie Knit Pattern
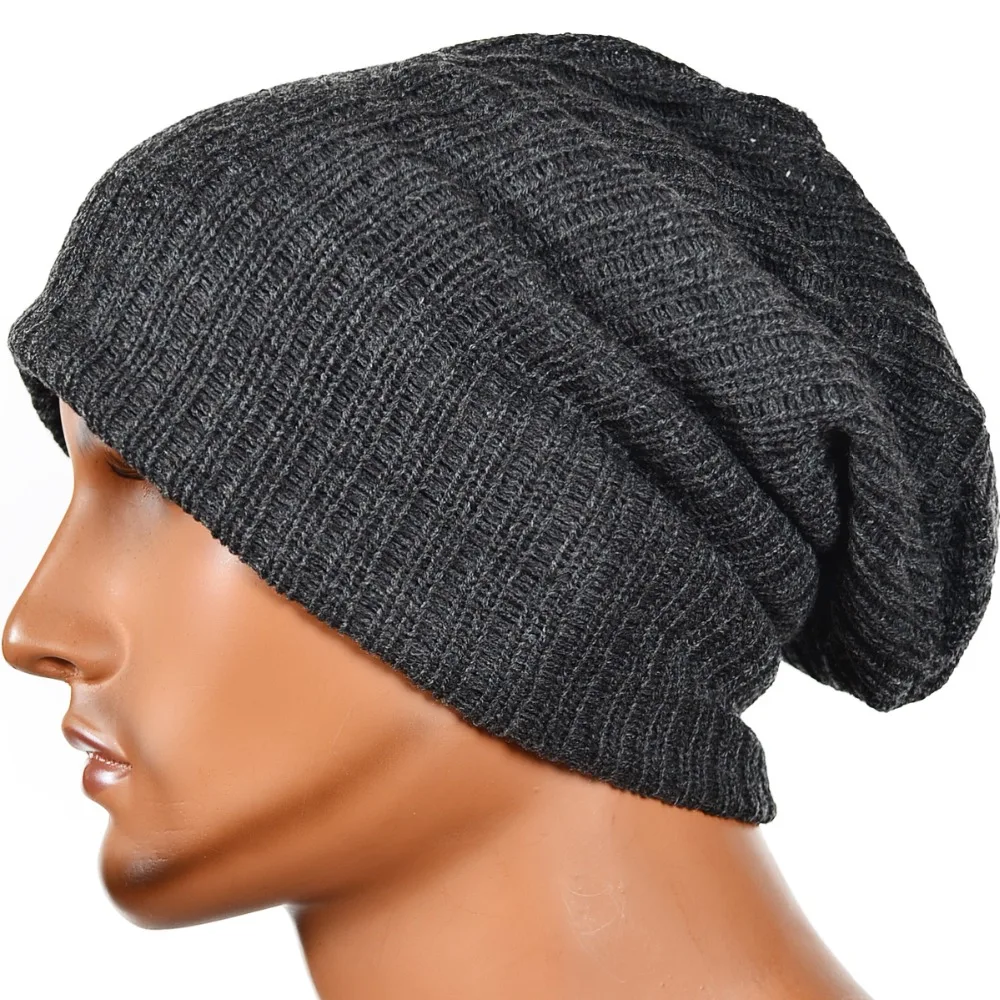
A loose beanie is a cozy and trendy accessory that can be worn during the colder months. Whether you’re an experienced knitter or a beginner, knitting a loose beanie can be a fun and rewarding project. With its relaxed fit, a loose beanie is perfect for those who prefer a more casual, slouchy look. In this guide, we will provide you with a simple knit pattern that you can follow to create your own loose beanie.
To start knitting a loose beanie, you will need the following materials:
- Yarn: Choose a soft and warm yarn in your preferred color. Worsted weight yarn is a popular choice for beanie knitting.
- Knitting Needles: Use a pair of circular knitting needles or double-pointed needles, depending on your preference. Make sure the needle size matches the yarn weight.
- Stitch Marker: This will help you keep track of your rounds.
- Yarn Needle: You will use this to weave in the loose ends of your yarn.
Once you have gathered your materials, you can begin knitting your loose beanie using the following pattern:
- Cast on the desired number of stitches, keeping in mind that a loose beanie should have a relaxed fit. A common number of stitches is around 80, but you can adjust it based on your head size.
- Join in the round, being careful not to twist your stitches.
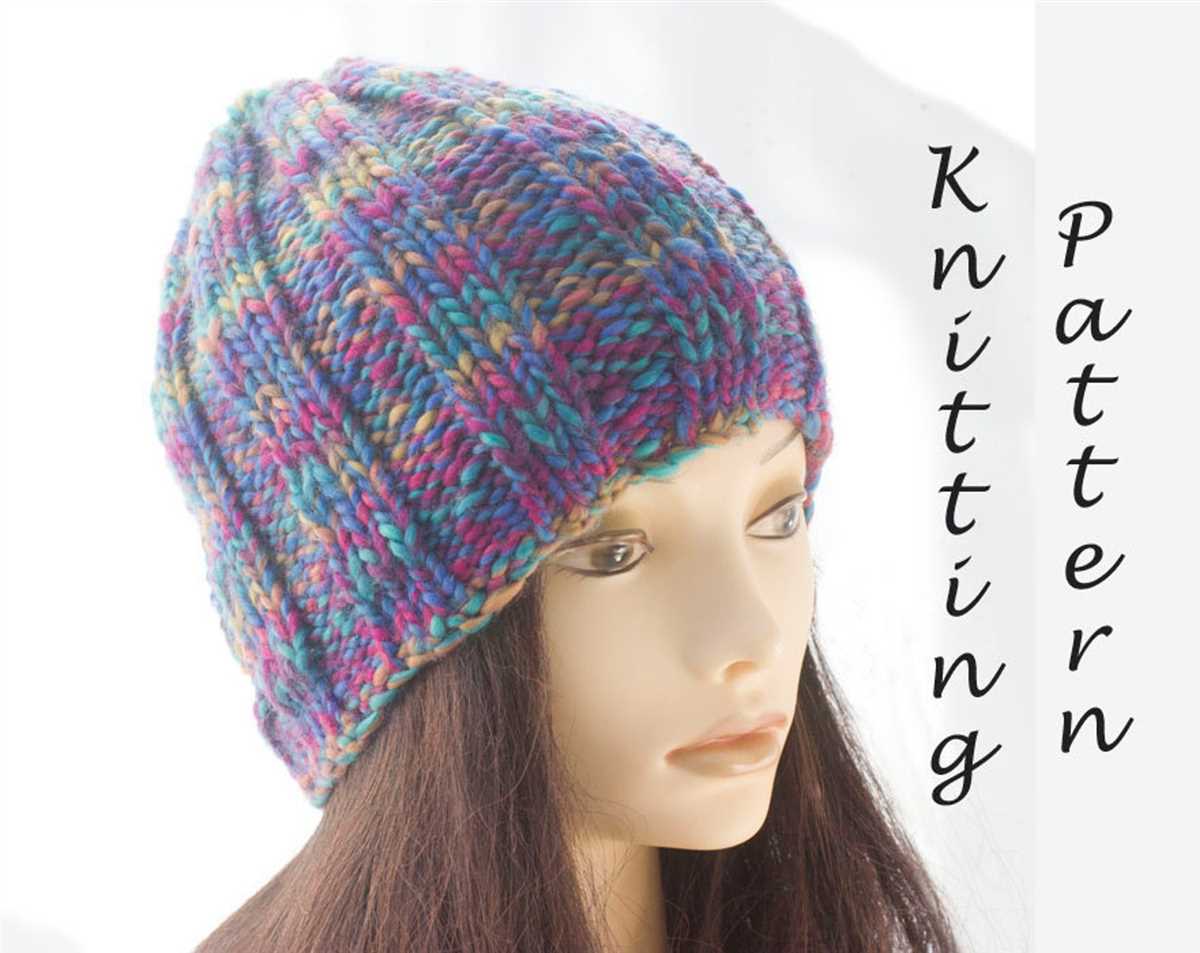
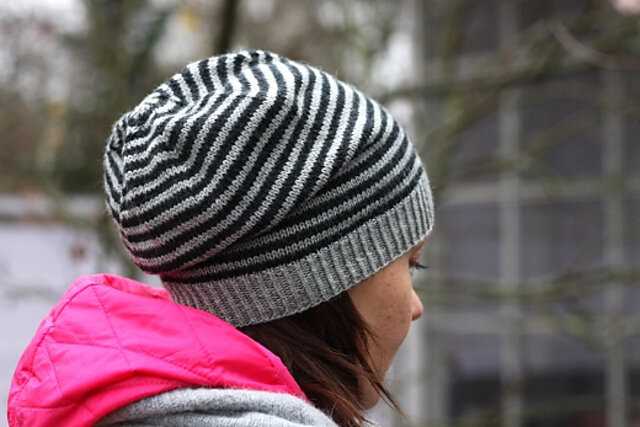
- Knit in the round until your beanie reaches the desired length. You can choose to knit in a simple stockinette stitch or experiment with different stitch patterns, such as ribbing or cables, to add interest to your beanie.
- When you are satisfied with the length, it’s time to decrease. Switch to double-pointed needles if you were using circular needles.
- Begin the decrease rounds by knitting two stitches together, then knitting the next stitches in the round. Repeat this pattern until you have decreased the desired number of stitches.
- Continue decreasing until you have a small number of stitches left. Cut the yarn, leaving a long tail.
- Thread the yarn tail through a yarn needle and weave it through the remaining stitches, pulling tight to close the top of the beanie.
- Weave in any loose ends and trim excess yarn.
Once you have finished knitting your loose beanie, you can customize it further by adding a pom pom or other embellishments. Wear your cozy and stylish creation with pride, knowing that you made it with your own hands.
Materials Needed
The loose beanie knit pattern requires the following materials:
- Yarn: Choose a bulky weight yarn in the color of your choice. The recommended yarn for this pattern is soft and warm, such as merino wool or alpaca.
- Knitting Needles: Use size US 10 (6mm) circular needles with a 16 or 24-inch cable, or size needed to obtain gauge. Circular needles are recommended to accommodate the large number of stitches.
- Stitch Markers: Optional, but helpful for marking stitch sections.
- Tapestry Needle: Used for weaving in ends and seaming if necessary.
- Scissors: Used for cutting the yarn.
Before starting the project, make sure you have all the materials listed above. Choose a yarn that you love and feel comfortable working with, as it will greatly affect the final look and feel of the beanie. The circular needles are necessary to accommodate the large number of stitches, and stitch markers can be helpful for keeping track of different sections. A tapestry needle and scissors are essential for finishing touches. Once you have all the materials ready, you’re ready to start knitting!
Gauge
Gauge is an important concept in knitting and crocheting that determines the size, fit, and appearance of your finished project. It refers to the number of stitches and rows per inch in your knitting or crocheting. In other words, it is the measurement of how tightly or loosely you are knitting or crocheting.
When following a knitting or crocheting pattern, it is crucial to match the gauge specified by the designer. This ensures that your project will turn out the correct size and fit. To achieve the correct gauge, you may need to use a different size of needles or hook than what is recommended in the pattern.
Before starting your project, it is recommended to make a gauge swatch. A gauge swatch is a small sample of knitting or crocheting made with the recommended yarn and needle or hook size. By measuring the number of stitches and rows in the swatch, you can determine if your tension matches the pattern’s gauge. If your gauge is too tight, you will need to use a larger needle or hook size. If your gauge is too loose, you will need to use a smaller needle or hook size.
It is important to note that everyone’s gauge is unique, and slight variations are normal. Factors such as tension, yarn weight, and needle or hook size can all affect gauge. To ensure the best results, it is recommended to block your swatch before measuring gauge. Blocking involves wetting or steaming the swatch and allowing it to dry, which can help even out any inconsistencies and give a more accurate gauge measurement.
Remember, gauge is not only important for the fit and size of your project, but it also affects the overall appearance. If the gauge is too loose, the fabric may be too open and airy, while a tight gauge can result in a stiff and rigid fabric. By paying attention to gauge and making any necessary adjustments, you can create a beautifully finished project that matches the pattern’s intended specifications.
Size Options
If you’re looking to create your own loose beanie knit, it’s important to select the right size for your project. This will ensure that the finished beanie fits comfortably and looks stylish. There are several size options to choose from, allowing you to customize the fit to your preference.
The most common size options for a loose beanie knit pattern include small, medium, and large. These sizes typically correspond to head circumferences of 20-21 inches for small, 22-23 inches for medium, and 24-25 inches for large. It’s important to measure the circumference of the recipient’s head before starting the project to ensure the correct size is chosen.
- Small: This size is ideal for children or adults with smaller heads. It provides a snug fit and is perfect for those who prefer a more fitted look.
- Medium: This size is suitable for most adults and provides a comfortable fit. It’s a versatile option that can be worn by both men and women.
- Large: This size is recommended for individuals with larger heads or those who prefer a looser fit. It provides extra room and a relaxed look.
It’s worth noting that these size options are just general guidelines, and it’s always a good idea to try on the beanie as you go to ensure the fit is to your liking. Additionally, you can modify the pattern to create a custom size if needed. With the right size chosen, you’ll be on your way to creating a cozy and stylish loose beanie knit that’s perfect for any occasion.
Abbreviations
In knitting patterns, abbreviations are commonly used to save space and make the instructions easier to read and follow. These abbreviations are shorthand versions of terminology commonly used in knitting. If you’re new to knitting or this particular pattern, it’s important to understand the abbreviations used so you can successfully complete the project.
Here are some common abbreviations you may come across in a loose beanie knit pattern:
- K – Knit stitch
- P – Purl stitch
- YO – Yarn over (increase stitch)
- K2tog – Knit two stitches together (decrease stitch)
- WS – Wrong side of the work
- RS – Right side of the work
- CO – Cast on
- BO – Bind off
It’s important to refer to the pattern’s key or legend for any specific abbreviations it may use. Some patterns may have unique abbreviations or variations in terminology. If you come across an abbreviation you’re unfamiliar with, you can usually find its meaning in knitting resources or by searching online. Understanding abbreviations will help you navigate and execute the pattern instructions with ease.
Cast On
In knitting, casting on is the first step to start any project. It is the process of creating the very first row of stitches on the needles. There are several methods to cast on, but for this loose beanie knit pattern, we will be using the long-tail cast on method.
Long-Tail Cast On
The long-tail cast on method is a popular choice for many knitters because it creates a stretchy and even edge. To start, you will need a long tail of yarn, approximately three times the width of your finished project. Make a slipknot by forming a loop with the yarn, and then slide the needle through the loop. Pull the yarn tight to secure the slipknot on the needle.
Hold the needle with the slipknot in your right hand and the tail of the yarn in your left hand. Create a V-shape by positioning your index finger and thumb, with the tail of the yarn running behind the thumb and the working yarn running over the index finger. Insert the needle from left to right under the front leg of the V, then scoop the working yarn with the needle and bring it through the V to create a new stitch on the needle. Repeat this process until you have cast on the desired number of stitches for your pattern.
Once you have cast on all the stitches, you are ready to move on to the next step in the pattern. Casting on is an essential skill in knitting, and mastering different cast on methods will open up a world of possibilities for your knitting projects.
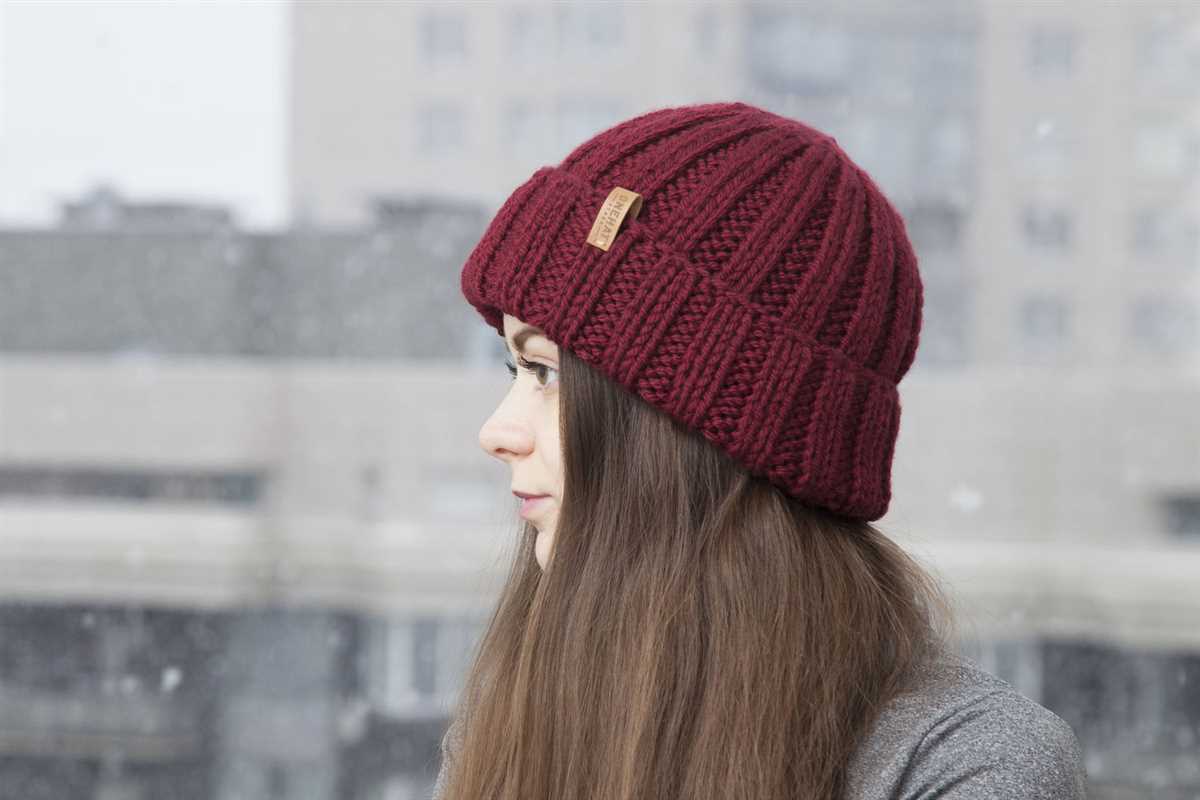
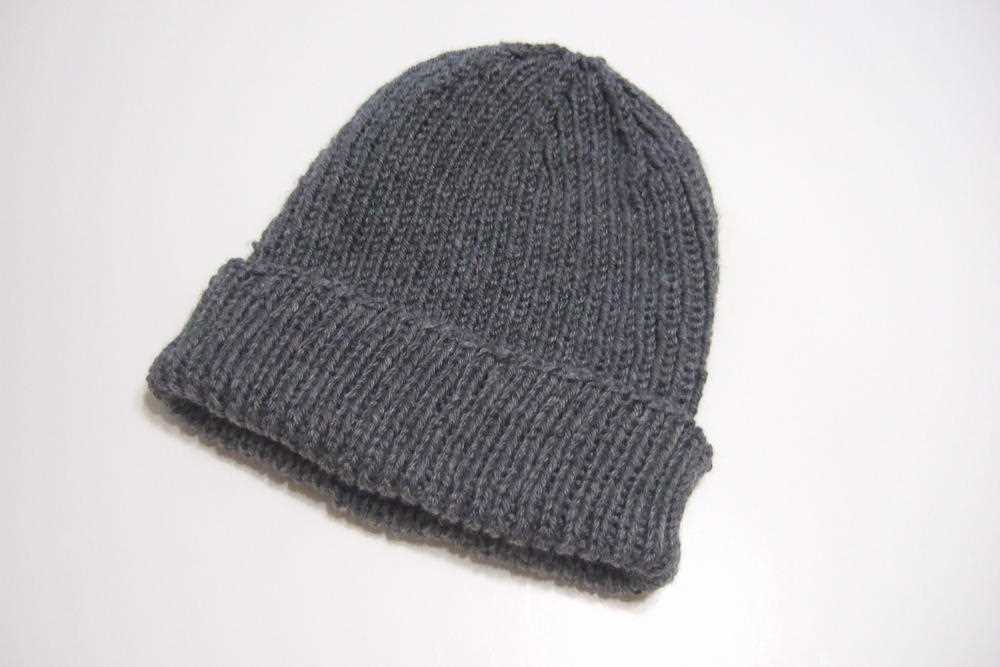
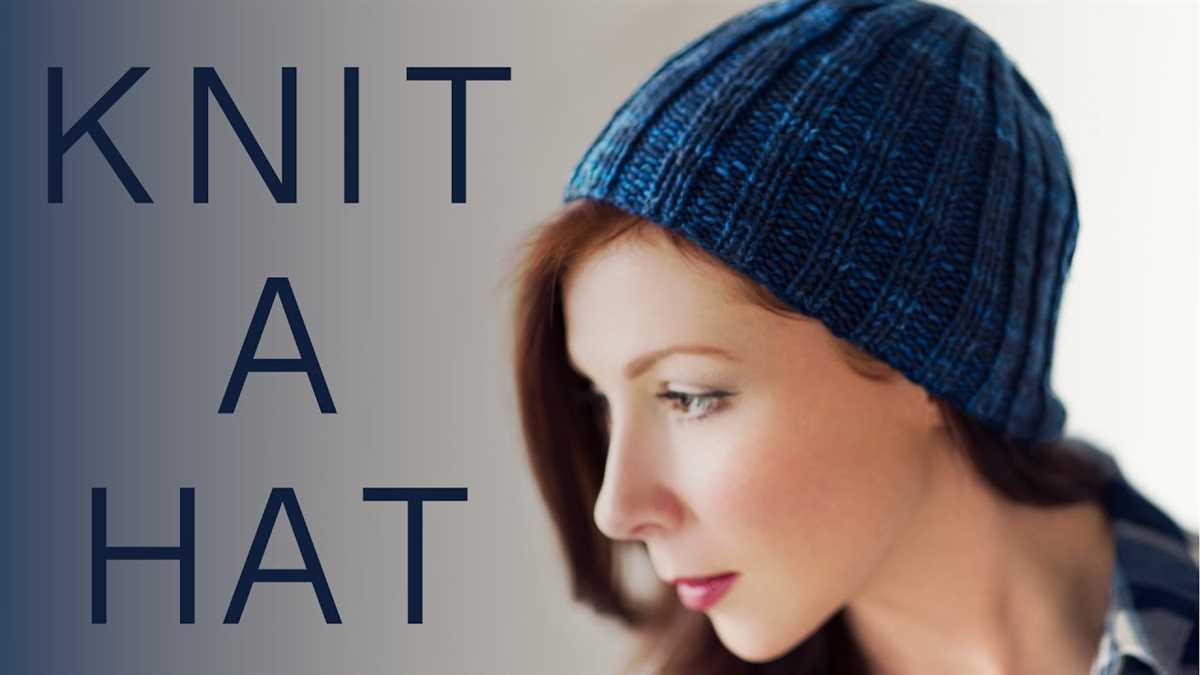
Ribbing
Ribbing is a common technique used in knitting to create stretchy and flexible fabric. It is often used at the edges of garments, such as cuffs, hems, and necklines, as well as in patterns that require a snug fit, like socks and hats. The ribbing adds elasticity to the fabric, allowing it to stretch and retract without losing its shape. It also helps the garment to fit better and stay in place, preventing it from sliding down or becoming too loose.
When knitting ribbing, a combination of knit and purl stitches is used. The most common ribbing pattern is the 1×1 rib, which alternates between knitting one stitch and purling one stitch. Other popular ribbing patterns include the 2×2 rib (knit two stitches, purl two stitches), and the 3×1 rib (knit three stitches, purl one stitch).
Ribbing is typically worked on smaller needles than the main fabric of the project, resulting in a denser and tighter fabric. This tightness helps to retain the shape and elasticity of the ribbing. It is also common to work ribbing in a different yarn weight or color from the main fabric, adding contrast and visual interest to the finished garment.
The choice of ribbing pattern, needle size, and yarn weight can all affect the stretch and appearance of the ribbed fabric. Experimenting with different combinations can lead to unique designs and textures. Whether you’re knitting a cozy sweater or a snug beanie, mastering the art of ribbing can take your knitting projects to the next level.
Different Ribbing Patterns
- 1×1 rib: Alternating knit and purl stitches
- 2×2 rib: Alternating knit two stitches and purl two stitches
- 3×1 rib: Alternating knit three stitches and purl one stitch
Tips for Working Ribbing
- Use smaller needles than the main fabric to create a tighter ribbing.
- Consider using a contrasting yarn weight or color for the ribbing to add visual interest.
- Work your ribbing with a relaxed tension to ensure it retains its stretchiness.
- Experiment with different ribbing patterns and combinations to create unique textures and designs.
Main Body
The main body of a loose beanie knit pattern is what gives the beanie its shape and structure. It is typically knit using a combination of knit and purl stitches to create a textured look and provide warmth. The main body is the part of the beanie that covers the head and is usually the longest section of the pattern.
When knitting the main body of a loose beanie, it is important to pay attention to the pattern instructions and stitch gauge to ensure that the beanie will fit properly. The pattern may call for a specific yarn weight and needle size to achieve the desired tension and drape. The main body can be knit in a variety of stitch patterns, such as ribbing, seed stitch, or a combination of different stitch patterns.
One popular stitch pattern for a loose beanie is the rib stitch. The rib stitch creates a stretchy fabric that fits snugly around the head. It is typically knit by alternating knit and purl stitches in a specific pattern, such as “K2, P2” or “K1, P1.” This creates a ribbed texture that adds both style and function to the beanie.
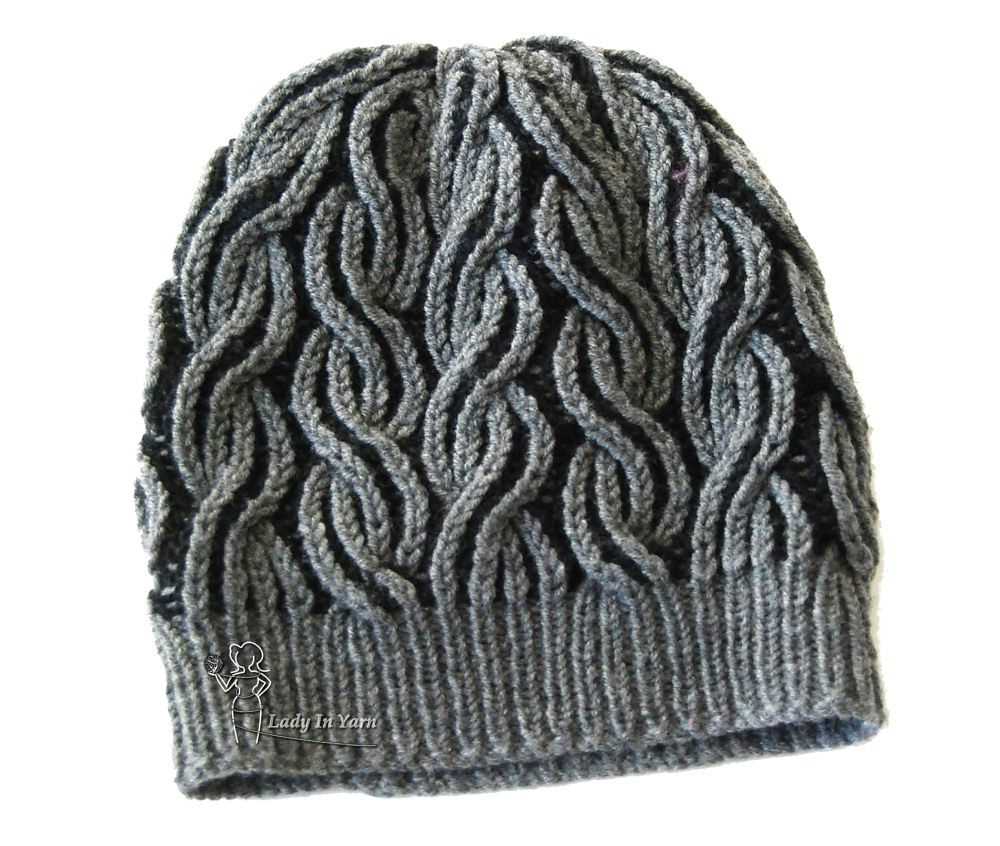
In addition to stitch patterns, the main body of a loose beanie can also incorporate other design elements, such as colorwork or cables. Colorwork involves knitting with multiple colors to create patterns or designs, while cables involve crossing stitches to create a raised texture. These design elements can add visual interest and depth to the beanie.
Overall, the main body of a loose beanie knit pattern is where the bulk of the knitting work takes place. It is an opportunity to showcase different stitch patterns, experiment with colorwork or cables, and create a stylish and functional accessory. With careful attention to the pattern instructions and stitch gauge, the main body can be knit to fit perfectly and provide warmth and comfort.
Decreases
Decreases are an important technique in knitting, as they allow you to shape your project and create different textures and patterns. In the context of a loose beanie knit pattern, decreases are used to shape the crown of the hat and give it a snug fit on the head.
One common decrease used in knitting patterns is the knit two together (k2tog) decrease. This decrease is performed by inserting the right needle into the next two stitches on the left needle as if to knit, and then knitting them together as one stitch. This results in a decrease of one stitch.
Another decrease that is often used in knitting patterns is the slip, slip, knit (ssk) decrease. To perform this decrease, you slip the next two stitches on the left needle onto the right needle one at a time, then insert the left needle into the front loops of those two slipped stitches and knit them together. This also results in a decrease of one stitch.
When working decreases in a loose beanie knit pattern, it’s important to follow the pattern instructions carefully to ensure that you are decreasing in the correct places and in the correct sequence. This will help to create the desired shape and fit of the hat.
In addition to shaping the crown of the hat, decreases can also be used to create decorative elements in the design. For example, a pattern may call for decreases to be worked in a specific sequence or pattern repeat to create a textured or lacy effect.
Bind Off

After completing your loose beanie knit pattern, you will need to bind off your stitches to finish the edge of the hat. Binding off is the process of closing the stitches and securing the final row of your work.
To bind off, start by knitting the first two stitches as normal. Then, use the left-hand needle to lift the first stitch over the second stitch and off the right-hand needle. Continue this process of knitting one stitch and lifting the previous stitch over until you have reached the end of the row.
Once all the stitches have been bound off, cut the working yarn, leaving a tail of about 6 inches. Thread the tail through the last stitch and pull tight to secure the bind off. This will create a neat and finished edge for your loose beanie.
Another method of binding off is the stretchy bind off. This is especially useful for loose beanies as it provides a more comfortable fit. To do the stretchy bind off, knit the first two stitches together through the back loop. Then, insert the left-hand needle into the front stitch and lift it over the back stitch and off the right-hand needle. Repeat this process until all the stitches have been bound off.
Once you have completed the bind off, weave in any remaining loose ends using a yarn needle. This will ensure that the beanie looks clean and professional. With the bind off and loose ends secured, your loose beanie knit pattern is now complete and ready to be worn!
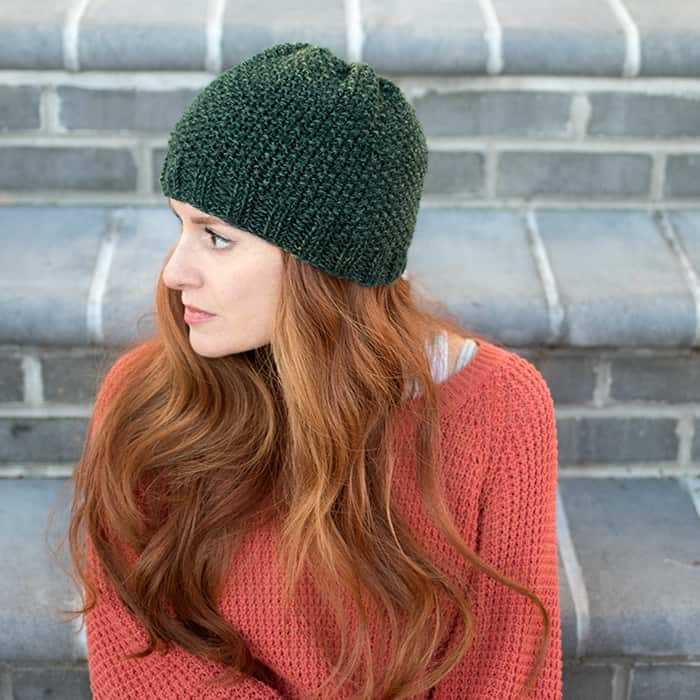
Finishing Touches
After completing the main body of your loose beanie knit, it’s time to add the finishing touches to give it that polished look. These final steps will ensure that your beanie not only looks great but also stays put on your head and provides the warmth and comfort you desire.
1. Ribbed Edge: One of the key finishing touches for a loose beanie is adding a ribbed edge. This can be achieved by switching to a smaller needle size for the last few inches of knitting. Knit a few rows in a rib stitch pattern such as k2, p2 or k1, p1 to create a stretchy and snug border that will help keep the beanie in place.
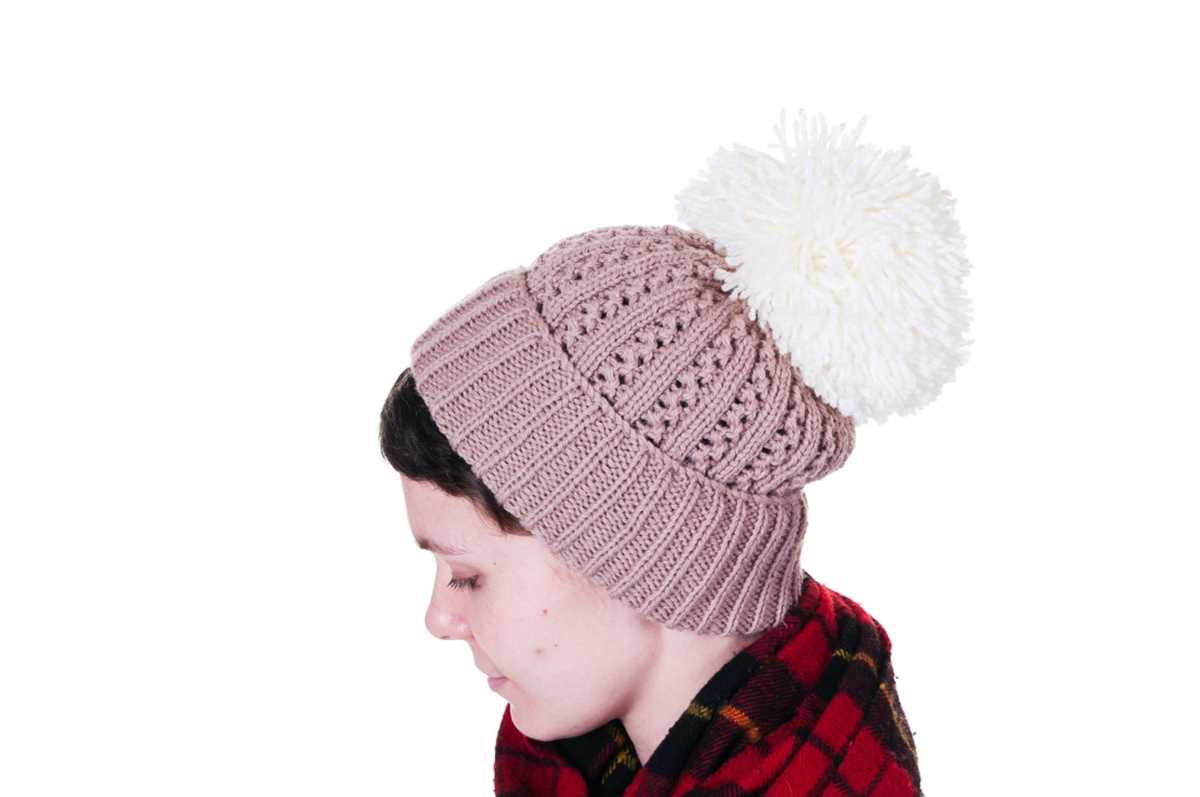
2. Pom-pom: Adding a pom-pom to the top of your beanie can be a fun and decorative touch. You can use a store-bought pom-pom or make your own using yarn. Simply attach the pom-pom to the top of the beanie using a secure knot, and trim any excess yarn for a neat finish.
Other finishing touches you may consider include:
- Button embellishment: Sewing on a decorative button or two can add a touch of uniqueness to your beanie.
- Embroidery: Adding embroidered patterns or designs can personalize your beanie and make it truly one-of-a-kind.
- Additional embellishments: If you’re feeling creative, feel free to add other embellishments such as beads, sequins, or even patches for a more customized look.
Remember, the finishing touches are what can take your loose beanie from being just another knitted hat to a stylish accessory that reflects your personal style. Have fun experimenting with different options and make your beanie truly unique!
Customization Options
The loose beanie knit pattern offers various customization options to suit your personal style and preferences. From choosing the color to adjusting the size, you can create a beanie that perfectly matches your individual taste.
Color Selection
One of the first customization options for the loose beanie knit pattern is selecting the color of yarn. Whether you prefer vibrant and bold colors or subtle and understated tones, there is a wide range of yarn options available. This allows you to create a beanie that complements your wardrobe and personal style.
Size Adjustment
The loose beanie knit pattern provides flexibility in terms of size. Depending on your preference, you can easily adjust the pattern to create a beanie that fits snugly or has a more relaxed fit. This customization option ensures that the beanie not only looks stylish but also fits comfortably.
Pattern Variations
The loose beanie knit pattern can also be customized by adding different patterns or textures. You can experiment with various stitch patterns, such as ribbing or cables, to create a unique and eye-catching design. Additionally, you can incorporate different colorwork techniques, such as fair isle or intarsia, to add visual interest to your beanie.
Embroidery or Embellishments
To make your loose beanie even more personalized, you can consider adding embroidery or embellishments. This could be as simple as adding your initials or a small design using embroidery thread. Alternatively, you can embellish the beanie with buttons, pom-poms, or other decorative elements to enhance its visual appeal.
Additional Tips and Tricks
Knitting a loose beanie can be a fun and rewarding project, but it’s not without its challenges. Here are some additional tips and tricks to help you get the best results:
1. Gauge Matters
Always check your gauge before starting the beanie. This is especially important when knitting a loose beanie because the fit may vary depending on your tension. Use the recommended needle size and yarn weight specified in the pattern, and knit a swatch to ensure you’re on track. Adjust your needle size if necessary.
2. Choose the Right Yarn

When knitting a loose beanie, opt for a yarn that has good stitch definition and is not too stretchy or slippery. A combination of natural fibers like wool or alpaca with a bit of synthetic material can help the beanie retain its shape and prevent it from becoming too slouchy.
3. Blocking is Key
Don’t skip the blocking step after finishing your loose beanie. Blocking helps even out the stitches and gives the beanie its final shape. Follow the instructions for blocking provided in the pattern, whether it’s wet-blocking or steam-blocking.
4. Experiment with Different Stitch Patterns
If you want to add some texture or interest to your loose beanie, try incorporating different stitch patterns. Ribbing, cables, or simple lace patterns can elevate the design and make your beanie stand out. Just make sure to adjust your stitch count accordingly to maintain the desired fit.
5. Add a Pom-Pom or Embellishment
Add a pom-pom, a button, or another type of embellishment to your beanie to give it a personalized touch. These small details can make a big difference in the overall look and appeal of the beanie.
With these additional tips and tricks, you’ll be well on your way to knitting a beautiful and comfortable loose beanie. Happy knitting!