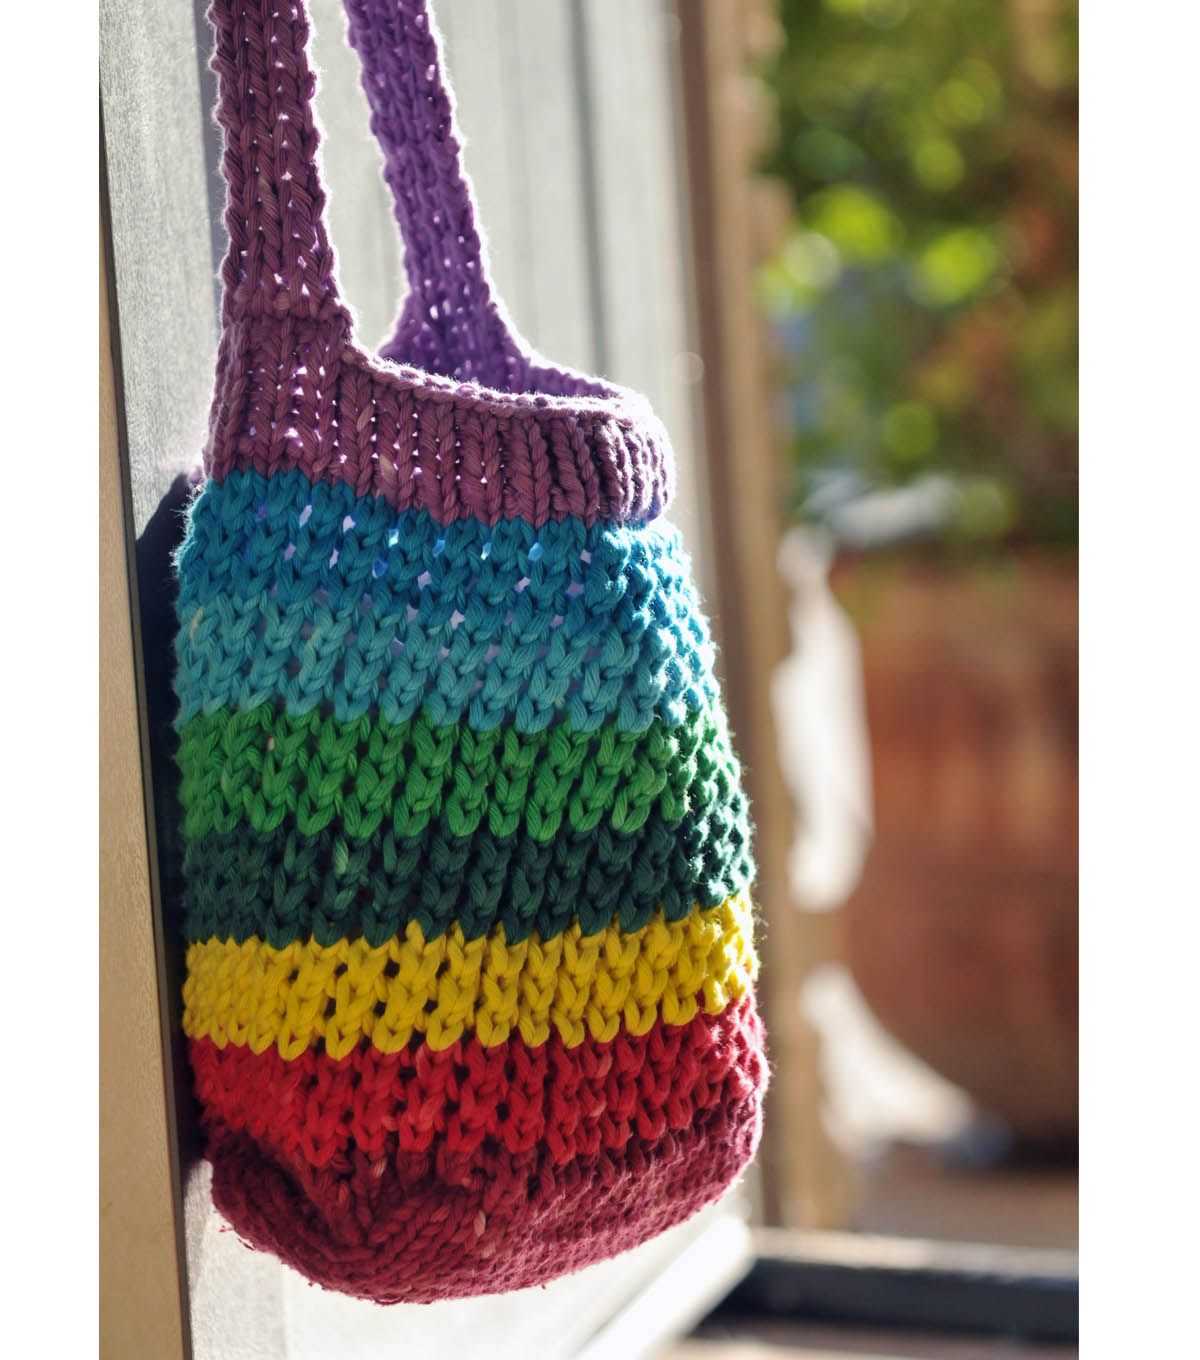
Knit Your Own Stylish Purse

Knitting is not just a hobby, it’s a way to create unique and personalized accessories. If you’re looking for a fun and practical project, why not try knitting a purse? With a few basic knitting skills and the right pattern, you can create a stylish and functional accessory that you’ll be proud to carry around.
There are countless purse knitting patterns available, ranging from simple designs for beginners to intricate patterns for more experienced knitters. Whether you prefer a classic clutch, a trendy tote, or a cute crossbody bag, there’s a pattern that’s perfect for you.
One of the great things about knitting a purse is that you can customize it to match your personal style. You can choose your favorite colors and yarns, experiment with different stitch patterns, and add embellishments like buttons or beads. Knitting your own purse also gives you the ability to create a bag that’s the perfect size and shape for your needs.
Materials needed for purse knitting
Before starting your purse knitting project, it’s important to gather all the necessary materials. By having everything ready, you can ensure a smooth and enjoyable knitting experience. Here are the key materials you will need:
- Yarn: Choose a yarn that is appropriate for the type of purse you want to create. Consider the weight and fiber content of the yarn to achieve the desired texture and appearance.
- Knitting needles: Select knitting needles that are suitable for the chosen yarn weight. The needle size will affect the gauge and the overall look of your purse.
- Tape measure: A tape measure is essential for taking accurate measurements of your purse as you knit. This will help you determine the correct size and ensure a proper fit.
- Scissors: Keep a pair of scissors nearby to cut the yarn when needed. Make sure they are sharp enough to easily cut through the yarn without damaging it.
- Yarn needle: A yarn needle is necessary for weaving in ends and sewing together any seams or finishing touches on your purse.
- Stitch markers: Stitch markers can be helpful for marking specific stitches or sections in your knitting. They help keep track of your progress and make it easier to spot any mistakes.
- Buttons, zippers, or other closures: Depending on the design of your purse, you may need additional items such as buttons, zippers, or other closures to complete the project.
Having all these materials prepared and within reach will ensure a successful and enjoyable purse knitting project. Make sure to choose high-quality materials that suit your knitting style and preferences. With the right tools and materials, you’ll be ready to create a beautiful and functional purse.
Choosing the right yarn for your purse project
When it comes to knitting a purse, choosing the right yarn is crucial for creating a beautiful and functional accessory. The yarn you select will determine the overall look, durability, and texture of your purse. It’s important to consider various factors before making a decision.
Determining the weight and thickness: The weight of your yarn plays a significant role in the outcome of your purse. If you prefer a lightweight and delicate accessory, opt for a lace or fingering weight yarn. On the other hand, if you want a sturdier and more substantial purse, consider using a sport or worsted weight yarn. Each weight has its own unique characteristics, so make sure to choose the one that suits your desired outcome.
Considering the fiber content: Different fiber blends offer different qualities, so it’s important to choose a yarn based on your needs. Wool yarn provides warmth and elasticity, making it a great choice for winter purses. Cotton yarn, on the other hand, is more lightweight and breathable, making it ideal for summer accessories. Acrylic yarn is a popular choice for its affordability, while blends with silk or alpaca can add a luxurious touch to your purse.
Taking color and texture into account: The color of your yarn can greatly impact the overall appearance of your purse. If you want a vibrant and eye-catching accessory, opt for bold and bright colors. For a more classic and timeless look, neutral or pastel shades are a great choice. Additionally, consider the texture of the yarn. Some yarns have a smooth and polished finish, while others may have a more textured or fuzzy appearance. The texture can add depth and interest to your purse design.
Considering the care requirements: It’s important to consider the care requirements of the yarn you choose. Some yarns may require hand washing, while others can be machine washed. If you prefer low-maintenance accessories, opt for yarns that are easy to care for. Additionally, consider the durability of the yarn. If you want your purse to withstand regular use, choose a yarn that is known for its strength and longevity.
Experimenting and personal preference: Ultimately, choosing the right yarn for your purse project is a matter of personal preference and experimentation. Don’t be afraid to try different yarns and techniques to achieve the desired outcome. Remember that knitting is a creative process, and the yarn you choose should reflect your individual style and vision for your purse.
Understanding knitting abbreviations and terms
When you first start knitting, it can be overwhelming to learn all the different abbreviations and terms used in patterns. However, once you understand them, it will make following patterns much easier. Here are some common knitting abbreviations and their meanings:
Stitch (st): This is the basic unit of knitting. It refers to each loop on the knitting needle.
Knit (k): The most basic knitting stitch, this creates a smooth fabric. To knit, you insert the right-hand needle into the front of the stitch on the left-hand needle, wrap the yarn around the right-hand needle, and pull it through the stitch.
Purl (p): This stitch creates a raised, textured fabric. To purl, you insert the right-hand needle into the front of the stitch on the left-hand needle, wrap the yarn around the right-hand needle, and pull it through the stitch in the opposite direction.
Increase (inc): This is when you add stitches to your knitting. There are different ways to increase, such as knit front and back (kfb) or make one (M1).
Decrease (dec): This is when you remove stitches from your knitting. Common decrease stitches include knit two together (k2tog) and slip slip knit (ssk).
Row (rs, ws): In knitting patterns, rows are often labeled as right side (rs) and wrong side (ws). The right side is the side of the fabric that will be seen when the project is complete, while the wrong side is the back side.
Repeat (rep): When a pattern instructs you to repeat certain stitches or rows, it means you should repeat them a specified number of times. The number of times is usually indicated in parentheses.
Bind off (bo): This is the final step in knitting a project. To bind off, you knit two stitches, then pass the first stitch over the second stitch and off the needle. Repeat this process until there is only one stitch left, then cut the yarn and pull it through the last stitch to secure it.
By familiarizing yourself with these knitting abbreviations and terms, you’ll be able to understand and follow knitting patterns with confidence. Happy knitting!
How to Cast On Stitches for Your Purse
When starting your purse knitting project, one of the first steps is to cast on stitches. This is the process of creating the foundation row of stitches that will form the base of your purse. There are several methods for casting on stitches, but in this tutorial, we will focus on the long tail cast on method.
To begin, you will need a pair of knitting needles and the yarn you have chosen for your purse. Make a slip knot by creating a loop with the yarn, bringing the end of the yarn through the loop, and pulling it tightly. Slide the slip knot onto one of the knitting needles, leaving a long tail of yarn hanging down.
Step 1: Hold the needle with the slip knot in your right hand and the other needle in your left hand. Make sure the tail of the yarn is on the left.
Step 2: With your left hand, hold the two strands of yarn (the working yarn and the tail) between your thumb and forefinger. Insert the tip of the right needle from left to right between the two strands of yarn.
Step 3: Using your right hand, bring the tip of the right needle up and over the strand of yarn on the left side of the left needle.
Step 4: Bring the tip of the right needle down, under the strand of yarn on the right side of the left needle, and then back up through the loop that was formed.
Step 5: With your left hand, gently pull the working yarn to tighten the stitch on the right needle. Repeat steps 2-5 until you have cast on the desired number of stitches for your purse.
Remember to keep your stitches loose enough so that they are easy to knit with, but not too loose that they become sloppy. Once you have finished casting on stitches for your purse, you are ready to start knitting the first row!
Knitting the body of the purse
Once you have finished knitting the base of your purse, it’s time to move on to the body. This is where you will start to see your purse taking shape and becoming more than just a flat piece of fabric.
To begin knitting the body, you will continue working with the same stitches that you used for the base. You can choose to stick with the same color yarn or switch to a different color to add some variation and interest to your purse.
Row 1: Start by knitting the first stitch and then purling the next stitch. Continue this pattern of knitting and purling for the entire row. This will create a textured pattern that adds depth and visual appeal to your purse.
Row 2: Repeat the pattern from Row 1, knitting the knit stitches and purling the purl stitches. This will create a consistent textured pattern throughout the body of your purse.
Repeat Rows 1 and 2: Continue repeating Rows 1 and 2 until you have reached your desired length for the body of your purse. You can experiment with different stitch patterns or add in some decorative details, such as a lace panel or colorwork, if you want to customize your purse even further.
Once you have completed knitting the body, you can finish off the top edge by binding off all stitches. This will create a clean and polished edge for your purse. You can then move on to sewing the sides of your purse together and adding any additional embellishments or closures, such as buttons or zippers, to make your purse functional and stylish.
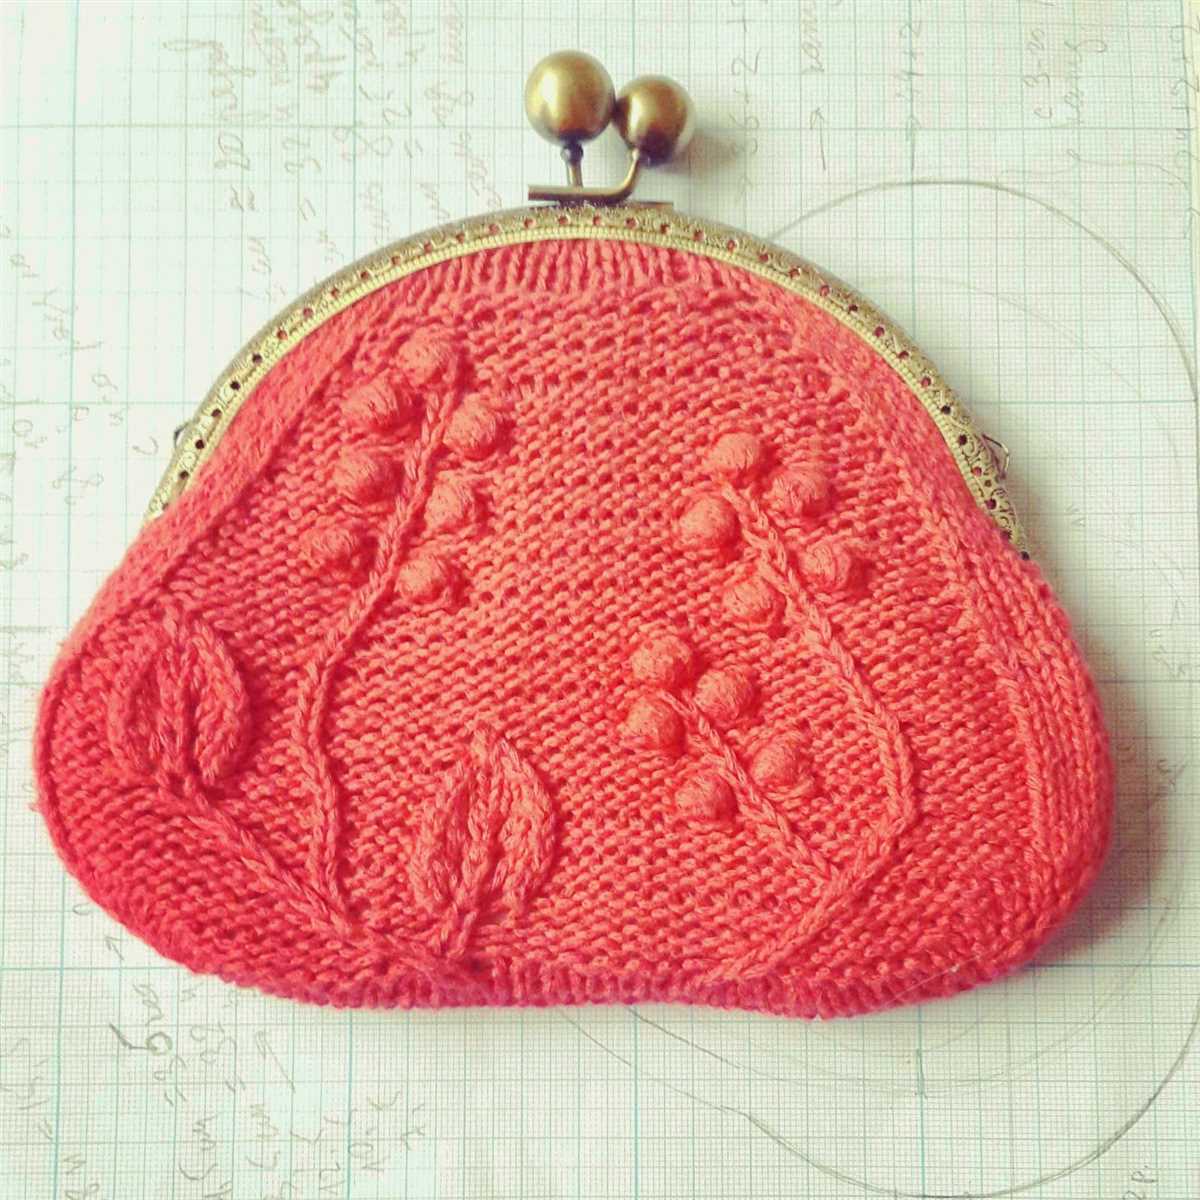
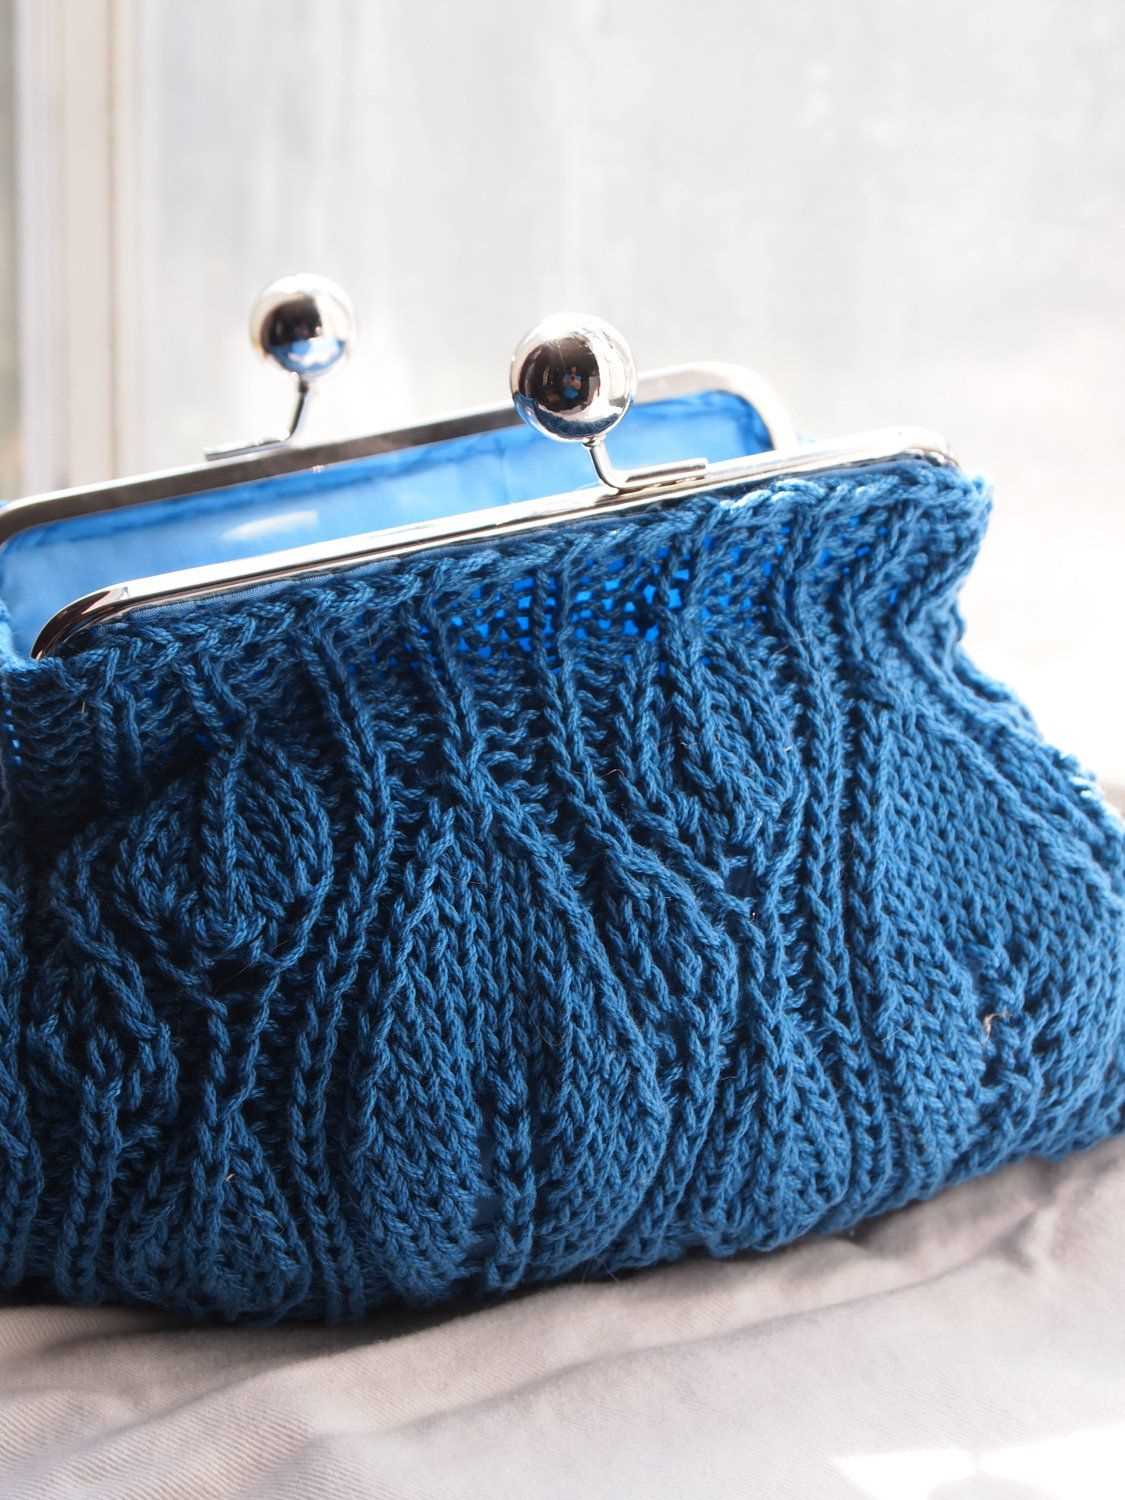
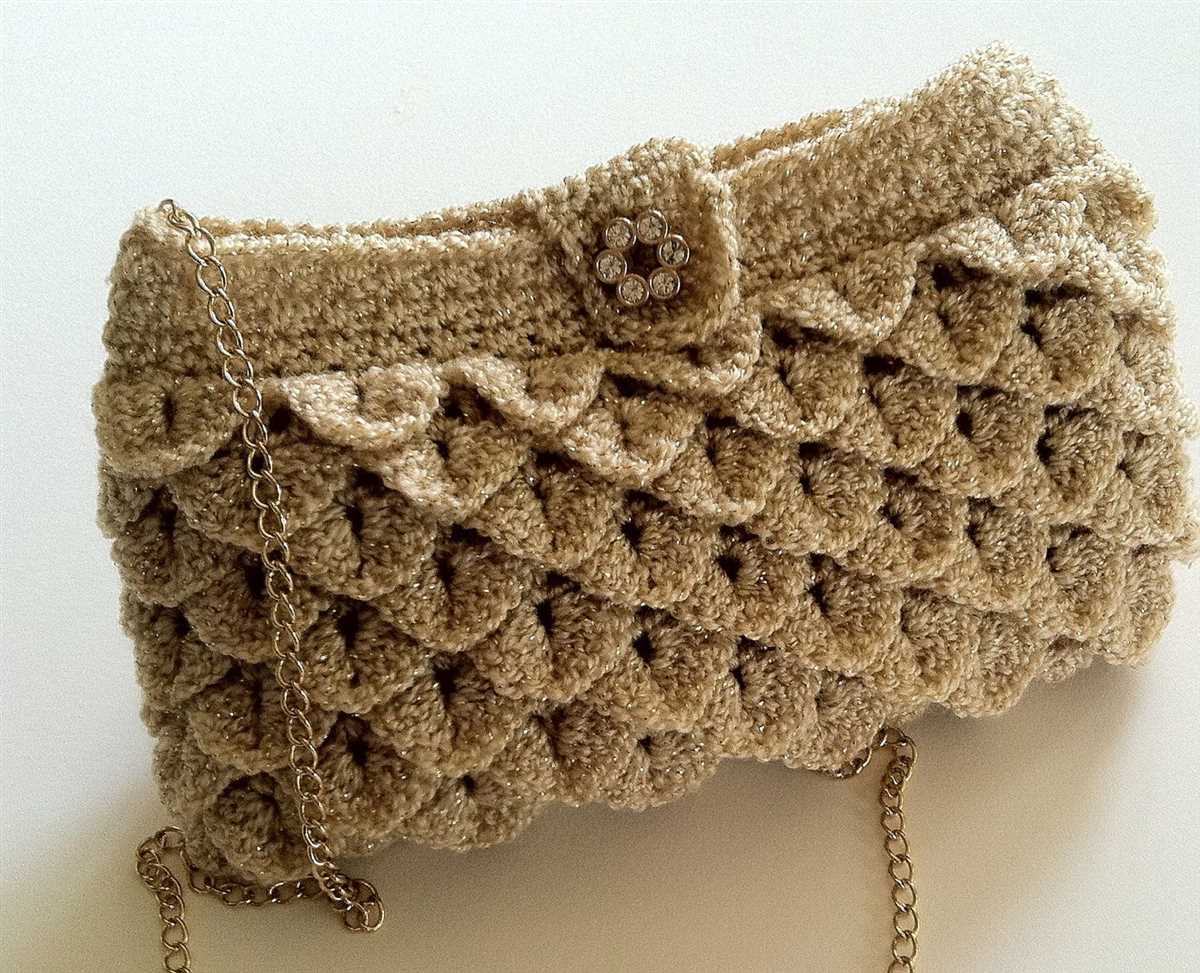
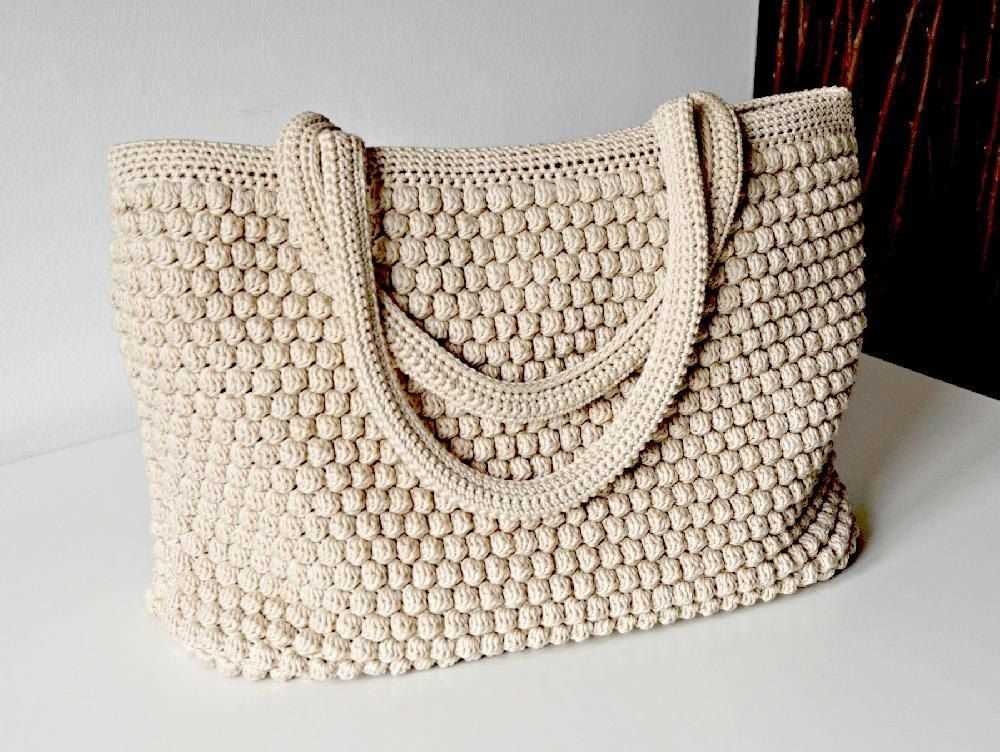
Adding decorative stitches and patterns
When it comes to knitting a purse, adding decorative stitches and patterns can elevate the overall look and make it truly unique. There are numerous stitch patterns and techniques that can be incorporated into a purse design to add texture, interest, and visual appeal.
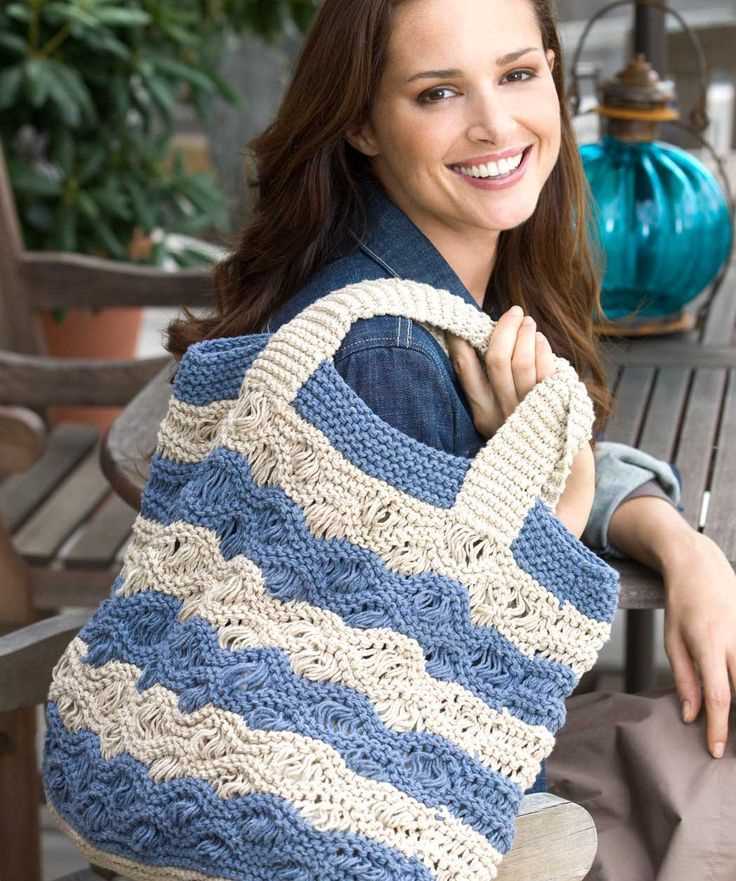
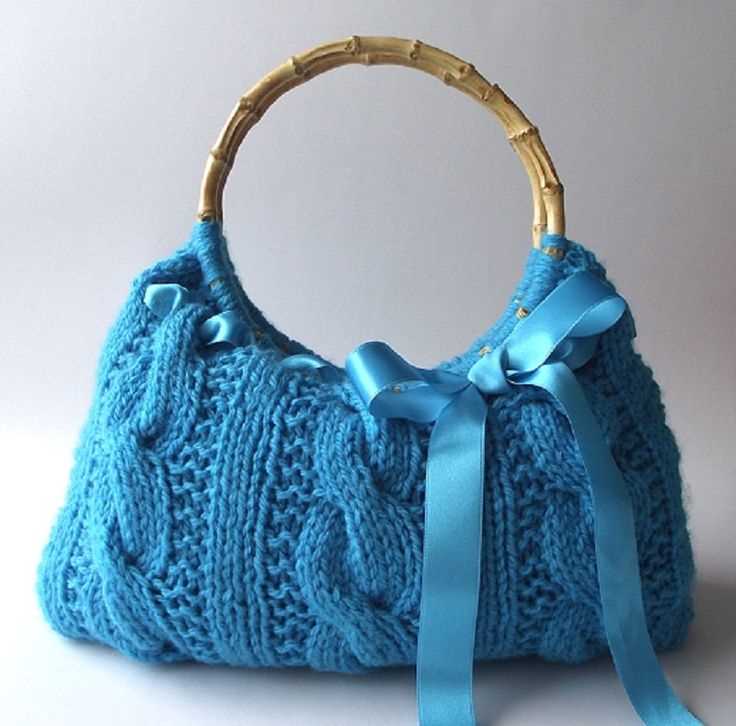
1. Cable stitches: Cable stitches are a popular choice for adding intricate patterns to knitted projects. They create beautiful twists and braids, giving the purse a classic and sophisticated look. Incorporating cable stitches in the strap or body of the purse can make it stand out and add a touch of elegance.
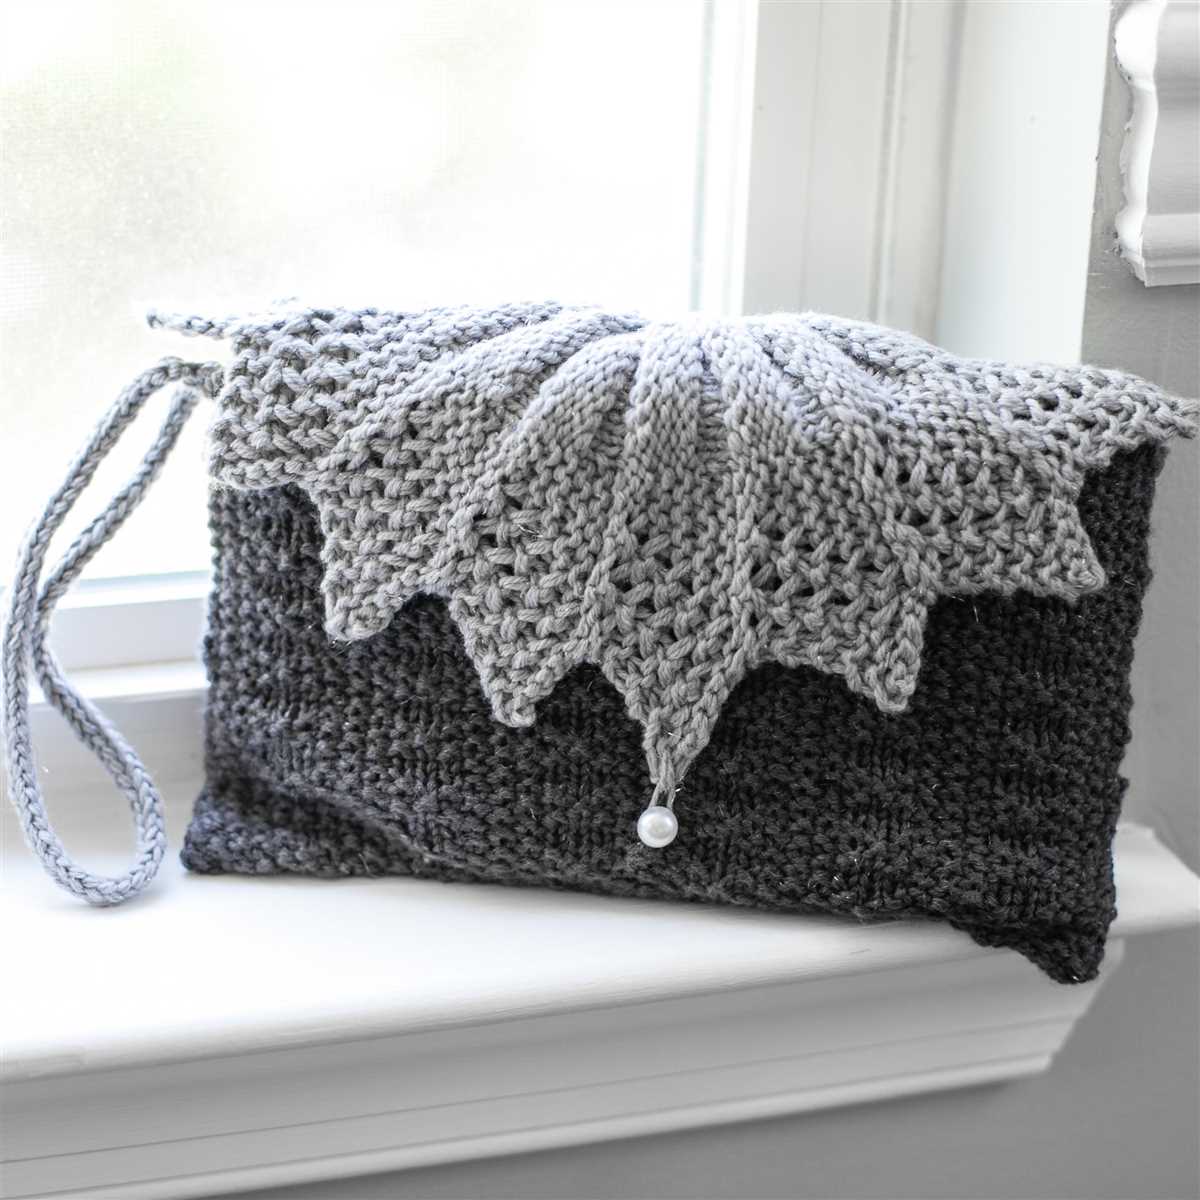
2. Lace stitches: Lace stitches are delicate and intricate, perfect for adding a feminine touch to a purse. They often feature decorative motifs and create an openwork design, giving the purse a light and airy feel. Lace stitches can be used in various sections of the purse, such as the flap or sides, to create eye-catching details.
3. Colorwork: Incorporating colorwork into a purse design can make it visually striking. Fair Isle, intarsia, or stranded knitting techniques can be used to create patterns and designs using multiple colors. Whether it’s a simple geometric pattern or a more intricate motif, colorwork can add vibrancy and personality to the purse.
4. Bobbles and popcorn stitches: For those looking for a playful and textured look, bobble and popcorn stitches are excellent choices. These stitches create three-dimensional bobbles on the fabric, adding depth and visual interest to the purse. They can be strategically placed in specific areas, such as the front or sides, to create focal points.
5. Embroidery and appliqué: Another way to add decorative elements to a knitted purse is through embroidery or appliqué. Embroidery can be done using various stitches and threads, allowing for intricate designs and embellishments. Appliqué involves attaching small fabric or knit pieces onto the purse, creating unique designs or motifs.
By incorporating decorative stitches and patterns into a purse’s design, knitters can create bespoke pieces that reflect their creativity and individual style. Whether it’s through intricate cables, delicate lace, vibrant colorwork, playful bobbles, or detailed embroidery, these decorative elements can transform a simple purse into a statement accessory.
Shaping the purse with decreases and increases
In order to create a stylish and functional purse, it is important to shape it properly using decreases and increases. These techniques help to give the purse structure and contour it to the desired shape.
One way to shape the purse is by using decreases. Decreases are stitches that are worked together to reduce the total number of stitches in a row or round. This technique is used to create tapered edges or to shape the bottom of the purse. By decreasing stitches evenly across a row or round, the purse can take on a more defined shape.
Increases, on the other hand, are stitches that are added to a row or round to increase the total number of stitches. Increases are commonly used to shape the sides of the purse, creating a wider bottom and a narrower top. There are different types of increases, such as knit front and back (kfb) or make one (M1), which can be used to achieve the desired shaping.
To shape the purse, it is important to follow a specific pattern or chart that indicates where and how many decreases or increases should be made. This ensures that the shaping is consistent and evenly distributed. By carefully executing the decreases and increases as instructed, the finished purse will have a polished and professional look.
In summary, shaping a purse with decreases and increases is essential to create a well-fitting and aesthetically pleasing design. By using these techniques, the purse can be contoured to the desired shape, whether it is tapered edges or a wider bottom. Following a pattern or chart is crucial to ensure the shaping is consistent throughout the project. With careful execution, the finished purse will be a beautiful accessory that perfectly matches your style.
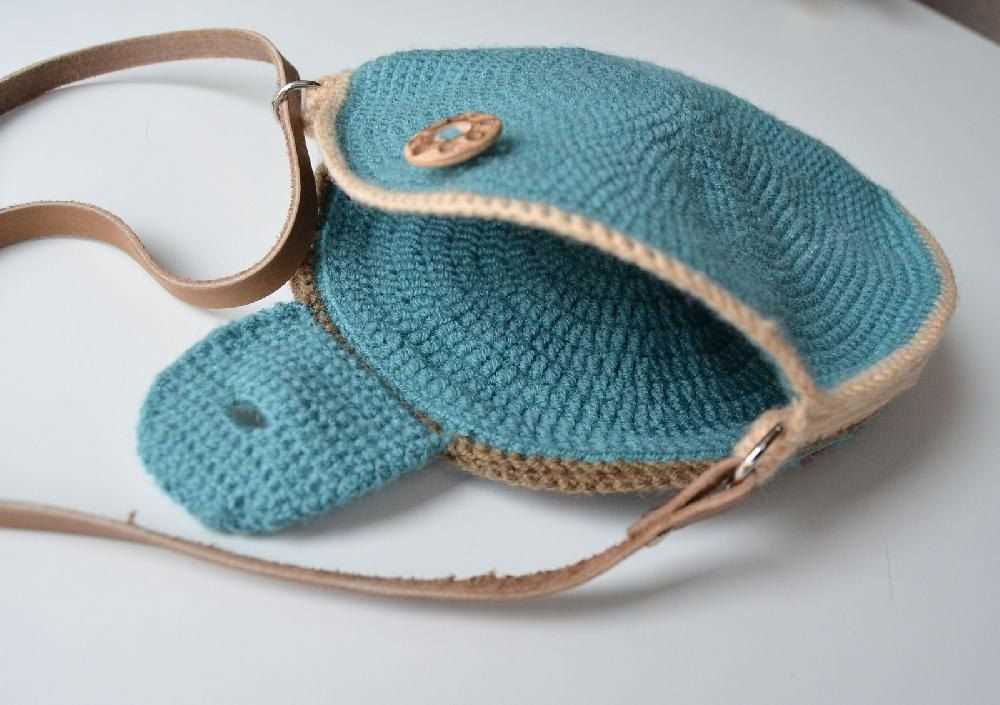
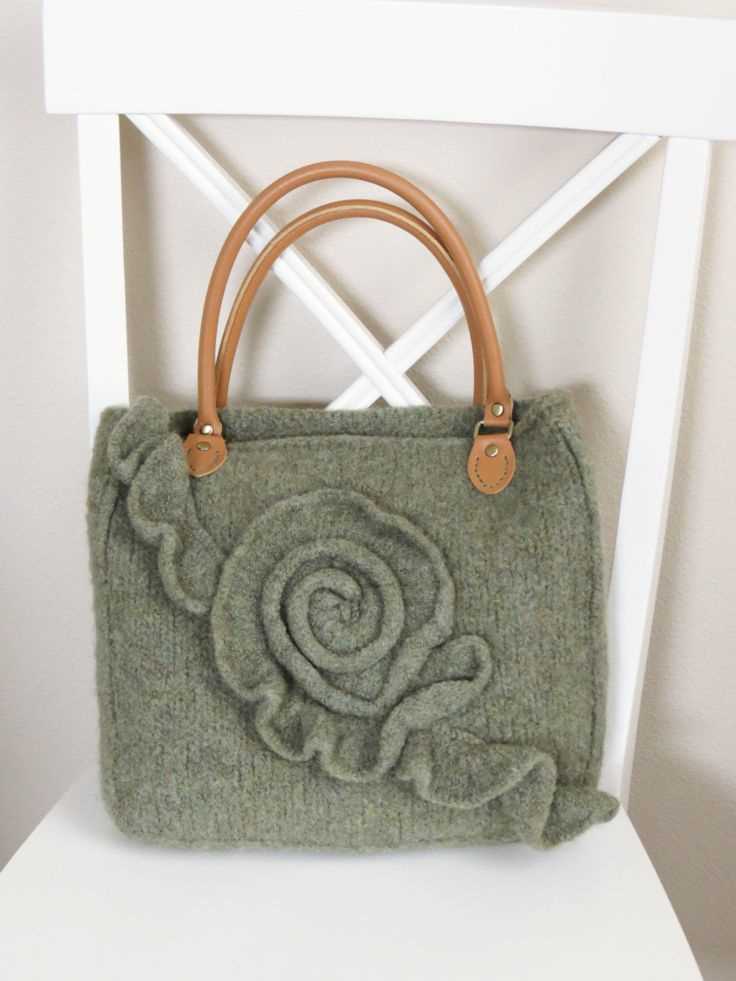
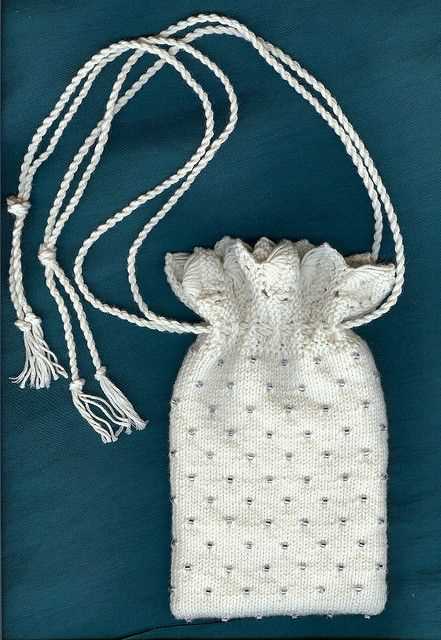
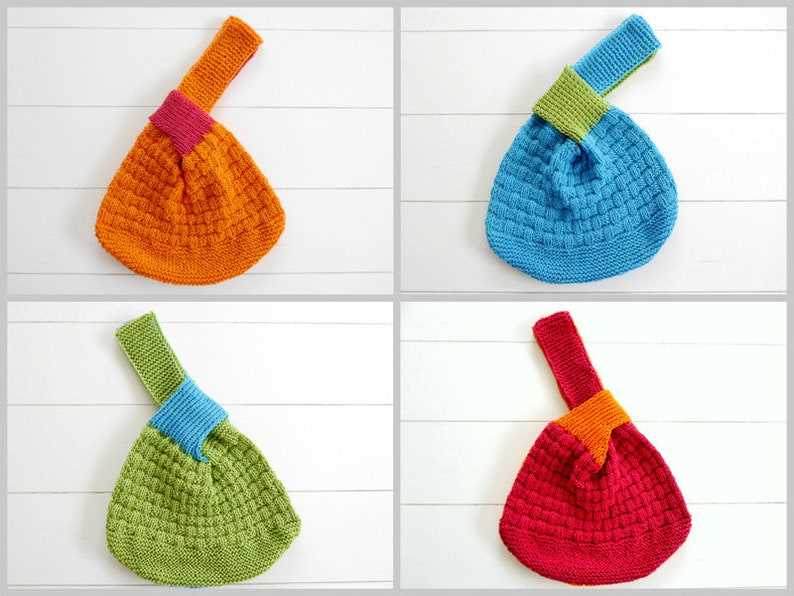
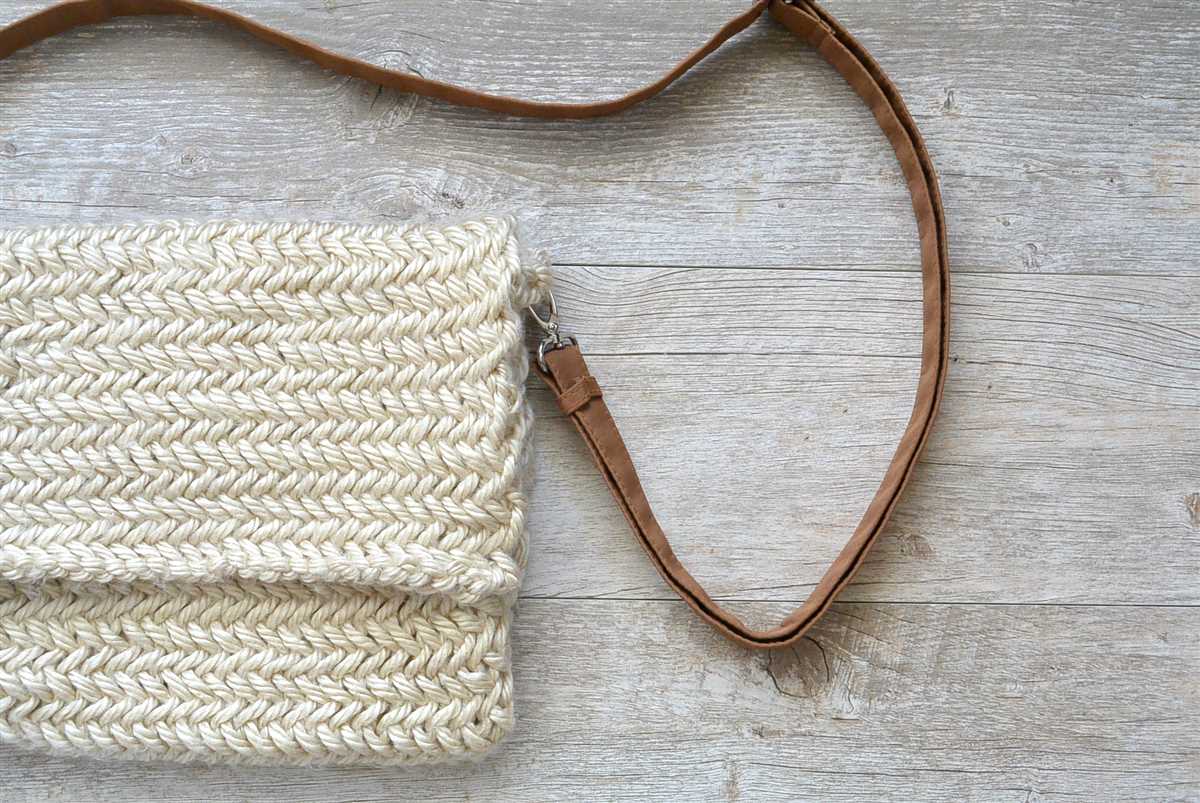
Creating handles or straps for your purse
When it comes to knitting a purse, the handles or straps are an essential part of the design. They not only provide functionality but also add to the overall aesthetic appeal of the bag. There are several techniques you can use to create handles or straps for your purse, depending on your knitting skills and the desired look of the finished product.
1. I-cord handles
An I-cord, or Idiot cord, is a simple technique that creates a sturdy and flexible handle for your purse. To make an I-cord handle, you will need double-pointed needles and yarn in the color of your choice. The process involves knitting a narrow tube of stitches, which is then stitched onto the sides of the purse. This technique creates a smooth and rounded handle that adds a professional touch to your purse.
2. Knitted fabric straps
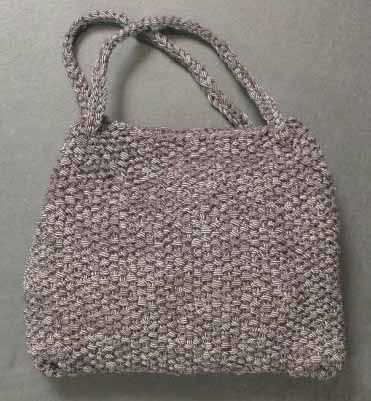
If you prefer a wider and more comfortable strap for your purse, you can opt for knitting a fabric strap. This involves knitting a rectangular piece of fabric using a stitch pattern of your choice. You can vary the width and length of the strap depending on your preferences. Once the fabric is complete, you can attach it to the sides of the purse using a sewing needle and thread. This method allows you to customize the strap to match the design of your purse and provides a comfortable carrying experience.
3. Crocheted chain straps
For those who are skilled in both knitting and crocheting, a crocheted chain strap can be a great option. This technique involves crocheting a long chain using a crochet hook and yarn. The length of the chain can be adjusted to fit your desired strap length. Once the chain is complete, you can stitch it onto the sides of the purse using a sewing needle. Crocheted chain straps offer flexibility and durability, making them suitable for a variety of purse designs.
These are just a few examples of the techniques you can use to create handles or straps for your knitted purse. Whether you prefer a simple and sleek handle or a wider, more decorative strap, there are plenty of options to explore. Consider experimenting with different techniques and designs to find the perfect handle or strap for your purse project.
Finishing touches: Binding off and weaving in ends
After completing your knitting project, it’s important to give it a clean and finished look by properly binding off and weaving in the loose ends. Binding off, also known as casting off, is the technique used to secure the stitches and create a neat edge. Here’s how to do it:
1. Knit the first two stitches as normal
Start by knitting the first two stitches of the row as you normally would. This creates two stitches on the right-hand needle.
2. Pass the first stitch over the second stitch
Using your left-hand needle, carefully lift the first stitch over the second stitch and let it drop off the needle. You now have one stitch on the right-hand needle.
3. Knit one stitch
Knit the next stitch on the left-hand needle as usual. You should now have two stitches on the right-hand needle again.
4. Repeat steps 2 and 3

Continue passing the previous stitch over the next stitch and knitting one stitch until you have only one stitch remaining on the right-hand needle.
5. Cut the yarn, leaving a tail
Once you have reached the last stitch, cut the yarn, leaving a tail that is at least 6 inches long. This tail will be used to weave in the ends.
6. Weave in the ends
To weave in the ends, thread the yarn tail onto a tapestry needle. Insert the needle into the back of the work and weave the yarn in and out of the stitches for a few inches. Trim any excess yarn, making sure to leave a small tail to prevent unraveling.
By following these steps and taking the time to properly bind off and weave in ends, you can ensure that your knitting project has a polished and professional-looking finish. Don’t rush this step, as it can greatly improve the overall appearance and durability of your work.
Blocking your knitted purse for a polished look

After spending hours creating a beautiful knitted purse, you want to make sure it looks its best when you finally finish it. One technique that can help achieve a polished look is blocking. Blocking involves gently stretching and reshaping the knitted fabric to even out any uneven tension, smooth out the stitches, and create a professional finish.
Before you begin blocking, it is important to read the instructions for your specific yarn and purse pattern, as different fibers and stitch patterns may require different blocking techniques. However, here are some general steps to follow when blocking your knitted purse:
- First, prepare your purse for blocking by gently hand-washing it in mild soap or wool wash. Make sure to squeeze out excess water without wringing or twisting the fabric.
- Next, lay out a clean towel or blocking mat on a flat surface, and place your wet purse on top. Gently shape and stretch the fabric to the desired dimensions, making sure to maintain the overall shape of the purse.
- You can use pins to hold the fabric in place while it dries. Pin along the edges or at strategic points to help maintain the shape and prevent it from shrinking or curling.
- Allow the purse to air dry completely, without applying direct heat or sunlight. This may take several hours or overnight, depending on the thickness and fiber content of the yarn.
- Once dry, remove the pins and admire your beautifully blocked knitted purse. The stitches should be more defined, the fabric should drape nicely, and any uneven tension or curling should be corrected.
Blocking can be a crucial step in finishing your knitted purse, as it helps bring out the best in your stitches and ensures that your hard work pays off with a professional and polished look. So don’t skip this important step and take the time to block your purse for a stunning final result.
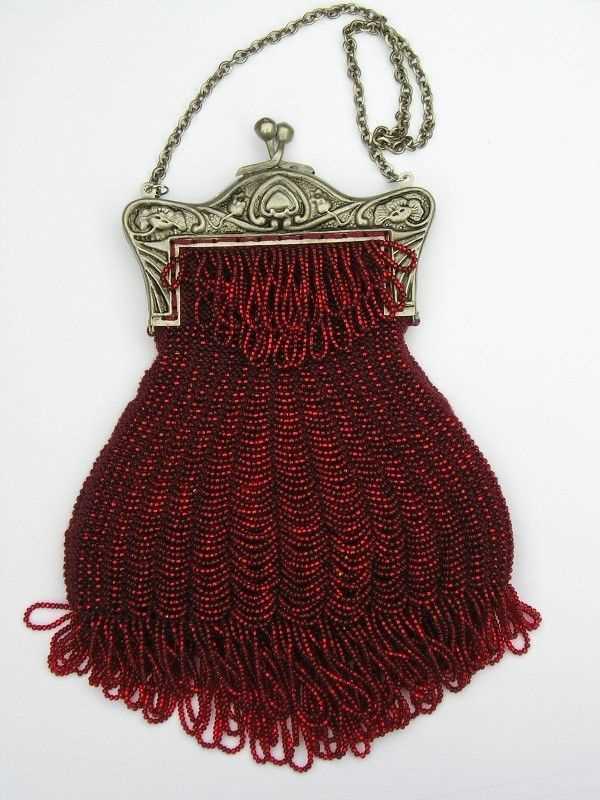
Customizing Your Purse with Embellishments
Adding embellishments to your knitted purse is a great way to make it unique and personalize it to your style. Whether you want to add a touch of elegance with beads and sequins or a fun and playful look with colorful pom-poms, there are countless options to choose from. Here are some ideas to inspire you:
1. Beads and Sequins
Adding beads and sequins to your purse can instantly elevate its look and give it a touch of glamour. You can sew them onto the knit fabric in a pattern or scatter them randomly for a more eclectic look. Choose beads and sequins in colors that complement your purse or go for contrasting shades for a bold statement.
2. Embroidery
Embroidery is another way to add unique and intricate designs to your purse. You can use different embroidery stitches to create flowers, animals, or any other design that matches your style. Embroidery floss comes in a wide range of colors, so you can easily find the perfect shades to complement your purse.
3. Appliques
Appliques are pre-made fabric designs that can be sewn or glued onto your knitted purse. They come in various shapes and designs, from flowers and animals to geometrical patterns. Applying appliques is a quick and easy way to add a pop of color and texture to your purse.
4. Pom-Poms and Tassels
Pom-poms and tassels are playful and fun embellishments that can add a whimsical touch to your purse. You can make them using yarn in coordinating or contrasting shades with your purse. Attach them to the zipper pulls or sew them onto the sides of your purse for a cheerful and bohemian look.
5. Ribbon and Trim
Using ribbon or trim can give your purse a polished and refined look. You can add a ribbon bow to the front of your purse or use trim to create decorative borders. Choose ribbons and trims in colors and patterns that match the overall aesthetic of your purse.
When customizing your purse with embellishments, remember to consider the durability and functionality of the embellishments. Make sure they are securely attached and won’t easily come off with everyday use. With a little creativity and a personal touch, you can transform your knitted purse into a one-of-a-kind accessory that truly reflects your style and personality.
Q&A:
What is a purse knitting pattern?
A purse knitting pattern is a set of instructions or guidelines that show you how to knit a purse from scratch. It includes information on the type of yarn and needles to use, as well as step-by-step instructions on the stitches and techniques required to create the purse.
Can beginners knit a purse using a knitting pattern?
Yes, beginners can definitely knit a purse using a knitting pattern. However, it is important to choose a pattern that is specifically designed for beginners. These patterns usually use simple stitches and techniques, making them easier for beginners to follow along.
Where can I find purse knitting patterns?
You can find purse knitting patterns in a variety of places. One option is to check out knitting books or magazines that feature patterns for different types of accessories, including purses. You can also search online on knitting websites or even on social media platforms where knitters share their patterns.
What materials do I need to knit a purse?
The materials needed to knit a purse include yarn, knitting needles, and any additional accessories such as buttons or a zipper. The type of yarn and needles will depend on the specific pattern you are using. It is important to check the pattern for information on the recommended materials.
Can I modify a purse knitting pattern to fit my preferences?
Yes, you can definitely modify a purse knitting pattern to fit your preferences. Knitting patterns often provide instructions on how to adjust the size or add different design elements. You can also experiment with different yarn colors or stitch patterns to make the purse uniquely yours.