Easy Knitting Pattern for a Toddler Hat

If you’re looking for a cute and cozy hat to knit for your toddler, you’ve come to the right place! Knitting hats can be a fun and rewarding project, and there are so many adorable patterns to choose from. In this article, we’ll explore a classic toddler hat knitting pattern that’s perfect for beginners and experienced knitters alike.
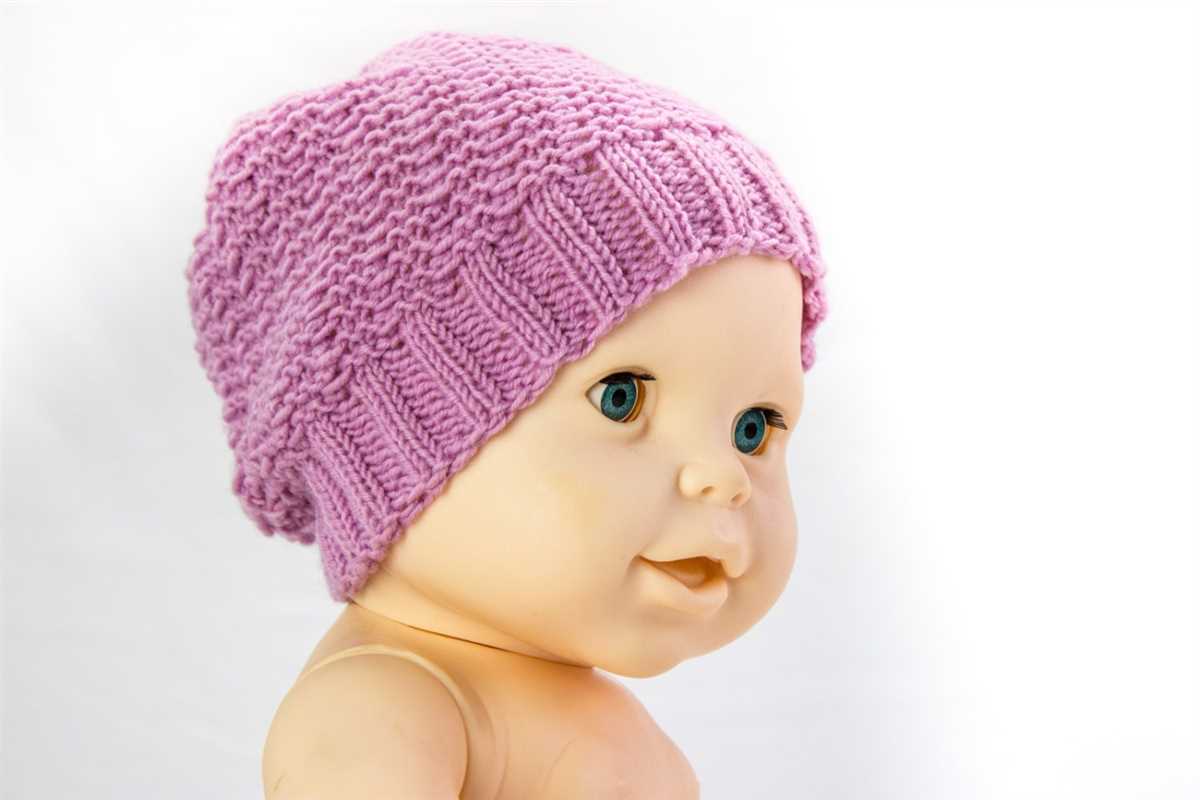
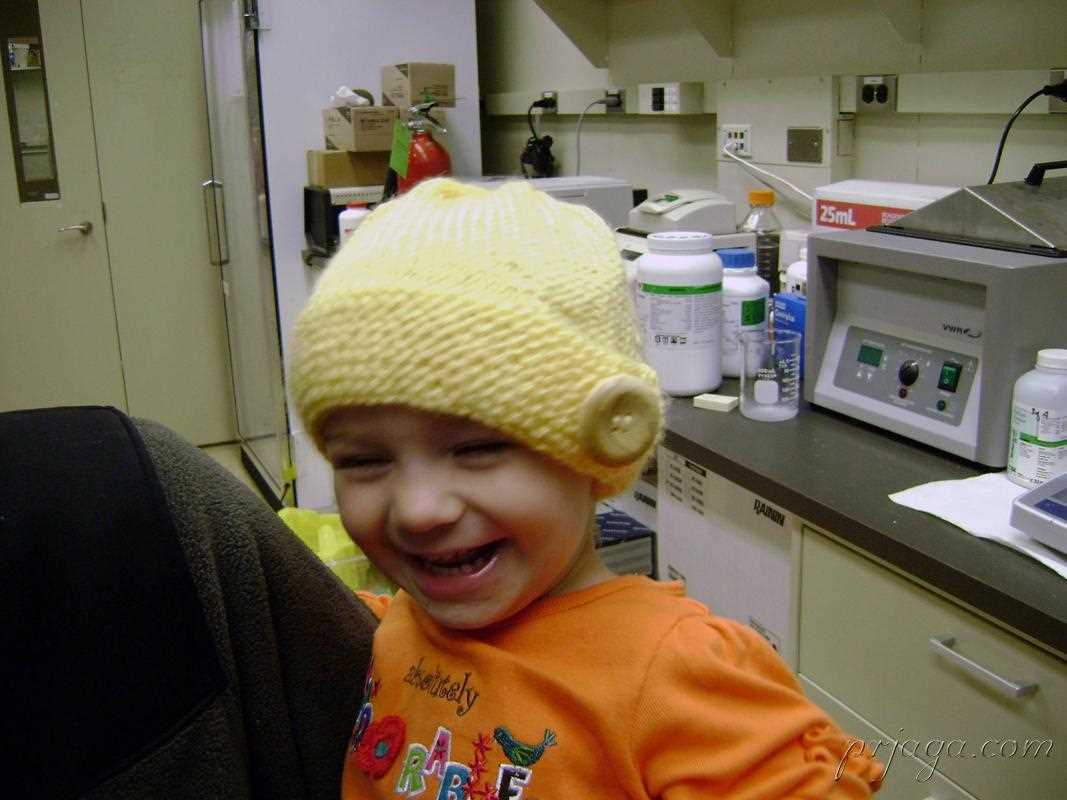
This hat pattern features a simple ribbed brim, which stretches nicely to fit a range of head sizes. The main body of the hat is worked in a basic stockinette stitch, which creates a smooth and uniform texture. The hat is finished off with a cute pom-pom on top, adding an extra touch of charm.
The best part about this toddler hat knitting pattern is its versatility. You can choose to use any color of yarn you like, allowing you to customize the hat to match your little one’s personality or favorite outfit. Whether you opt for a bold and bright color or a soft and neutral shade, this hat is sure to keep your toddler warm and stylish all winter long.
Toddler Hat Knitting Pattern

Are you looking for a cozy and adorable hat pattern to knit for your toddler? Look no further! This toddler hat knitting pattern is perfect for keeping your little one warm and stylish during the colder months.
Materials Needed:
- Yarn: Choose a soft and warm yarn in the color of your choice.
- Knitting needles: Use a set of double-pointed needles in the appropriate size for your yarn.
- Tapestry needle: You’ll need this for weaving in the ends and sewing any seams.
Instructions:
Step 1: Cast on the desired number of stitches, typically around 60-80 stitches depending on the size of your toddler’s head. Join in the round, making sure not to twist the stitches.
Step 2: Begin knitting in a rib stitch pattern (knit 1, purl 1) for about 2 inches. This will create a snug and stretchy brim for the hat.
Step 3: Switch to a stockinette stitch pattern (knit all stitches) for the main body of the hat. Continue knitting until the hat measures the desired length, typically around 5 inches.
Step 4: Decrease rounds: Switch to double-pointed needles when necessary. Begin decreasing by knitting 2 stitches together every few stitches on each round. This will shape the crown of the hat.
Step 5: Continue decreasing until only a few stitches remain. Cut the yarn, leaving a long tail. Thread the tail through a tapestry needle and slide the needle through the remaining stitches to secure them.
Step 6: Weave in any loose ends and sew the seam if necessary. Your toddler hat is now complete and ready to be worn!
This toddler hat knitting pattern is a great project for knitters of all skill levels. The finished hat is sure to keep your child warm and stylish, and it makes a thoughtful and handmade gift for friends and loved ones.
Why Knitting is a Great Hobby for Parents

Parenting can be a hectic and demanding role, leaving little time for personal hobbies. However, knitting can be an excellent activity for parents to engage in during their free time. Not only does it allow for creativity and self-expression, but knitting also offers numerous benefits that can enhance the parenting experience.
1. Relaxation and stress relief: Knitting has been proven to have a calming effect on the mind and body. The repetitive actions required in knitting can help parents unwind and alleviate stress after a long day of taking care of their little ones. It provides a therapeutic outlet and a moment of peace and tranquility.
2. Productivity and accomplishment: As parents, it’s easy to feel like our to-do lists are never-ending. Knitting offers a sense of productivity and accomplishment, as parents can see tangible results with each project they complete. It’s satisfying to create something with your own hands and see the finished product, whether it’s a cozy hat for your toddler or a beautiful scarf for yourself.
3. Bonding and connection: Knitting can also be a wonderful way for parents to connect with their children. Teaching your little ones how to knit or involving them in a knitting project can create special bonding moments and open up opportunities for conversations. It can also be a great activity for the whole family to participate in and enjoy together.
4. Creative expression: Knitting allows parents to express their creativity and individuality. They can choose from a wide variety of patterns, colors, and stitches to create unique and personalized items. It’s a form of self-expression that can bring joy and satisfaction, giving parents a creative outlet outside of their parenting responsibilities.
5. Mindfulness and focus: Knitting requires concentration and focus, which can help parents practice mindfulness and be present in the moment. By focusing on the stitches and the rhythm of knitting, parents can temporarily put aside their worries and thoughts, allowing them to recharge and rejuvenate.
Overall, knitting is a versatile and fulfilling hobby for parents. It combines relaxation, productivity, creativity, and connection, making it an ideal activity to incorporate into the busy schedules of parents. From knitting hats and scarves to baby blankets and toys, parents can create practical and meaningful items while enjoying the numerous benefits that knitting brings.
Choosing the Right Yarn for Your Toddler’s Hat

The right choice of yarn is crucial when knitting a hat for your toddler. Not only does it determine the overall look and feel of the hat, but it also plays a role in its functionality and comfort. Here are some factors to consider when selecting the perfect yarn:
Fiber content: Take into account your toddler’s sensitivities and preferences when choosing the fiber content of the yarn. Natural fibers like cotton and wool are often recommended as they are breathable and soft against the skin. However, if your toddler has allergies or sensitivities, you may want to opt for hypoallergenic or synthetic fibers that are gentle on the skin.
Weight: Consider the weight of the yarn based on the season and climate you’ll be using the hat in. For colder months, a thicker yarn such as chunky or worsted weight will provide more warmth and insulation. On the other hand, for warmer weather, a lighter weight yarn like DK or sport weight will ensure breathability and prevent overheating.
Durability: Toddlers can be quite active, so it’s important to choose a yarn that can withstand the wear and tear of daily use. Look for yarns with good stitch definition and strength, such as those with a tight twist or made from durable fibers. This will help your toddler’s hat maintain its shape and hold up well over time.
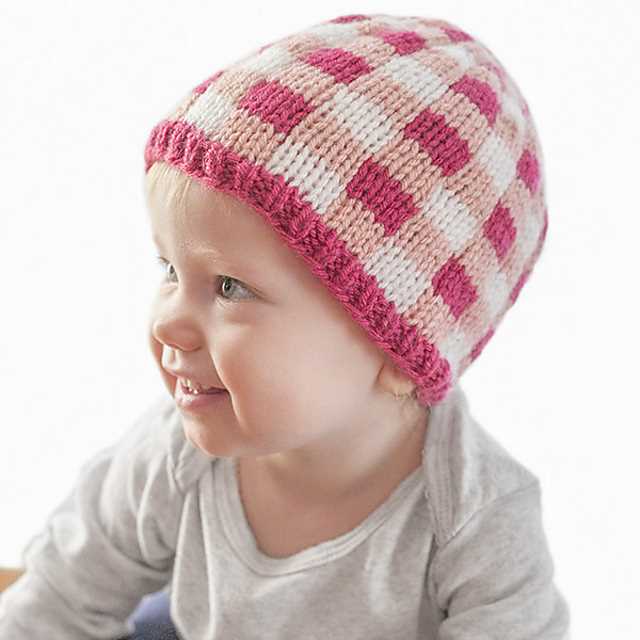
Color and pattern: Consider the color and pattern possibilities of the yarn you choose. Bright and vibrant colors can be visually stimulating for toddlers, while simple and classic patterns can offer versatile styling options. Additionally, variegated or speckled yarns can add interest and flair to the hat design.
Care instructions: Finally, consider the care instructions for the yarn. Since toddler hats are likely to get dirty, it’s important to choose a yarn that is easy to clean and maintain. Machine washable yarns are often the most convenient, but if you prefer hand washing, make sure the yarn is suitable for that method.
By taking these factors into consideration, you’ll be able to choose the right yarn for your toddler’s hat that not only looks great but also meets their comfort and functional needs. Happy knitting!
Tools and Materials You’ll Need
Before you start knitting a toddler hat, it’s important to gather all the necessary tools and materials. Having everything ready will make the knitting process much smoother and enjoyable. Here’s a list of what you’ll need:
Knitting Needles:

- Size 6 (4mm) circular needles
- Size 6 (4mm) double-pointed needles
Having both circular needles and double-pointed needles will give you flexibility in knitting different parts of the hat, such as the brim and the top. Make sure the needles are the correct size to achieve the desired gauge.
Yarn:
- Medium-weight yarn (worsted or aran)
- Approximately 200 yards (183 meters)
Choosing the right yarn is crucial for a comfortable and warm toddler hat. Opt for a medium-weight yarn that is soft and easy to care for. Consider the color and texture that would suit the toddler’s style.
Tapestry Needle:

A tapestry needle will be used for finishing touches and sewing any loose ends. It’s essential for tidying up the hat and ensuring durability.
Stitch Marker:
Using a stitch marker will help you keep track of your progress and mark the beginning of each round. This will come in handy, especially when knitting in the round.
Scissors:
A pair of scissors is necessary for cutting the yarn and trimming any excess. Make sure they are sharp and handy for easy access during the knitting process.
Measuring Tape:
A measuring tape will help you check the gauge and ensure the hat fits properly. It will also come in handy for measuring the circumference and length of the toddler’s head.
Once you have gathered all these tools and materials, you are ready to start knitting a beautiful and cozy toddler hat. Remember to take your time, follow the pattern instructions, and enjoy the process!
Measuring Your Toddler’s Head for the Perfect Fit
Knitting a hat for your toddler is a fun and rewarding project, but getting the right fit is crucial. Taking accurate measurements is the first step in ensuring a hat that fits snugly and comfortably. Here are some tips on how to measure your toddler’s head for the perfect fit.
1. Use a flexible measuring tape: Start by using a flexible measuring tape to measure around the widest part of your toddler’s head. Make sure the tape is not too tight or too loose, as this will affect the accuracy of the measurement.
2. Measure the circumference: Once you have the measuring tape in place, gently bring it around your toddler’s head and record the measurement in inches or centimeters. This measurement will be the circumference of their head.
3. Measure the height: To determine the height of the hat, measure from the base of your toddler’s ear to the top of their head. This will help you create a hat that covers their ears and provides enough room at the top.
4. Consider growth and stretch: Keep in mind that toddlers grow quickly, so it’s a good idea to add a little extra room for growth when selecting a hat pattern or adjusting your measurements. Additionally, choose a knitting pattern that has some stretch to accommodate for a comfortable fit.
5. Check your gauge: Before you start knitting, make sure to check your gauge using the yarn and needle size specified in the pattern. This will help ensure that your hat will be the correct size and fit for your toddler.
By taking accurate measurements and considering growth and stretch, you can create a hat that fits your toddler perfectly. Enjoy the process of knitting and watching your little one stay cozy and stylish in their new hand-knit hat!
Basic Knitting Stitches for Beginners

Knitting is a fun and creative hobby that allows you to create beautiful and cozy garments. If you’re just starting out with knitting, it’s important to learn the basic stitches that form the foundation of most knitting projects. With a few essential stitches under your belt, you’ll be able to tackle a wide range of patterns and create your own unique designs.
One of the most basic knitting stitches is the knit stitch. This stitch is created by inserting the right-hand needle through the first stitch on the left-hand needle, wrapping the yarn around the right-hand needle, and pulling it through to create a new loop. The new loop is then transferred to the right-hand needle, and the process is repeated for each stitch in the row. The result is a row of interlocking loops that form the fabric of the knitted piece.
Knitting Pattern
- Garter Stitch: The garter stitch is created by knitting every stitch in each row. This stitch creates a bumpy texture and is commonly used for scarves, dishcloths, and blankets.
- Stockinette Stitch: The stockinette stitch is created by knitting one row and purling the next row. This stitch creates a smooth, V-shaped pattern on one side and a bumpy texture on the other side. It is often used for sweaters, hats, and socks.
- Ribbing: Ribbing is created by alternating knit and purl stitches in a specific pattern. This stitch creates a stretchy and elastic fabric and is commonly used for cuffs, collars, and hems.
As you become more comfortable with the basic knitting stitches, you can start experimenting with more complex patterns and techniques. Knitting is a versatile craft that offers endless possibilities for creating unique and beautiful knitted items. So grab your needles, choose your favorite yarn, and start exploring the world of knitting!
Understanding the Pattern Instructions
If you are new to knitting or have never used a knitting pattern before, it can sometimes be overwhelming to understand the instructions. However, with a little patience and practice, you will be able to follow along and create a beautiful toddler hat.
The first step in understanding the pattern instructions is to familiarize yourself with the abbreviations used. The pattern will likely include abbreviations for different stitches and techniques, such as knit (K), purl (P), yarn over (YO), and decrease (dec). Take note of these abbreviations and refer to the pattern’s key or glossary if you are unsure of any.
Next, carefully read through the pattern from start to finish. It is important to get an overall understanding of the steps involved before you begin. Pay attention to any special instructions or variations in stitches that may occur throughout the pattern.
The pattern will also provide you with the necessary materials and measurements. Make sure you have the correct size needles, yarn, and any additional tools or notions required. Take note of the gauge given in the pattern and swatch beforehand to ensure your finished hat will have the correct measurements.
Once you have familiarized yourself with the abbreviations, read through the pattern, and gathered your materials, you are ready to start knitting. Take it one step at a time and refer back to the pattern as needed. If you get stuck or have any questions, don’t hesitate to reach out to more experienced knitters or consult online resources for help. With practice, you will soon become comfortable reading and understanding knitting patterns.
Casting On and Starting Your Toddler’s Hat
When it comes to knitting a hat for your toddler, one of the first steps is casting on. Casting on is the process of creating the foundation row of stitches that will form the brim of the hat. There are several different methods you can use to cast on, but the most common method is the long tail cast on.
To start the long tail cast on, you will need to estimate how much yarn you will need for the cast on. Generally, you will need about one inch of yarn for each stitch you are casting on. Once you have estimated the amount of yarn you will need, make a slipknot at the end of the yarn and place it on one of the knitting needles. Hold the needle with the slipknot in your right hand and the other needle in your left hand.
Next, hold the yarn between your thumb and index finger of your left hand and make a loop around your thumb. Insert the right needle into the loop from the front and grab the yarn that is coming from the slipknot. Bring the needle back through the loop, creating a new loop on the right needle. Repeat this process until you have cast on the desired number of stitches.
Once you have cast on the stitches for the brim of the hat, you can start knitting the body of the hat. Depending on the pattern you are following, you may need to switch to a different needle size or change your knitting technique. Make sure to read the pattern instructions carefully to ensure you are following the correct steps.
Now that you have successfully cast on and started your toddler’s hat, you can continue knitting until you reach the desired length. Make sure to follow the pattern instructions for any shaping or decreases that may be required. With a little patience and practice, you will have a beautiful handmade hat for your little one to wear.
Knitting the Body of the Hat
In order to knit the body of the hat, you will need to continue using the knitting needles and the yarn that you have chosen. Start by making sure that you have the correct number of stitches on your needle, as specified in the pattern. This will ensure that your hat is the correct size and shape.
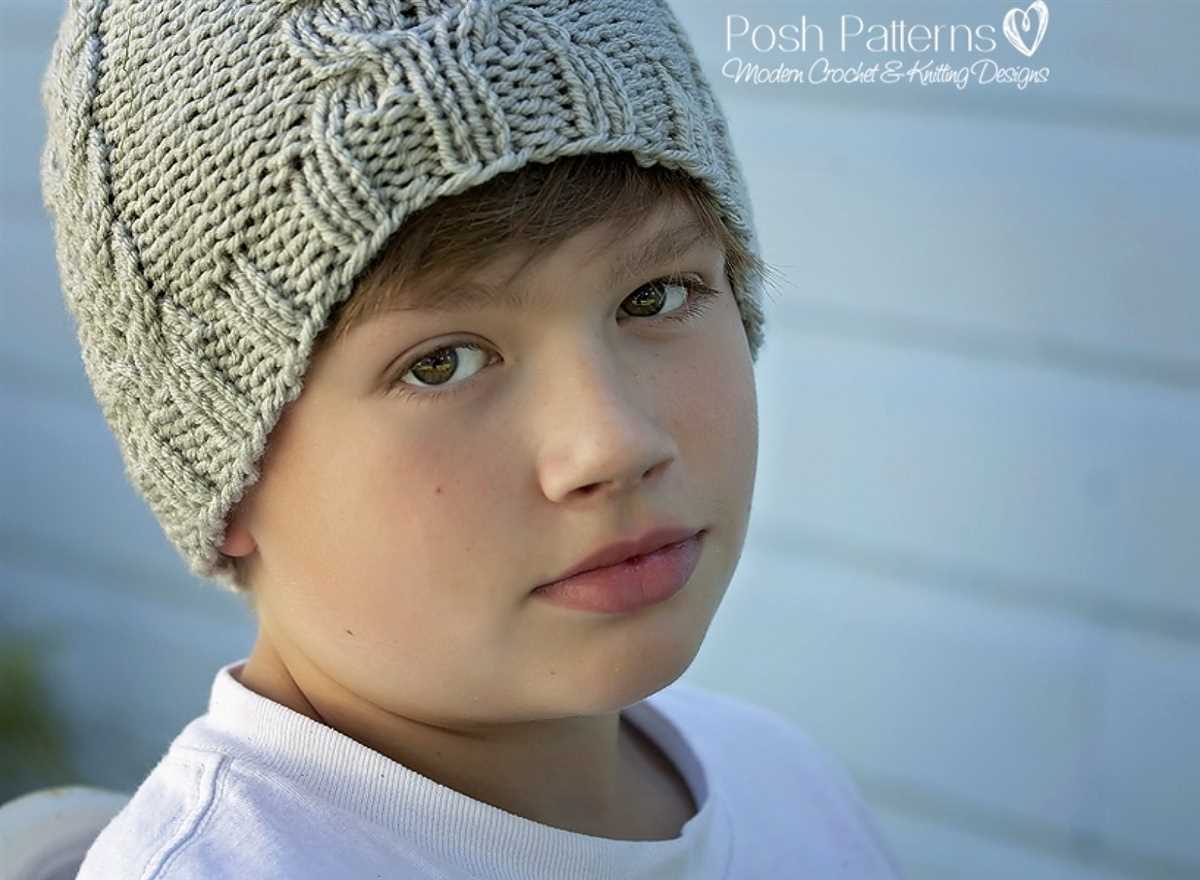
Once you have the correct number of stitches, you can begin working in the pattern stitch that is specified. This may involve knitting and purling in a specific order, or it may involve more complex stitch patterns, such as cables or lace. Make sure to follow the pattern closely, as each stitch is important for creating the desired texture and shape of the hat.
If the pattern specifies any shaping or decreases, make sure to follow those instructions as well. Shaping can be done by decreasing stitches at specific points in the pattern, which will create a more fitted or slouchy shape, depending on the design. Following the shaping instructions will help ensure that your hat fits properly.
Continue knitting in the pattern stitch and following any shaping instructions until the body of the hat reaches the desired length, as specified in the pattern. This length will vary depending on the style of the hat and the yarn that you are using. Once you reach the desired length, you can then move on to finishing the hat, such as adding a brim or crown, according to the pattern instructions.
Adding Decorative Details
When knitting a toddler hat, adding decorative details can enhance the overall design and make the hat more appealing. There are various ways to incorporate decorative elements into your knitting project, allowing you to customize the hat to your liking.
1. Embroidery: Embroidery is a popular method to add decorative details to a toddler hat. You can use colorful yarn or embroidery thread to embroider cute designs like flowers, animals, or initials onto the hat. This adds a playful and personalized touch to the finished piece.
2. Appliques: Appliques are another great way to add decorative details. You can knit or crochet small shapes like hearts, stars, or animals separately and then sew them onto the hat. This adds dimension and texture to the hat, making it stand out.
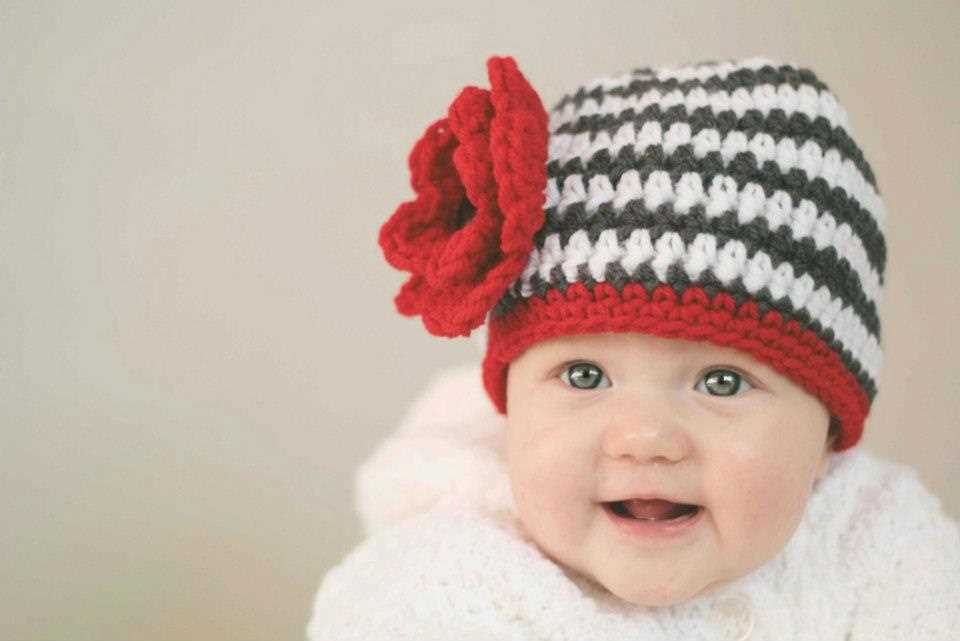
3. Pom-poms: Pom-poms are a fun and popular decoration for toddler hats. You can easily make pom-poms using colorful yarn and attach them to the top or sides of the hat. They add a playful and whimsical touch, perfect for a toddler’s accessory.
4. Ribbons and bows: Adding ribbons or bows can provide a girly and adorable touch to a toddler hat. You can attach satin or grosgrain ribbons in coordinating colors and tie them into bows. This adds a feminine and elegant flair to the hat.
5. Button accents: Buttons can be used as decorative accents on a toddler hat. Choose small, colorful buttons and sew them onto the hat to create a cute and eye-catching design. Just make sure the buttons are securely attached to prevent any choking hazards.
By adding these decorative details, you can create a unique and charming toddler hat that is sure to be loved by both the child and the parents. Get creative and have fun with your knitting project!
Shaping the Crown of the Hat

Once you have completed the brim of the toddler hat, it’s time to start shaping the crown. This is the part of the hat that will sit on top of your child’s head and give the hat its traditional shape. There are several different ways to shape the crown, depending on the style and design of the hat you are knitting.
One common method is to decrease the number of stitches gradually to create a rounded crown. This can be done by knitting two stitches together at regular intervals, usually every few rows. As you continue to decrease, the stitches will come together and form the shape of the crown.
Decreasing Stitches
To decrease stitches, you can use a variety of techniques such as knit two together (k2tog) or slip, slip, knit (ssk). These techniques help to reduce the number of stitches on your needles without creating any gaps or holes in the fabric. It’s important to follow the instructions provided in the knitting pattern to ensure you’re decreasing stitches correctly.
Another method to shape the crown is by knitting a series of short rows. Short rows are rows that are not worked all the way across the knitting. Instead, you turn the work before reaching the end of the row and work back in the other direction. This creates extra fabric in certain areas, which can be used to create shape and dimension in the crown of the hat.
Once you have finished shaping the crown, you can continue knitting until the hat reaches the desired length. You can then bind off the stitches and weave in any loose ends. Your toddler hat is now complete and ready to be worn by your little one!
Finishing Touches: Binding Off and Weaving in Ends
Once you have completed knitting your toddler hat, you will need to finish it off by binding off and weaving in the ends. Binding off is the process of securing the final row of stitches and creating a clean edge. To bind off, knit the first two stitches as usual, then insert the left needle into the first stitch on the right needle. Lift this stitch over the second stitch and off the needle. Repeat this process until only one stitch remains, then cut the yarn and pull it through the last stitch to secure it.
After binding off, you will have a few loose ends of yarn that need to be woven in to give the hat a polished look. To weave in ends, thread the loose end onto a yarn needle. Insert the needle under the stitches on the wrong side of the fabric, following the path of the yarn. Repeat this process for about an inch, then trim any excess yarn. Weaving in ends ensures that the yarn is secure and prevents the hat from unraveling.
The finishing touches of binding off and weaving in ends are important steps in completing your toddler hat. These steps not only give the hat a professional look but also ensure that it will withstand wear and tear. Take your time and double-check your work to ensure that the binding off is secure and the ends are neatly woven in. With these final steps complete, your toddler hat will be ready to keep your little one warm and stylish.
Caring for Your Hand-Knit Toddler Hat
Once you have completed knitting your toddler hat, it’s important to properly care for it to ensure its longevity and to keep it in pristine condition. Here are some tips for caring for your hand-knit toddler hat:
1. Hand Wash: Hand-knit items are delicate and should be hand-washed instead of machine-washed. Fill a basin with lukewarm water and add a small amount of gentle detergent. Gently swirl the hat in the water, ensuring that it is fully submerged. Rinse the hat in clean, lukewarm water until all soap residue is gone. Squeeze out excess water, being careful not to twist or wring the hat. Lay it flat on a clean towel to air dry.
2. Storage: When not in use, it’s important to store your hand-knit toddler hat properly to prevent any damage. Fold the hat neatly and store it in a clean, dry place away from direct sunlight to avoid fading or discoloration. You can also place the hat in a small cloth bag or pillowcase to protect it from dust and moisture.
3. Avoid Stretching: While hand-knit items are stretchy, it’s best to avoid excessive stretching as it can cause the hat to lose its shape. When putting on or taking off the hat, gently stretch it only as needed to avoid any unnecessary strain on the fibers.
4. Repairing: If you notice any loose threads or small holes in your hand-knit toddler hat, it’s important to repair them as soon as possible. Use a small needle or crochet hook to weave in any loose threads and stitch up any holes. Taking immediate action will prevent further damage and help prolong the life of the hat.
5. Extra Protection: To provide extra protection to your hand-knit toddler hat, you can consider treating it with a fabric or yarn conditioner. This will help maintain the hat’s softness, prevent static, and keep it smelling fresh.
6. Regular Inspections: It’s a good practice to regularly inspect your hand-knit toddler hat for any signs of wear or damage. Check the seams, stitches, and overall condition of the hat to identify any potential issues. Catching and addressing them early will help prevent further damage and ensure that your hat lasts for a long time.
In conclusion, by following these care tips, you can maintain the quality and appearance of your hand-knit toddler hat for years to come. Enjoy the warmth and style it brings to your little one’s wardrobe!