Knit Your Own Tiny Teddy Bear with this Free Pattern

Knitting is a relaxing pastime that allows you to create beautiful and unique items, and what could be more charming than a small teddy bear? This free knitting pattern will guide you through the process of creating your own adorable teddy bear using simple knitting techniques.
Whether you are a beginner knitter or an experienced one, this pattern is perfect for both. With just a few basic stitches and some patience, you can create a cuddly companion for yourself or a loved one.
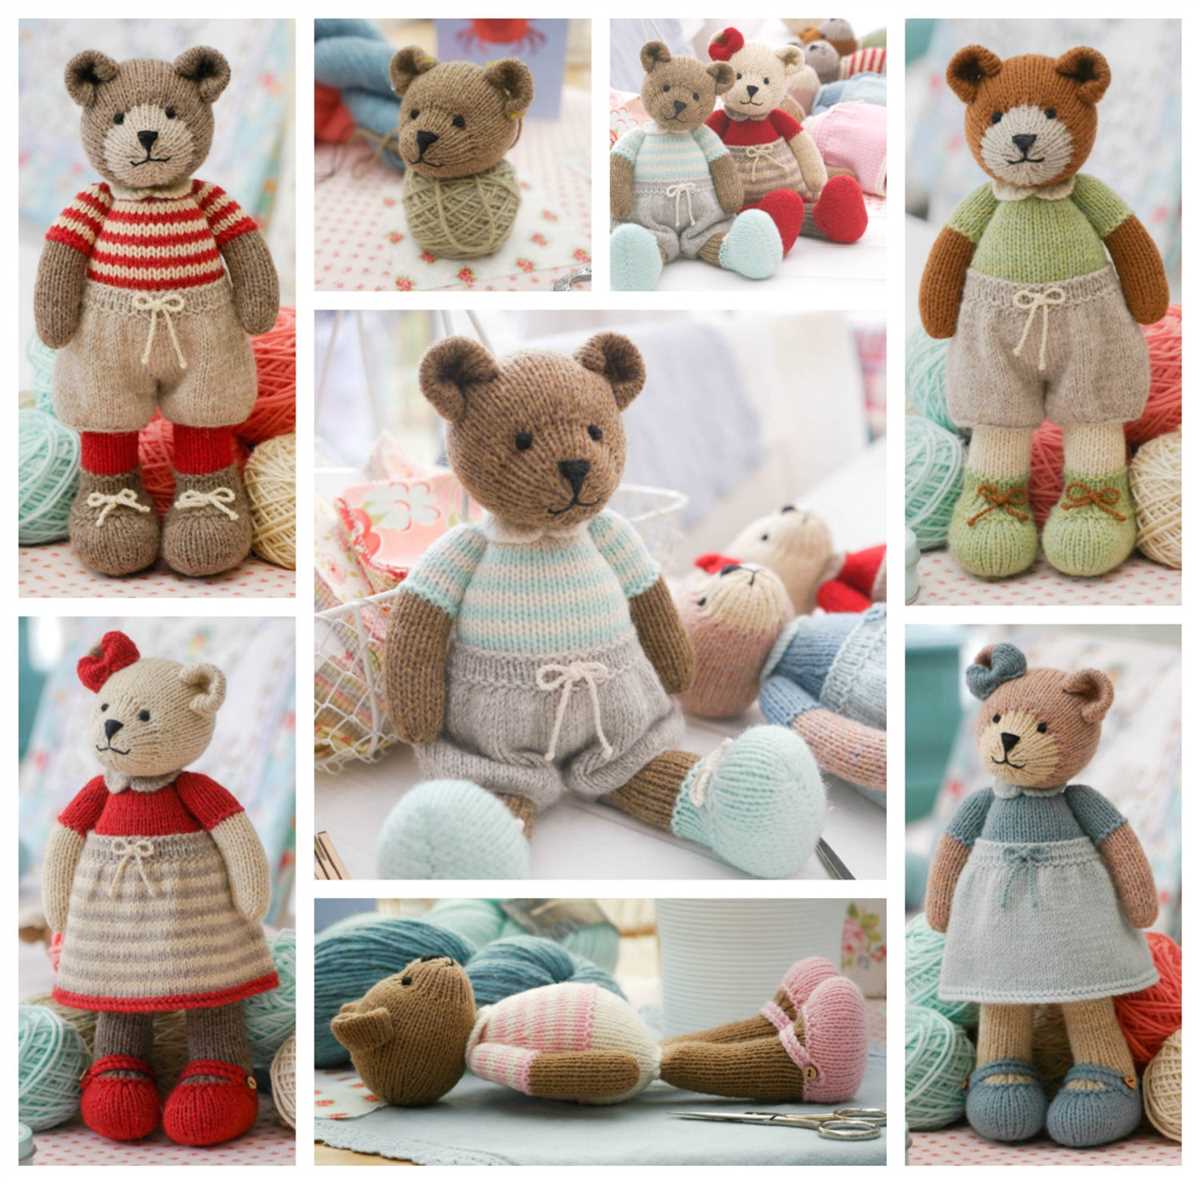
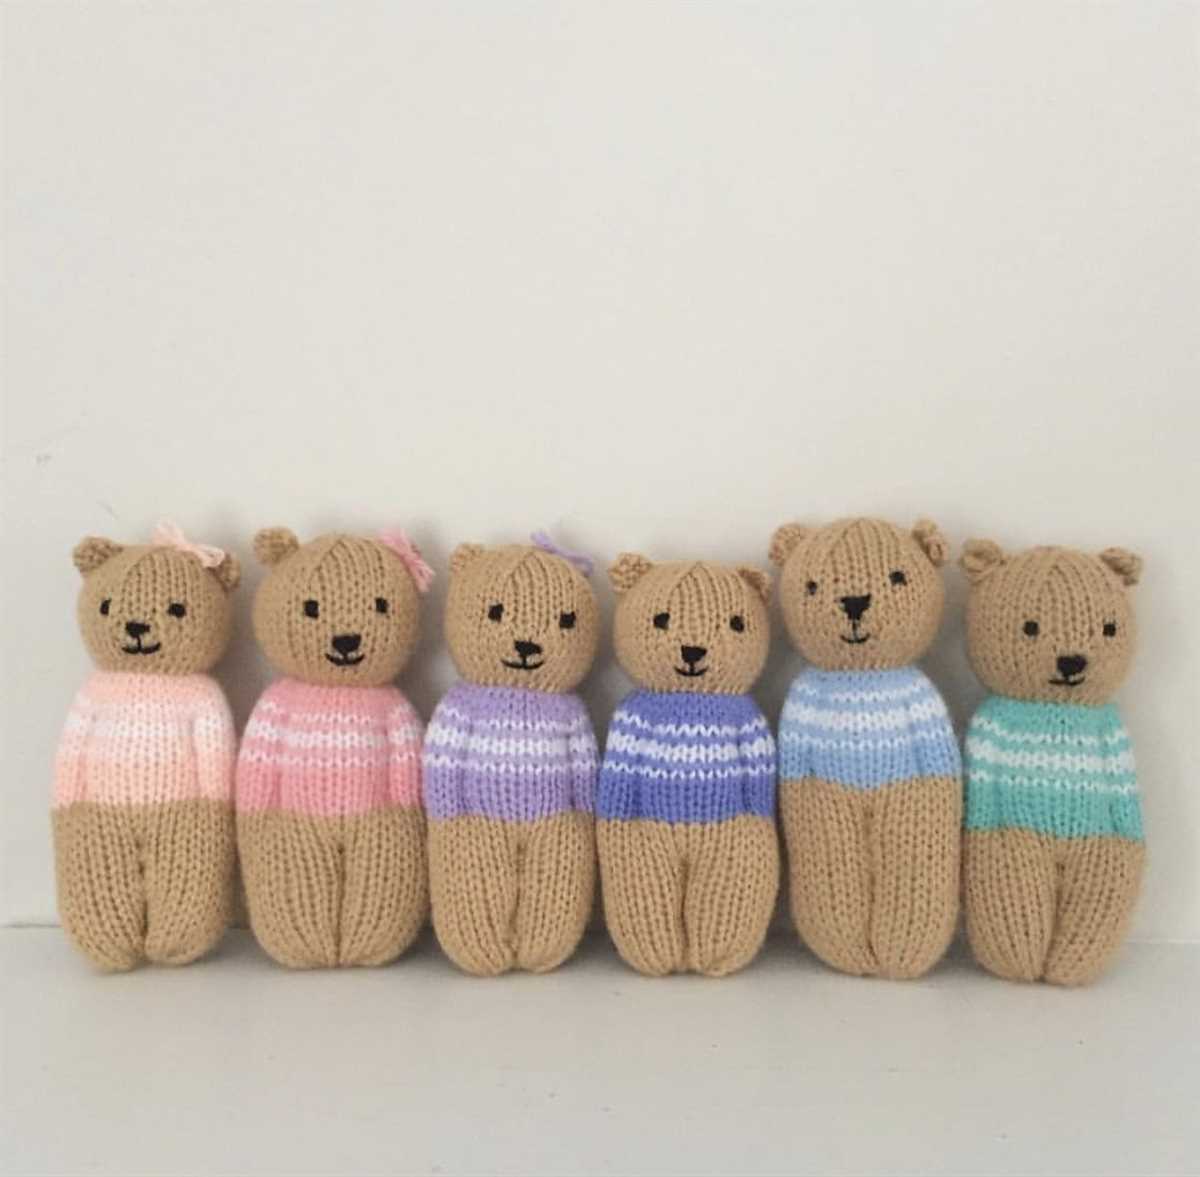
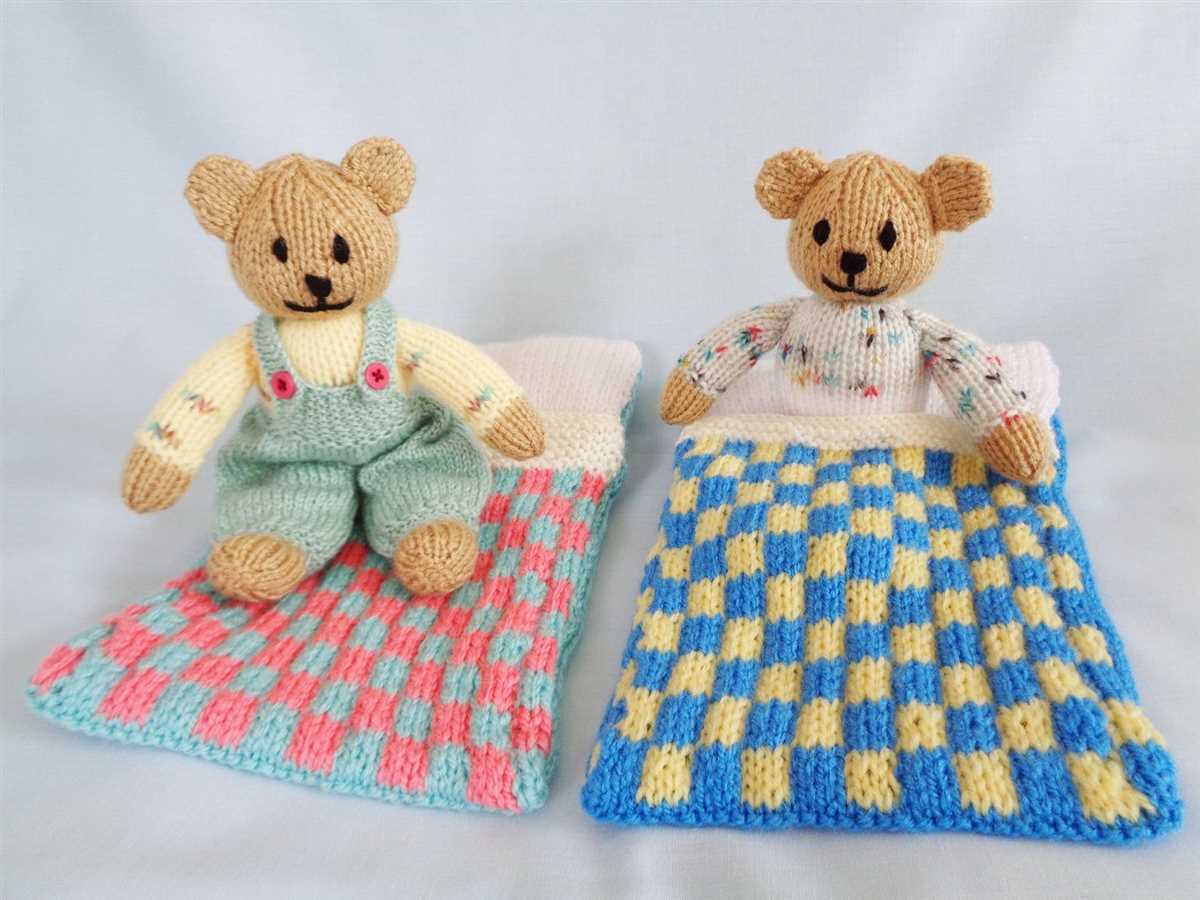
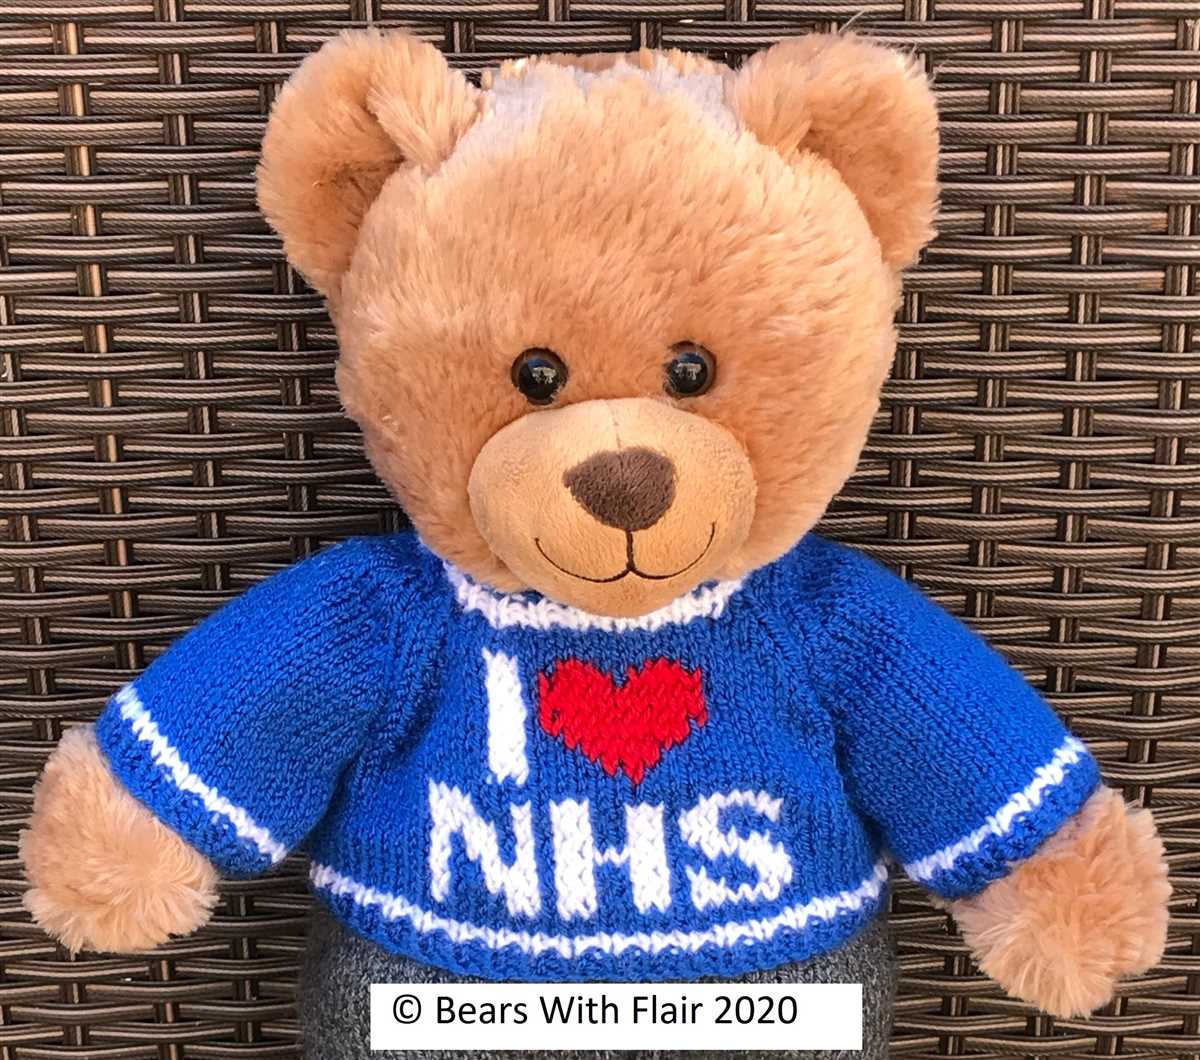
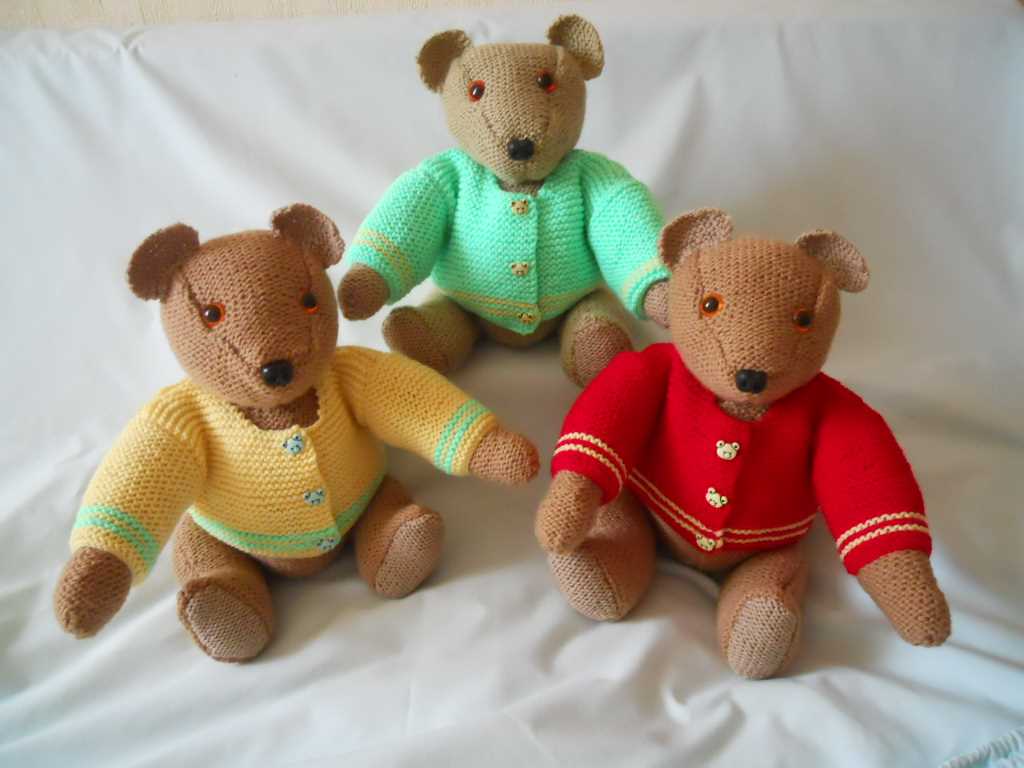
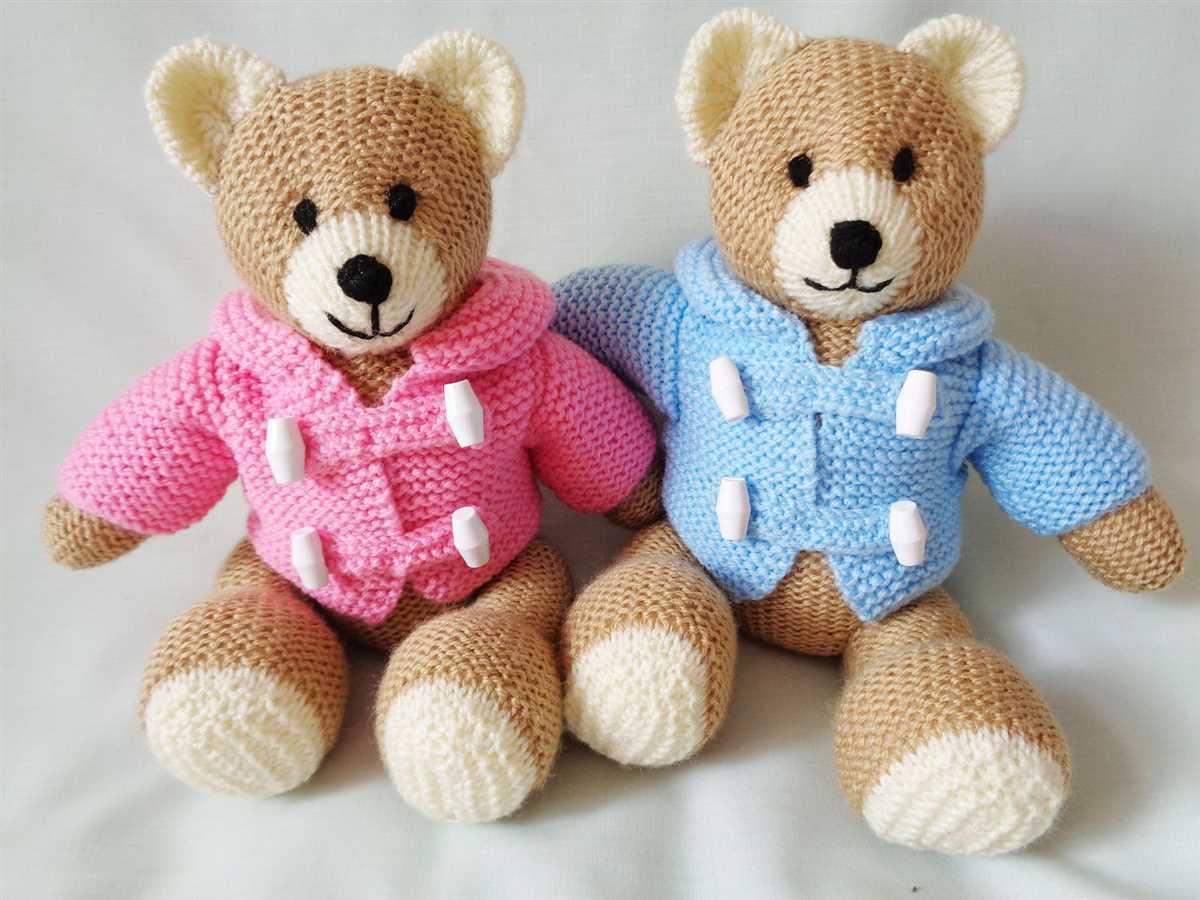
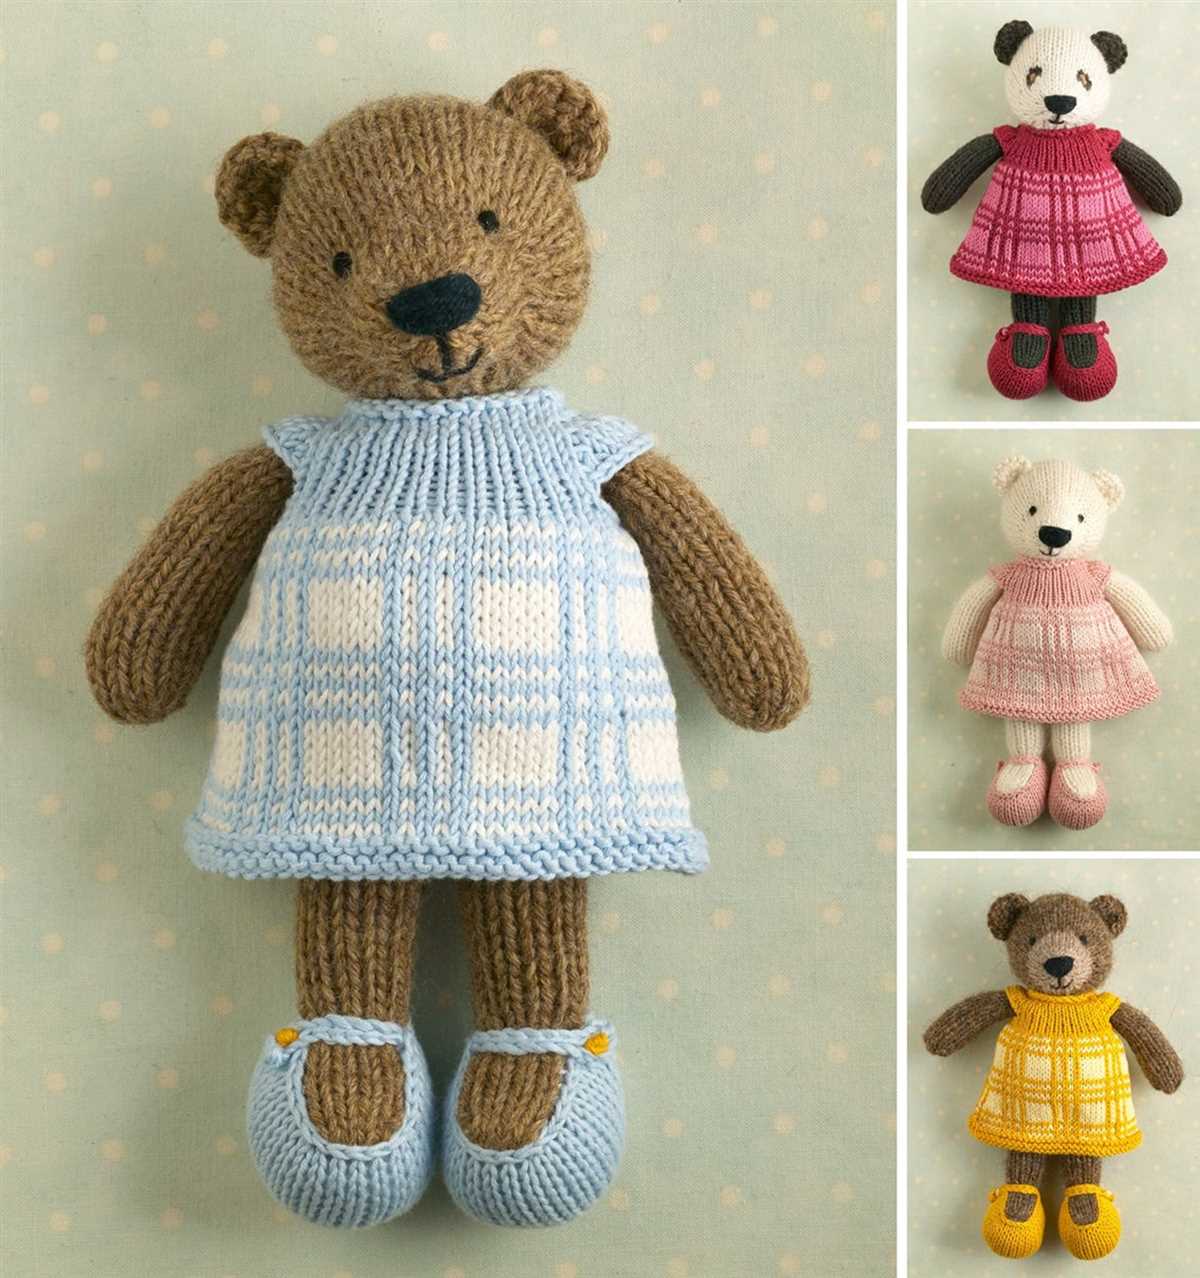
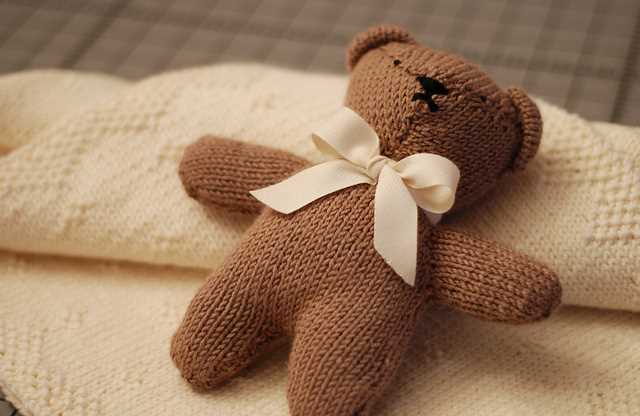
The pattern includes step-by-step instructions, as well as a list of materials needed to complete the project. You can customize the bear by choosing different colors and adding small details like a bow tie or a scarf. The finished product will be a cherished keepsake that can be passed down through generations.
So, grab your knitting needles and get ready to embark on a cozy and enjoyable knitting adventure with this free teddy bear pattern. Whether you are knitting for yourself or as a gift, this pattern is sure to bring joy and warmth to anyone who receives it.
Materials needed
In order to complete this knitted teddy bear, you will need the following materials:
- Yarn: Choose a soft, cuddly yarn in the color of your choice. The yarn should be suitable for size 5 knitting needles.
- Knitting needles: Size 5 knitting needles will be needed to create the teddy bear.
- Stuffing: To give your teddy bear its plush and cuddly shape, you will need some stuffing. This can be purchased at a craft store or you can use recycled materials such as fabric scraps or cotton.
- Yarn needle: A yarn needle will be needed for seaming and weaving in ends.
- Scissors: A pair of scissors will be needed to cut the yarn and trim any excess.
- Safety eyes and nose: If you want to give your teddy bear a more realistic look, you can use safety eyes and nose. These can be purchased at a craft store or online.
Once you have gathered all of these materials, you will be ready to start knitting your small teddy bear. Make sure to check the gauge before beginning and have fun with your knitting project!
Gauge and Size
The gauge and size of your knitting project are important factors to consider when making a small teddy bear. To ensure that your finished teddy bear has the desired proportions and fits well, it is crucial to follow the recommended gauge and measurements provided in the knitting pattern.
Gauge: The gauge refers to the number of stitches and rows per inch that you should achieve in your knitting. It helps to determine the overall size and shape of your project. To obtain the correct gauge, it is recommended to use the suggested yarn weight and needle size specified in the pattern. This will ensure that your teddy bear turns out the right size and is not too loose or too tight.
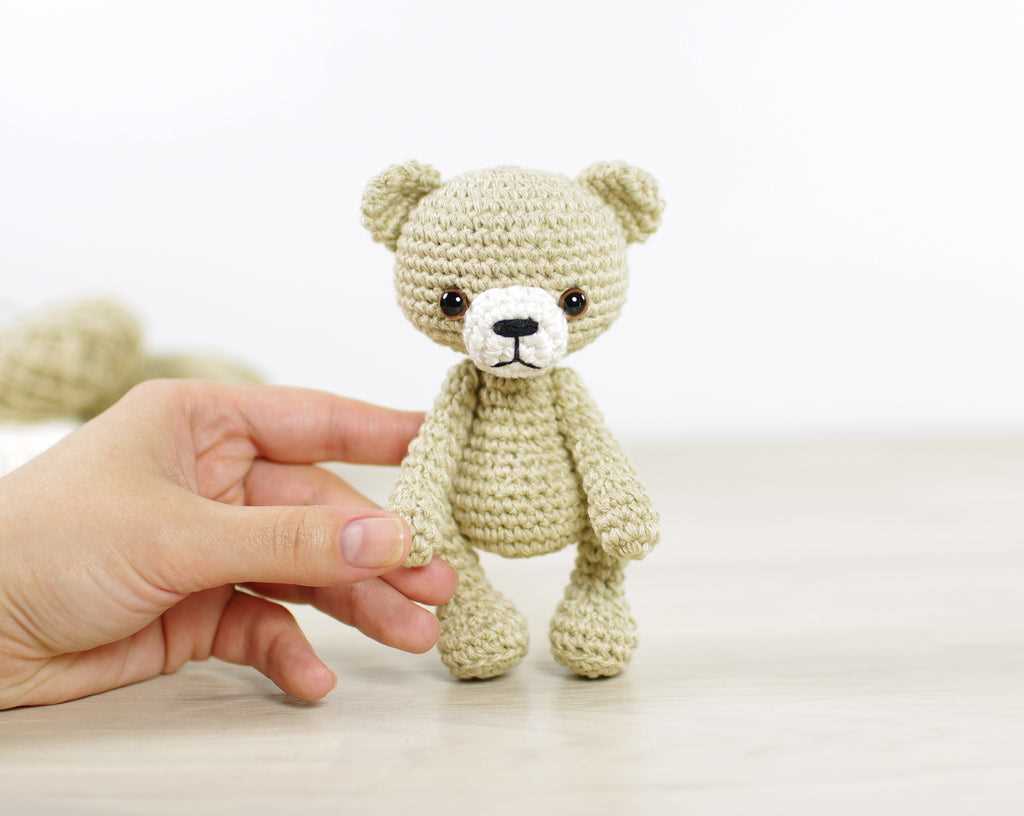
Size: The size of your small teddy bear will depend on the gauge you achieve and the yarn and needles used. Typically, the pattern will provide measurements for the finished teddy bear, including height and width. It is important to knit swatches and measure them accurately to ensure that your teddy bear matches the desired size. Adjustments can be made by changing the needle size or yarn weight if necessary.
To keep track of your progress and ensure that your knitting matches the pattern specifications, it is helpful to use a tape measure or ruler. Checking gauge frequently as you work on your teddy bear will prevent any surprises and allow you to make adjustments if needed. Remember to take your time and enjoy the process of creating a unique and adorable small teddy bear!
Body
The body of the small teddy bear is knitted in one piece, starting from the bottom and working upwards. It is recommended to use double-pointed needles or a circular needle, depending on your preference and the size of the bear.
To start, cast on the required number of stitches, which will vary depending on the size of the bear and the yarn you are using. Generally, 20-30 stitches should be sufficient for a small teddy bear. Make sure to leave a long tail for sewing up the bottom of the bear later.
Next, work in stocking stitch (knit 1 row, purl 1 row) until the body measures the desired length. You can adjust the length to your preference, but around 10-15 cm is typical for a small teddy bear.
Once the body is the desired length, it is time to shape the head. To do this, decrease stitches evenly across the row by knitting 2 stitches together. Continue decreasing until you have approximately 6-8 stitches remaining.
Finally, break the yarn, leaving a long tail for sewing up. Thread the yarn through the remaining stitches and pull tight to close up the head. Secure the yarn and weave in any loose ends.
Now that the body is complete, you can move on to knitting the arms and legs of the teddy bear.
Head

The head is an essential part of the teddy bear’s body, as it gives the bear its character and personality. When knitting the head, it is important to pay attention to the details to create a realistic and adorable face.
Materials:
- Yarn in the color of your choice
- Knitting needles in an appropriate size for your yarn
- Stuffing material
- Yarn needle
- Scissors
Pattern:
- Cast on the required number of stitches. This will depend on the size of your teddy bear.
- Knit in stockinette stitch until the head reaches the desired length.
- Once the head is the right size, cut the yarn, leaving a long tail.
- Thread the tail through the yarn needle and slip the stitches off the knitting needles onto the needle.
- Pull the tail tight to close the top of the head.
- Secure the tail by weaving it in on the wrong side of the head.
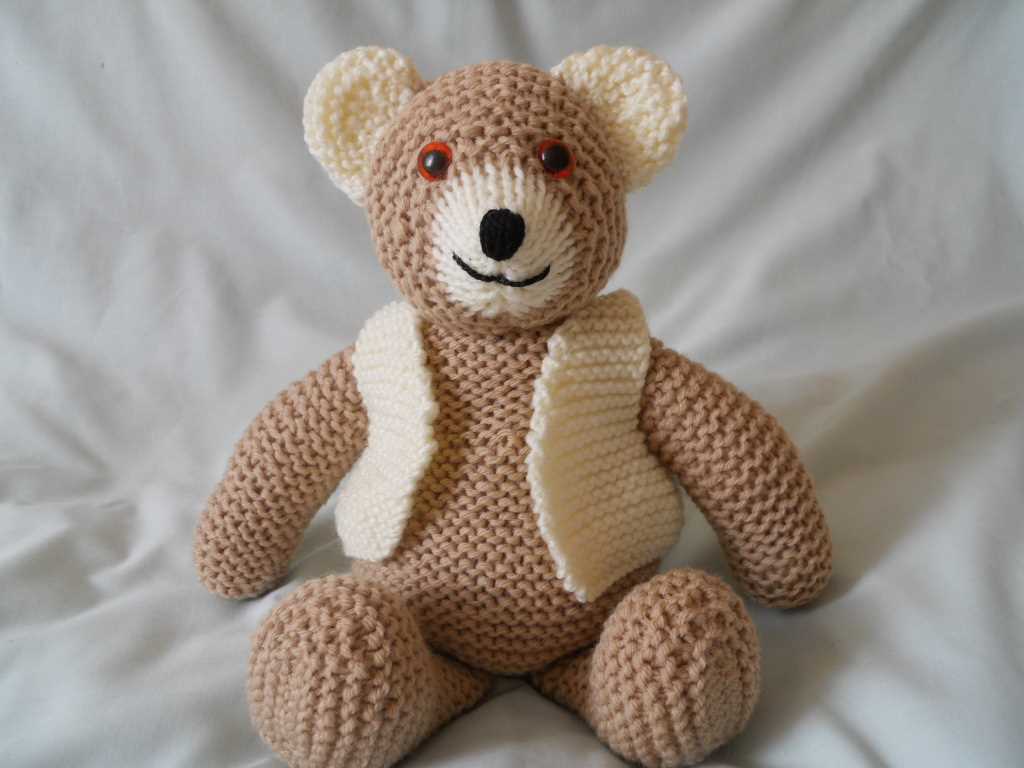
Once the head is complete, you can embellish it with additional features such as embroidered eyes, nose, and mouth. Be creative and experiment with different expressions to give your teddy bear a unique look! Remember to stuff the head firmly before closing it, as this will give your teddy bear a nice shape.
Arms
The arms of the small teddy bear are an important part of its overall appearance. Here is the pattern to create the arms:
Materials:
- Yarn in the desired color
- Knitting needles appropriate for the yarn weight
- Teddy bear stuffing
- Tapestry needle
Instructions:
- Cast on 12 stitches.
- Knit in stockinette stitch for 10 rows.
- Next row: Knit 2 stitches together, knit to the end of the row. (11 stitches)
- Repeat the last row until there are 6 stitches remaining on the needle.
- Knit 1 row.
- Next row: Knit 2 stitches together, knit to the end of the row. (5 stitches)
- Knit 1 row.
- Next row: Knit 2 stitches together, knit to the end of the row. (4 stitches)
- Knit 1 row.
- Next row: Knit 2 stitches together, knit to the end of the row. (3 stitches)
- Knit 1 row.
- Next row: Knit 2 stitches together, knit to the end of the row. (2 stitches)
- Knit 1 row.
- Next row: Knit 2 stitches together. (1 stitch)
- Knit 1 row.
- Bind off.
Repeat these instructions to create the second arm.
Assembly:
Sew the arms securely in place on the body of the teddy bear using the tapestry needle and yarn. Make sure to place the arms evenly and symmetrically on the sides of the body. Once the arms are attached, stuff the teddy bear firmly with the teddy bear stuffing.
Note: The arms can be positioned to hug the body or hang loose depending on the desired look of the teddy bear.
Legs
The legs of the small teddy bear are an important part of the knitting pattern. They provide support and balance for the bear, allowing it to stand upright. The pattern calls for knitting two separate legs, which will be attached to the body later on.
To begin knitting the legs, cast on the required number of stitches as indicated in the pattern. This will create the base of the leg. Use a stitch marker to mark the beginning of the round, as you will be working in the round to create a seamless leg.
Next, follow the pattern instructions to knit the desired number of rounds, working in your chosen stitch pattern. The pattern may call for knitting in stockinette stitch, ribbing, or a textured stitch pattern, depending on the desired look for the bear.
Once the required number of rounds are complete, you will start shaping the foot of the leg. This is typically done by decreasing stitches evenly around the leg to create a tapered shape. Follow the pattern instructions for the specific decrease method and rate.
After the foot shaping is complete, continue knitting for the specified number of rounds to create the length of the leg. This may vary depending on the desired proportions of the bear.
Once both legs are complete, they can be attached to the body of the bear using the specified joining method. This is usually done by sewing the legs onto the body using a yarn needle and matching yarn. Follow the pattern instructions for the specific joining method and placement.
Knitted Teddy Bear Ears
When making a small teddy bear, one of the key features to consider is the ears. The ears give the bear its characteristic and adorable look. Here, we provide a free knitting pattern for small teddy bear ears that you can easily follow to create your own cute teddy bear.
To start knitting the ears, you will need some basic supplies such as knitting needles, yarn, and a tapestry needle. The pattern is designed for intermediate knitters, but beginners can also give it a try with some practice.
Materials:
- Knitting needles (size will depend on your desired finished size of the ears)
- Yarn in your preferred color
- Tapestry needle
Instructions:

- Cast on the desired number of stitches, typically around 10-15 stitches.
- Start knitting in stockinette stitch (knit one row, purl one row) until you reach the desired length for the ear.
- Decrease one stitch at the beginning and end of each row until you have a pointed shape.
- Bind off the stitches and cut the yarn, leaving a long tail.
- Use the tapestry needle to weave in the loose ends and shape the ear if necessary.
Repeat the above instructions to create a matching ear for the other side. Once both ears are completed, you can attach them to the head of your knitted teddy bear using the tapestry needle and yarn. Be sure to sew them securely in place to avoid any accidents.
With this free knitting pattern for small teddy bear ears, you can easily add a touch of cuteness and personality to your knitted toy. Get creative with different colors and yarn textures to make each teddy bear unique. Happy knitting!
Assembly
To assemble the small teddy bear, start by carefully weaving in all loose ends of yarn on each separate knitted piece. This will ensure a tidy and finished look to the final product. Use a yarn needle to thread the ends of the yarn through the stitches, making sure they are secure and won’t unravel.
Next, sew the body pieces together using mattress stitch, joining the front and back pieces along the sides. This stitching method creates an invisible seam and gives the teddy bear a seamless appearance. Take the time to align the stitches and match the edges, creating a professional-looking finish.
- Note: Leave a small opening unstitched on one side of the body for stuffing.
Once the body is sewn together, stuff it firmly with polyester fiberfill, making sure to get into all the corners and fill out the limbs. Use a knitting needle or chopstick to push the stuffing into small, hard-to-reach areas.
After the body is stuffed, close the opening using the mattress stitch, securing the stuffing inside. Make sure to pull the yarn tight and knot it securely to prevent any unraveling.
Finally, sew the arms and legs to the body, making sure they are evenly positioned and securely attached. Attach the ears, eyes, and nose using small stitches, carefully following the pattern’s instructions for placement.
Your small teddy bear is now assembled and ready for cuddles! This adorable toy will make a perfect gift for loved ones or a cute addition to any plush collection.
Finishing Touches

Once you’ve completed the main body and limbs of your small teddy bear, it’s time to add the finishing touches to bring your creation to life. These final details will enhance the overall appearance and make your teddy bear look even more adorable.
Embroidered features: Use a needle and embroidery thread to create the facial features of your teddy bear. Embroider the eyes, nose, and mouth using small stitches to ensure they are secure and won’t unravel. You can choose different colors for the eyes and nose to give your teddy bear a unique look.
Attach the ears: Position the ears on the top sides of the head and secure them in place using a needle and thread. Make sure they are symmetrical and evenly spaced for a polished appearance. You can use a contrasting color for the ears to make them stand out.
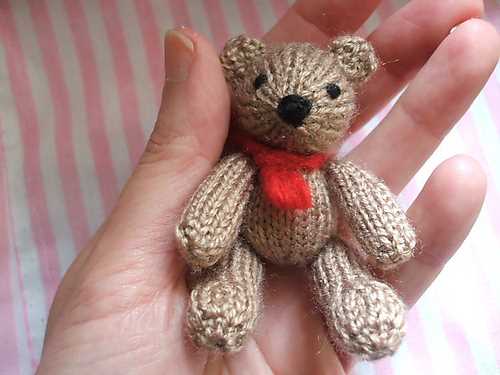
Make a bow tie: To add a touch of charm to your teddy bear, create a tiny bow tie using a small piece of fabric or ribbon. Cut out a rectangle shape, fold it in half lengthwise, and sew the ends together. Wrap a smaller strip of fabric around the center and secure it with stitches or glue. Attach the bow tie to the neck area of your teddy bear and adjust it for a perfect fit.
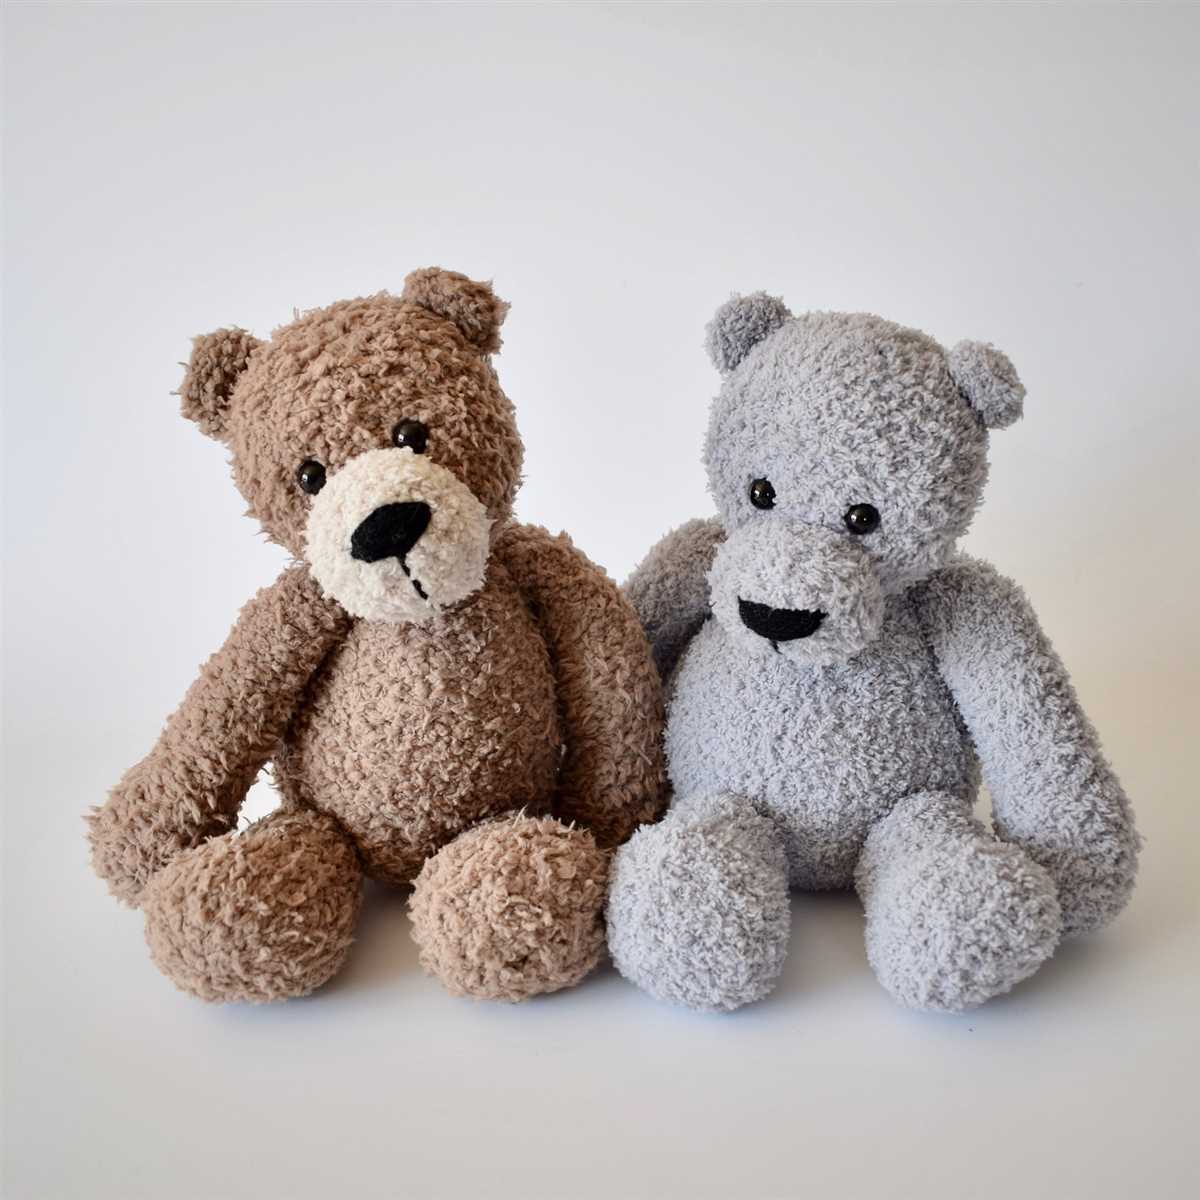
Trim the fur: If you’re using fuzzy yarn or faux fur for your teddy bear, you can trim the fur to give it a more polished look. Use scissors to carefully trim any uneven or excess fur, paying attention to the body, limbs, and face. Take your time and trim in small increments to avoid cutting too much at once.
Add a finishing touch: Once you’ve completed all the details, take a step back and assess your teddy bear. If there are any loose threads or imperfections, use a needle or scissors to tidy up and make any necessary adjustments. This final step will ensure your small teddy bear is ready for cuddles and display!
Tips and Tricks
Knitting a small teddy bear can be a fun project, and with the right tips and tricks, you can create a cute and cuddly toy. Here are some helpful suggestions to make your knitting process easier and more enjoyable:
1. Use high-quality yarn
Choosing the right yarn is crucial for creating a soft and durable teddy bear. Opt for a high-quality yarn that is suitable for small projects like toys. Acrylic or cotton blends are good options as they are easy to work with and have excellent stitch definition.
2. Gauge matters
Before you start knitting, make sure to check your gauge. Small toys require precise calculations, and even a slight difference in tension can affect the final size and shape of your teddy bear. Take the time to knit a gauge swatch and adjust your needle size if necessary.
3. Stitch markers are your friends
When knitting a complex pattern with multiple parts, using stitch markers can help you keep track of your progress. Place markers at the beginning and end of each section or use them to mark specific increases or decreases. This will save you from confusion and ensure accurate assembly.
4. Stuffing and shaping
Soft toy stuffing is essential for giving your teddy bear a huggable shape. Make sure to stuff evenly and firmly, paying attention to the head, limbs, and body. Use small amounts of stuffing at a time and shape as you go. Don’t overstuff, as it can result in a bulky and unnatural-looking toy.
5. Embroidery adds personality
Adding facial features and other details with embroidery is what brings your teddy bear to life. Use embroidery floss in complementary colors and take your time to sew on the eyes, nose, and mouth. Experiment with different stitches to create expressions and unique characteristics.
Conclusion

With these tips and tricks, you’re well-equipped to knit a small teddy bear that will be loved and cherished. Remember to enjoy the process and embrace any mistakes or imperfections as part of the charm. Happy knitting!