Timeless Knit: A Pattern for the Classic Watch Cap

Knitting your own watch cap is not only a fun and rewarding project, but it also allows you to customize the design and fit to your liking. The classic watch cap is a timeless style that is versatile and suitable for both men and women. Whether you’re a seasoned knitter or a beginner looking for a new challenge, this pattern is perfect for you.
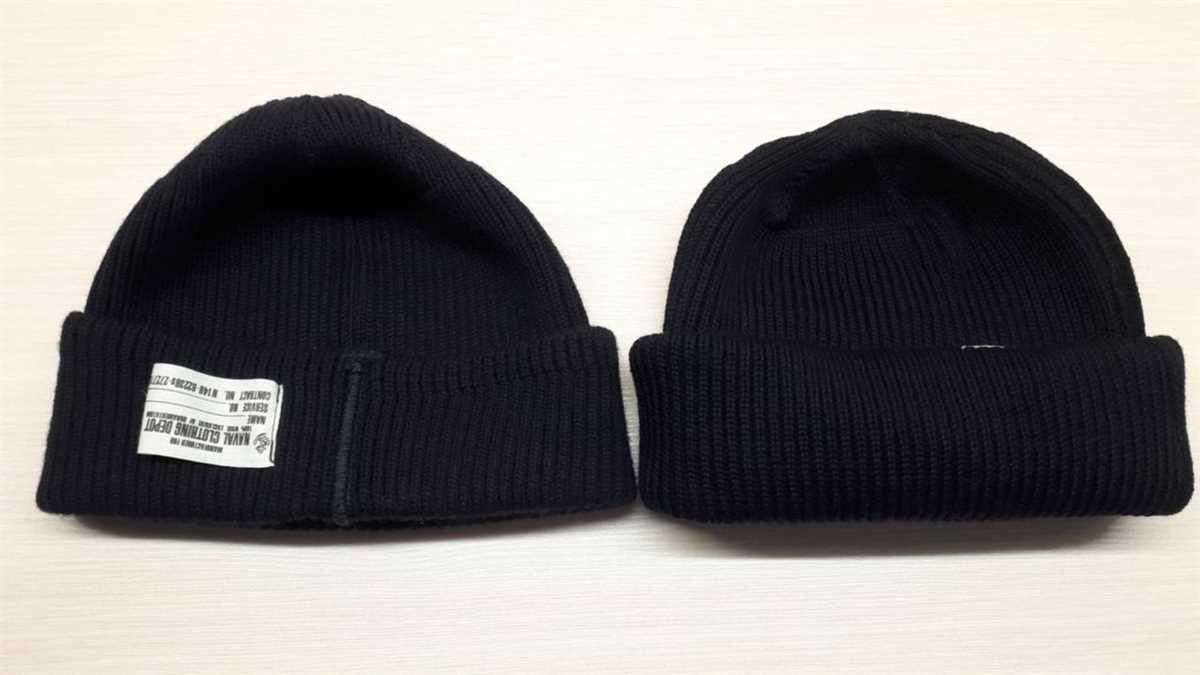
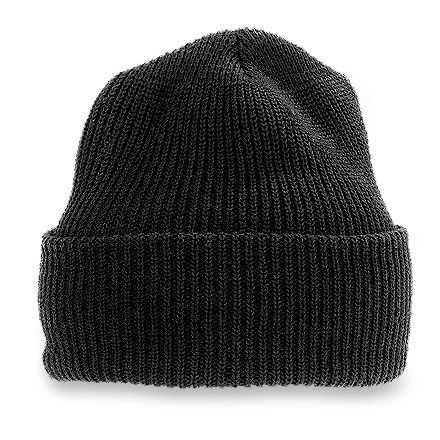
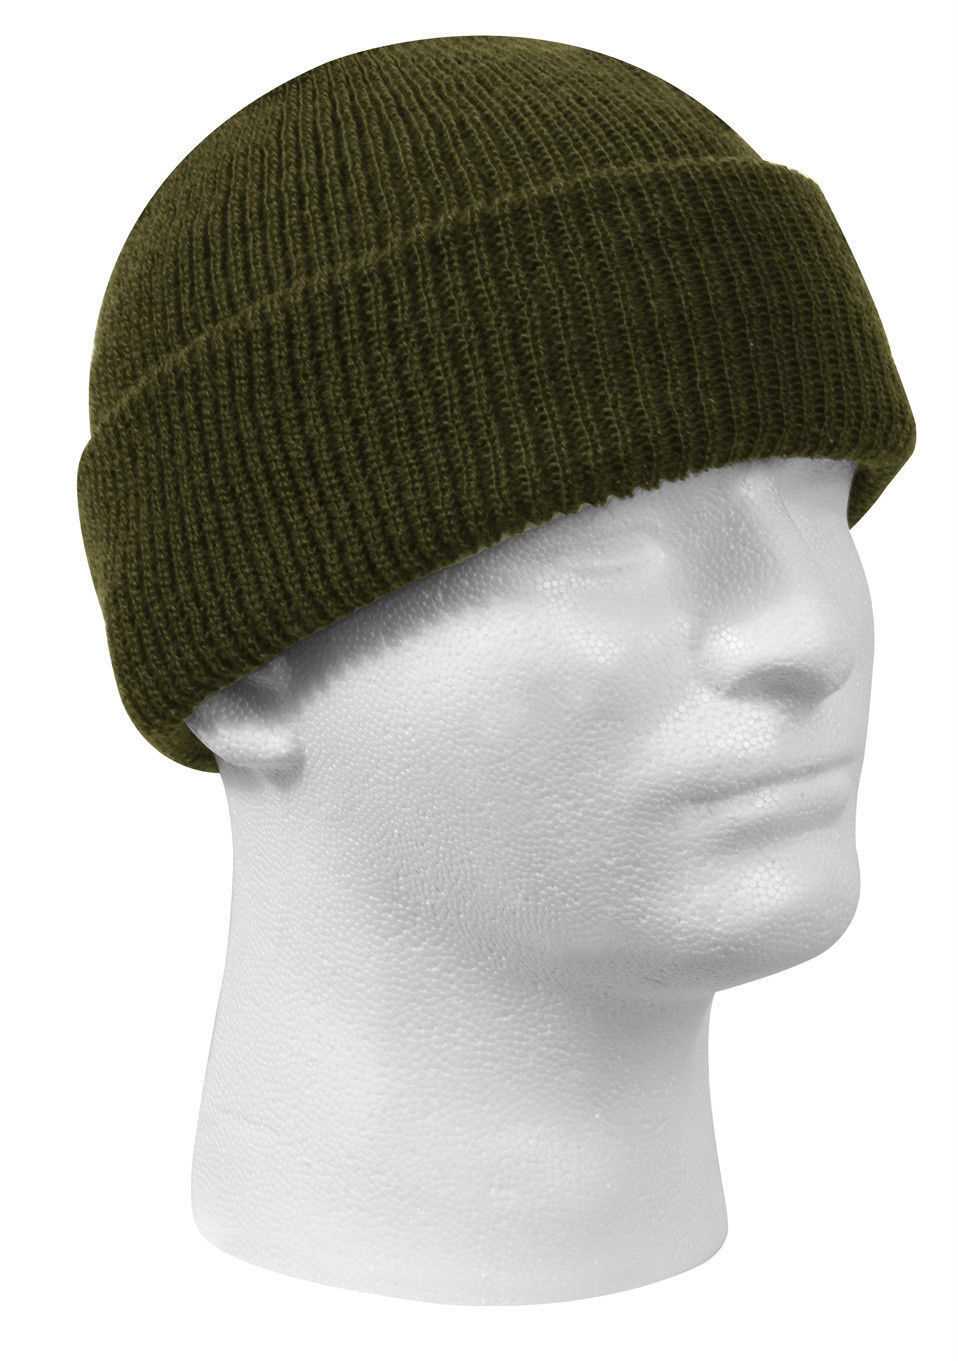
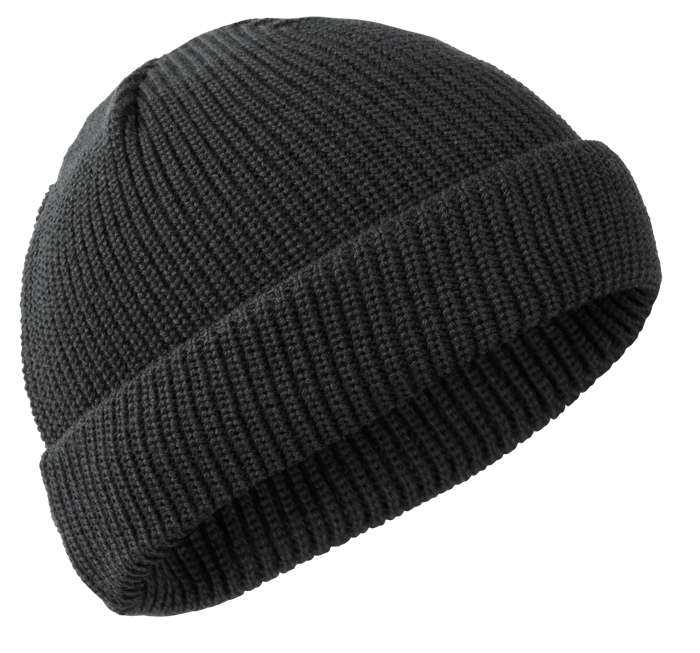
The watch cap pattern offers a simple and straightforward design that is easy to follow. It typically features a ribbed brim for a snug fit and a stockinette stitch body, creating a sleek and timeless look. With its clean lines and minimalistic design, the classic watch cap is a must-have accessory for any wardrobe.
This pattern can be easily adjusted to fit different head sizes by simply adding or subtracting stitches. The watch cap can also be customized with various yarn choices, allowing you to create a cap that is perfect for any season. From cozy wool for the winter months to lightweight cotton for the warmer seasons, the possibilities are endless.
Classic Watch Cap Knit Pattern

A classic watch cap is a timeless and versatile accessory that can be worn by anyone, regardless of age or style. This simple yet stylish hat is perfect for keeping your head warm during the colder months, and can easily be customized to fit your personal taste and preferences through various patterns, colors, and yarn choices.
One popular pattern for a classic watch cap includes knitting in the round, starting with a ribbed brim and then transitioning to stockinette stitch for the body of the hat. The ribbing at the brim helps to create a snug fit and keeps the hat in place. The stockinette stitch adds a smooth and sleek texture to the hat, making it both comfortable and visually appealing.
To begin knitting the classic watch cap, you will need a set of double-pointed needles or a circular needle, depending on your preference and the size of the hat. You will also need a skein of yarn in your chosen color and a set of stitch markers to help keep track of your progress.
The first step is to cast on the desired number of stitches for the ribbed brim. This can vary depending on your head circumference and the desired fit of the hat. Once the brim is complete, you will then transition to the stockinette stitch and continue knitting until the hat reaches your desired length.
Once you have finished knitting the body of the hat, you will need to decrease the number of stitches gradually to create the crown of the hat. This can be done through a series of decreasing rounds, alternating between knitting and decreasing stitches until only a few stitches remain. Finally, you will cut the yarn and weave in the ends to finish off the hat.
The classic watch cap knit pattern is a great project for beginners looking to practice their knitting skills, as well as more experienced knitters looking for a quick and satisfying project. With its timeless design and endless possibilities for customization, the classic watch cap is sure to become a staple in your winter wardrobe.
Materials Needed

To knit the classic watch cap, you will need the following materials:
- Yarn: Choose a thick, soft yarn that is suitable for warm accessories. Look for yarn that is labeled as “bulky” or “chunky.”
- Needles: You will need a set of double-pointed knitting needles in the appropriate size for your yarn. Check the yarn label for the recommended needle size.
- Tape measure: A tape measure will help you accurately measure your head circumference and ensure a proper fit for the cap.
- Stitch markers: Stitch markers will help you keep track of your stitches and shaping while knitting the cap.
- Scissors: You will need scissors to cut the yarn at various points during the knitting process.
- Tapestry needle: A tapestry needle will be used to weave in the loose ends of the yarn once the cap is completed.
Gather these materials before you begin knitting to ensure a smooth and enjoyable knitting experience. Happy knitting!
Choosing the Right Yarn
When it comes to knitting a classic watch cap, choosing the right yarn is crucial to achieving the desired result. The yarn you select will determine the overall look and feel of the finished hat. There are several factors to consider when making your decision.
Fiber: The type of fiber used in the yarn will greatly impact the hat’s warmth, durability, and comfort. Wool is a popular choice for winter hats as it is naturally insulating and moisture-wicking. If you prefer a softer feel, you might opt for a blend of wool and silk or wool and alpaca.
- Weight: Another important consideration is the weight of the yarn. The weight determines the thickness of the yarn and will affect the size and drape of the hat. For a classic watch cap, a medium or worsted weight yarn is typically recommended.
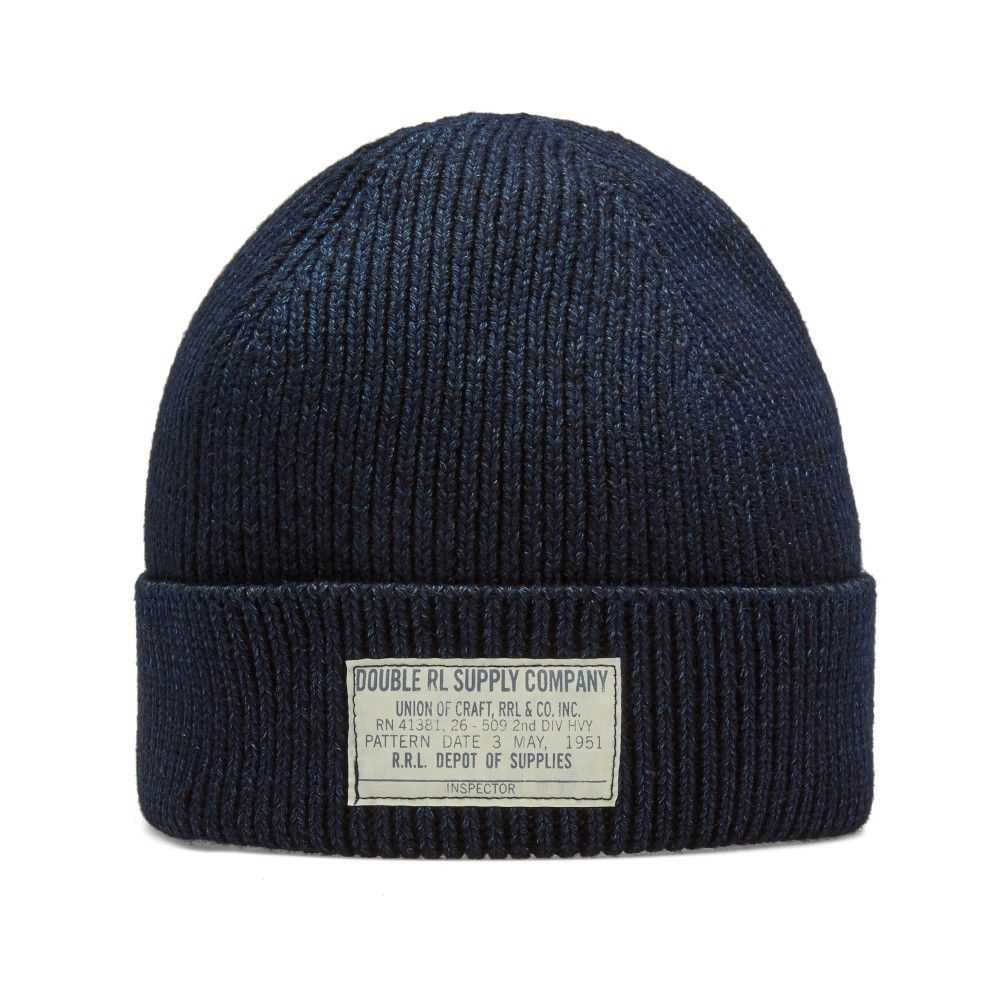
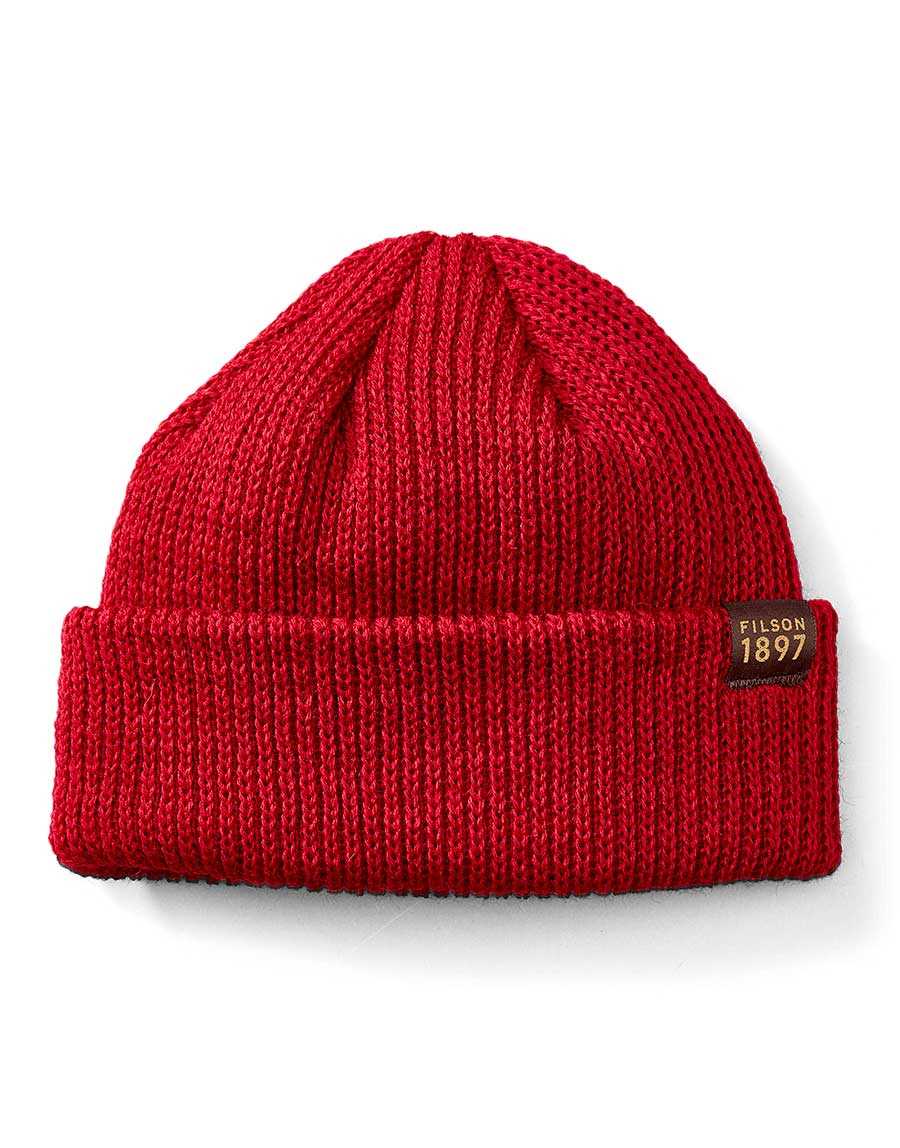
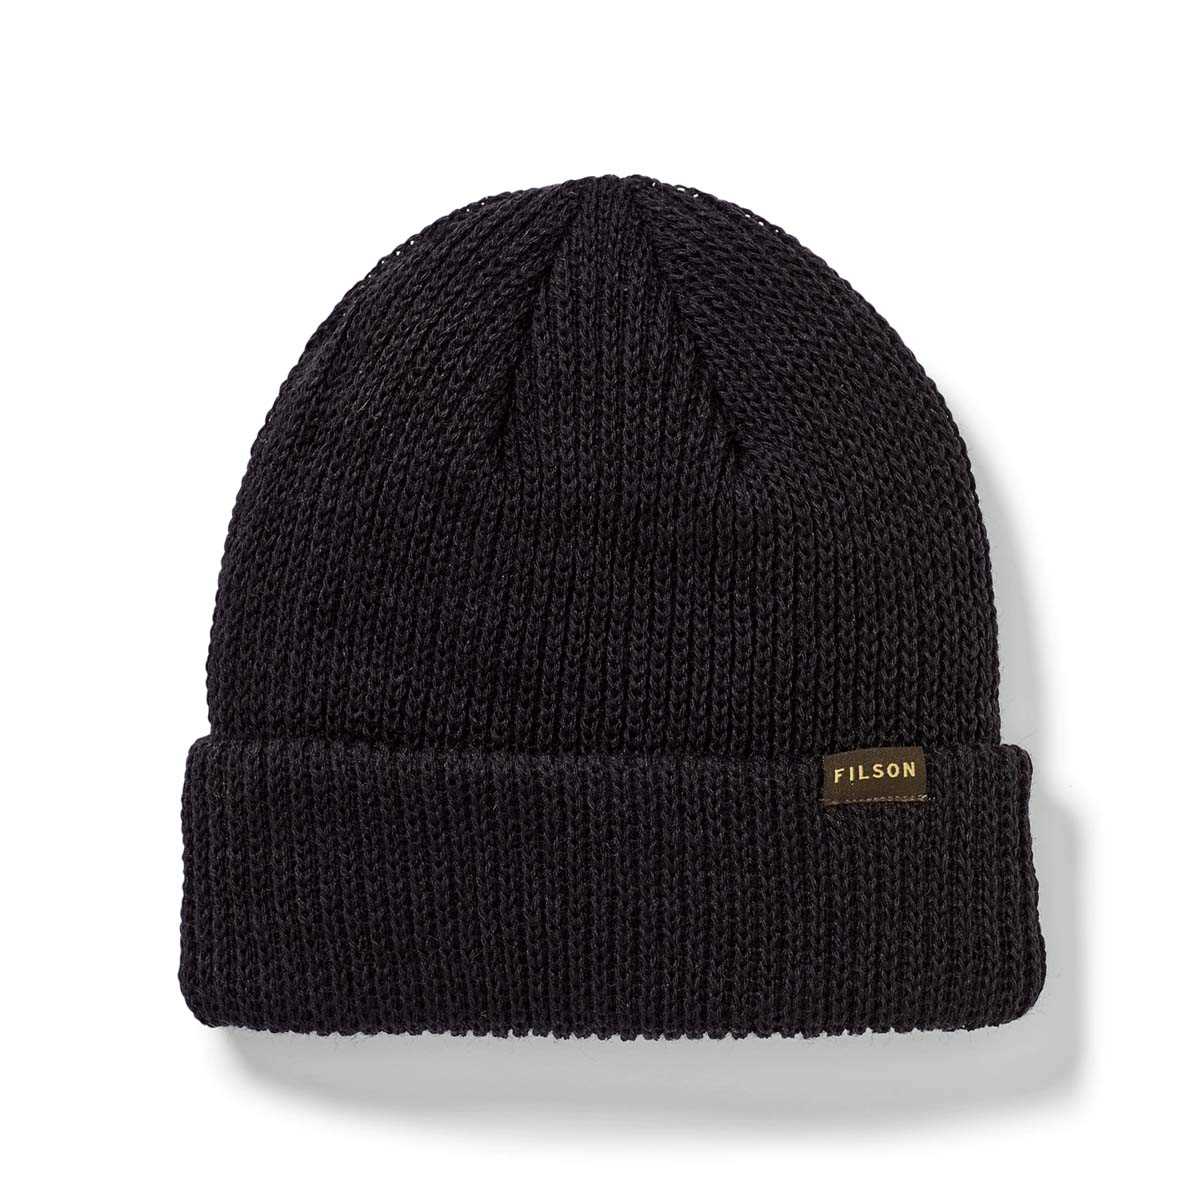
- Color: The color of the yarn plays a significant role in the overall aesthetic of the hat. Neutral shades like black, gray, or navy are timeless choices that go well with any outfit. However, you may also want to consider adding a pop of color or opting for a variegated yarn for a more playful look.
- Care Instructions: It’s important to consider the care instructions for the yarn you choose. Some yarns may require handwashing, while others can withstand machine washing. Make sure to select a yarn that aligns with your preferences for care and maintenance.
When selecting yarn for your classic watch cap, take the time to consider these factors and choose a yarn that suits your needs and preferences. By choosing the right yarn, you can ensure that your hat will be both functional and stylish, keeping you warm and fashionable throughout the colder months.
Getting Started
In order to create the Classic watch cap, you will first need to gather all the necessary materials. This pattern requires a set of size 8 (5.0 mm) double-pointed needles, a cable needle, and a ball of worsted weight yarn in the color of your choice. You may want to choose a soft, durable yarn that will keep you warm throughout the winter months.
Before you begin knitting, it’s important to familiarize yourself with the basic knitting stitches. This pattern assumes that you have a basic understanding of knitting techniques such as casting on, knitting, purling, and binding off. If you are new to knitting, there are many resources available online that can help you learn these essential skills.
Once you have your materials and are comfortable with the basic knitting stitches, it’s time to cast on stitches for the brim of the hat. The brim is usually a ribbed pattern that creates a snug fit and helps to keep the hat in place. The pattern will specify the number of stitches to cast on, and you can use a long-tail cast-on method to start your project.
After casting on, you will continue knitting the brim in a rib stitch until it measures the desired length. This can vary depending on personal preference and the size of the recipient’s head. The rib stitch is typically a combination of knit and purl stitches that creates a stretchy, flexible fabric.
Once the brim is complete, the pattern will instruct you to switch to a different stitch pattern for the body of the hat. This could be a simple stockinette stitch, which is achieved by knitting all stitches in one row and purling all stitches in the next row. Alternatively, you may choose to incorporate a cable pattern or other decorative stitches to add interest to your hat.
Knitting the Ribbing
The ribbing is an essential part of the classic watch cap knit pattern. It not only adds a decorative element to the hat but also helps to create a snug and comfortable fit. To knit the ribbing, you will need to use a smaller size needle than the one used for the main body of the hat. The smaller needle size will create a tighter gauge and ensure that the ribbing stays in place.
To begin knitting the ribbing, cast on the desired number of stitches using the smaller needle. The most common ribbing pattern is the K1, P1 rib, where you knit one stitch and then purl one stitch alternately across the row. Repeat this pattern for the desired length of the ribbing, usually around 2 inches.
Tip: To achieve a stretchier ribbing, you can use a different ribbing pattern, such as K2, P2 or K2, P1. Experiment with different patterns to find the one that gives you the desired look and elasticity.
Once you have completed the ribbing, you can switch to the larger size needle and begin knitting the main body of the hat. The ribbing provides a nice transition between the brim and the rest of the hat and helps to keep the hat in place on your head.
Pro tip: It is important to maintain the tension throughout the ribbing section to ensure that it is consistent and not too loose or too tight. Take your time and adjust your knitting speed as needed to achieve even stitches.
Transitioning to the Main Body
Once you have successfully completed the ribbing section of your classic watch cap, it’s time to transition to the main body of the hat. This is where you will continue to knit in the round and create the bulk of the cap.
To start the main body, simply switch from your smaller needles to your larger needles. This will create a looser gauge and give the hat a more comfortable fit. Make sure to take the time to check your gauge and adjust your needle size if necessary to ensure that your hat turns out the right size.
With your larger needles, begin knitting in the round. You can continue with the same stitch pattern you used for the ribbing if you like, or you can switch to a different stitch pattern for some added texture. It’s important to note that the stitch count should remain the same as in the ribbing section in order to maintain the correct fit of the hat.
Continue knitting in the round until the hat reaches your desired length, keeping in mind that you will be adding a cuff at the end which will add some extra length. It’s helpful to try on the hat periodically as you knit to ensure that it is fitting as desired.
Once the main body of the hat is complete, you can move on to knitting the cuff. This is typically done in a ribbing pattern, such as 1×1 or 2×2 ribbing, to provide a snug and stretchy fit. The cuff can be as long or short as you prefer, but a common length is around 2-3 inches.
After completing the cuff, you can bind off your stitches and weave in any loose ends. Your classic watch cap is now complete and ready to be worn or gifted to someone special!
Working the Decrease Rounds
In order to shape the crown of the classic watch cap, you will need to work the decrease rounds. This is where you start decreasing the number of stitches in each round to create the fitted shape of the hat.
To start, you will need to divide your stitches evenly onto double-pointed needles or use the magic loop technique if you prefer. This will make it easier to work the decrease rounds.
Round 1: *Knit 6, k2tog; repeat from * to the end of the round. (If you have a different number of stitches, adjust the repeat accordingly to evenly divide your stitches.)
Round 2: Knit all stitches.
Round 3: *Knit 5, k2tog; repeat from * to the end of the round.
Round 4: Knit all stitches.
Round 5: *Knit 4, k2tog; repeat from * to the end of the round.
Round 6: Knit all stitches.
Continue in this manner, decreasing the number of knit stitches by 1 in each repeat, until you have a small enough number of stitches to gather the crown closed.
Once you have finished the decrease rounds, you can then cut the yarn, leaving a long tail. Thread the tail onto a yarn needle and slip the stitches off the needles. Pull the yarn tight to close the crown and secure with a few stitches. Weave in any loose ends and your classic watch cap is complete!
Finishing the Crown
After completing the main body of the Classic watch cap, it’s time to finish off the crown. This is the top part of the hat that comes to a point and gives it its classic look. The crown is shaped by decreasing stitches in a specific pattern.
To start shaping the crown, you will need to divide the remaining stitches evenly onto double-pointed needles or use the magic loop method if you prefer. This will allow you to work in a smaller circumference as you decrease stitches.
Next, you will begin the decrease rounds. Follow the pattern instructions to determine how many stitches to decrease in each round and where to place the decreases. This is typically done by knitting or purling two stitches together to create one stitch. The decreases will form a spiraling pattern that comes together at the top of the hat.
Continue working the decrease rounds until you have reached the desired number of stitches for the crown. At this point, you will need to gather the remaining stitches together and secure them. This is often done by threading the yarn through the live stitches and pulling tight to close the top of the hat.
Once the crown is finished and secure, you can weave in any remaining loose ends and trim them to tidy up the hat. Give it a final block and shape if needed, and your Classic watch cap is complete! Now you have a warm and stylish hat to keep you cozy in the colder months.
Blocking and Finishing Touches
Once you have finished knitting your classic watch cap, it’s time to give it a professional touch with blocking and finishing. Blocking is a process that helps to shape and set the stitches, giving your cap a polished and neat appearance. Begin by soaking your cap in lukewarm water and a mild detergent for about 15 minutes. Gently squeeze out the excess water without wringing or twisting the cap.
Next, lay your cap flat on a clean and absorbent towel. Use your hands to gently shape the cap into its desired size and form. Pay attention to any areas that may need reshaping, such as the ribbing or the crown. Smooth out any wrinkles or uneven stitches as you go along. Let your cap air dry completely before moving on to the next step.
Once your cap is dry, it’s time to add the finishing touches. Start by weaving in any loose ends or yarn tails from the cast on and bind off edges. Use a tapestry needle to carefully thread the yarn through the stitches, making sure to secure it well. Trim any excess yarn, leaving a small tail for added durability.
If desired, you can also add a pom-pom or other embellishments to your cap. Simply use a crochet hook or your fingers to attach the pom-pom to the crown of the cap, making sure it is securely fastened. For a more personalized touch, you can also add a decorative stitch or pattern to the brim or body of the cap using a contrasting yarn or embroidery thread.
Once you have completed the blocking and finishing touches, your classic watch cap is ready to be worn or gifted. Enjoy the warmth and style of your handmade creation, knowing that your attention to detail has resulted in a beautifully finished product.
Other Variations to Try

While the classic watch cap knit pattern is a timeless favorite, there are also many other variations that you can try to add some unique touches to your knitted hat collection.
One option is to experiment with different stitch patterns. Instead of sticking with the traditional ribbed cuff and stockinette body, you can try using cable stitches, lace patterns, or even colorwork to create a more intricate design. This can add visual interest and make your hat stand out from the crowd.
Another variation to consider is changing the shape of the hat. While the classic watch cap is a simple beanie style, you can also try knitting a slouchy hat with a looser fit or a beret with a wide brim. These alternative shapes can give your hat a different look and feel, allowing you to customize it to match your personal style.
If you’re feeling adventurous, you could even incorporate different materials into your knitting. For example, you could add a faux fur pom-pom to the top of your hat or use a sparkly yarn to give it some extra shine. These small additions can make a big difference in the overall look of your hat.
Ultimately, the classic watch cap knit pattern is just a starting point. Don’t be afraid to get creative and try new things. With a little experimentation, you can create a hat that is truly one-of-a-kind.
Tips for Knitting Success

In order to have a successful knitting experience while working on your classic watch cap, here are a few helpful tips:
- Choose the right yarn: Selecting the appropriate yarn can greatly affect the outcome of your project. Consider the thickness and texture of the yarn, as well as the fiber content, to ensure that it will be suitable for your desired final product.
- Use the correct needle size: Using the right needle size for your yarn will help you achieve the correct gauge and ensure that your stitches are even. Be sure to check the pattern instructions or make a gauge swatch to determine the appropriate needle size.
- Take breaks and stretch: Knitting for extended periods of time can cause strain on your hands, wrists, and shoulders. Remember to take regular breaks and stretch your hands and arms to avoid discomfort or injury.
- Count your stitches: It’s easy to lose track of your stitch count, especially on larger projects. Use stitch markers to help you keep track of important sections and count your stitches regularly to ensure accuracy.
- Read the pattern carefully: Before starting your project, make sure to read through the pattern instructions thoroughly. Understanding the pattern and any special techniques or stitches required will help you avoid mistakes and confusion along the way.
- Practice new techniques: If the pattern includes any new techniques or stitches that you’re not familiar with, it’s a good idea to practice them on a swatch or small project before incorporating them into your main project. This will give you a chance to become comfortable with the technique and ensure that you’re executing it correctly.
- Join a knitting community: Connecting with other knitters can be a great way to learn new techniques, get advice, and find inspiration. Consider joining a local knitting group or participating in online knitting communities to enhance your knitting experience.
By following these tips and staying mindful of your technique and progress, you’ll increase your chances of knitting success and create a beautiful classic watch cap that you’ll be proud to wear.