Simple and Stylish Knit Tank Top Pattern

Summer is the perfect time to show off your knitting skills with a stylish and comfortable tank top. Whether you’re a beginner looking for a simple project or an experienced knitter searching for a quick and satisfying knit, this easy knit tank top pattern is just what you need.
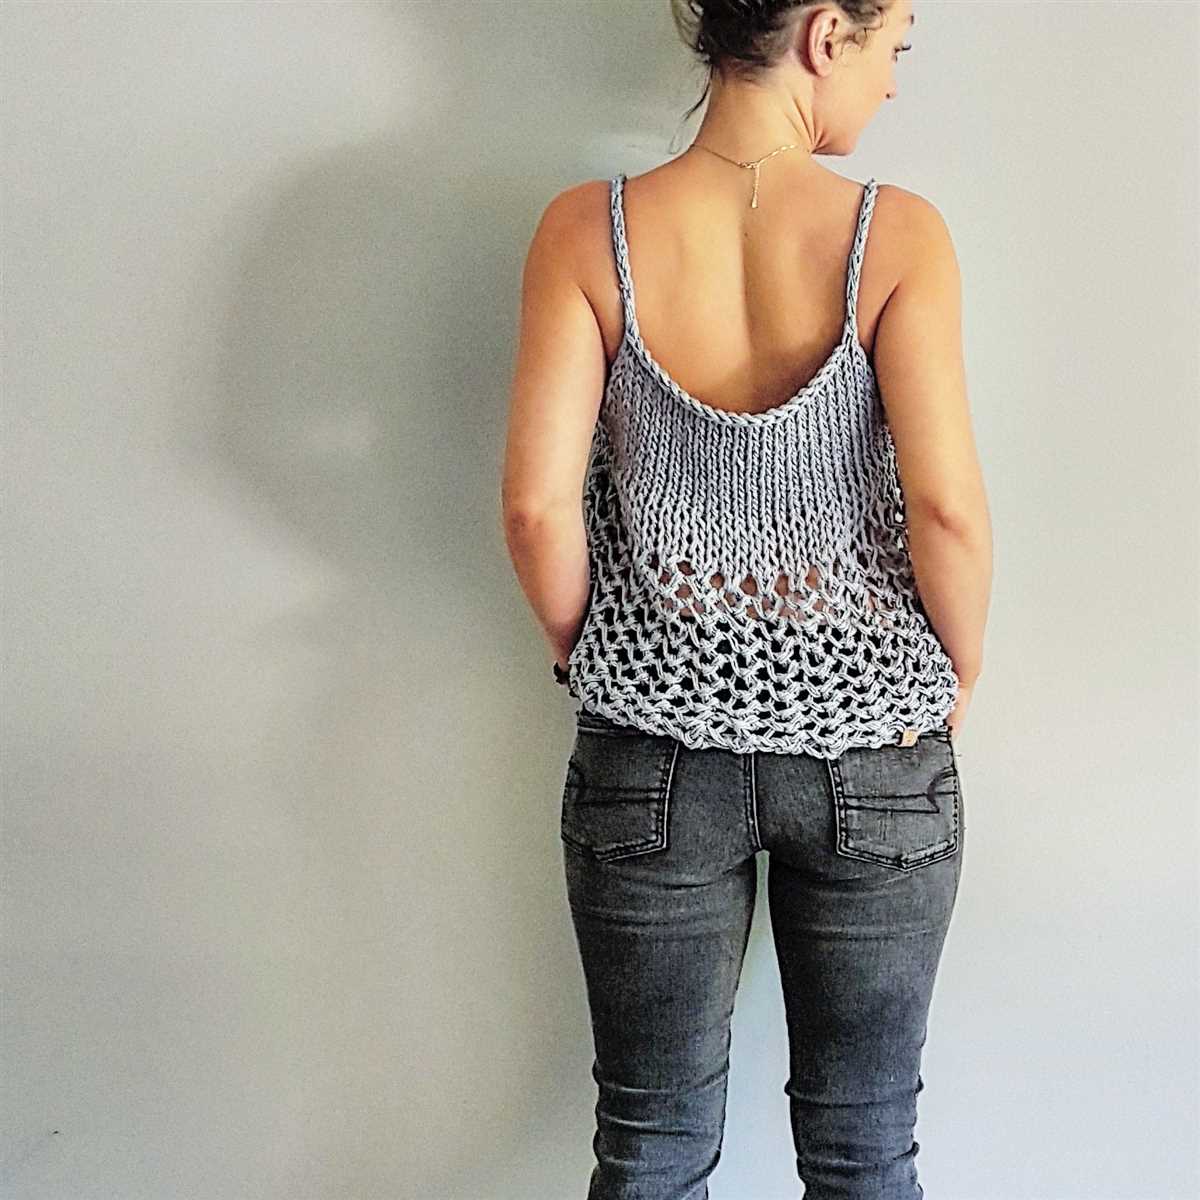
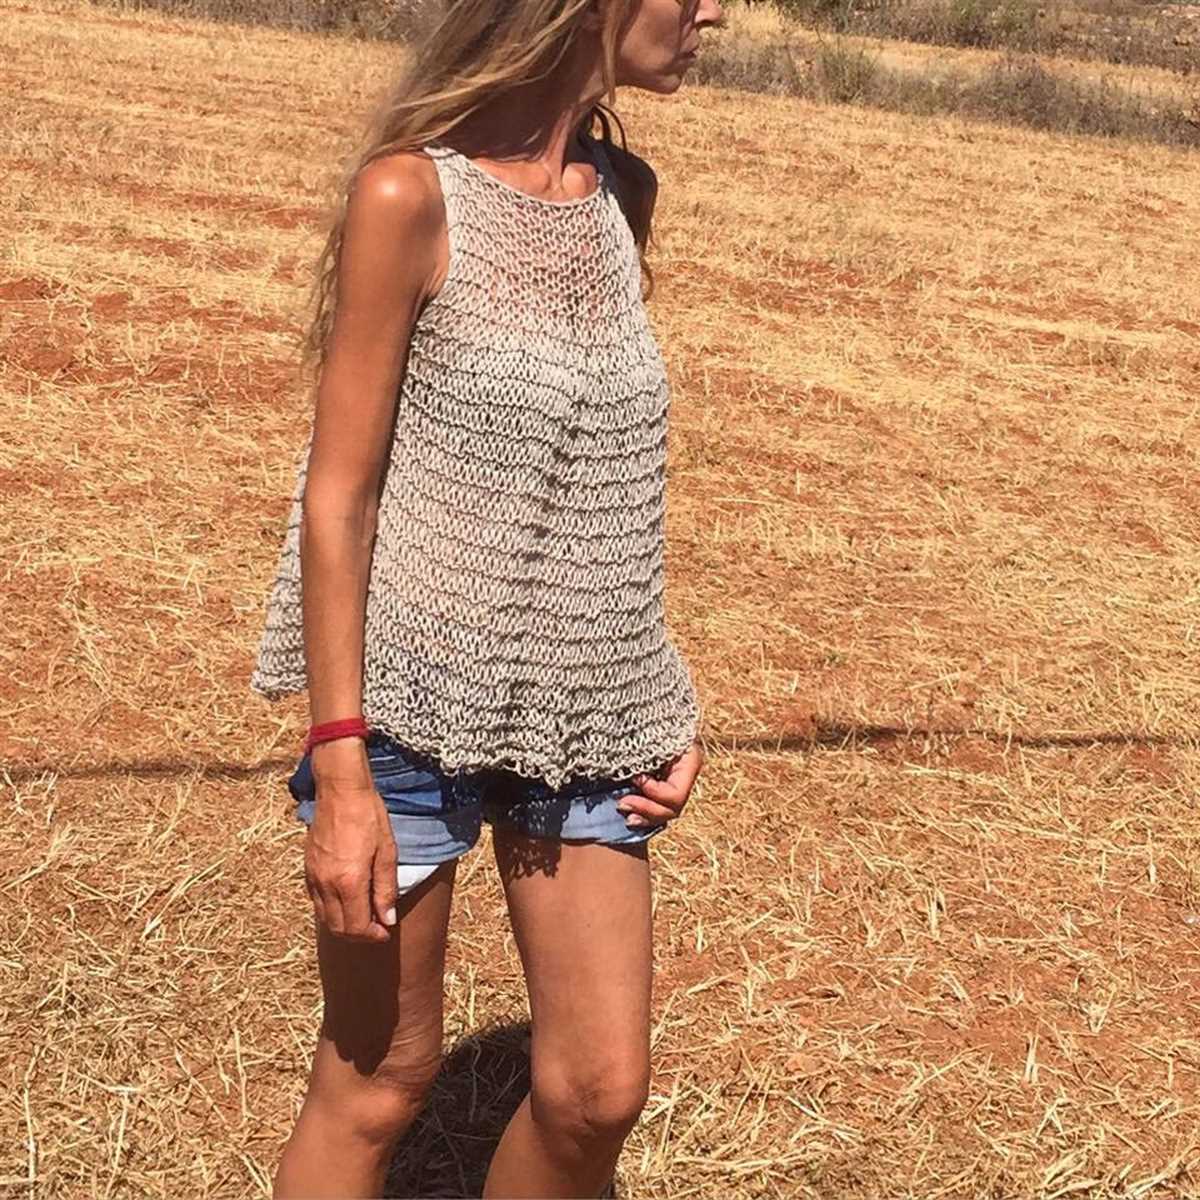
Knitting a tank top allows you to create a versatile and timeless piece for your wardrobe. With its breathable and lightweight design, this tank top is perfect for hot summer days or layering under a cardigan or jacket during cooler evenings.
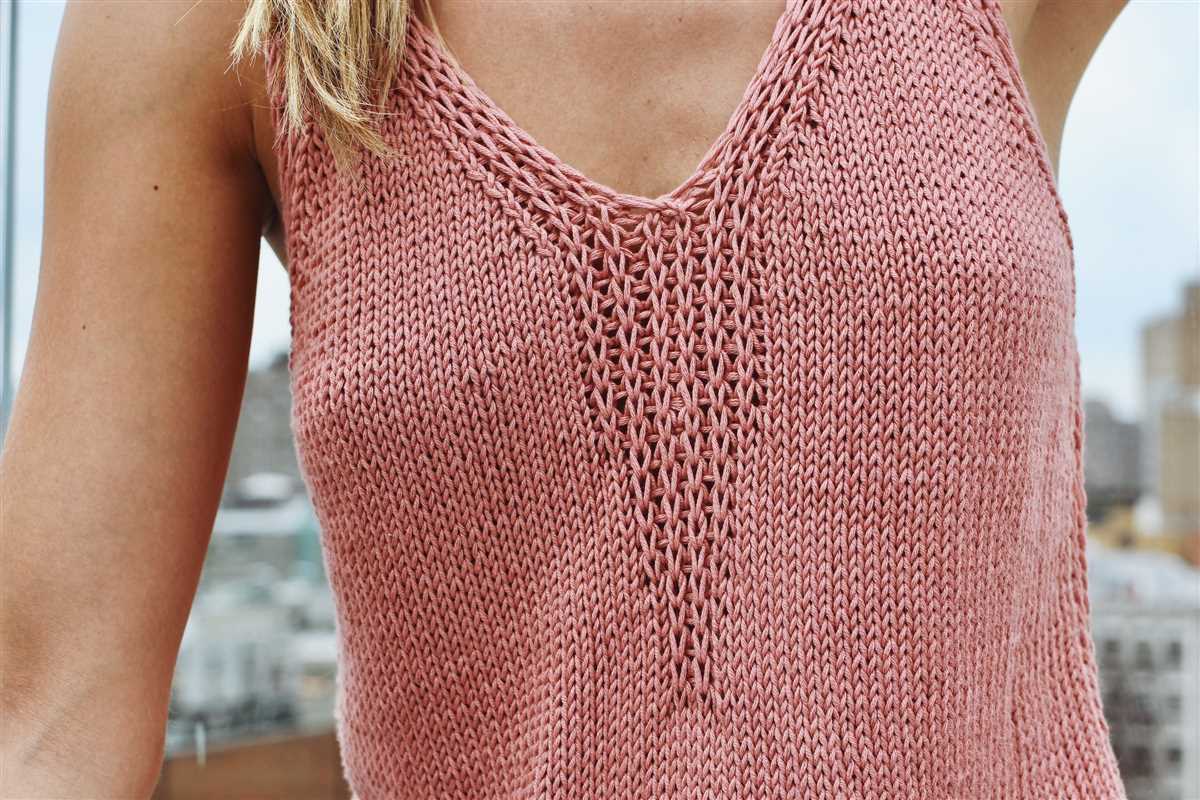
This easy knit tank top pattern features a simple rib stitch, making it an ideal project for knitters of all skill levels. The rib stitch adds texture and elasticity, ensuring a comfortable and flattering fit. The pattern includes clear instructions and measurements, allowing you to easily customize the tank top to your desired size and length.
So why not grab your knitting needles and create a stylish and practical tank top for the summer season? With this easy knit tank top pattern, you’ll be able to showcase your creativity while staying cool and comfortable all summer long.
Easy Knit Tank Top Pattern
Looking for a simple and quick project to knit this summer? Look no further than this easy knit tank top pattern. This pattern is perfect for beginners and experienced knitters alike, and is a great way to expand your knitting skills.
To get started, you will need the following materials:
- DK weight yarn
- US size 8 (5mm) circular knitting needles
- Stitch markers
- Tapestry needle
- Scissors
Once you have gathered your materials, you can begin casting on stitches for the tank top. Follow the pattern instructions to create the ribbing at the bottom of the top and then start working on the main body.
This tank top pattern features a simple stockinette stitch, making it a great project for practicing your tension and evenness in your knitting. The pattern also includes instructions for shaping the armholes and neckline, giving the tank top a flattering fit.
After you have finished knitting the main body of the tank top, you will need to sew the side seams together using a tapestry needle. This creates a seamless finish and adds durability to the garment.
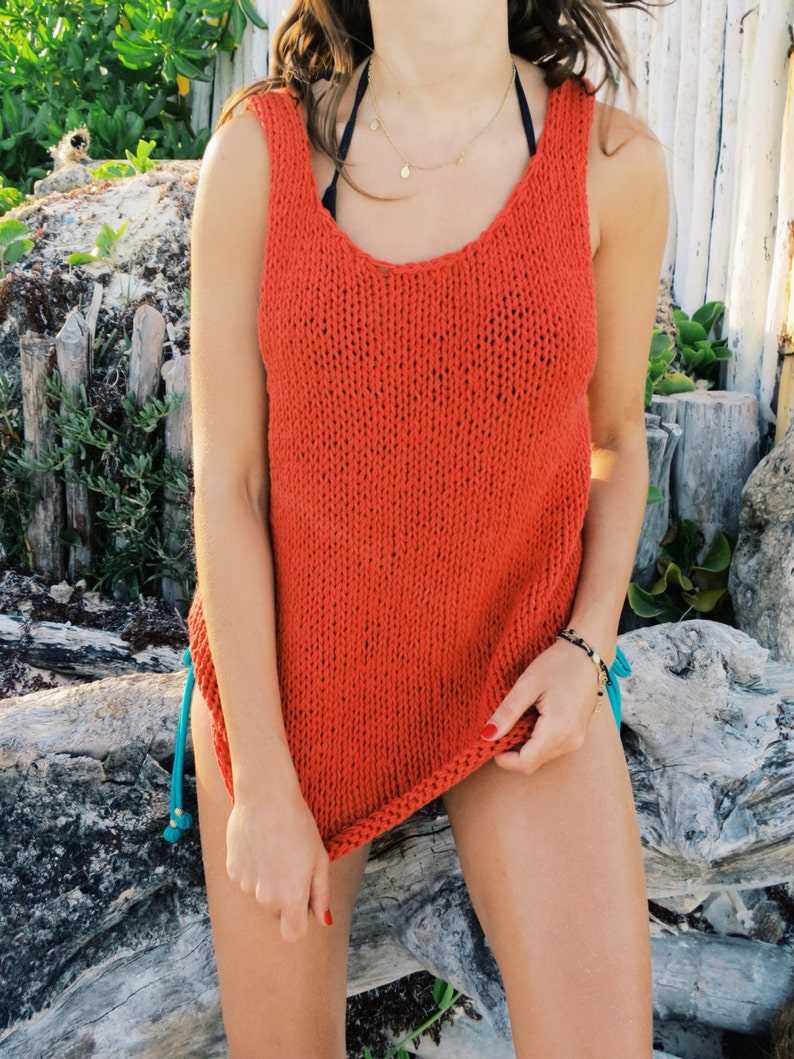
Once the tank top is complete, you can customize it to your liking by adding embellishments or choosing different colors of yarn. It’s also a versatile piece that can be worn on its own or layered with other clothing.
With this easy knit tank top pattern, you’ll have a stylish and comfortable garment that you can wear all summer long. So grab your needles and yarn and get started on this fun and rewarding project today!
Choose Your Yarn and Needles

When it comes to knitting a tank top, one of the most important decisions you’ll need to make is choosing the right yarn and needles. The yarn you choose will determine the drape and feel of the finished top, while the needles will determine the size and gauge.
Yarn: The first thing to consider when choosing yarn for your tank top is the fiber content. Cotton and linen yarns are great choices for summer tops, as they are breathable and lightweight. Wool or wool blend yarns, on the other hand, will provide added warmth and softness. Consider how you want your tank top to look and feel, and choose a yarn that matches your preferences.
Needles: The size of your needles will determine the gauge of your knitting, which in turn will affect the size and fit of your tank top. Most patterns will recommend a specific needle size, but it’s important to check your gauge before you start knitting. If your stitches are too tight, try using larger needles; if they’re too loose, try using smaller needles. It’s also important to consider the type of needles you’ll be using. Straight needles are great for beginners, while circular needles are more versatile and can be used for a variety of projects.
Once you’ve chosen your yarn and needles, you’re ready to start knitting your tank top. Don’t be afraid to experiment and try different combinations to achieve the desired look and fit. Happy knitting!
Measurements and Gauge

Before you start knitting the easy tank top, it’s important to take accurate measurements of your body. This will help ensure that the finished garment fits you perfectly. You will need to measure your bust, waist, and hips, as well as the length from your shoulder to your desired hemline.
Once you have your measurements, refer to the size chart provided in the pattern to determine which size you should knit. It’s always a good idea to go up a size if you’re between sizes, as it’s easier to adjust a slightly larger garment than a smaller one.
Gauge:

Gauge is crucial when knitting a garment, as it determines the size and fit of the finished piece. To check your gauge, knit a swatch using the recommended yarn and needle size. The pattern will specify the gauge you should aim for.
The gauge is usually given in terms of stitches and rows per inch. To measure your gauge, lay your swatch flat and use a ruler to count how many stitches and rows are in a one-inch section. If your gauge matches the pattern, great! If not, you may need to adjust your needle size to achieve the correct gauge. Keep in mind that a difference in gauge can significantly affect the finished size of your tank top.
Once you have your measurements and have checked your gauge, you’re ready to start knitting your easy tank top. Follow the pattern instructions carefully, and don’t be afraid to make any necessary adjustments along the way to ensure a perfect fit!
Cast On Stitches

In knitting, casting on stitches is the process of creating the foundation row of stitches, which is the starting point for your project. It is important to cast on the correct number of stitches to ensure that your garment fits properly.
To cast on stitches, you can use a variety of methods, such as the long-tail cast on, the knit cast on, or the cable cast on. The choice of method depends on your personal preference and the desired outcome of your project.
The long-tail cast on is a commonly used method that creates a neat and stretchy edge. To perform this cast on, you will need to estimate the length of the yarn tail based on the number of stitches you need to cast on. Then, you will create a slip knot and place it on the needle. Using both the working yarn and the tail, you will then create a series of loops on the needle to form your foundation row of stitches.
Another popular method is the knit cast on, which is quick and easy to learn. With this method, you will make a slip knot, place it on the needle, and then insert the needle into the slip knot as if to knit. You will then wrap the working yarn around the needle and pull it through the slip knot, creating a new stitch. Repeat this process for the desired number of stitches.
Once you have cast on all the required stitches, you can begin working on your pattern. Remember to count your stitches regularly to ensure that you have not accidentally added or dropped any stitches along the way. With practice, casting on stitches will become second nature, and you will be able to start your knitting projects with confidence.
Knit the Ribbing

Now that you have cast on your stitches, it’s time to start knitting the ribbing for your tank top. The ribbing is the part of the garment that creates a stretchy and durable edge. It typically consists of a combination of knit and purl stitches.
Step 1: Begin by knitting the first stitch. Insert the right needle into the first stitch on the left needle from left to right.
Step 2: Take the working yarn and wrap it counterclockwise around the right needle, bringing it from back to front.
Step 3: Use the right needle to pull the loop of yarn through the stitch, bringing the new stitch onto the right needle. Slip the old stitch off the left needle.
Step 4: Repeat these steps for the remaining stitches, knitting each one until you reach the end of the row.
Step 5: Now it’s time to create the purl stitches. Turn your work so that the wrong side is facing you. Insert the right needle into the first stitch on the left needle from right to left.
Step 6: Take the working yarn and wrap it counterclockwise around the right needle, bringing it from back to front.
Step 7: Use the right needle to pull the loop of yarn through the stitch, bringing the new stitch onto the right needle. Slip the old stitch off the left needle.
Step 8: Repeat these steps for the remaining stitches, purling each one until you reach the end of the row.
Continue knitting and purling in this ribbing pattern for the desired length, as specified in the pattern instructions. The ribbing will provide a nice stretch to the bottom edge of your tank top and give it a polished finish. Once you have finished the ribbing, you can move on to the next section of the pattern.
Knit the Body

Now that you have finished knitting the ribbing for your tank top, it’s time to move on to knitting the body. This is where the pattern really starts to take shape and you can see your progress.
First, you will need to determine the length of your tank top. You can follow the measurements provided in the pattern or customize it to your desired length. Use your measuring tape to measure from the bottom edge of the ribbing up to where you want the tank top to end.
Next, you will need to continue knitting in the round, following the established stitch pattern. The body of the tank top will be worked in this stitch pattern until you reach the desired length. Make sure to check your gauge regularly to ensure that your tank top will fit properly.
If you want to add any shaping to the body of your tank top, such as waist shaping or bust darts, this is the time to do it. You can find instructions for adding shaping in the pattern or customize it to fit your body shape.
Once you have reached the desired length and completed any shaping, it’s time to bind off the stitches. You can use a basic bind off or choose a more decorative bind off if you prefer. The choice is up to you and the style you want for your tank top.
With the body of your tank top complete, it’s time to move on to knitting the straps. Stay tuned for the next section of the pattern where we will cover how to knit the straps and finish your tank top.
Shape the Armholes

Once you have completed the desired length for the body of the tank top, it’s time to shape the armholes. This step will give your tank top a comfortable and flattering fit, allowing for movement and ease of wear.
To shape the armholes, you will need to decrease stitches on both sides of the tank top. This can be done by knitting or purling two stitches together, or by using any other decrease technique that you prefer. The number of stitches to decrease will depend on your pattern and the size you are making.
For example:
- For a smaller size, you may need to decrease 2 stitches on each side.
- For a medium size, you may need to decrease 3 stitches on each side.
- For a larger size, you may need to decrease 4 stitches on each side.
Remember to consult your pattern for the specific instructions on how many stitches to decrease and at which point to start shaping the armholes. It’s important to keep track of your decreases and ensure that both armholes are shaped symmetrically. Once the armhole shaping is complete, you can continue knitting the remaining stitches for the shoulders and neckline of the tank top.
Knit the Straps

Once you have completed the body of the tank top, it’s time to knit the straps. The straps are an essential part of the tank top as they provide support and help keep the top in place. There are several different ways you can knit the straps, depending on the style and fit you want to achieve.
Here are a few options for knitting the straps:
- Ribbon Straps: If you want to add a feminine touch to your tank top, you can knit ribbon straps. Simply attach ribbon to the shoulder seams of the tank top and tie them into bows. This adds a delicate and elegant look to the top.
- Thin Straps: For a more minimalist and streamlined look, you can knit thin straps. These straps are typically about half an inch wide and add a subtle and understated detail to the tank top.
- Wide Straps: If you prefer a bolder and more eye-catching look, you can knit wide straps. These straps are usually around one to two inches wide and can be a great way to showcase a different stitch pattern or add a pop of color to the tank top.
- Adjustable Straps: Another option is to knit straps that are adjustable. This can be achieved by adding buttonholes or using adjustable hardware like bra sliders. Adjustable straps give you the flexibility to customize the fit of the tank top and ensure it stays in place.
Remember to measure the length of the straps before knitting them to ensure they are the desired length. You can also try the tank top on and adjust the straps as needed before securing them in place. Once the straps are knitted and attached, you’ll have a completed tank top ready to wear!
Finishing Touches
Once you have completed knitting your tank top, it’s time to add the finishing touches to give it that polished look. Here are a few final steps to take to complete your project.
Blocking: Before wearing or even trying on your tank top, it’s important to block it. Blocking is the process of shaping and setting your knitted piece so that it retains its shape. To block your tank top, lay it flat on a clean towel and gently smooth out any wrinkles or uneven sections. Pin the edges to the desired measurements using blocking pins. Spray the garment with water or use a steam iron to dampen it to help set the shape. Leave it to dry completely before removing the pins. Blocking will ensure that your tank top looks even and professional.
Seaming: If your tank top is made up of multiple panels, you will need to seam them together to create the finished look. Use a needle and thread that matches the color of your yarn. Take your time and sew the panels together with small, even stitches. Make sure to secure the ends of your thread securely to prevent any unraveling. Once your tank top is seamed together, try it on to check for any adjustments that may need to be made.
Finishing touches: To give your tank top a professional finish, consider adding some decorative elements. You can add a ribbed trim to the neckline and armholes to give it a polished look. Alternatively, you can sew on some buttons or beads for added flair. Adding these small details can make a big difference in the overall appearance of your tank top.
Now that you have completed all the finishing touches, your tank top is ready to wear! Enjoy showing off your new handmade garment and the satisfaction of knowing that you created it yourself.
Block and Seam
When knitting a tank top, one important step is blocking and seaming the pieces together. Blocking is the process of wetting the knitted pieces and stretching them to the desired measurements. This helps even out any uneven stitches and gives the finished garment a polished look. To block the tank top, fill a basin with lukewarm water and add a gentle detergent. Place the knitted pieces in the water and let them soak for about 15-20 minutes.
After soaking, gently squeeze out the excess water from the pieces. Lay the pieces flat on a clean towel and roll them up to remove more moisture. Lay them flat on a blocking mat or towel and shape them to the correct measurements using pins or blocking wires if necessary. Leave them to dry completely before moving on to the seaming process.
Seaming the tank top involves sewing the pieces together using a tapestry needle and matching yarn. Start by aligning the pieces with the right sides facing each other, making sure the edges line up evenly. Thread the tapestry needle with the yarn and begin sewing using a mattress stitch, which creates an invisible seam. Take one stitch through both edges of the knitted pieces, then go back through the same stitch in the opposite direction. Continue stitching in this manner, pulling the yarn tight but not too tight, until the seam is complete.
Repeat the seaming process to join the remaining pieces of the tank top together. Once all the seams are complete, weave in any loose ends of yarn to secure them. With the blocking and seaming done, the tank top is now ready to be worn or displayed with pride!
Add Embellishments (Optional)
Once you’ve finished knitting your tank top, you have the option to add embellishments to personalize and enhance the overall look. These embellishments can be simple or elaborate, depending on your style and creativity.
1. Embroidery: Add a touch of embroidery to your tank top to create intricate designs or add decorative elements. You can use different colors of embroidery floss to create patterns or add small motifs to specific areas of the tank top.
2. Buttons: Sewing buttons onto your tank top can give it a unique and stylish look. You can choose buttons of different sizes, shapes, and colors to match your personal style. Sew them in a straight line down the front or back of the tank top, or create a pattern with multiple buttons.
3. Lace or Crochet Trim: Attach lace or crochet trim to the hem or neckline of your tank top to give it a feminine and delicate touch. You can use matching or contrasting colors to create a beautiful contrast. This embellishment is perfect for those who love a vintage or bohemian style.
4. Beads or Sequins: For a glamorous and eye-catching look, you can add beads or sequins to your tank top. Sew them on in a random pattern or create a specific design. This embellishment works well for special occasions or when you want to make a statement.
5. Appliques: Consider adding fabric or knitted appliques to your tank top for a unique and textured look. You can create your own appliques or use ready-made ones. Sew them onto the tank top using a needle and thread, or use fabric glue for a no-sew option.
- Remember to consider the weight and flexibility of the embellishments you choose. You don’t want them to weigh down your tank top or restrict movement.
- Always test any adhesive or glue on a small, inconspicuous area of your tank top before applying it to ensure it doesn’t damage the fabric.
- Take time to plan and experiment with different embellishments to find the ones that best suit your taste and style.
Enjoy Your New Knit Tank Top!

Now that you have completed your easy knit tank top, it’s time to enjoy wearing it! Whether you made it for yourself or as a gift for someone else, this tank top is sure to be a stylish and comfortable addition to your wardrobe.
With its versatile design, you can dress it up or down depending on the occasion. Pair it with jeans and sneakers for a casual look, or dress it up with a skirt and heels for a more formal ensemble. The possibilities are endless!
To care for your new knit tank top, we recommend following the instructions on the yarn label. Most yarns can be machine washed on a gentle cycle and laid flat to dry. Taking proper care of your garment will ensure that it lasts for years to come.
Don’t forget to show off your finished project! Share a photo on social media using the hashtag #knittanktop to inspire others and connect with fellow knitters. You can also join online knitting communities to share your experiences and learn new techniques.
Happy knitting and enjoy your new tank top!
- Dress it up or down depending on the occasion
- Follow the care instructions on the yarn label
- Show off your finished project on social media
- Connect with fellow knitters in online communities
 |
 |
| Pair it with jeans and sneakers for a casual look | Dress it up with a skirt and heels for a more formal ensemble |