Knit Your Own Big Dipper Hat with This Pattern

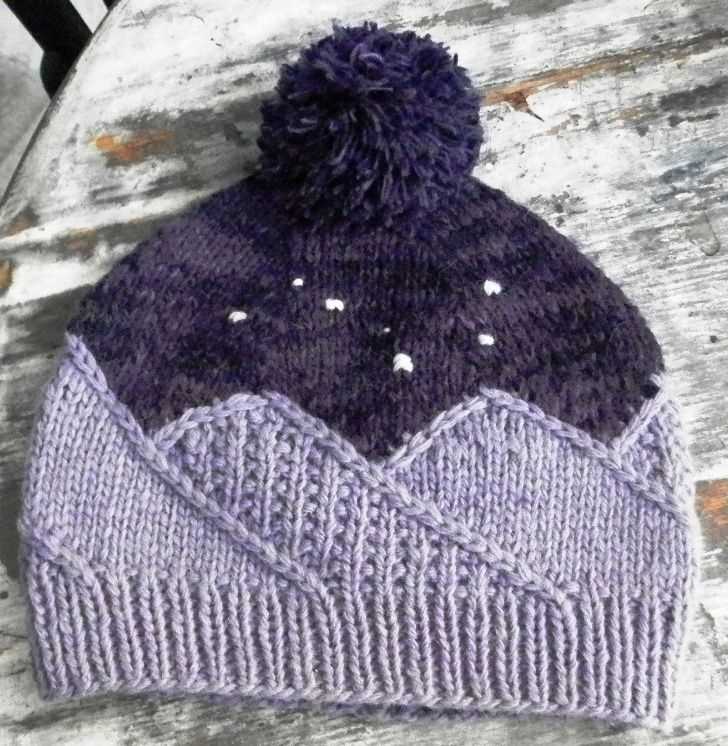
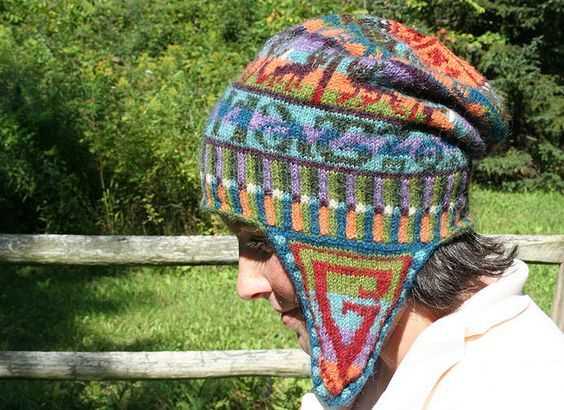
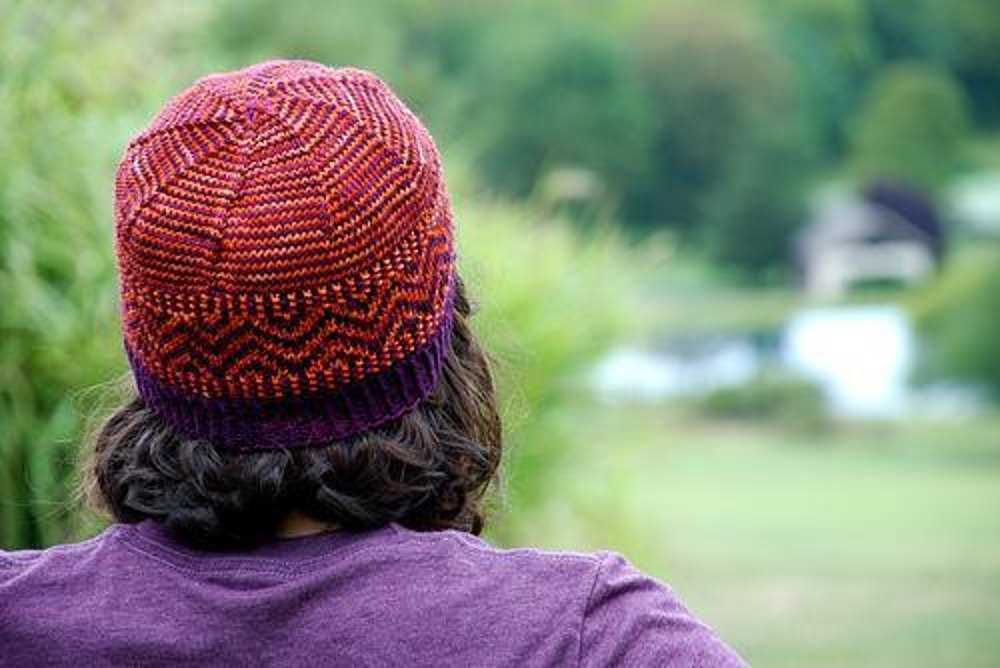
If you’re looking for a stylish and unique hat to knit, look no further than the Big Dipper Hat. This hat features a stunning geometric pattern reminiscent of the night sky, inspired by the iconic constellation of the Big Dipper.
Knitted with a chunky yarn and large needles, this hat works up quickly, making it a perfect project for beginners and experienced knitters alike. The pattern includes both written instructions and a chart, so you can choose the method that works best for you.
The Big Dipper Hat is not only fashionable, but also functional. The chunky yarn provides warmth and comfort, making it the perfect accessory for chilly winter days. Whether you’re stargazing or running errands, this hat will keep you cozy and stylish.
So grab your needles and get ready to create a one-of-a-kind hat that is sure to turn heads. The Big Dipper Hat knitting pattern is a must-have for any knitting enthusiast.
Big Dipper Hat Knitting Pattern

If you are looking for a fun and unique knitting project, the Big Dipper Hat is a perfect choice. This hat features a bold and striking pattern that resembles the famous constellation, the Big Dipper. With its combination of cables and texture, this hat will definitely make a statement.
The Big Dipper Hat knitting pattern is suitable for intermediate knitters who are familiar with basic knitting techniques such as casting on, knitting, purling, and decreasing. The pattern includes detailed instructions and a chart for the cable pattern, making it easy to follow along.
To knit the Big Dipper Hat, you will need approximately 200 yards of worsted weight yarn and a set of US size 7 (4.5mm) double-pointed needles. The pattern also calls for a cable needle and a stitch marker. You can choose any color of yarn to create your own unique version of the hat.
The Big Dipper Hat starts with a ribbed brim, which provides a snug and comfortable fit. The body of the hat is then worked in a repeating cable pattern, creating a bold and intricate design. The crown of the hat is shaped by gradually decreasing the number of stitches, resulting in a neat and tidy finish.
This hat is not only stylish but also warm and cozy, making it the perfect accessory for chilly winter days. Whether you are an experienced knitter or looking to challenge yourself with a new project, the Big Dipper Hat is sure to be a rewarding knitting adventure.
Overview of the Big Dipper Hat
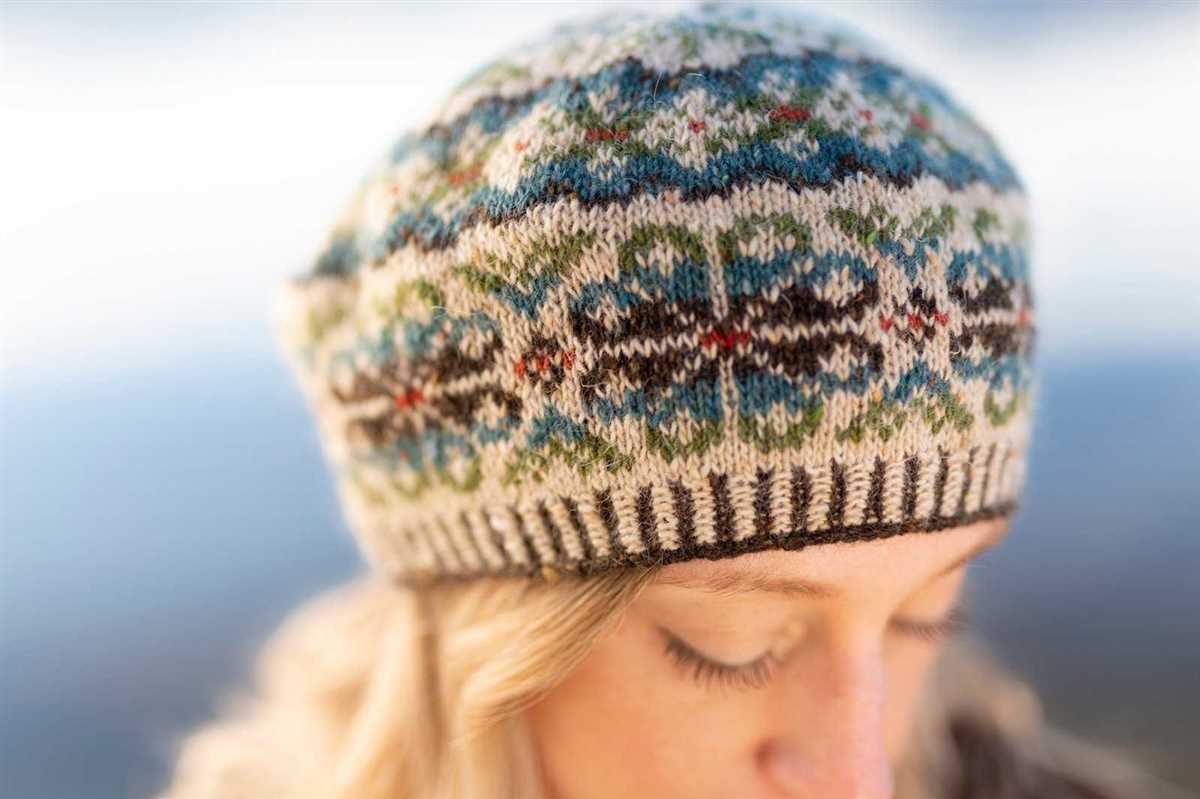
The Big Dipper Hat is a popular knitting pattern designed for those who love cozy and stylish headwear. This hat features a unique design inspired by the famous constellation, the Big Dipper. It is perfect for keeping warm during the colder months and adding a touch of charm to any outfit.
One of the standout features of the Big Dipper Hat is its intricate cable knit pattern. The cable stitches create a beautiful interlacing design that resembles the shape of the Big Dipper. The pattern also includes ribbing at the brim, which ensures a snug and comfortable fit for the wearer.
The hat is typically knitted using a medium weight yarn and requires a set of double-pointed needles or a circular needle, depending on the knitter’s preference. The pattern is suitable for intermediate to advanced knitters, as it involves working with cable stitches and following a complex chart.
The Big Dipper Hat can be customized to suit individual preferences, as it can be knitted in a variety of colors. Whether you prefer a classic neutral tone or a vibrant pop of color, the choice is yours. This versatile hat can also be easily adjusted to fit different head sizes, making it a great gift option for friends and family.
In conclusion, the Big Dipper Hat is an eye-catching and cozy accessory that adds a touch of celestial charm to any winter outfit. With its intricate cable knit design and customizable features, this hat is a must-have for any knitting enthusiast.
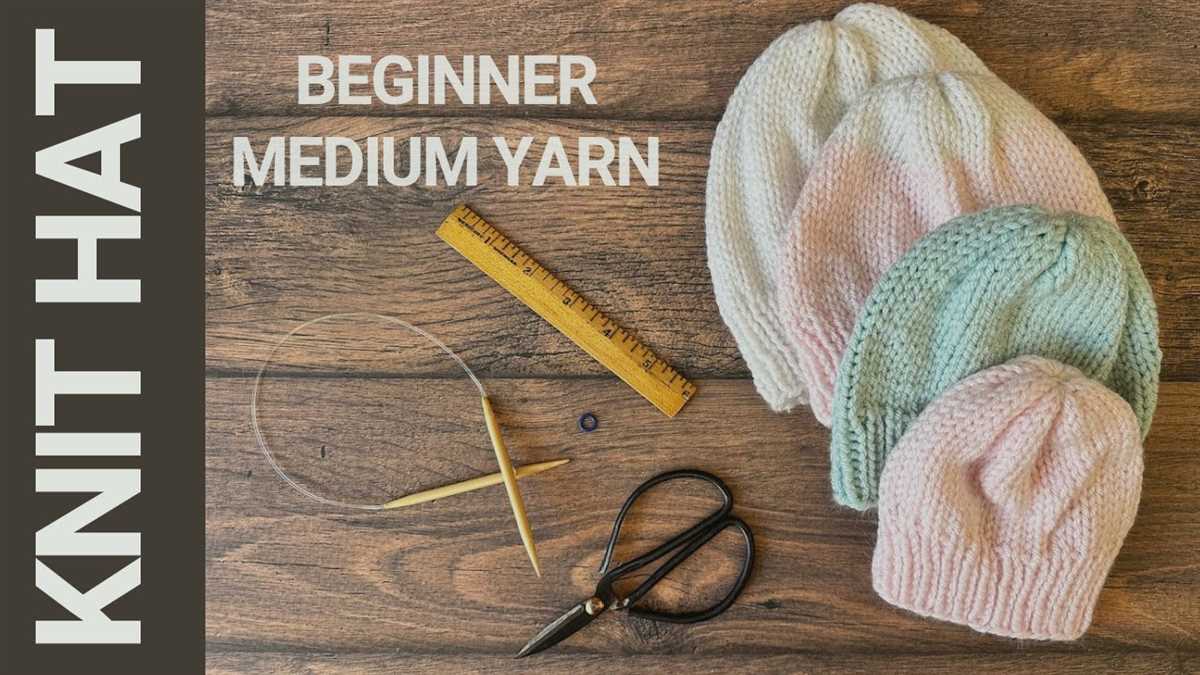
Materials Needed for the Big Dipper Hat
Before you start knitting your Big Dipper Hat, it’s important to gather all the materials you will need for the project. Here is a list of the essential items:
- Yarn: You will need approximately 200 yards of worsted weight yarn in your desired color. It’s best to choose a soft and warm yarn that will keep you cozy during the winter months.
- Knitting Needles: To create the Big Dipper Hat, you will need a set of US size 7 (4.5mm) circular knitting needles with a 16-inch (40cm) cable. Circular needles are recommended for this pattern as they allow you to easily knit in the round.
- Stitch Marker: A stitch marker is an essential tool to mark the beginning of each round. You can use a commercial stitch marker or simply a small piece of contrasting yarn.
- Tapestry Needle: A tapestry needle is used for weaving in loose ends and finishing touches. Make sure to choose a needle with a large eye that can easily accommodate your yarn.
- Measuring Tape: A measuring tape or ruler is helpful for checking your gauge and ensuring the correct sizing of your hat.
- Scissors: A pair of scissors is needed for cutting your yarn and trimming any excess ends.
Once you have gathered all these materials, you are ready to start knitting your Big Dipper Hat. Make sure to check the gauge before beginning and follow the pattern instructions carefully to create a beautiful and cozy hat.
Casting on and Ribbing
When starting the Big Dipper hat knitting pattern, the first step is to cast on the desired number of stitches. This can be done using a long-tail cast on method, which creates a sturdy and stretchy edge. To cast on, hold the yarn in one hand and create a slipknot near the end. Insert the needle through the loop and tighten the knot. Then, place the needle in your other hand and hold it with a loose grip. Use your thumb and index finger to hold the tail end of the yarn against the needle. With your working yarn, wrap it around your thumb and needle, forming a loop. Pass the needle through the loop and pull it tight. Repeat this process until you have the required number of stitches on your needle.
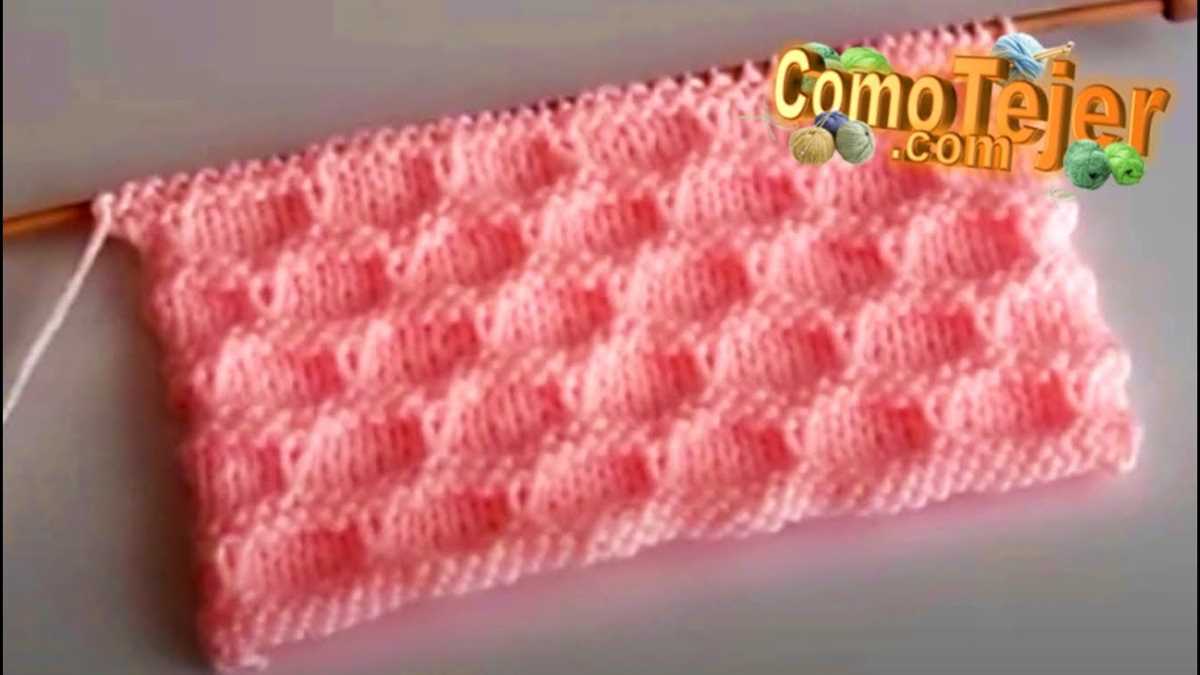
After casting on, you will move on to the ribbing section of the pattern. Ribbing is a common technique used in knitting to create a stretchy and textured fabric. It is often used for the cuffs and hems of garments. The ribbing pattern used in the Big Dipper hat is a 2×2 rib, which means you will alternate knitting two stitches and purling two stitches. To knit a stitch, insert the tip of the right needle into the front of the stitch on the left needle and wrap the yarn around the right needle. Pull the right needle through the stitch, slipping it off the left needle. To purl a stitch, insert the tip of the right needle into the front of the stitch on the left needle, but this time, wrap the yarn around the right needle in the opposite direction. Pull the right needle through the stitch, slipping it off the left needle. Repeat this sequence of knitting two stitches and purling two stitches until you have completed the ribbing section.
Remember to always keep your tension consistent throughout the casting on and ribbing process. This will help ensure that your hat has a neat and even appearance. Take your time and practice if necessary, as getting the hang of the casting on and ribbing techniques is essential for a successful Big Dipper hat knitting project.
Creating the Big Dipper Pattern
The Big Dipper pattern is a popular knitting pattern for hats that features a unique and eye-catching design. This pattern is inspired by the constellation of Ursa Major, commonly known as the Big Dipper. Knitting enthusiasts who are looking for a fun and challenging project will enjoy creating this stunning hat pattern.
To create the Big Dipper pattern, you will need a set of double-pointed knitting needles, a skein or two of your favorite yarn, and a basic understanding of knitting techniques such as casting on, knitting in the round, and decreasing stitches. The pattern is suitable for intermediate to advanced knitters.
Materials Needed:
- Double-pointed knitting needles
- Yarn (in the color of your choice)
- Tapestry needle
- Stitch markers
Instructions:

- Cast on the desired number of stitches onto your double-pointed needles. Ensure that the number of stitches is divisible by the number of repeats in the pattern.
- Join the round, being careful not to twist the stitches.
- Begin knitting the Big Dipper pattern, following the chart or written instructions. The pattern will feature a combination of knit and purl stitches to create the unique design. Use stitch markers to separate the individual sections of the pattern if needed.
- Continue knitting in the round, repeating the pattern until the hat reaches the desired length.
- Decrease the stitches to shape the crown of the hat. This can be done using various decrease techniques such as knit two together (k2tog) or slip, slip, knit (ssk).
- Cut the yarn, leaving a long tail. Thread the tail through a tapestry needle, and slip the needle through the remaining stitches to secure them.
- Weave in any loose ends and block the hat to shape, if desired.
- Your Big Dipper hat is now complete and ready to be worn or gifted!
Knitting the Big Dipper hat pattern can be a rewarding and enjoyable experience for knitters of all skill levels. The intricate design and unique shape of the hat make it a truly standout piece that is sure to impress. So grab your needles and yarn, and get ready to create a hat that is as stunning as the night sky.
Shaping the Crown
When it comes to knitting the Big Dipper Hat, shaping the crown is a crucial step in achieving the desired fit and look. The crown refers to the top of the hat, where the stitches gradually decrease to create a rounded shape.
To shape the crown, you will need to follow a specific pattern of decreases. Usually, this involves knitting two stitches together at regular intervals to reduce the total number of stitches on the needles. The exact pattern of decreases will depend on the specific knitting pattern you are using.
One common method for shaping the crown is to start with a certain number of stitches, then decrease by a fixed number of stitches on every other round. For example, you might start with 80 stitches and decrease by 8 stitches on every other round until you have a small enough number to finish the hat.
It’s important to pay attention to the instructions provided in your pattern and keep track of the decreasing rounds. This will ensure that you create a smooth and symmetrical crown shape. Additionally, you may need to switch to double-pointed needles or a circular needle as the number of stitches decreases, depending on your knitting preference.
Shaping the crown of a hat is an exciting part of the knitting process. It’s where you start to see the hat taking its final shape and coming together. By following the pattern’s instructions and staying mindful of the decreasing rounds, you can create an attractive and well-fitted crown for your Big Dipper Hat.
Finishing Touches
Now that you’ve finished knitting your big dipper hat, it’s time to add the finishing touches to make it truly special. These final steps will give your hat a polished and professional look, ensuring that it will stand out from the crowd.
Blocking
Before adding any embellishments, it’s important to block your hat to give it the perfect shape and size. To do this, gently soak your hat in lukewarm water and then lay it flat on a clean towel. Gently shape the hat to the desired size and let it dry completely. This will help to even out any stitches and give the hat a smooth and uniform appearance.
Embroidery

One popular way to add a personal touch to your big dipper hat is by adding embroidered designs. You can use a contrasting color of yarn to create intricate patterns or simply add your initials or favorite symbol. To do this, thread a tapestry needle with your desired yarn and carefully stitch your design onto the hat. Be sure to use small, even stitches to create a clean and professional look.
Pom Pom
No big dipper hat is complete without a playful pom pom on top. To make a pom pom, wrap yarn around a pom pom maker or your hand several times. Carefully tie a separate piece of yarn around the middle of the loops and then cut through the loops to release the pom pom. Fluff the strands and trim them to your desired length. Finally, securely attach the pom pom to the top of your hat using a tapestry needle and yarn.
Final Inspection
Before proudly wearing your big dipper hat or gifting it to someone special, take the time to give it a final inspection. Check for any loose ends or uneven stitches and fix them as needed. Make sure all the embellishments are securely attached and that the hat is clean and presentable. By performing this last step, you’ll ensure that your hat is ready to be admired and enjoyed for years to come.
Tips for Knitting the Big Dipper Hat
Knitting the Big Dipper Hat can be a fun and rewarding project for knitters of all skill levels. With its unique design and cozy warmth, this hat is perfect for winter or as a stylish accessory. To help you succeed in your knitting endeavor, here are some tips to keep in mind:
1. Choose the right yarn
When starting this project, it’s important to select the right yarn that will not only look good but also provide the desired level of warmth. Consider using a soft and chunky yarn that will knit up quickly and create a cozy texture. Wool or wool-blend yarns are a popular choice for winter hats as they are both warm and durable.
2. Gauge swatch
Before diving into the knitting process, take the time to knit a gauge swatch to ensure that your hat will turn out the correct size. The pattern should provide you with the suggested gauge, which you can compare to your swatch. Adjust your needle size if necessary to achieve the correct gauge.
3. Follow the pattern carefully
It’s crucial to carefully follow the instructions provided in the Big Dipper Hat knitting pattern. Take the time to read through the pattern before you begin, and make sure you understand all the abbreviations and techniques used. Pay close attention to any shaping or stitch pattern changes to ensure your hat turns out just right.
4. Use stitch markers
When knitting the Big Dipper Hat, stitch markers can be helpful tools to keep your place in the pattern and to mark any stitch increases or decreases. This will make it easier for you to keep track of your progress and ensure that your stitches are where they should be.
5. Finishing touches
Once you have completed knitting the Big Dipper Hat, it’s important to pay attention to the finishing touches. Weave in any loose ends and block your hat to give it a polished and professional look. Blocking can help even out any stitches and subtly shape the hat for a perfect fit.
Knitting the Big Dipper Hat is a wonderful project for knitters who are looking for a fun and challenging project. By following these tips and carefully following the pattern, you’ll be able to create a beautiful hat that will keep you warm and stylish all winter long.
Variations of the Big Dipper Hat
The Big Dipper Hat is a popular knitting pattern that features a unique star-like design. While the basic pattern creates a classic hat shape with the Big Dipper constellation across the front, there are many variations that can be made to personalize the hat even further. These variations allow knitters to add their own creative touch and make each hat truly unique.
Color Variations: One way to make the Big Dipper Hat stand out is by using different colors for the stars and the background. Instead of using the traditional white or cream color for the stars, knitters can experiment with bold, contrasting colors or even use multiple colors for each star. This adds visual interest to the hat and allows it to match different outfits or preferences.
Brim Variations: Another way to customize the Big Dipper Hat is by changing up the brim. The basic pattern usually features a simple ribbed brim, but knitters can get creative by adding different stitch patterns or textures. For example, a seed stitch or cable pattern can give the hat a more intricate and decorative look. Knitters can also experiment with different lengths or widths for the brim to create a more tailored fit.
Embroidery Variations: For those who enjoy embroidery, adding additional designs or motifs to the Big Dipper Hat can be a fun way to personalize it. Knitters can embroider initials, names, or other symbols onto the hat to make it truly one-of-a-kind. This allows the hat to become a meaningful gift or a statement piece that reflects the wearer’s personality.
Yarn Weight Variations: The Big Dipper Hat can also be made using different yarn weights, which can change the overall look and feel of the hat. Knitting the hat with a bulkier yarn will result in a warmer and more cozy hat, while using a lighter weight yarn will create a more delicate and lightweight hat. This gives knitters the opportunity to adapt the pattern to different seasons or climates.
Size Variations: Finally, the Big Dipper Hat can be easily adjusted to fit different head sizes. By following the pattern and making modifications to the number of stitches or rows, knitters can create hats for children, adults, or even oversized hats for those who prefer a looser fit. This makes the pattern versatile and suitable for knitters of all skill levels.
In conclusion, the Big Dipper Hat offers a wide range of variations that allow knitters to get creative and make each hat their own. Whether it’s playing with colors, adding unique embroidery, or adjusting the size and yarn weight, these variations make the hat a versatile and customizable project for knitters of all levels.
Ways to Style the Big Dipper Hat
The Big Dipper Hat is not only a practical accessory for keeping your head warm during the colder months, but it is also a stylish addition to any outfit. Here are a few ways to style this trendy hat:
1. Casual and Cozy:
For a laid-back and comfortable look, pair the Big Dipper Hat with a chunky knit sweater, your favorite jeans, and cozy boots. This combination is perfect for a weekend brunch or a casual day out with friends. The hat adds an extra layer of warmth and adds a touch of style to the overall outfit.
2. Chic and Feminine:
For a more polished and feminine look, style the Big Dipper Hat with a tailored coat, a flowy dress, and ankle boots. The hat adds an element of texture and adds a casual touch to an otherwise dressy look. This combination is perfect for a date night or a night out with friends.
3. Edgy and Cool:
If you want to add a bit of edge to your outfit, pair the Big Dipper Hat with a leather jacket, ripped jeans, and combat boots. This combination exudes a cool and edgy vibe and is perfect for a concert or a night out on the town. The hat adds a unique touch and completes the overall rock-inspired look.
4. Sporty and Functional:
If you’re heading out for a workout or a casual outdoor activity, the Big Dipper Hat can also be styled in a sporty and functional way. Pair it with your favorite activewear, a puffer jacket, and sneakers for a comfortable and practical look. The hat will keep you warm and protect your head and ears from the elements.
5. Timeless and Classic:
If you prefer a timeless and classic look, pair the Big Dipper Hat with a tailored coat, a sweater, trousers, and classic loafers. This combination is perfect for a more formal occasion or when you want to dress up a bit. The hat adds a touch of playfulness and adds an extra layer of warmth to your ensemble.
With its versatile design and cozy feel, the Big Dipper Hat can be styled in various ways to suit your personal style and the occasion. Experiment with different outfits and accessories to create unique looks that showcase your fashion-forward style.
Customization Options for the Big Dipper Hat
The Big Dipper Hat knitting pattern provides endless possibilities for customization. Once you have mastered the basic pattern, you can make it truly unique by incorporating different colors, stitch patterns, and embellishments. Here are some ideas to get you started:
Color Options
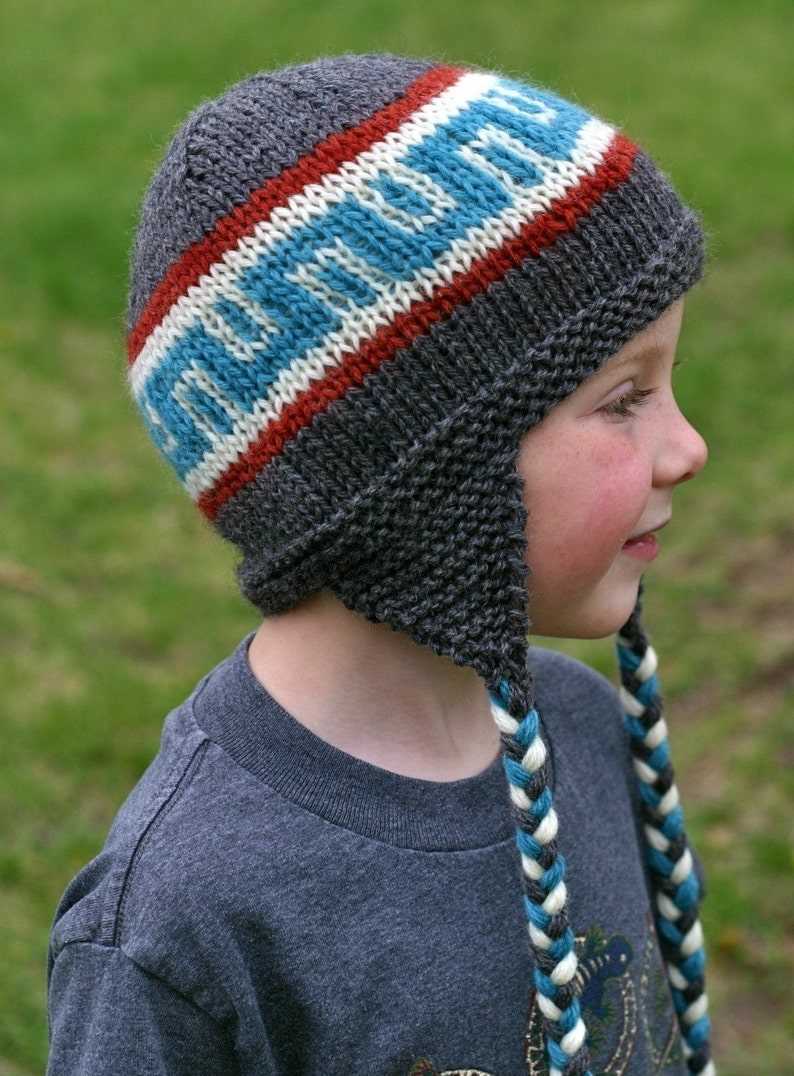
The Big Dipper Hat looks beautiful in a solid color, but you can also play around with different color combinations to create stripes, color blocks, or gradients. Consider using your favorite team’s colors or experimenting with bold and vibrant shades to make a statement.
Stitch Pattern Variations
While the basic pattern produces a classic ribbed texture, you can add more texture and visual interest by incorporating different stitch patterns. Consider using cables, lace, or twisted stitches to create a unique look. Experiment with different stitch patterns on different sections of the hat, such as the band or the body.
Embellishments
Add a personal touch to your Big Dipper Hat by adding embellishments such as pompoms, buttons, or patches. Pompoms can be made in matching or contrasting colors to add a playful touch. Buttons can be sewn onto the band or used as closures for a convertible hat. Patches can be sewn onto the body of the hat to display your favorite symbols or logos.
Size Adjustments
If you want to make the hat fit perfectly, you can adjust the size by adding or subtracting stitches or rows. You can also customize the length of the hat by knitting it shorter or longer. Make sure to measure your head circumference and refer to the pattern’s gauge to ensure a proper fit.
Summary
The Big Dipper Hat knitting pattern offers a wide range of customization options, allowing you to create a hat that reflects your personal style and preferences. Whether you choose to experiment with colors, stitch patterns, embellishments, or size adjustments, your finished hat will be one-of-a-kind. Get creative and have fun with your customization choices to make your Big Dipper Hat truly unique.